Capacitors
Capacitors are often referenced in many troubleshooting guides around the Internet; however, you’ll hear about them most when it comes to the motherboard. Even though we see capacitors referenced quite a bit, we might not know what they are our even what they do. Follow along below, and we’ll show you why they’re so important.
What Are Capacitors?
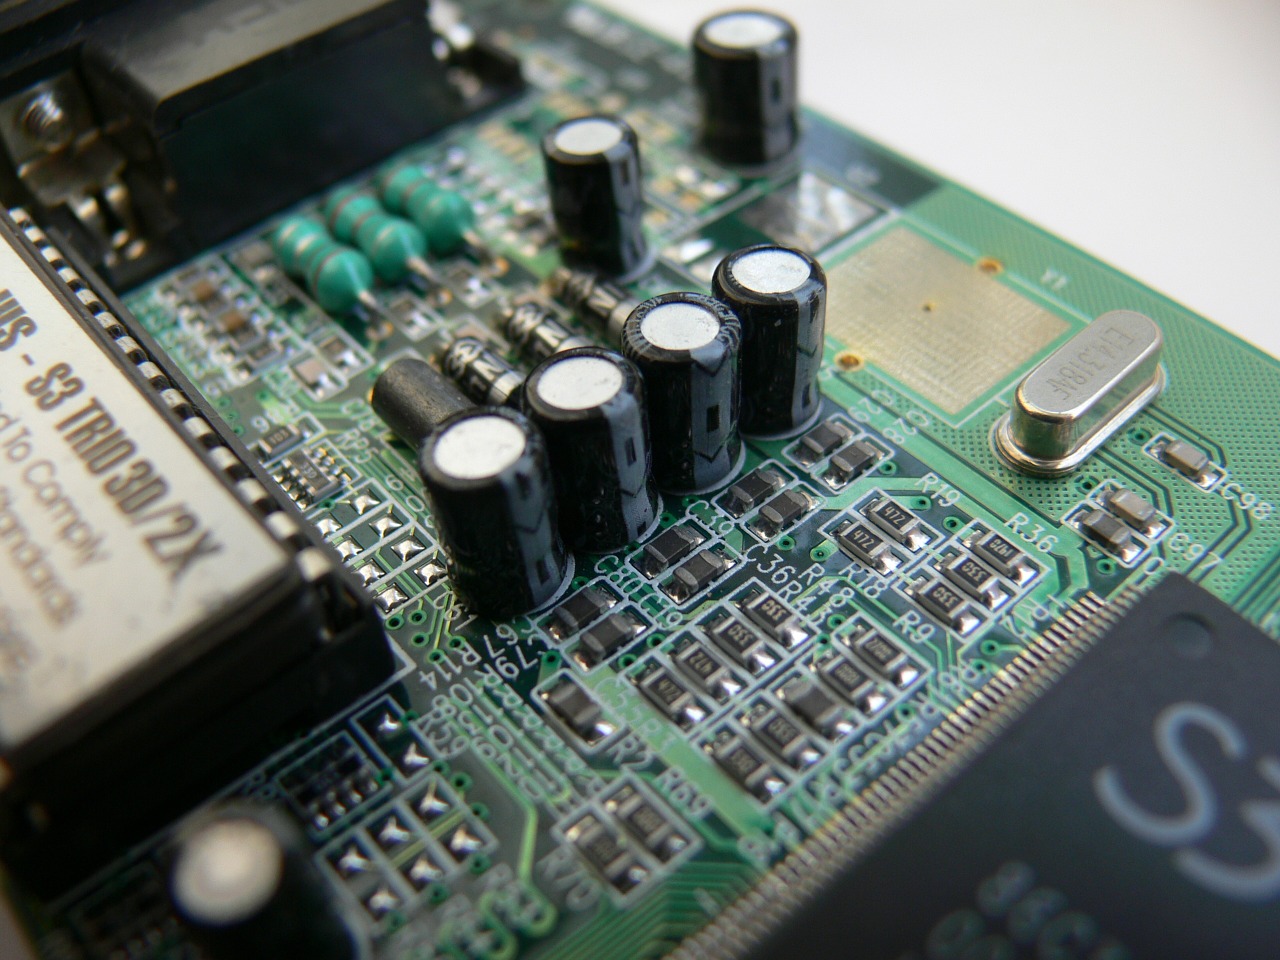
In layman’s terms, a capacitor is a tiny electrical component soldered to the motherboard. Capacitors perform a couple of different functions. First, a capacitor conditions DC voltage to other components (e.g. the video card, hard drive, sound card etc) as a way to provide a steady stream of power. Finally, a capacitor can also hold or store an electric charge to be discharged at a later time, such as in the case of a camera flash.
What’s on the Inside?
What you see on the motherboard is a ceramic and plastic container. On the inside of that is usually two or a set of two conductive plates with a thin insulator between them. And then, you, of course, have that packaged inside the aforementioned container for protection.
When a capacitor receives a direct current, a positive charge will build up on one end of the plates while a negative charge builds up on the other plate. This positive and negative charge is stored in the capacitor until it’s discharged.
What Are They Used For?
 So, that’s what capacitors are, but what do they do? As we already mentioned, one of the functions of a capacitor is that it conditions power to be sent to other components. The reason for this is that, while components rely on electricity to run, they’re also very sensitive to swings in voltage. For instance, a voltage surge or spike could completely fry all of the components within your PC. After spending a good amount of money on hardware, that’s not something you really want. Unfortunately, voltage amounts change all the time — they aren’t constant. So, how do you stop it from frying your components? With a capacitor.
A capacitor is placed inline to your component and absorbs spikes in power, creating a constant steady stream of the electricity or voltage needed to power your component. And while capacitors can handle some spikes in voltage, it’s always good to have a UPS or surge protector as a first line of defense.
There are, of course, other types of capacitors as well. Using the example of a flash camera, your typical battery isn’t going to be capable of producing the sheer amount of electrons needed to create the flash. That’s why there’s a photoflash capacitor built into the camera. In as simple terms as possible, it’s an electrolytic capacitor that charges up from the battery, holding that charge, and then discharging it (when it has enough charge) to create the light energy for the flash. And so, a capacitor is able to hold a charge until it is to be discharged at a later time.
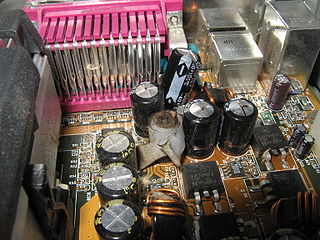 Unfortunately, like many things, capacitors are subject to wear and tear. That said, they can blow or bulge. When a capacitor fails, your component isn’t going to work anymore. In extreme scenarios, you might see the casing almost entirely melted. But, in more common instances, you’ll see the vents bulging (top of the capacitor).
Can They be Repaired?
Capacitors can’t be repaired — they have to be replaced. There’s no way around that. All you need is the (correct) capacitor replacement and tools to solder it back onto the motherboard. However, it’s not recommended that you do this if you don’t know what you’re doing or have never used the tools to solder a capacitor back on. Instead, most people opt for sending the motherboard to a repair facility or even just go ahead buy a brand new one.
In other words, if you haven’t done this yourself before, it’s wise to leave it alone. You don’t want to risk hurting yourself and potentially damage additional parts of the motherboard.
How to Replace a Capacitor
Given the cost of a new motherboard compared to a few dollars for a few capacitors, you might want to attempt to repair it. Let’s cover a few key pieces of information to help you with the diagnosis and repair.
- Motherboards are sensitive electronic devices that require proper handling, wash your hands and dry them thoroughly, wear gloves if possible, and ground yourself with an anti-static wristband or other ESD before handling.
- Start with a visual inspection of the motherboard, you’re looking for bulging tops on capacitors, signs of fluid leaking out of them, scorch marks on the board or solder, and corroded or frail solder joint connections. If you notice any obvious signs of wear on a capacitor, mark it with a marker or something else and continue your search.
- If you own a multi-meter with inline capacitance testing, then you can test your capacitors with that by locating the solder joints of the capacitor and placing the probes against it to get a read of its ohms.
- After identifying the faulty capacitors, it’s time to replace them. Gather your soldering iron, solder wick, flux, and solder and turn on the soldering iron to heat it up.
- Apply flux to the solder joints on the capacitor, it helps in soldering, and then begin using the soldering iron.
- After the solder becomes a liquid, apply the solder wick to absorb the old solder.
- Now, remove the old capacitor and clean the area with the soldering iron and solder wick and then rubbing alcohol and a toothbrush, it works great.
- Place the new capacitor in position, remember to align the positive and negative sides properly, it’s all labeled.
- Next, hold the solder near the new capacitor legs and soldering iron and then begin soldering. You want to apply the solder evenly and be careful not to apply it elsewhere, such as accidently connecting circuits on the motherboard.
- Clean the area as mentioned above and then let everything cool for a few minutes before reinstalling the motherboard.
What are Transistors?
Another important component in most electronics and on a motherboard is a transistor. Transistors are semiconductors that are designed to generate, control, and amplify electrical signals. Perhaps the most well-known application of transistors today is in microprocessors, which, as of this year, can feature upwards of 69 million transistors on a single microprocessor.
Used for a variety of purposes in electronics, one of the most common uses for transistors is as a switch. Capable of turning on and off thousands of times a second, transistors are crucial for the high processing speeds seen in devices nowadays.
Closing
And that’s how capacitors and transistors work! At first, they may seem like unimpressive little components scattered around your motherboard that don’t mean anything. However, they’re integral parts to how the motherboard and other components receive, generate, and distribute power.
Disclaimer: Some pages on this site may include an affiliate link. This does not effect our editorial in any way.