If you’ve had a long day at work or school, playing a game is the ideal way to unwind and have some fun. BlueStacks is here to help you play all the mobile phone-intended games on your desktop.
Unfortunately, not all games are available in your location. So how do you change your location in order to play what you want? This article will explain how to change your location on BlueStacks.
How to Change Your Location on BlueStacks
You were looking forward to going home and downloading BlueStacks. But when you tried, you’re greeted with the message that it’s not available in your location.
Don’t worry. There are a few simple steps you can use to make the app believe you’re in the right location.
- Go to their website, download the BlueStacks installation file, and follow the installation instructions.
- Open the software and log in with your Google account.

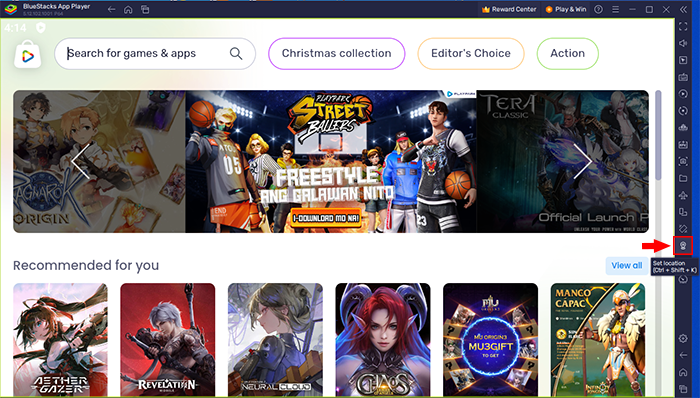
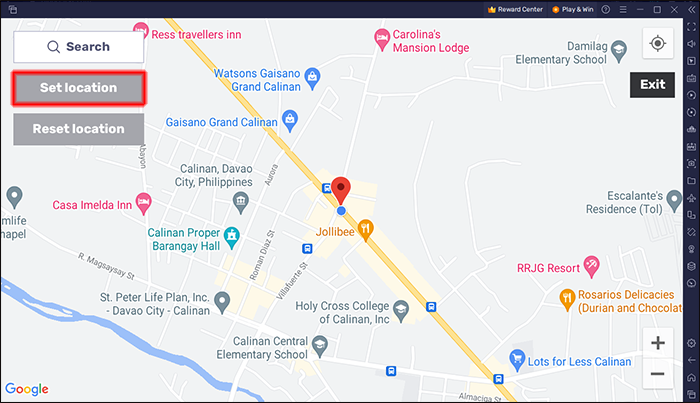
- On the right sidebar, find the “Set Location” icon /or press CTRL + SHIFT + K. You’ll be presented with Google Maps (you’ll see your true location already shown there).
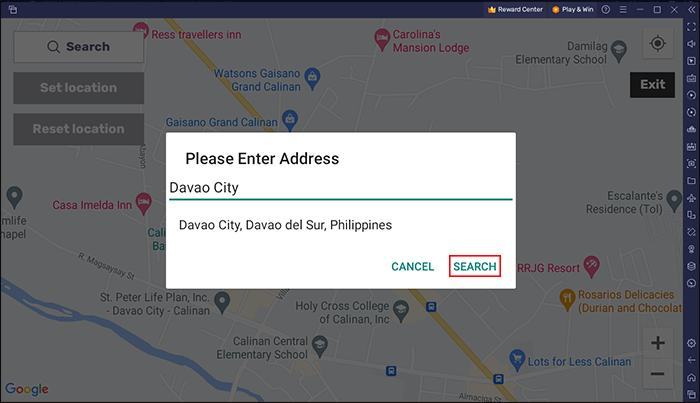
- Click the “Search” button on the top left.
- In the pop-up box, enter your desired location and click “Search.”
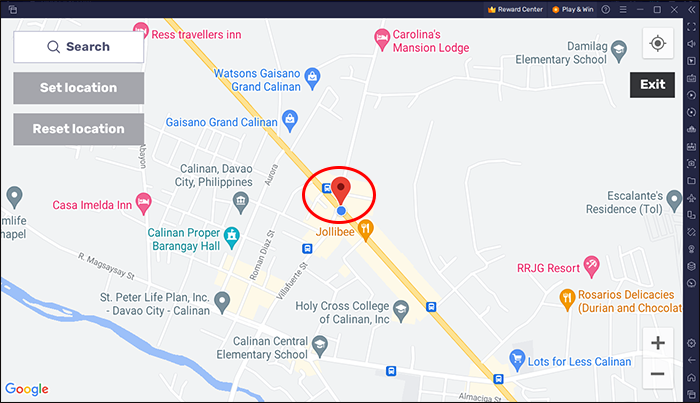
- If the address is found, it will show under the text field. Press this address to show it on the map.
- Press “Set Location” under the “Search” button. This will be your new location on BlueStacks.


And that is all there is to it.
What Is BlueStacks Used For?
The variety of games available for your Android and iOS phones has never been bigger. From very simple games to strategic options, the choices are endless.
However, there are users who would still prefer to play them on their PC. This can be challenging, due to software differences that might not allow you to install them on your desktop.
This is where BlueStacks comes to the rescue. Installing this emulator creates something akin to an app store, which you have on your phone. It will look the same as on your phone and help you install the same games.
The only thing you’ll need is your Google Account.
How to Download and Install BlueStacks on Windows 7 or Newer
So far, you’ve learned what BlueStacks does. Now we are going to help you to install it on your PC.
Here are the steps:
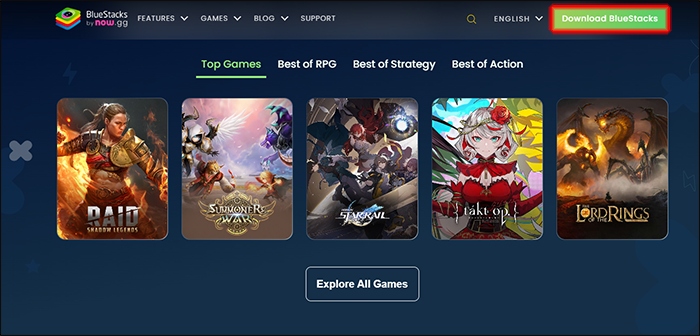
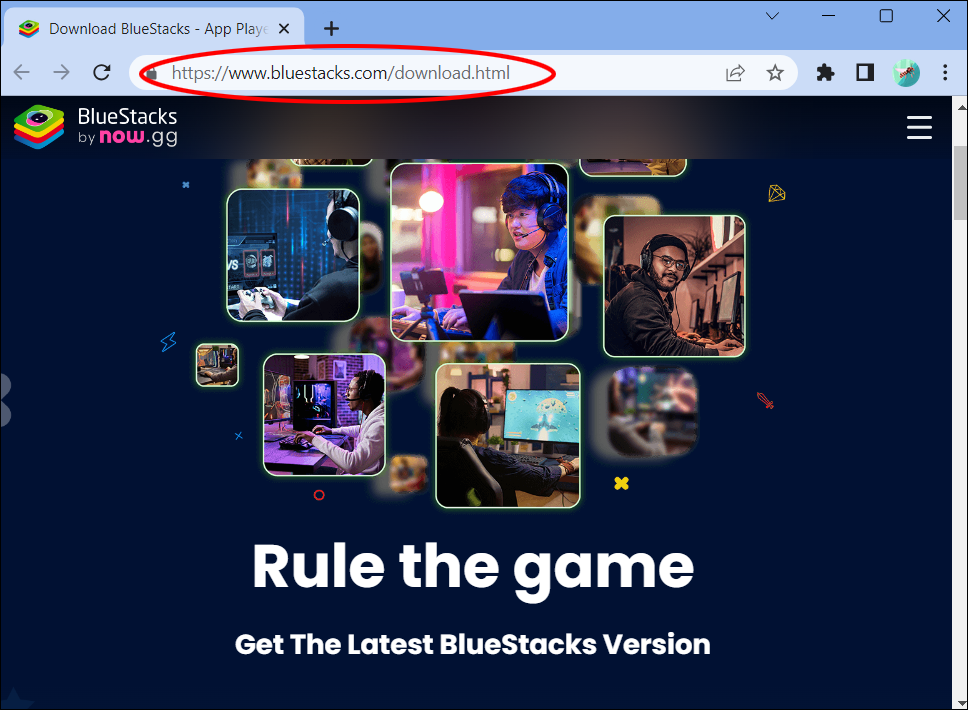
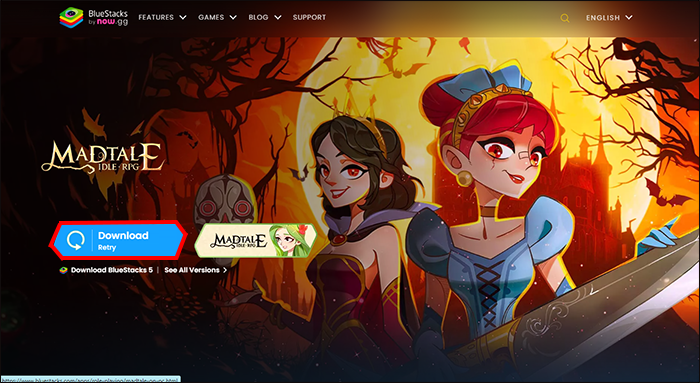
- Go to BlueStacks website.
- Go to “Download BlueStacks” to get the latest version of the player (The latest one is 5, while MAC users have to settle for version 4).
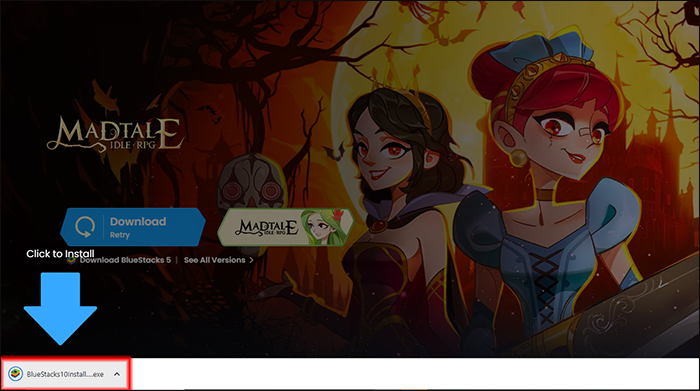
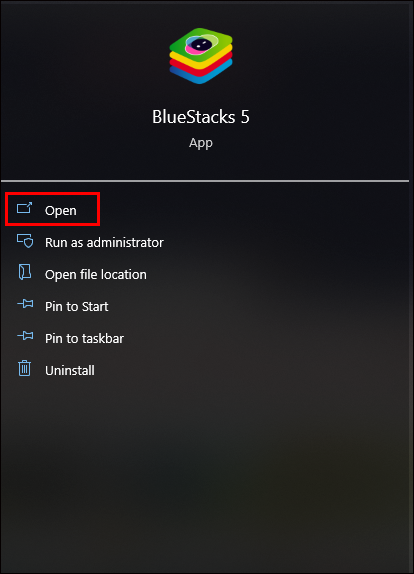
- Open the installation file.
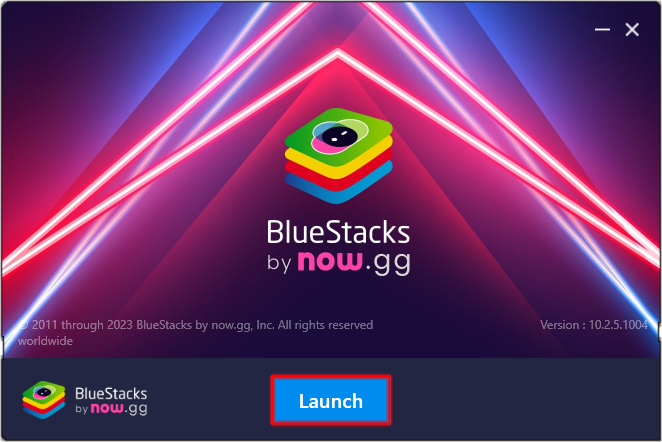
- Follow the simple instructions to finish the installation process and after you’re done, click “Launch.”
- All you have to do now is login in using your Google Account.
Now you can enjoy all the games you like on your phone and your PC as well.
How to Upgrade to a Newer Version of BlueStacks
You would want to have the newest version in order to utilize the possibilities of BlueStacks to the fullest.
One way is upgrading is installing the newest version all over again:
- Go to BlueStacks website.
- Go to “Download BlueStacks” to get the latest version of the player.
- Open the installation file.
- Follow the simple instructions to finish the installation process and after you’re done, click “Launch.”
- All you have to do now is login in using your Google Account.
Another shorter way was introduced with BlueStacks version 4. In the newer versions of the software, you’ll be offered the update without having to download the old version.
Either way is hassle-free and user-friendly.
How to Install Games on BlueStacks
Now that you’re a part of the BlueStacks family, the fun part begins.
Installing games is simple:
- Open BlueStacks.
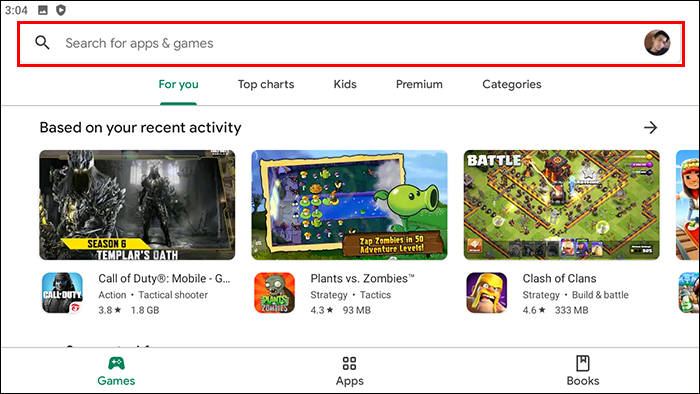
- Login into your Google Account by clicking on the “Play Store.”
- Simply use the “Search Box” to find what you want to play.
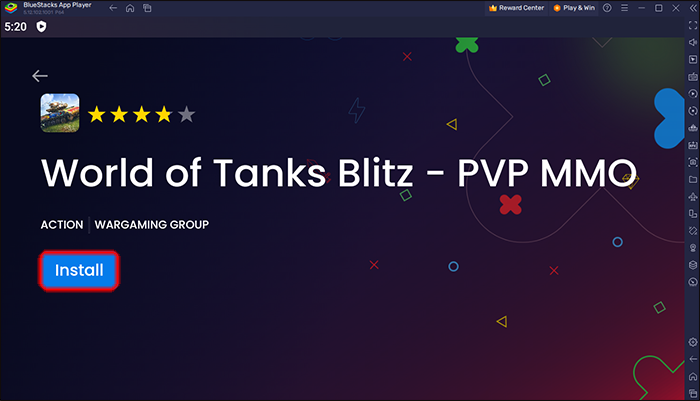
- Click “Install” to add the game to your BlueStacks home screen.

Now you can drift off into your favorite fantasy world and become the superhero you always dreamt of being.
Is BlueStacks Free?
The answer is yes! BlueStacks is completely free for users. All you need is an active Google Account, as your account on BlueStacks needs to be linked to a valid e-mail address.
What Are the Technical Requirements for Using BlueStacks?
Like any other program, there are certain technical requirements that your PC has to fulfill in order to operate with BlueStacks:
- An Intel or AMD processor
- Windows 7/10
- At least 2GB of RAM memory
- At least 5GB of free disk space (Bear in mind that you will need additional space for games.)
As mentioned, the latest version of BlueStacks is 5. However, MAC users will only be able to use version 4.
Differences Between BlueStacks Version 4 and 5
There are a few versions of BlueStacks, Unfortunately, MAC users are “doomed” to use the older one.
But what are the differences?
Here’s what users have noticed so far:
- Version 5 requires less RAM memory
- Version 5 can run more instances at once
Even though the differences in performance might seem insignificant, version 5 is slightly more efficient in delivering the most efficient user experience.
Still, MAC users will have a high-performance user experience themselves as well.
Enjoying the World of Games with No Limits
BlueStacks provides endless gaming possibilities. This is emulator software, which enables you to install Android and iOS intended games on your PC. The installation process is user-friendly and there are a few different versions of the software. Although MAC users might not be able to enjoy the newest one, the differences among them are negligible. Now that you’ve discovered this software, you’ll be able to enjoy your free time even more, drifting away into a fantasy world.
Have you ever used BlueStacks? What’s your favorite type of game? Tell us in the comments section below.
Disclaimer: Some pages on this site may include an affiliate link. This does not effect our editorial in any way.


