![]() Updated Aug. 20, 2022, by Steve Larner, to reflect current iTunes backup functionality.
Updated Aug. 20, 2022, by Steve Larner, to reflect current iTunes backup functionality.
Gmail has vastly improved our means of communication with friends, family, colleagues, and employers. However, many people receive an inordinate number of emails every day that clutter their inboxes. If that’s the case for you, then having an option to sort out your emails would be immensely helpful.
Thankfully, Gmail has filters that allow you to create Gmail rules for handling incoming mail. These rules manage your emails on your behalf, allowing you to automate inbox organization.
Here’s how to create rules in Gmail.
Using Filters to Create Rules in Gmail
You can create rules for your Gmail account with the help of filters. As the name suggests, their purpose is to filter future emails according to specific criteria. For example, you can choose to receive your emails to your archive, label, star, or even the trash. There’s also the option to check and forward future emails to specified recipients.
As you’re about to see, there’s more than one way you can set up rules in Gmail.
How to Create Gmail Rules that Move Emails to a Folder
To instruct your Gmail to move some of your emails to a folder, you’ll need to make some modifications in the settings. Here’s how to do it.
- Click on the “gear icon” (Settings menu) in the upper-right corner.

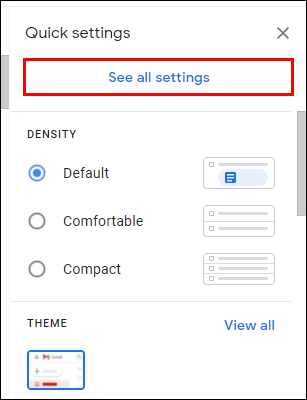
- Choose “See all settings” at the top.

- Select the “Filters and Blocked Addresses” tab to see the existing filters that apply to your account.
- Click on “Create a new filter.”
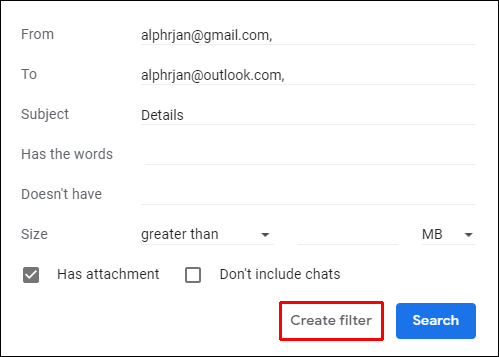
- Enter the address of the emails you want to filter if applicable, the words they need to contain, and any other details. Press “Create filter” when done.
- From the list of options, select “Apply the label” and decide whether you want to create a new label or use an existing one.
- Now, click on “Create filter.”


Now, any emails coming in that contain any of the filtered information get placed in the label/folder you specified. That’s it. You’ve created a rule in Gmail.
How to Create Rules in the Gmail App
Unfortunately, Gmail rules don’t work in the Gmail app, but you can use a mobile browser. This setback occurs because the app’s UI doesn’t allow its users to create filters.
How to Create Gmail Rules in a Mobile Browser
The mobile browser usually reverts to the primary Google account when you switch to desktop view. The drawback is that Google not only wants to log you into the primary account but also tries to revert to the mobile page, which does not offer the advanced settings you need. To circumvent the above issues, we discovered a way to create Gmail rules on android and iOS/iPhone. Try the process below.
To use a mobile browser to create rules, do the following:
- Open “Chrome” (preferably) or “another mobile browser” and go to the “Gmail login page.” The website opens your primary Gmail account in mobile form. The primary is fine for now.
- Tap on the “hamburger icon” (Menu) in the top-left section.
- Scroll to the bottom and tap on the “Desktop” link.
- The primary Gmail account opens in basic HTML desktop form.
- If you are filtering your primary Gmail account, skip to “Step 8.” The account should already be loaded.
- To use a secondary Gmail account, replace “/0/” (primary account’s number) in the URL with “/1/” or whatever number the account uses. Numbers are sequential based on when you added the accounts.
- You should now see the basic desktop version of your secondary Gmail account.
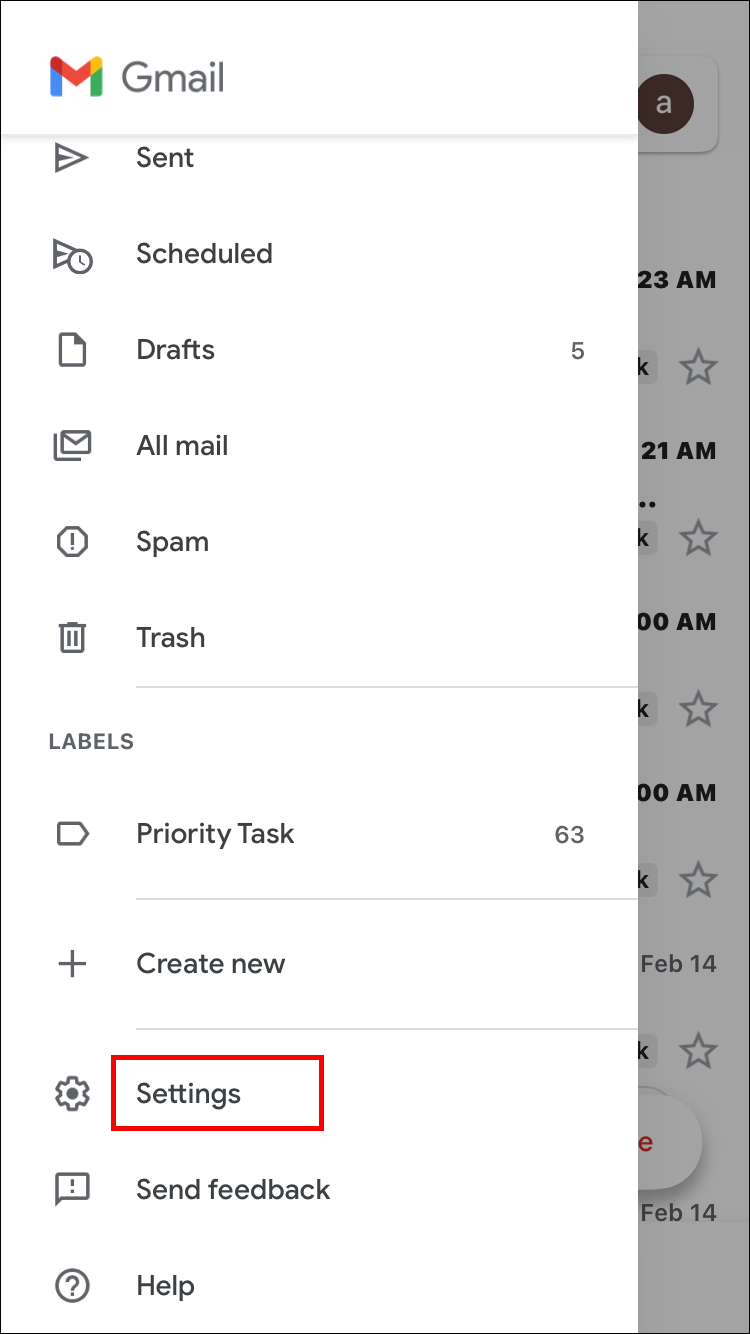
- Tap on “Settings” in the top, right section.
- Tap on the “Filters” tab in the “Settings” section.
- Select the “Create a new filter” button.
- Type in any “filtering details” you desire, such as email address, subject, “sent to” address, keywords, etc.
- Optional: Tap the “Test Search” button to see what existing emails would have been filtered.
- Choose “Next Step” to continue.
- Choose an action by doing the following: Tap on the “dropdown” next to “Apply the label:” and select an “existing” one. To use a new label, open the “Gmail app” and create one first.
- If you created a “new label” using the Gmail app, back out of the “website” page to refresh it, then reselect the “dropdown” next to “Apply the label:” to choose your new one.
- Check off the “box” next to “Apply the label:” to select it as the filtering option.
- Tap on “Create Filter” to save the newly created settings.
Now, any emails with the filters you specified go into the folder/label you chose. Those pizza website registrations, email entries used to gain access to websites, group enrollments, questionnaires, etc. get their trash mail sent to your specified folder/label.
In addition, third-party sales of your email information also get sent to the same label. No more spam, malware emails, or uninteresting messages can flow into your inbox from those sources.
How to Create Rules in Gmail Inbox
You can create rules from your Gmail inbox, too:
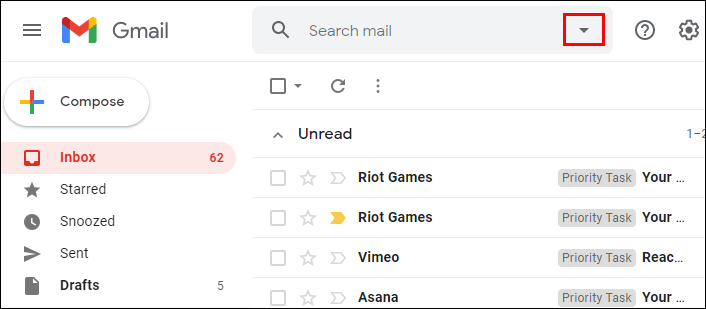
- Click on “” (search options) to the right of your search bar.
- A small popup window appears with several filter options. Decide what “criteria” you want to get detected in messages, then click on “Create filter.”
- For example, you can choose to delete, forward, or star the messages. After you make your selection, click Create filter in the bottom-right corner, and the filter will be created.


How to Create Rules in Gmail on an iPhone or iPad
Since Google doesn’t let you create rules in the app version, you’ll have to take a different approach to organize your inbox. A good idea is to add or remove tabs and inbox categories. This way, you can sort emails into various tabs, such as Promotions or Social. As a result, you won’t see all your messages at once when opening Gmail, allowing you to navigate your inbox more easily.
Here’s how to add or remove tabs and inbox categories on your iPhone:
- Open “Gmail” and press the “Settings” button from the menu.
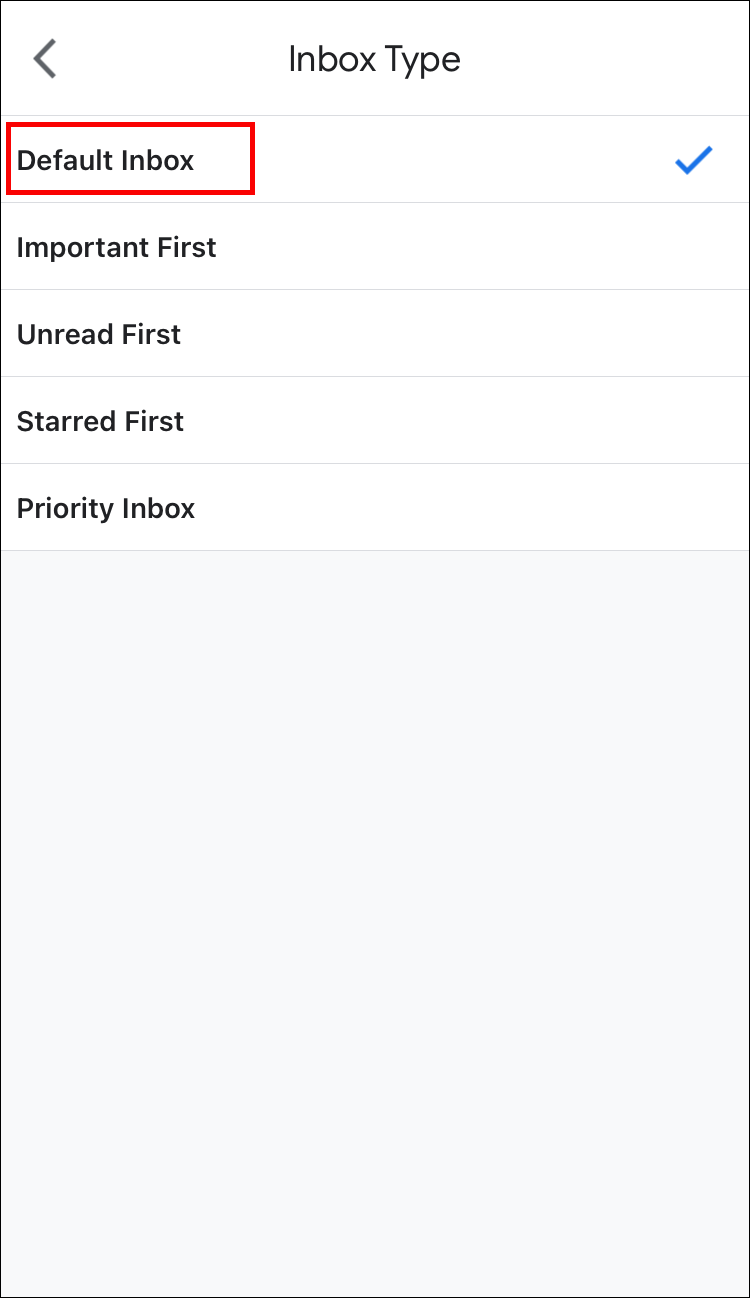
- Select your account and hit “Inbox Type.”
- Choose “Default Inbox.”
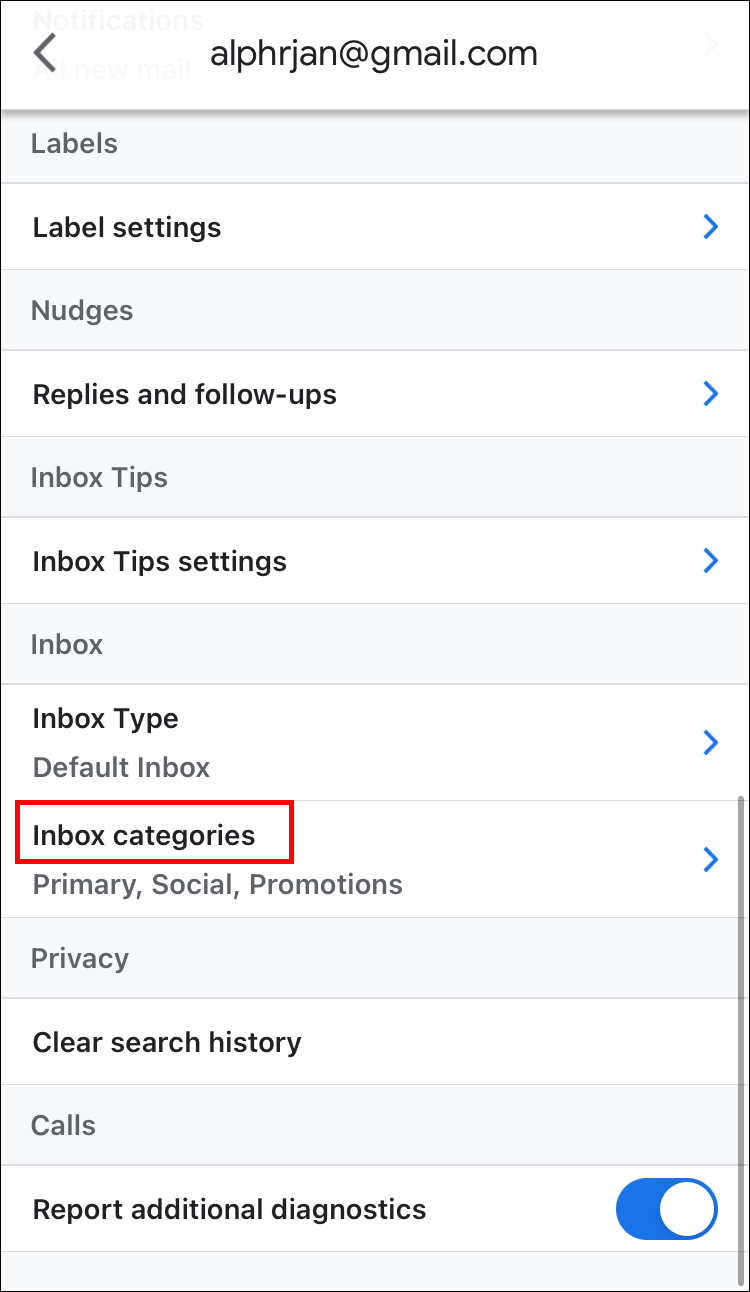
- Press the “Back” button, followed by “Inbox Categories.”
- You can now remove the existing categories and add new ones.

How to Create Rules in Gmail on Android
The Android version of the Gmail app doesn’t support rule creation, either. Luckily, you can still do a lot of things to improve your mailbox. For instance, adding labels to your messages will allow you to group them and find them all in one place.
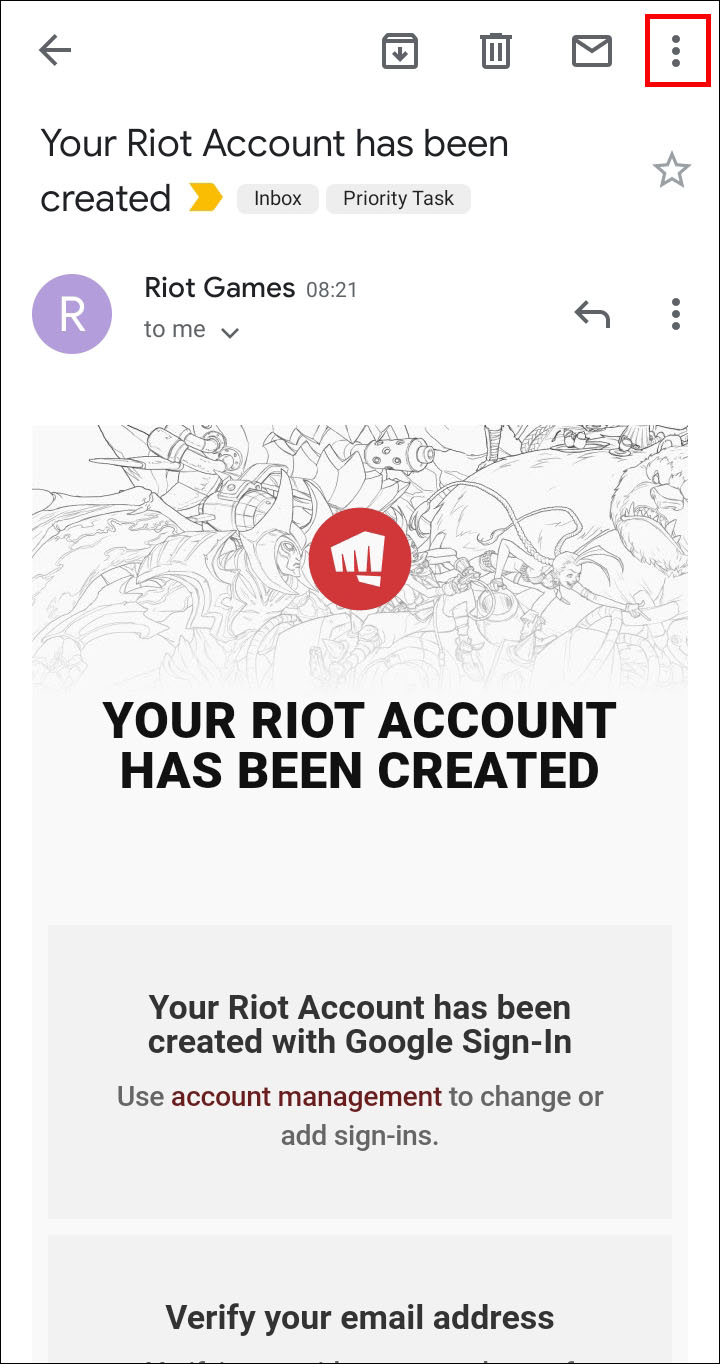
This is how to add labels for an email you’re reading:
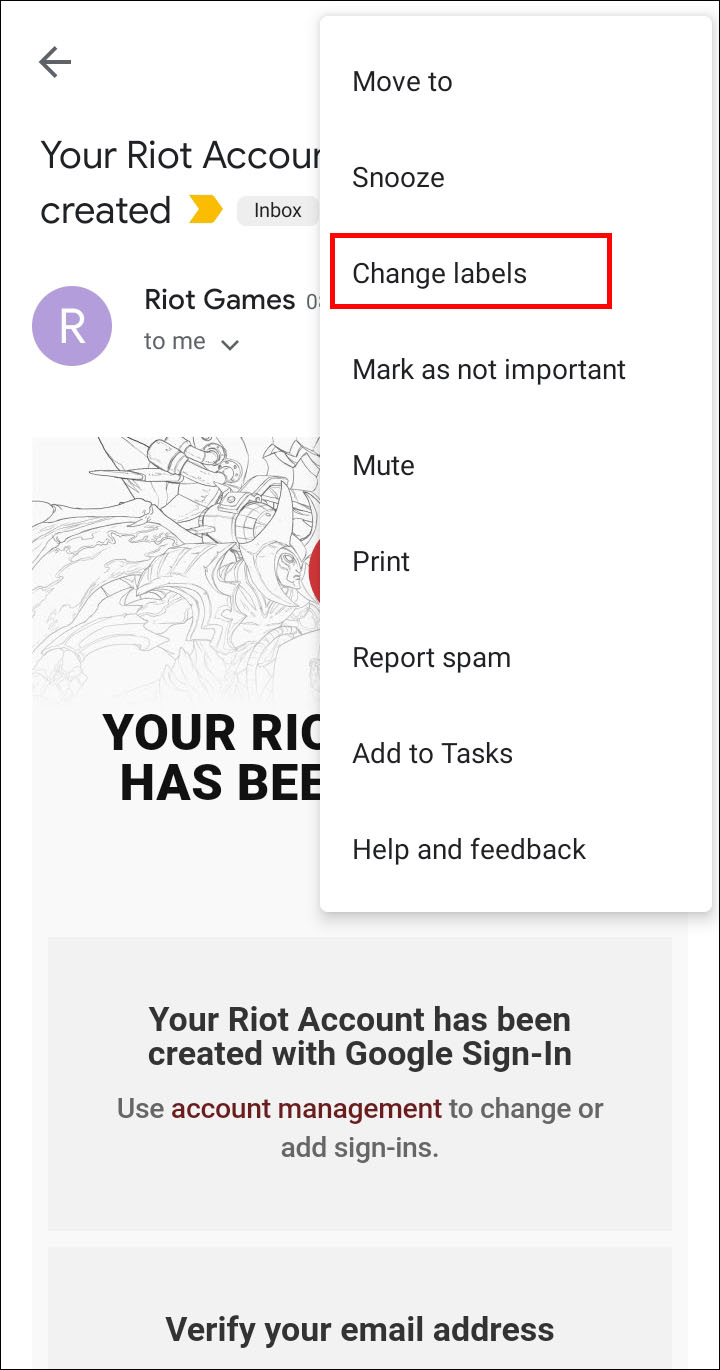
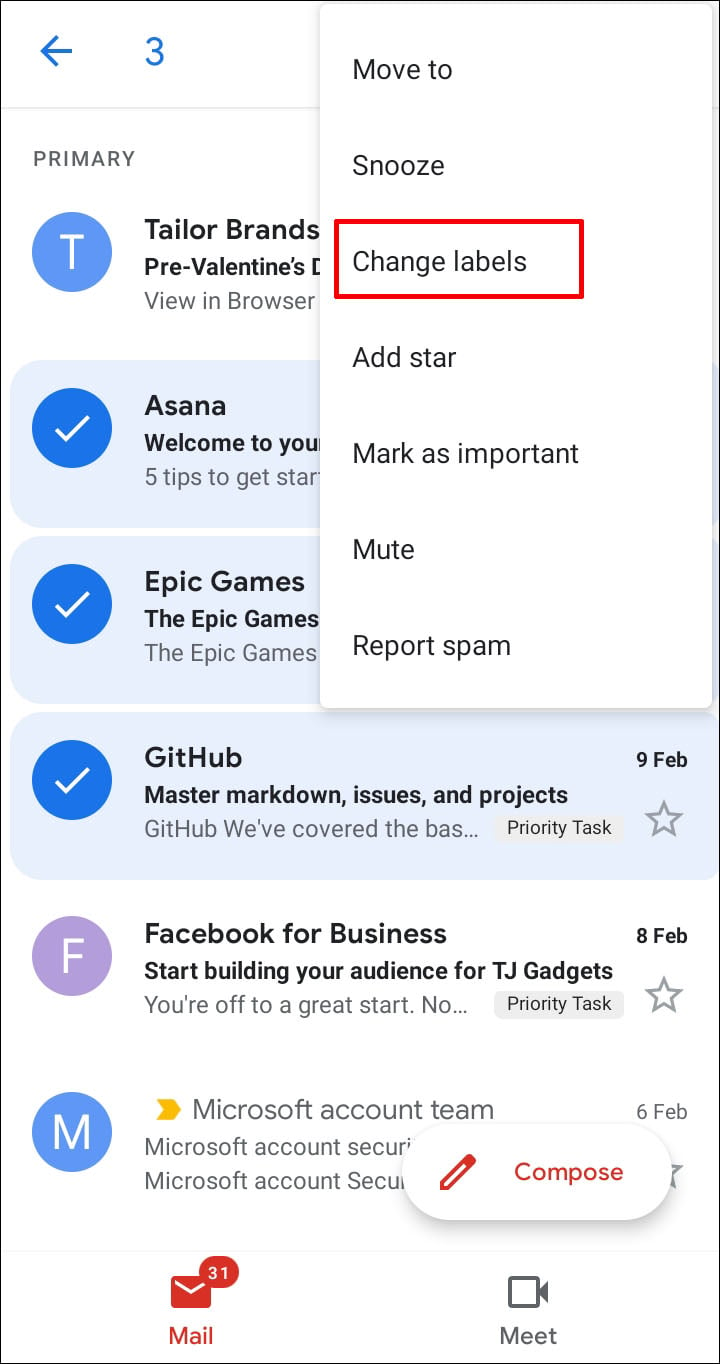
- Open an email and press the three vertical dots in the upper-right corner.
- Choose Change labels.
- Remove existing labels or add new ones.
- Hit the OK button.


You can also add labels to multiple emails from the inbox:
- Select a message by touching and holding the photo or letter to its left.
- Select any other emails you want.
- Hit the three vertical dots in the top-right part of your screen and pick Change labels.
- Remove old labels or add new ones and press OK when you’re done.


How to Automatically Block Spam in Gmail
Removing spam messages is another great way to optimize your mailbox. To do so, you can block senders, and their future emails will go straight to the Spam folder:
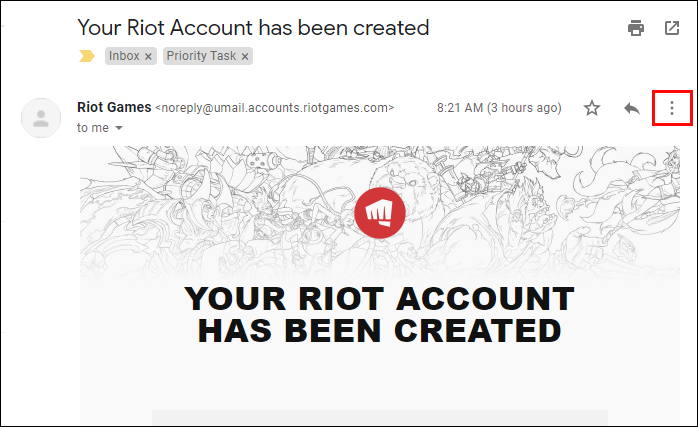
- Open Gmail on your PC, go to the message you want to get rid of, and press the three vertical dots in the top-right corner.
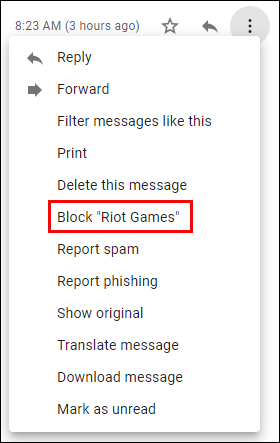
- Hit Block (sender), (sender) being the email sender.
- If you’ve accidentally blocked someone, unblock them by following the same steps.
Additional FAQs
If we’ve left some questions unanswered in the previous sections, you might find the Gmail-related information you need belo
Device Links
/p>
Can You Create Categories in Gmail?
Fortunately, Gmail allows its users to create categories. The process is fairly straightforward:
• Open Gmail on your PC.
• Go to the Settings and press See all settings.
• Hit the Inbox section.
• Choose Default from the Inbox Type part.
• Go to Categories and check the tabs you wish to show. Bear in mind that Google doesn’t let you create new tabs. All you can do is hide or show the existing ones.
• Hit Save Changes at the bottom of the window.
How Do I Create Filters in Gmail?
Follow these steps to create a filter in your Gmail account:
• Once you’ve opened your Gmail, press the Down arrow from your search box.
• Type in your search preferences. If you wish to verify that the criteria are applied, see if the correct emails are shown by pressing Search.
• Choose the Create filter button.
• Decide what the filter will do.
• Hit Create filter.
How Do I Automatically Move Emails to a Folder in Gmail?
Follow along above to see how it’s done.
How Can I Create a Folder in Gmail?
Some other mailing programs use folders to store your emails. However, Gmail uses labels that may be more useful in some cases. Namely, you can add multiple labels to your emails and find them later by clicking on the label on the left panel.
Here’s how creating labels in Gmail works:
• Open Gmail on your PC.
• Choose Settings from the upper-right corner, followed by See all settings.
• Press the Labels tab.
• Go to the Labels section and hit Create a new label.
• Type in the name of your label, and press Create.
Create Your Own Rules
Gmail rules allow you to manage your incoming emails more efficiently. They automate the entire process of sorting out your mail, making it simple to find your messages and read them. Without rules, your mailbox can become an overwhelming place, especially if you receive a large number of emails daily. So, set up your filters, and create a clean, optimized inbox.
Which filters do you use to set up Gmail rules? Have you found them easy to apply? Do they help you manage your inbox? Let us know in the comments section below.
Disclaimer: Some pages on this site may include an affiliate link. This does not effect our editorial in any way.