Avatar-focused, virtual social networking site IMVU is the world’s largest of its kind. Users create 3D representations of themselves or personas and use the platform for many different reasons, from playing games to developing romantic relationships. One thing that all users are likely to agree on is that they want their avatar looking their best.
If you wish to add your clothing designs to the IMVU catalog and start making money as a VIP creator, you’re in the right place. Read on to learn how to create stylish clothing for yourself and the community.
At the time of writing, making clothes is only possible using the desktop app. We’ll take you through how to customize a t-shirt using Photoshop and GIMP from your PC. With this knowledge, you’ll be able to customize any existing IMVU product.
How to Make IMVU Clothes on a PC
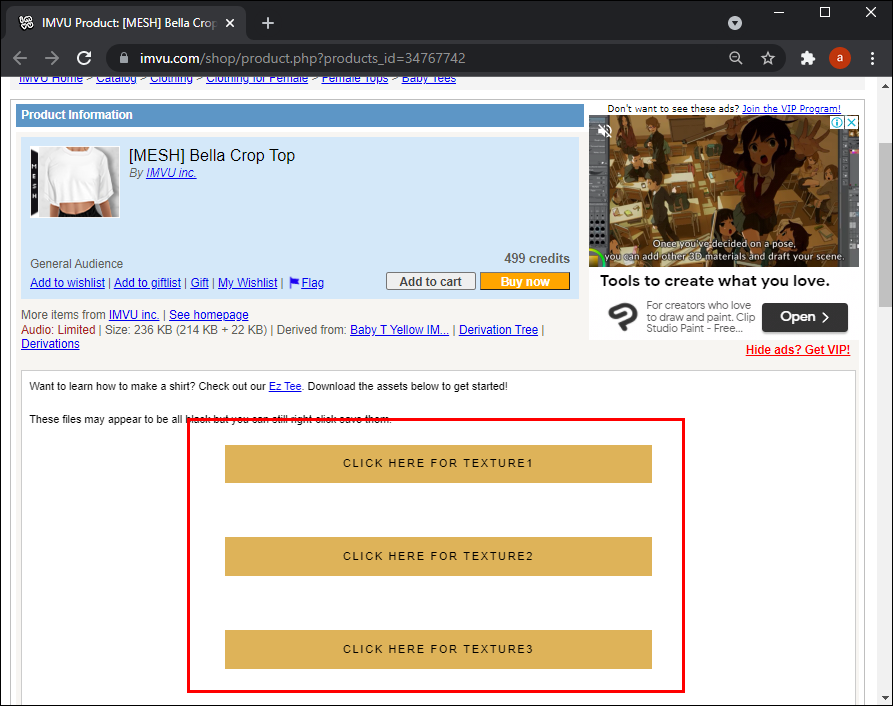
For this demonstration, we’ll use the “Bella Crop Top.” It includes three textures (surfaces) for the front, back, and sleeves.
First, download and save all three Bella Crop Top textures to your computer. To customize the textures using Photoshop:
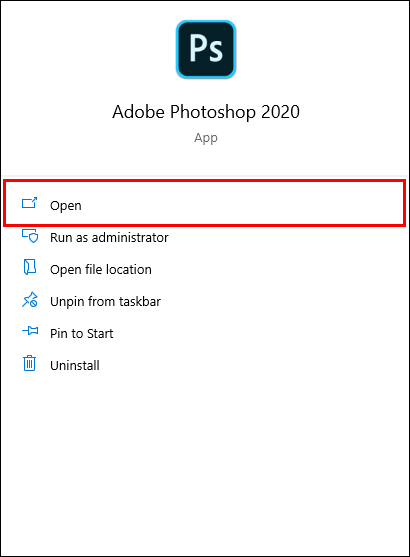
- Open Photoshop.

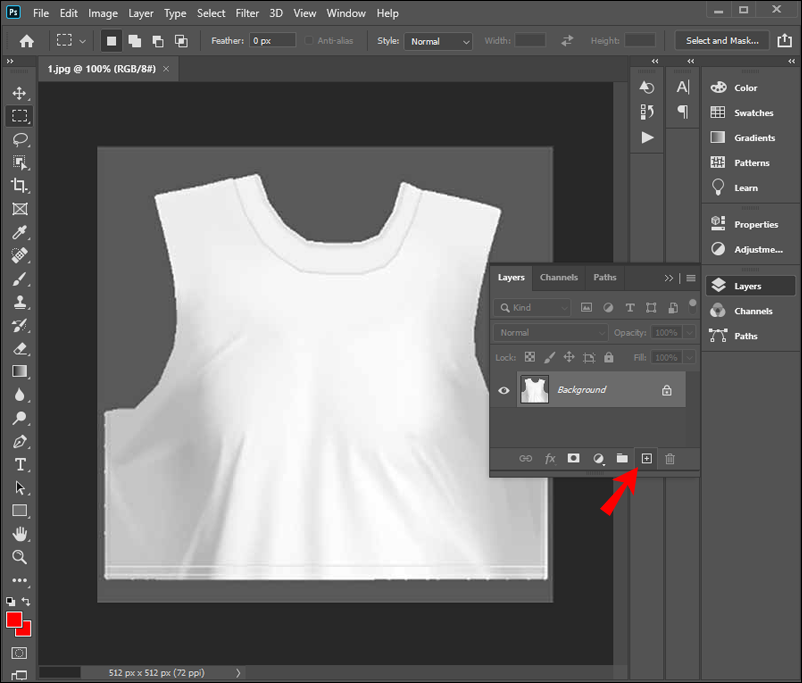
- Open the front texture file.
- At the far bottom right, click the “Create a new layer” icon. It looks like a sheet of paper with the bottom left corner folded up.

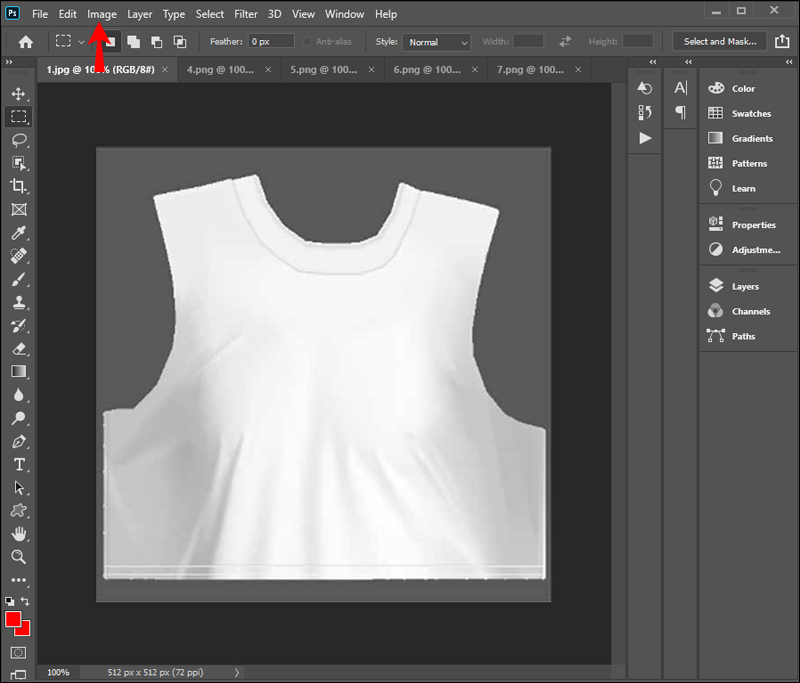
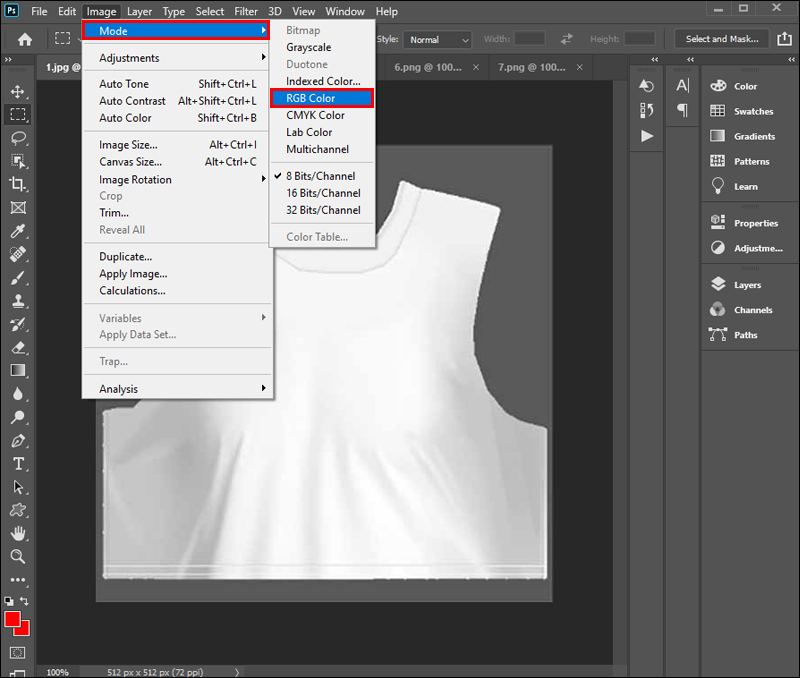
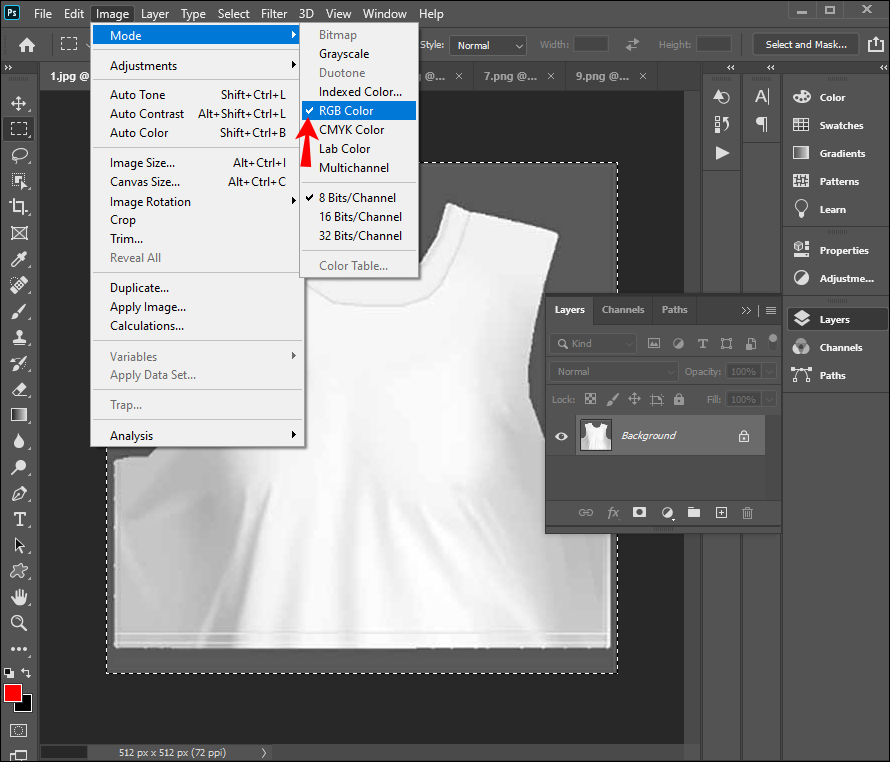
After you create a new layer, you need to ensure that you’ll see everything accurately. To do this, you need to enable “RGB Mode.” To check if it’s enabled:
- Click on “Image.”
- Go to “Mode” and “RGB Color.”
- The “RGB Color” option should have a tick to the left of it.
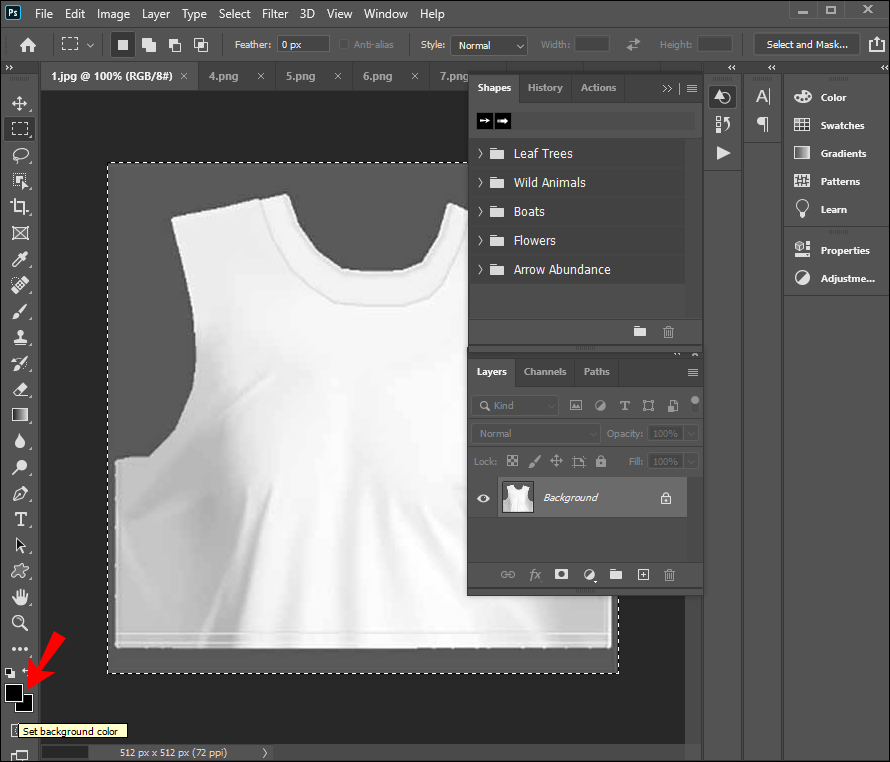
Once you’ve verified that you’ll see everything accurately, you can continue with choosing a color for your new texture layer.
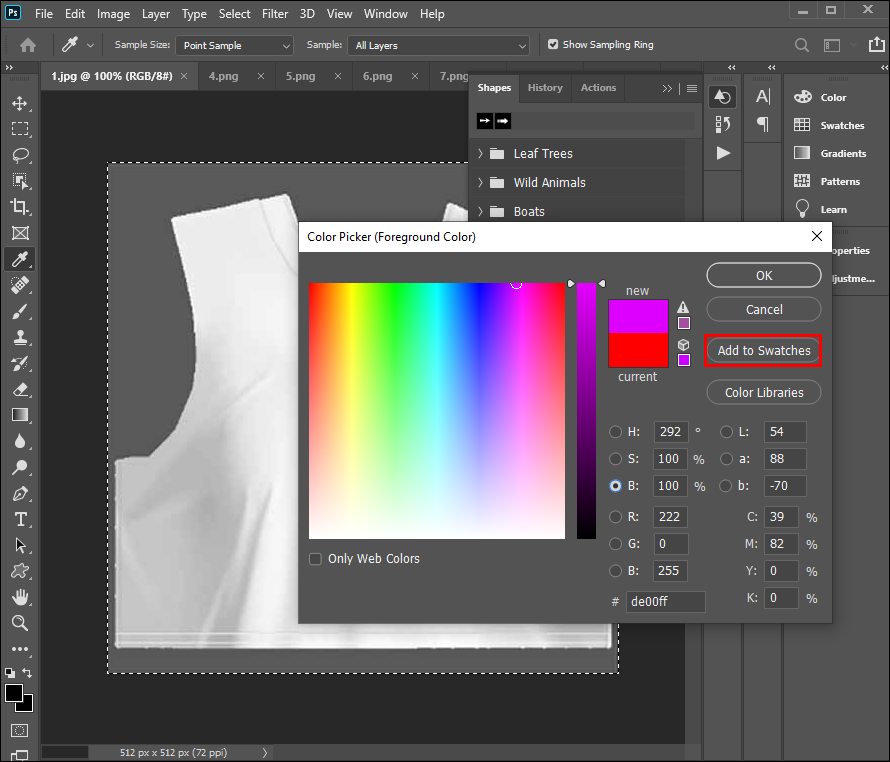
- At the bottom of the vertical toolbar, find the icon with the two overlapping layers, then click the bottom layer. The “Color Picker” will display.
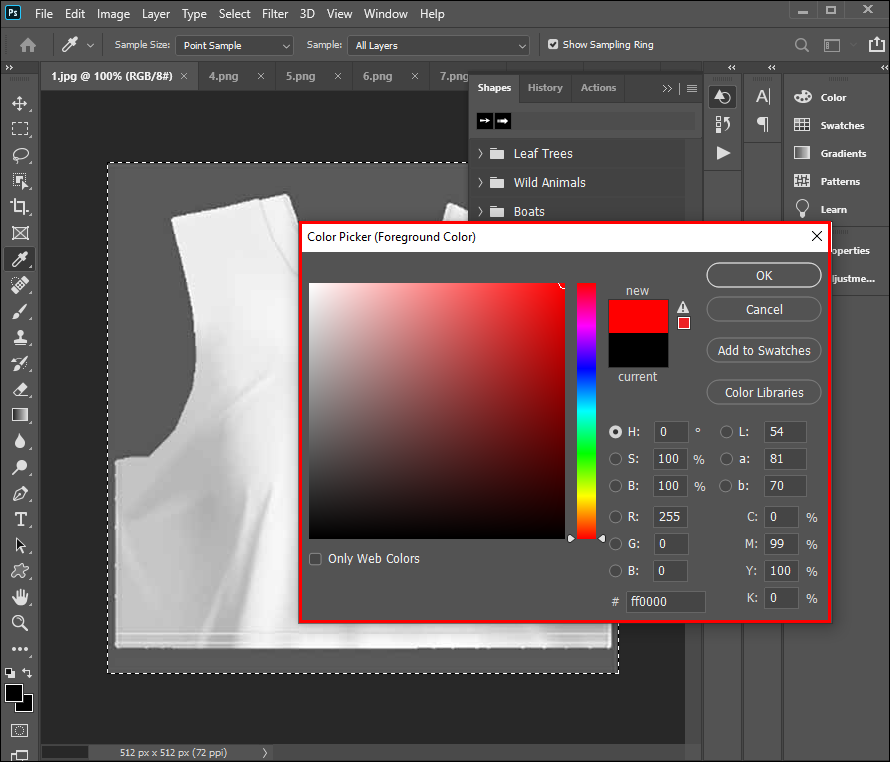
- Here you can choose a color for the front of your t-shirt and customize the shade. Once you’re happy, select “OK.”
- If you want the whole t-shirt in the same color, make a note of the number in the hash field towards the bottom of the” Color Picker” window. Or, click on “Add to Swatches” to add to your “Color Library.”
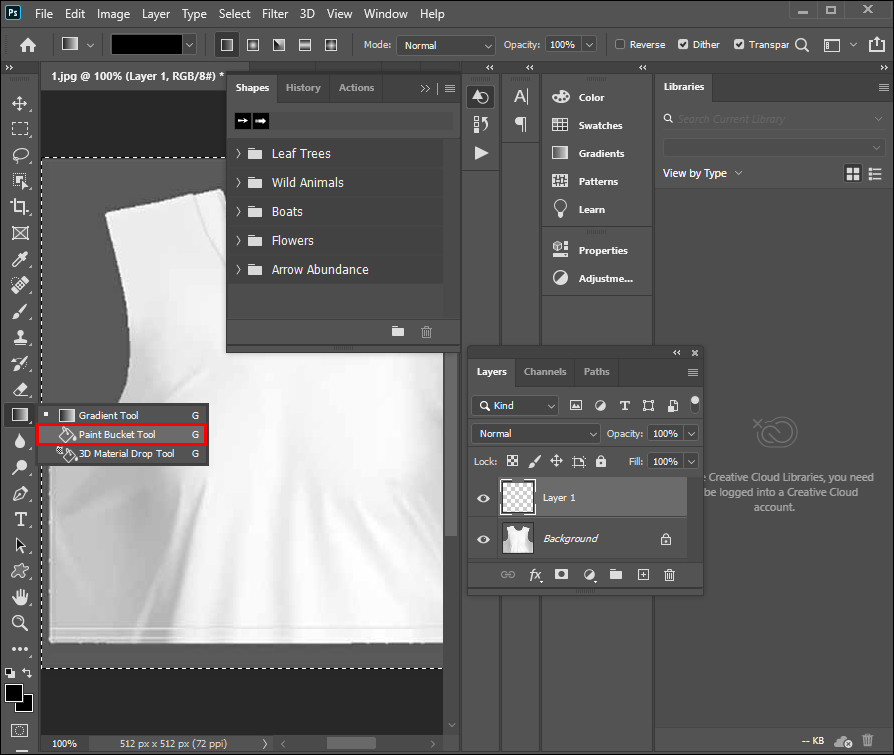
- Click on the “Paint Bucket Tool” icon from the toolbar on the left to fill the layer with your color.
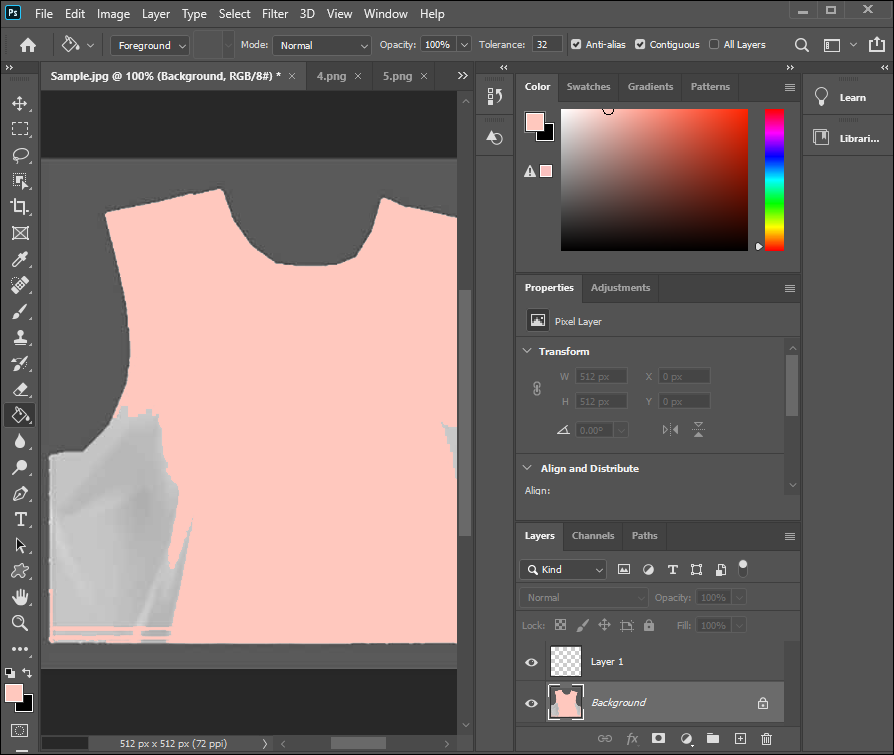
- Click on your t-shirt. You’ll see that the transparent color has now changed to the color you’ve chosen.
- To see the changes to your texture, go to the pull-down menu arrow under the “Layers” option on the bottom right, and select “Color.”
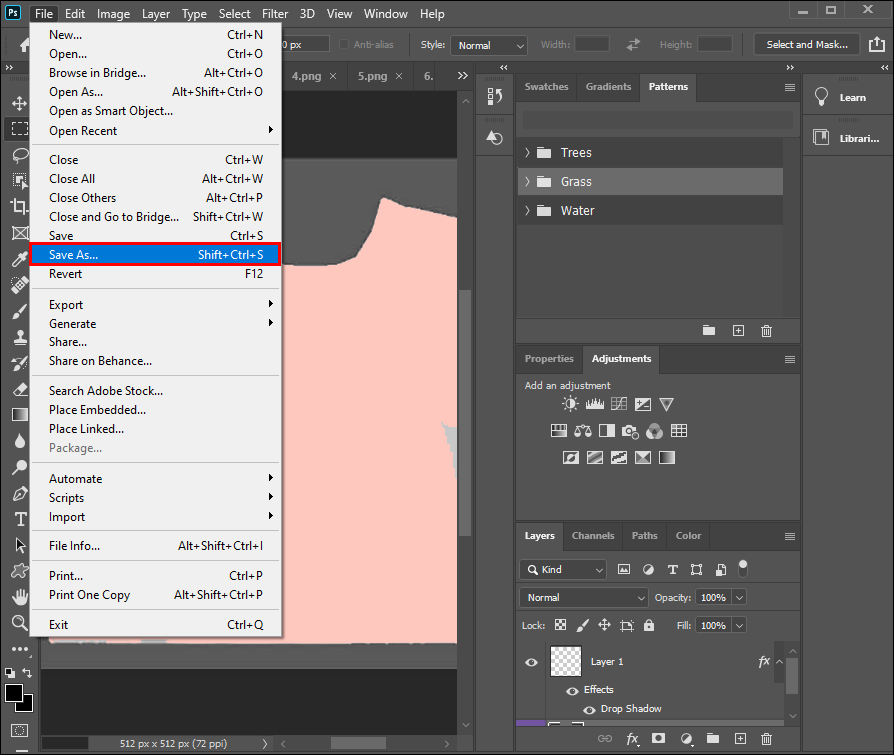
- Now go to “File” then “Save As” to save the changes.
- In the window that pops up, select “JPEG” then “Save.”
- In the Photoshop “JPEG Options” window, click “OK.”


You can now use this process to customize and sell clothing once it’s set as “derivable.”
How to Make Clothes for IMVU Using Gimp
In this example, we’ll use the “Bella Crop Top.” It includes three textures/surfaces for the front, back, and sleeves. Download and save all three Bella Crop Top textures to your desktop, then customize it with the steps below.
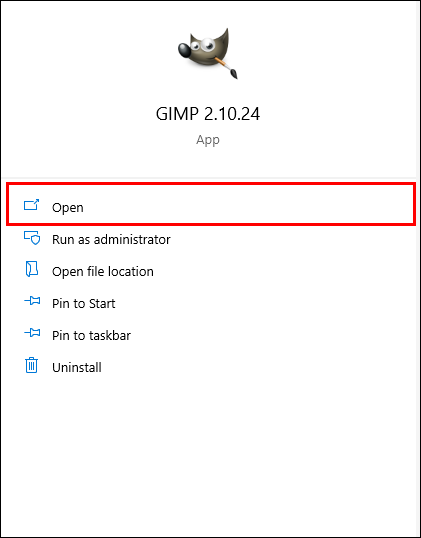
- Open Gimp.
- To start with the front texture, find and open the file by selecting “File” then “Open.”
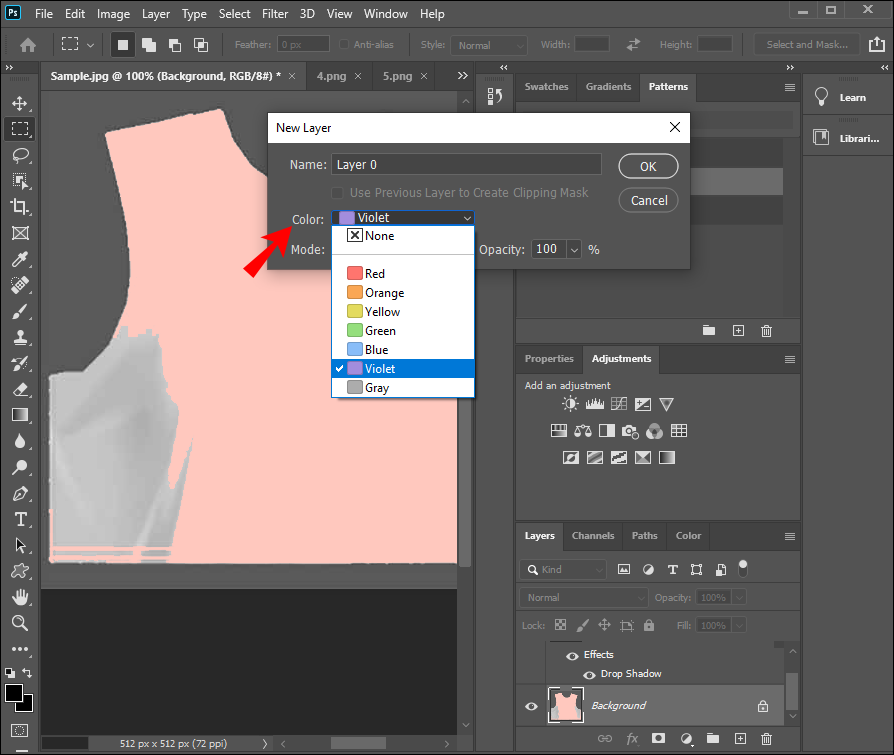
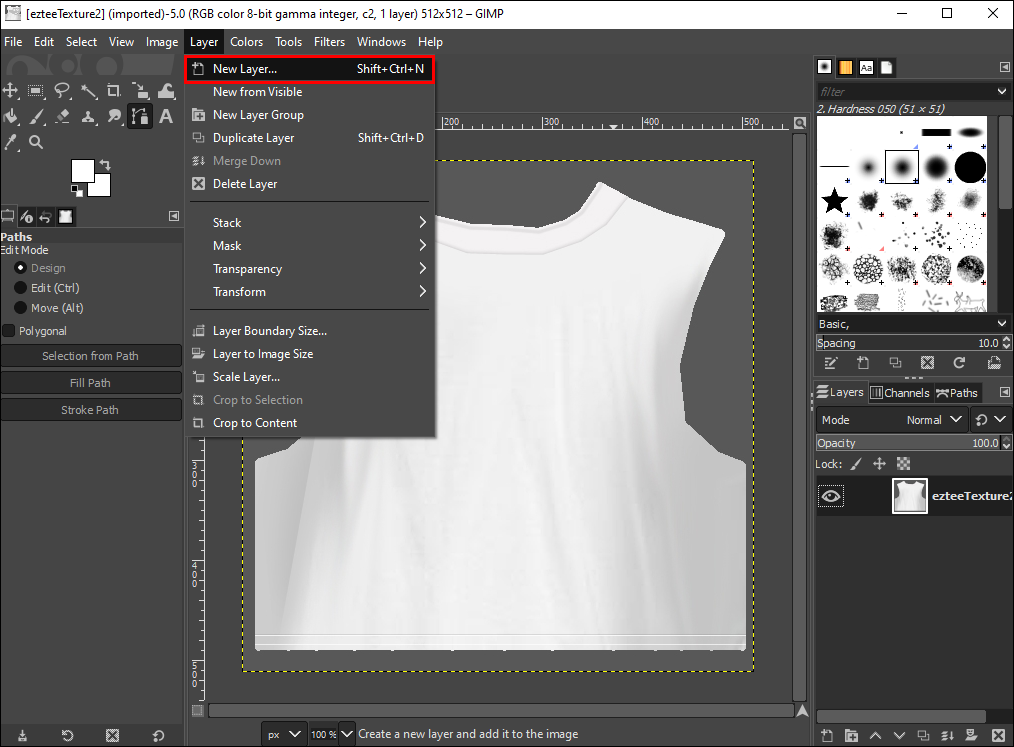
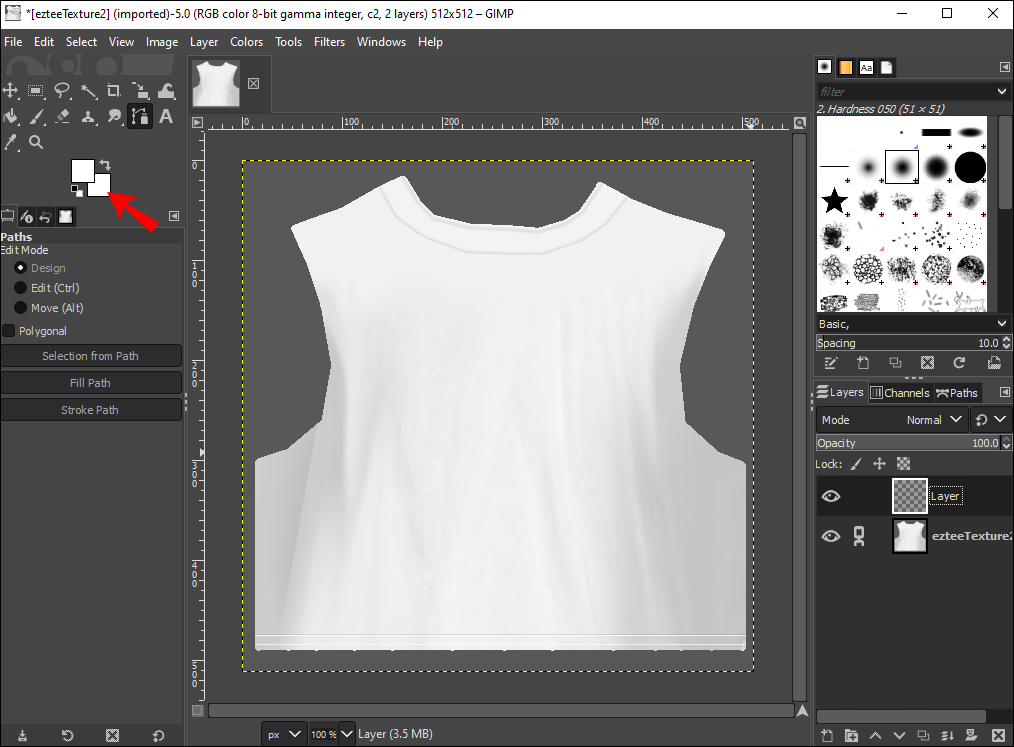
- To change the color, first, you need to make a new layer. Click on the first button from the toolbar on the right bottom corner.
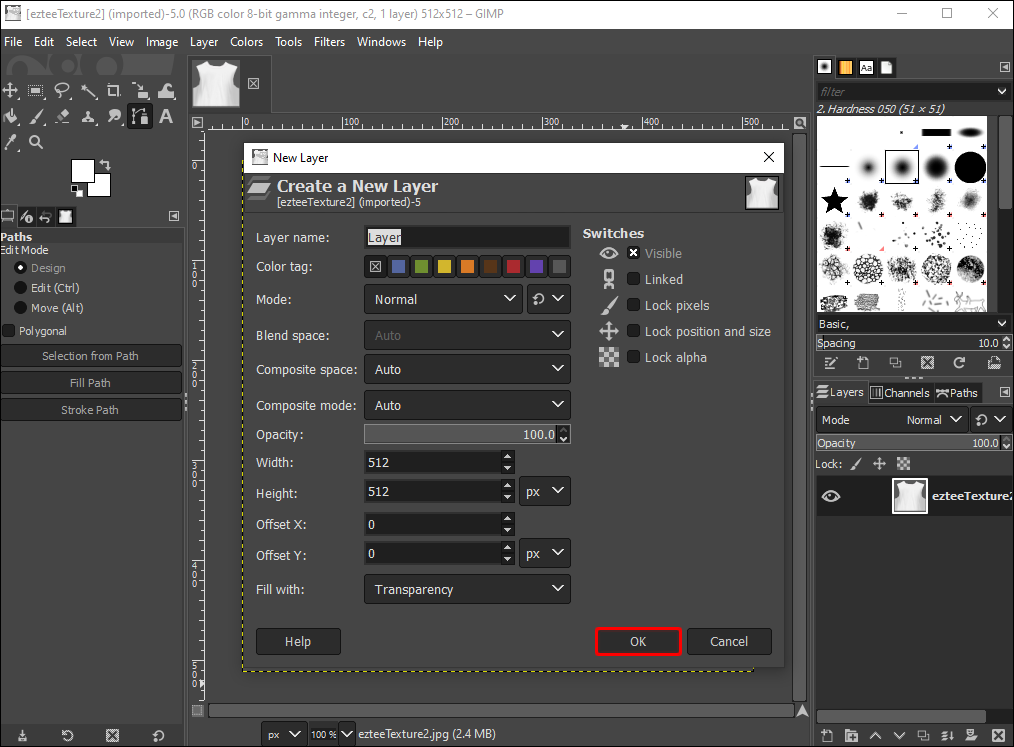
- Click “OK” in the pop-up “New Layer” window.

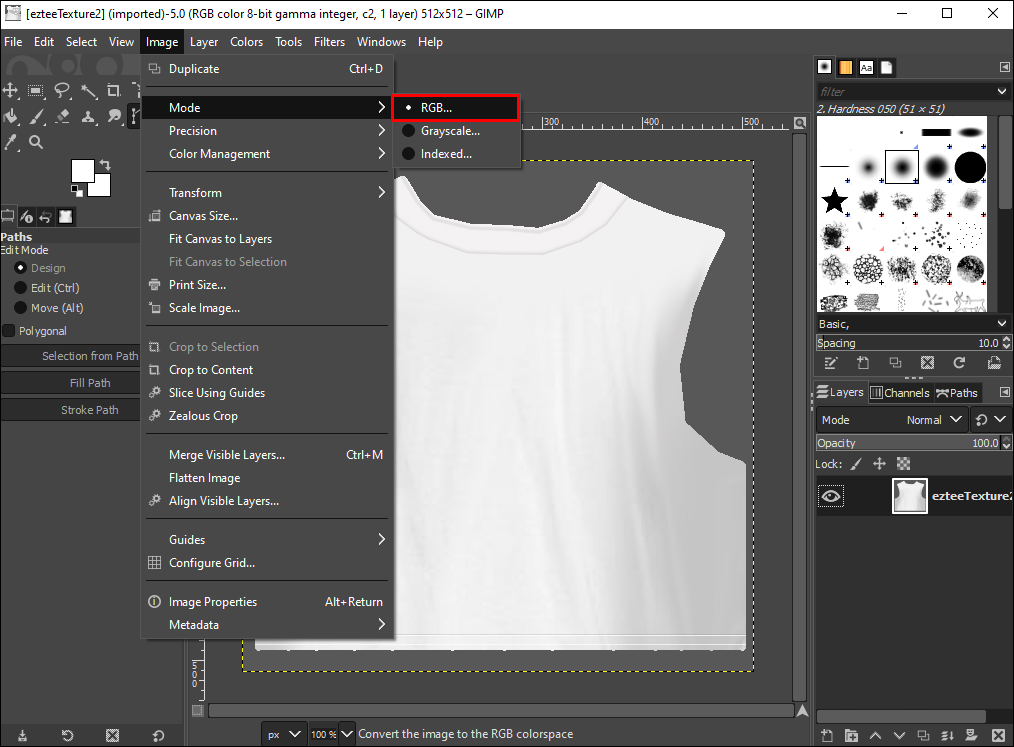
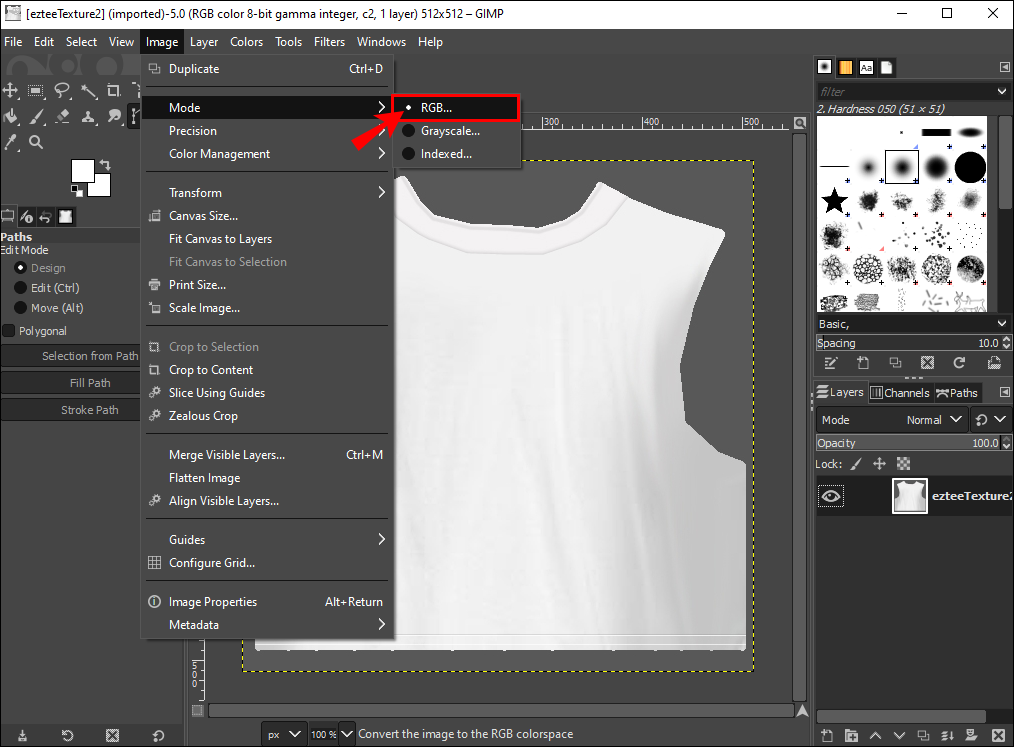
Before you go any further, you need to ensure you see everything accurately, check that “RGB Mode” is enabled:
- Select “Image” and “Mode.”
- Go to “RGB.”
- The “RGB” option should have a tick to the left of it.

Once you’ve verified RGB, it’s time to change the background color.
- Find the background icon displayed as two overlapping layers, then click on the color underneath to change the “Background Color.” This feature is located in the tools menu on the right.
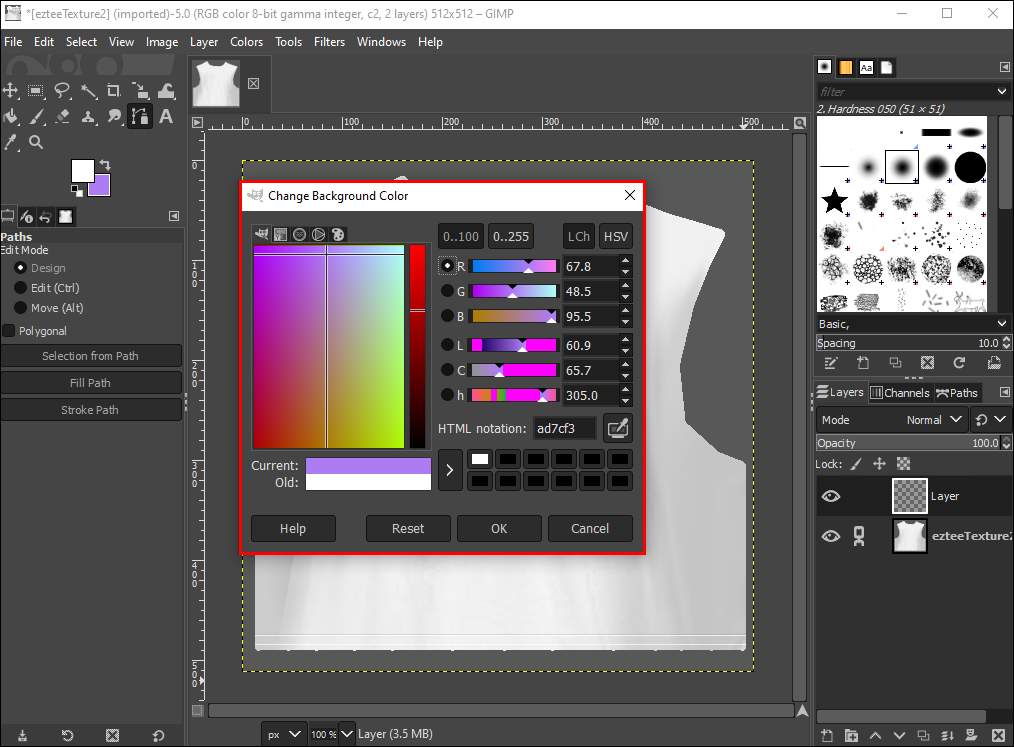
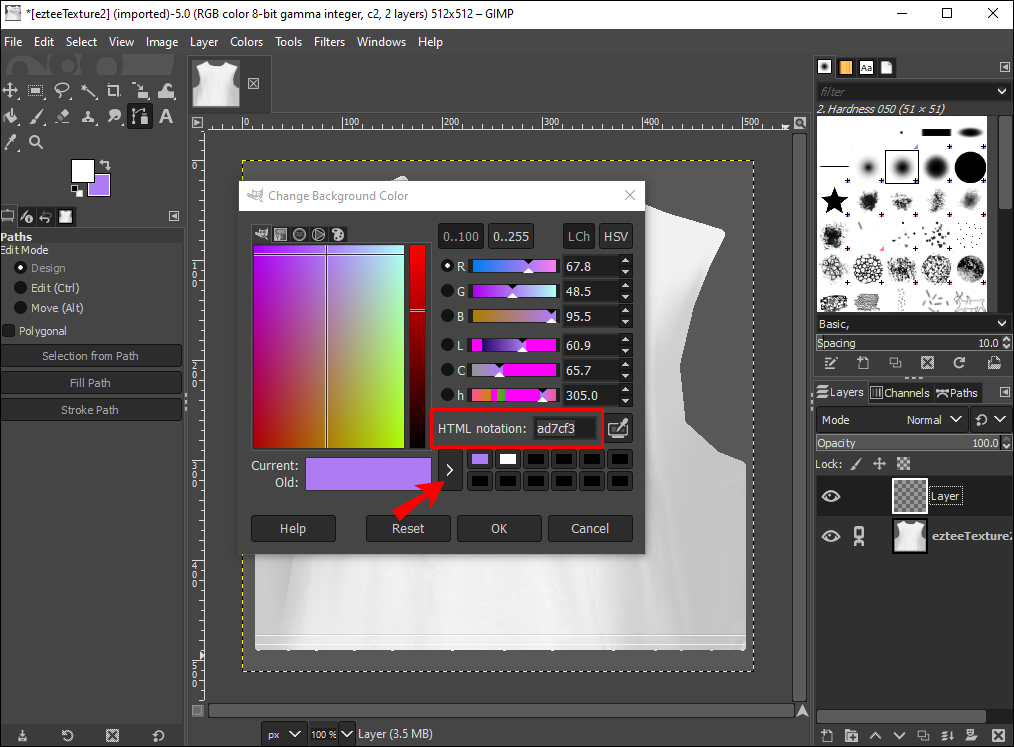
- From the “Change Background Color” pop-up window, select the exact color you want.
- If you want to use that color again, click on the button next to “Current,” then make a note of the number displayed in the “HTML Notation” field.
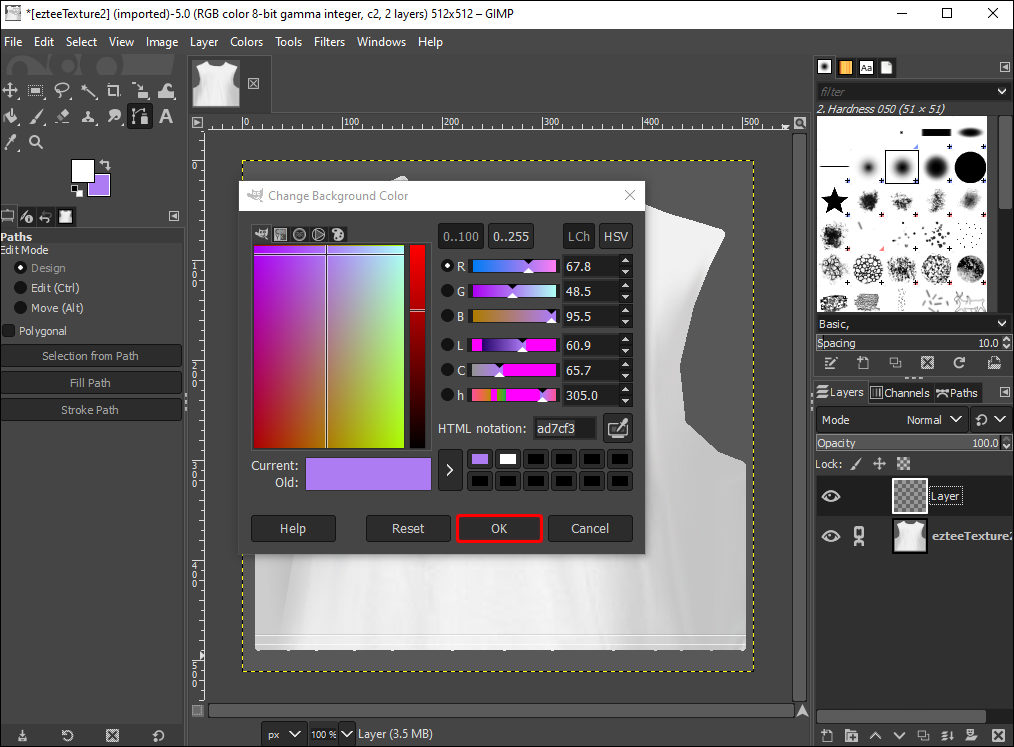
- Once you’re pleased with the color, click “OK.”
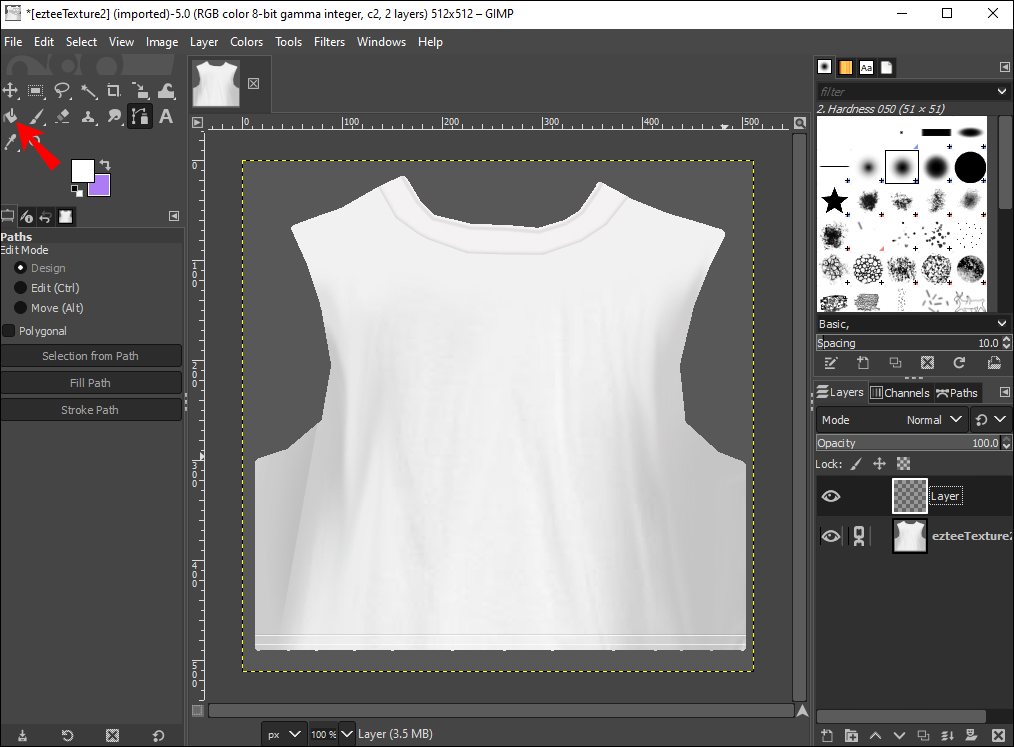
Filling the layer for the texture is the final step.
- Select the “Bucket Fill Tool” from the left toolbar to fill the layer with your color.
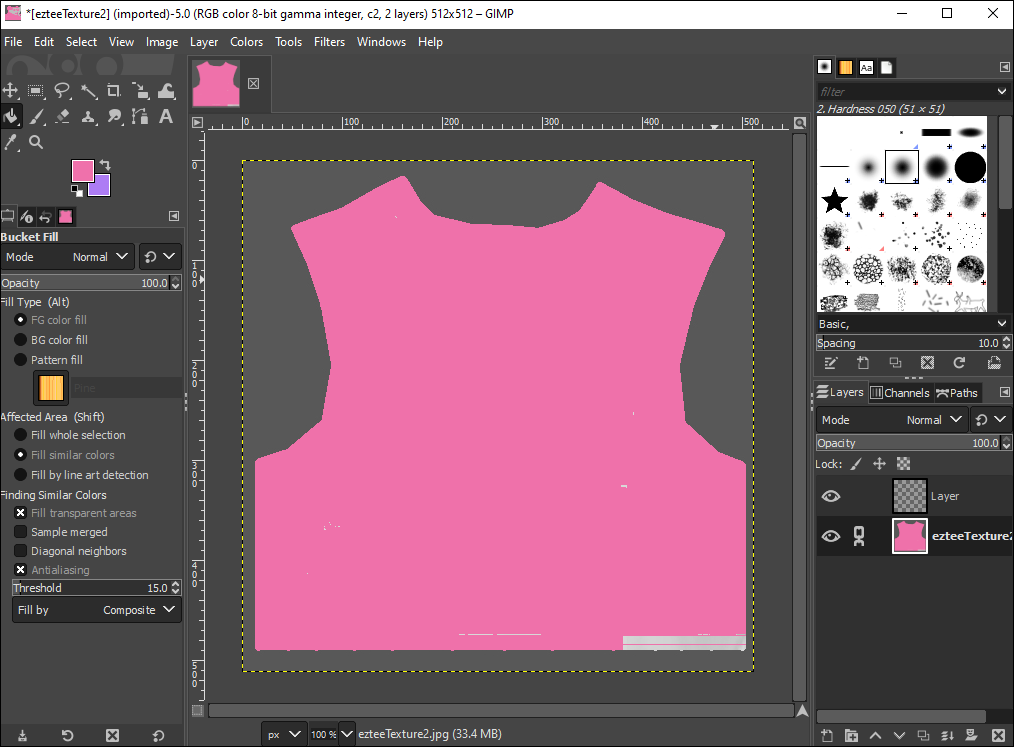
- Click on your t-shirt, and you’ll see that the transparent color has now changed to the color you chose.
- To see the changes in your texture, click on “Mode” then “HSL Color” beneath the “Layers” tab on the right.
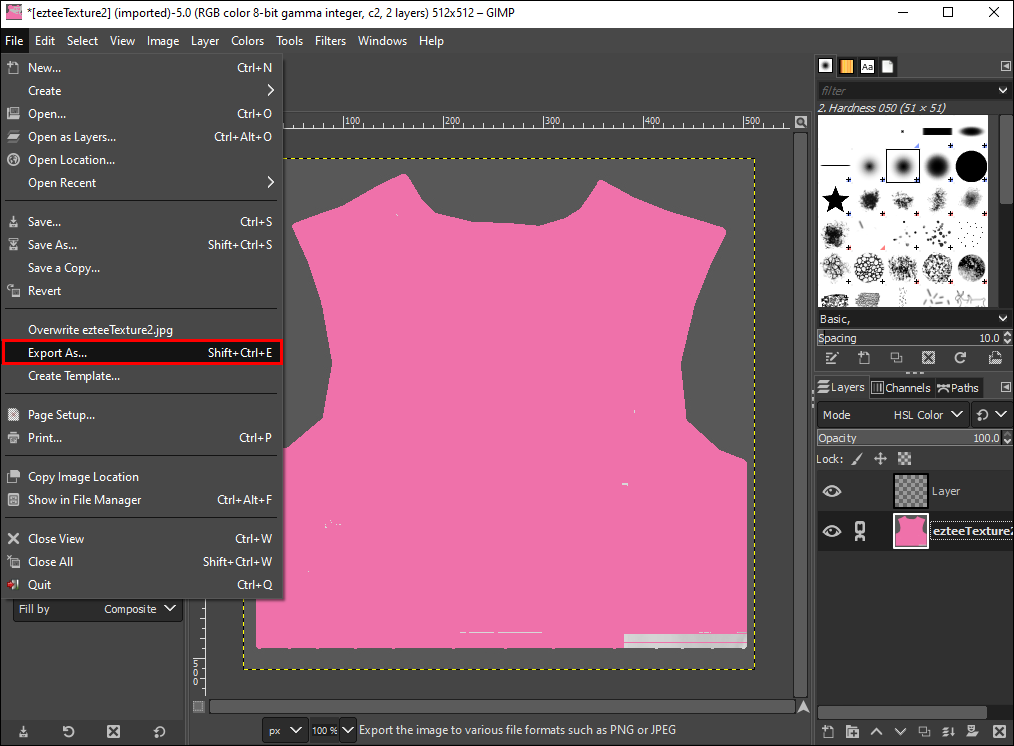
- To save the changes, click on “File” then “Export As….”
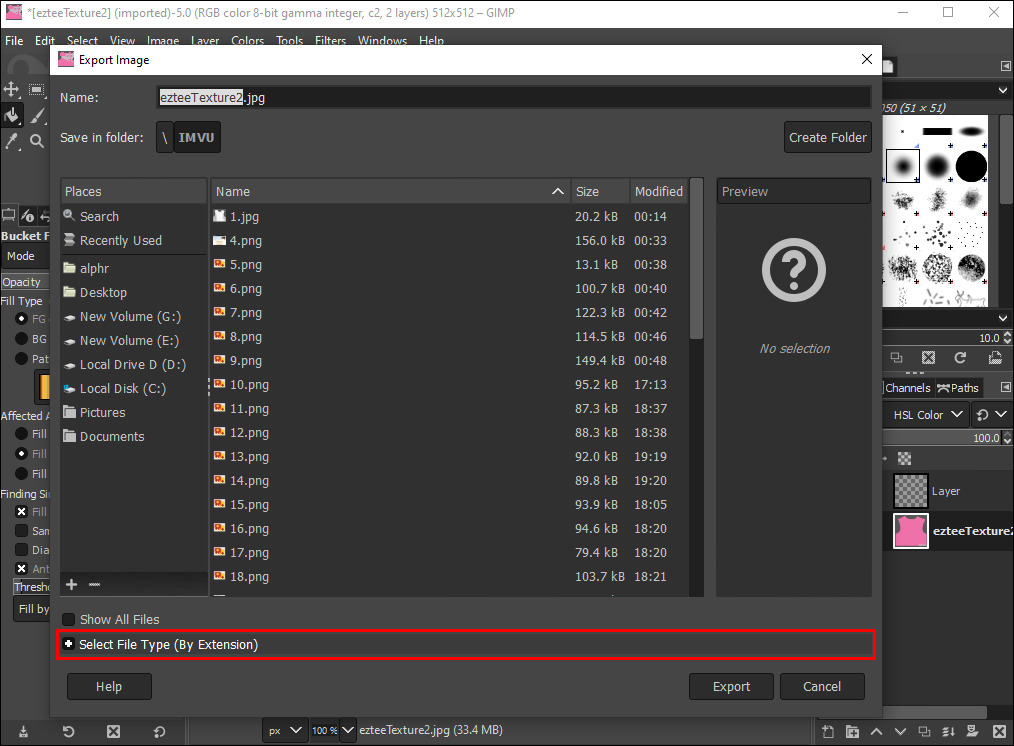
- Choose the folder to save the texture, give it a name, then click “Select File Type (By Extension).”
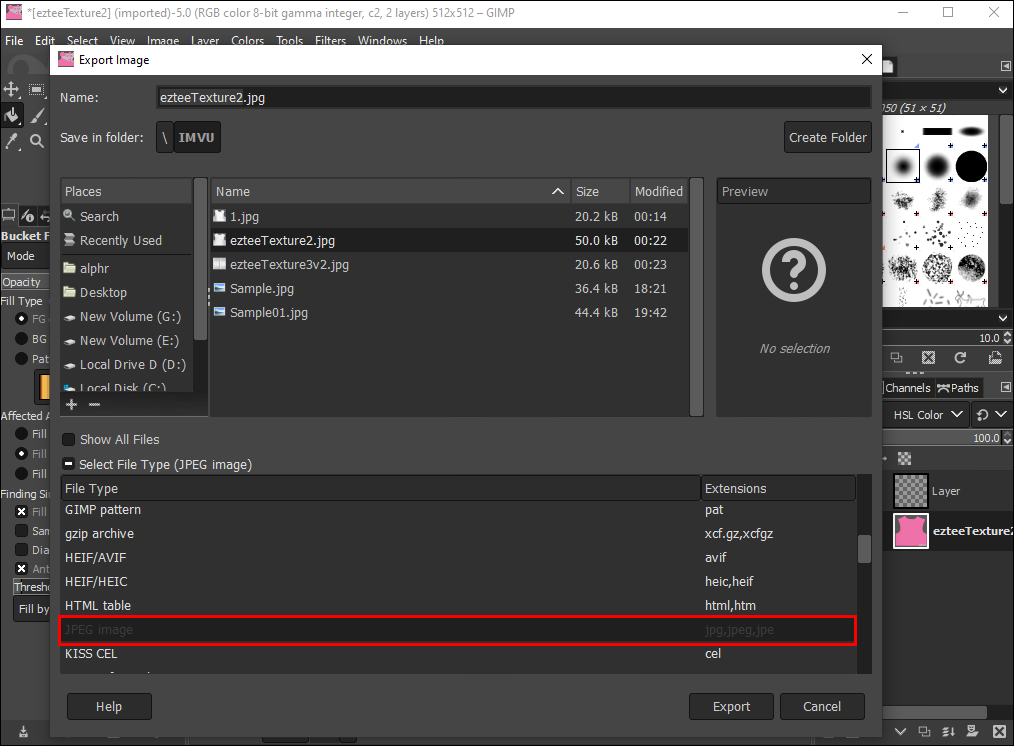
- Choose the “JPEG image” option.
- Select “Export.”
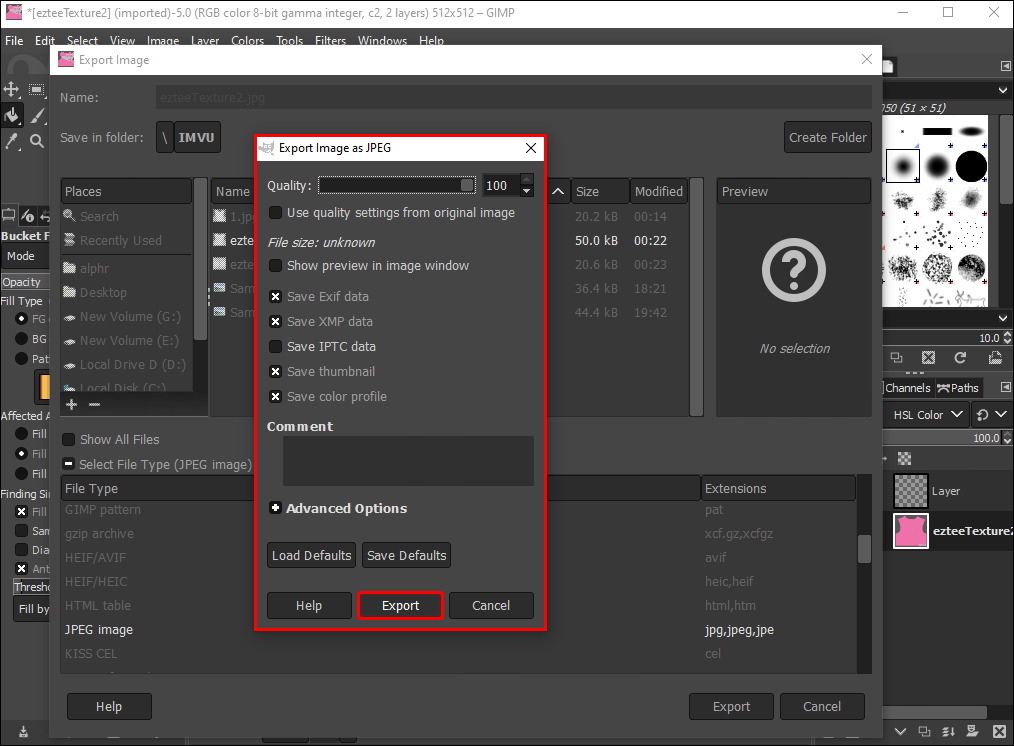
- From the “Export Image as JPEG” window, select “Export.”


You can now use this process to customize and sell clothing once it’s set as “derivable.”
How to Upload Clothes on IMVU
Once you’re happy with the clothes you’ve made, you need to upload them to the IMVU catalog. Any item you upload officially becomes a product with a Product ID and is made visible in the shop for people to purchase.
Before you upload your creations, keep in mind that you will need credits to upload products and understand the Virtual Good Policy.
Here’s how to upload your clothing:
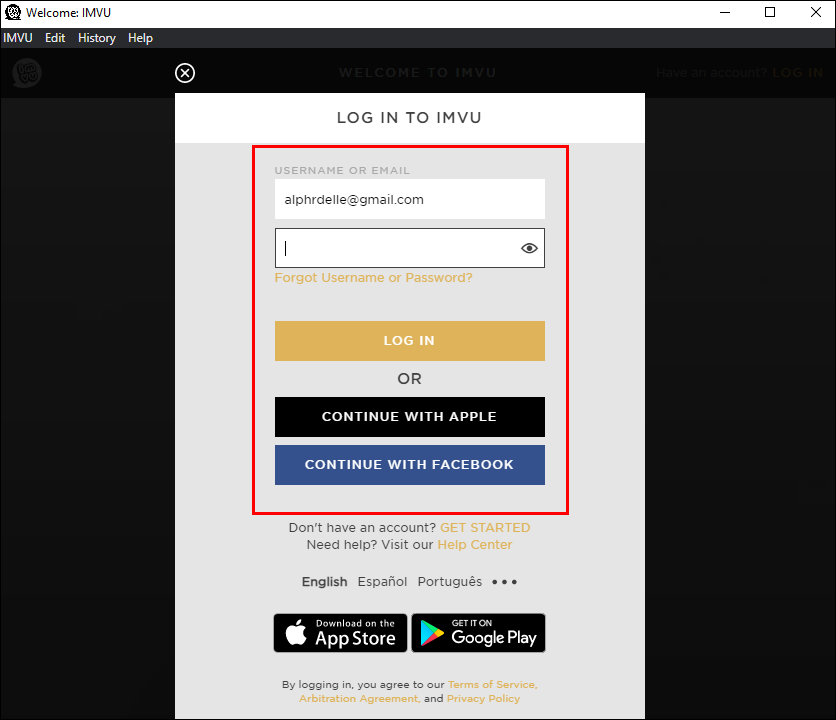
- Launch the IMVU desktop app and log in.
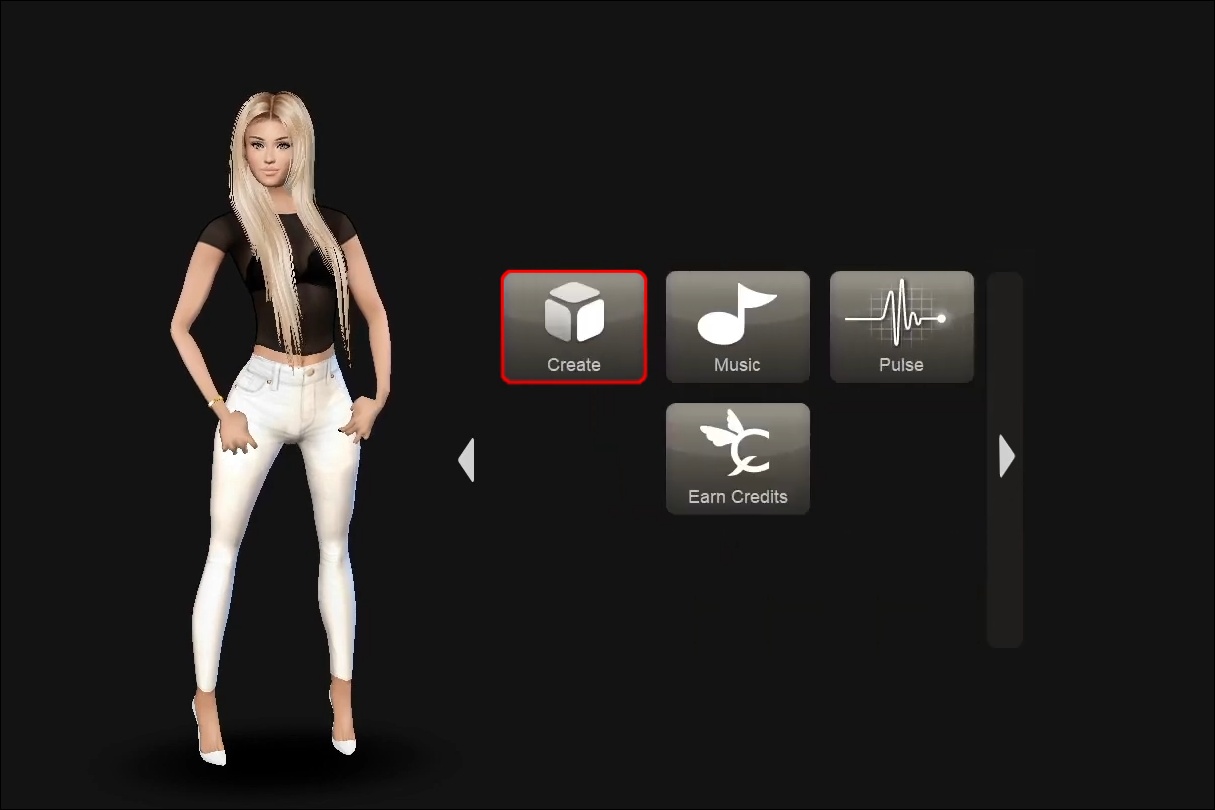
- Click on the “Create” button.
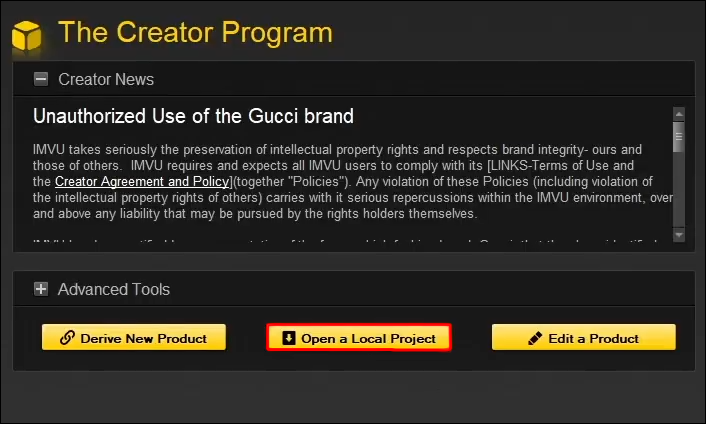
- Select the “Open a Local Project” button to open your “IMVU Projects” folder.
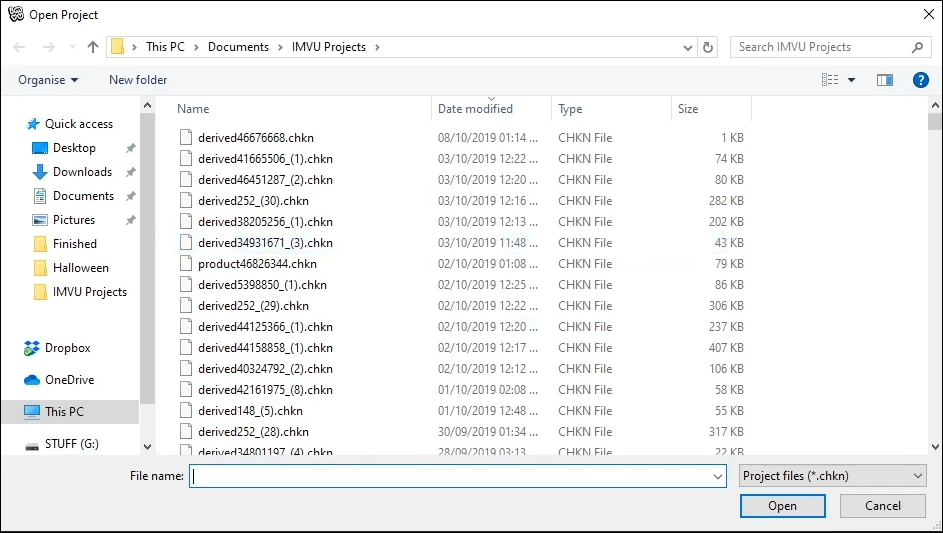
- Click on your saved creation. It will be “a .CHKN” file.
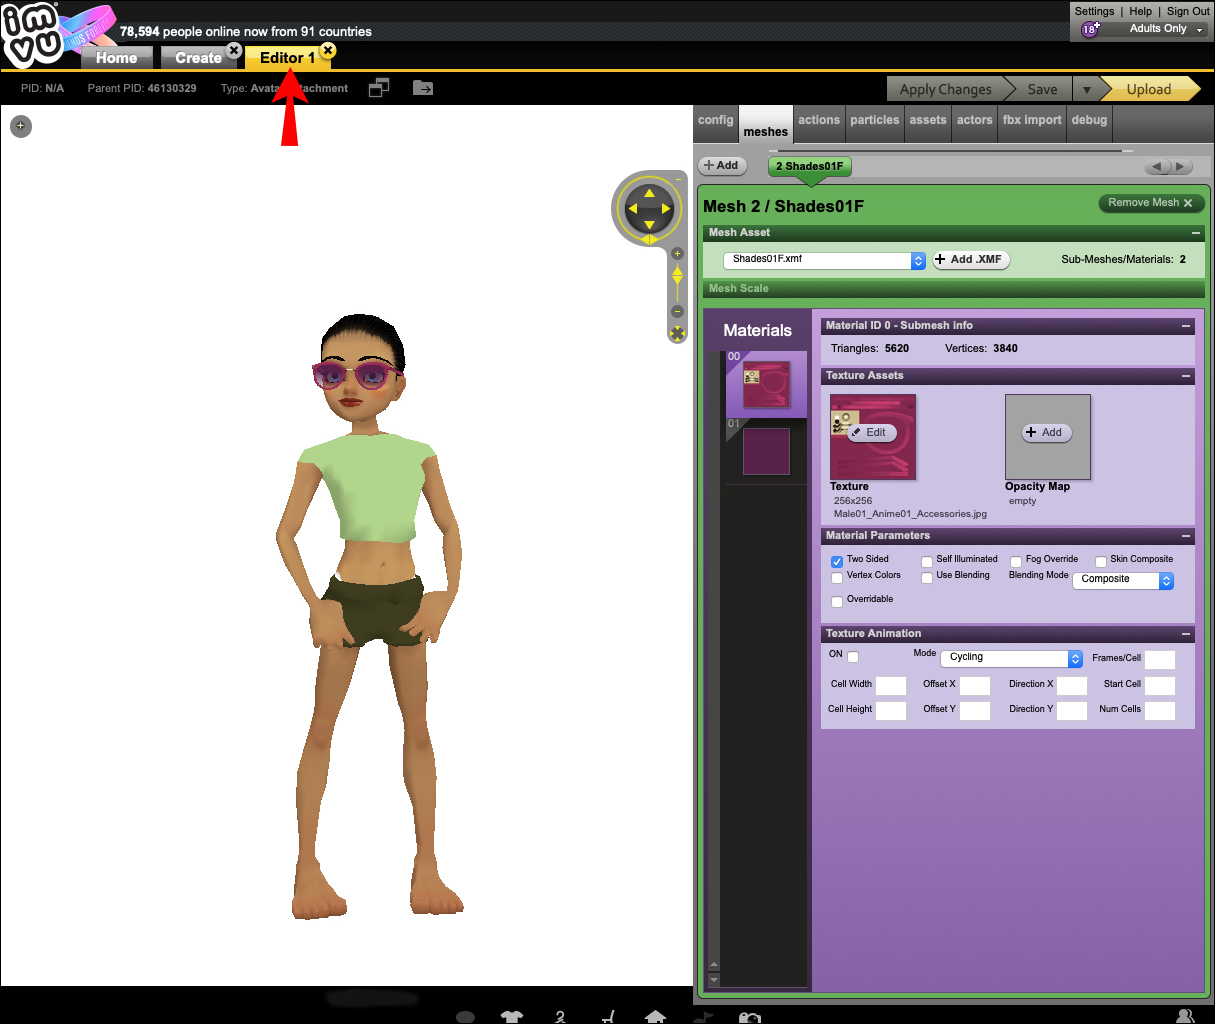
- In the “Editor” screen, a default avatar will display. Select “Outfits” on the bottom toolbar to change your avatar and choose the avatar you want.
- At the top right, click on “Upload.” A copy of your “.CHKN” file is made and converted into a “.CFL” file. Only these types can be submitted.
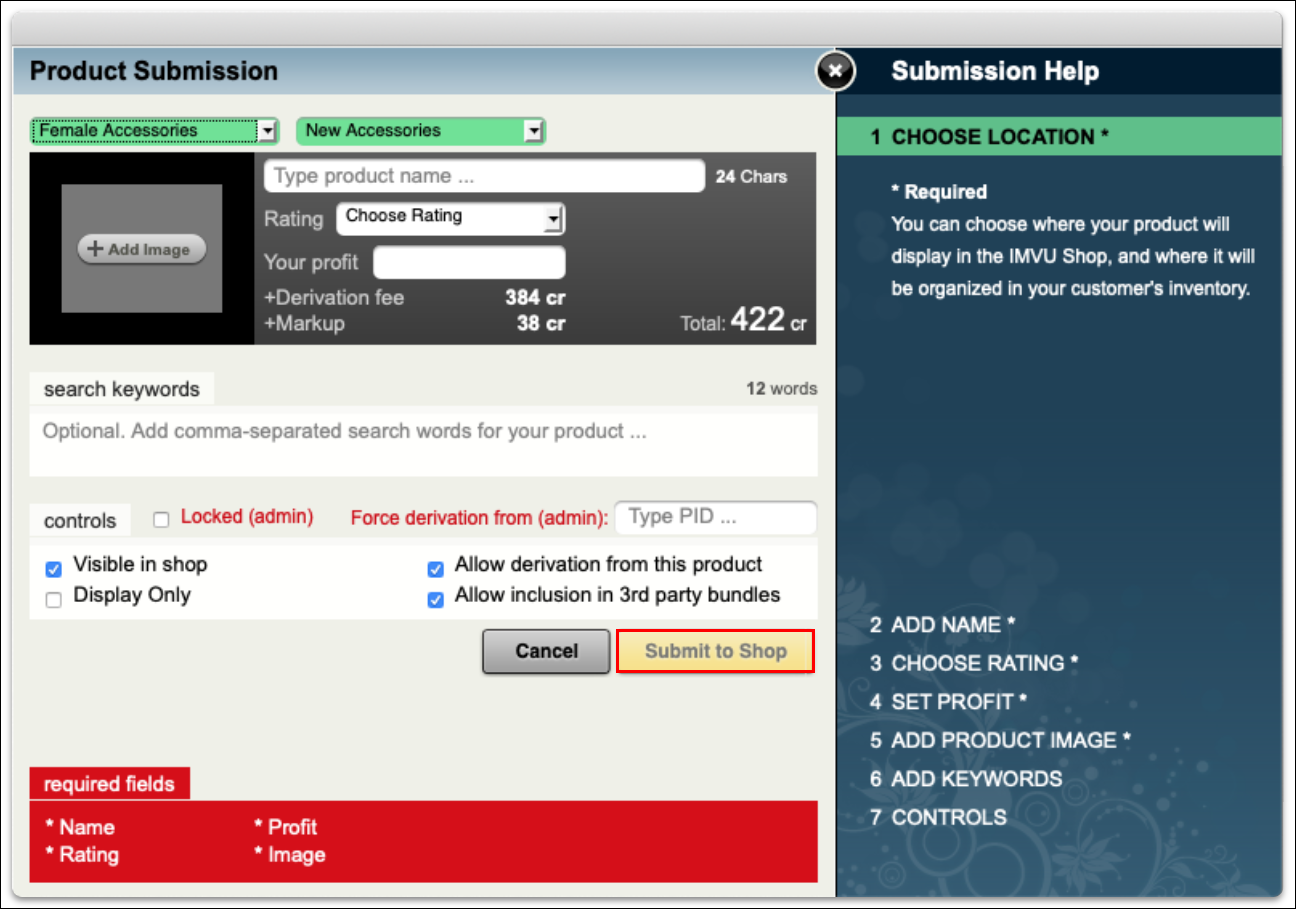
- Complete the information for your product on the “Product Submission” card.
- Once you’re done, hit the “Submit to Shop” button.


Once you complete your upload, a browser window will open displaying your product page.
Can You Make Clothes for IMVU Without VIP?
It is not possible to make clothes without joining the Creator Program.
If you enrolled on the Creator Program before May 10th, 2012, 10 a.m. PST you’ll be “grandfathered” indefinitely. This means you won’t need to become a VIP member. You can enjoy VIP benefits, including clothes creation, via early enrollment.
However, enrolling after that date means you’ll need to join the program to create clothes.
Putting Your Fashion Design Gifts to Use
IMVU’s avatar-based social networking platform is a virtually enhanced physical reality; designed to make online experiences as real as possible. Users can dress and accessorize their avatars to show off their personalities.
Creators and developers can make money anytime one of their products is purchased from the shop. Creating clothing is quick and easy using photo editing software like Photoshop and Gimp. When an item of clothing has been set to “derivable,” you can customize it, then upload it to the shop and sell it as your own. Or you can create designs from scratch.
Are you a user of the IMVU platform? What do you think of the products available in the shop? What made you decide to become a creator yourself? Let us know in the comments section below.
Disclaimer: Some pages on this site may include an affiliate link. This does not effect our editorial in any way.