Microsoft and other manufacturers often use ISO files to facilitate software distribution. This gathers the entire Windows installation data into a single file, along with the latest features. As a result, you no longer have to install multiple compressed files or use third-party apps to get the software. It’s a user-friendly method of keeping your PC up-to-date without going through much hassle.
In this article, you’ll find step-by-step instructions on how to mount the ISO file onto your Windows PC and how to manage it properly. In addition, we’ll show you how to transfer the file to external storage, i.e., a portable disc, USB drive, or DVD. Keep reading for a more comprehensive overview.
How to Install an ISO File in Windows 10?
Most versions of Windows OS have built-in features that allow you to operate the ISO file with ease. Firstly, you need to open or mount the file, and then you’re free to decide what to do with it. There are a couple of options up for consideration. You can either burn the contents to a portable disc or create a bootable version from your USB or DVD drive.
Either way, it’s not a bad idea to have a backup ISO file in case of an emergency. Moreover, if you have a burnt copy, you can install the Windows OS onto a different device whenever you want. Plus, there are built-in features and free utility apps you can use. In the following sections, we’ll explain the different methods of copying an ISO file with step-by-step instructions.
Mount the ISO File in Windows 10
Let’s start with the basics. If you want to copy the ISO file, you have to open or mount it first. Here’s what you need to do:
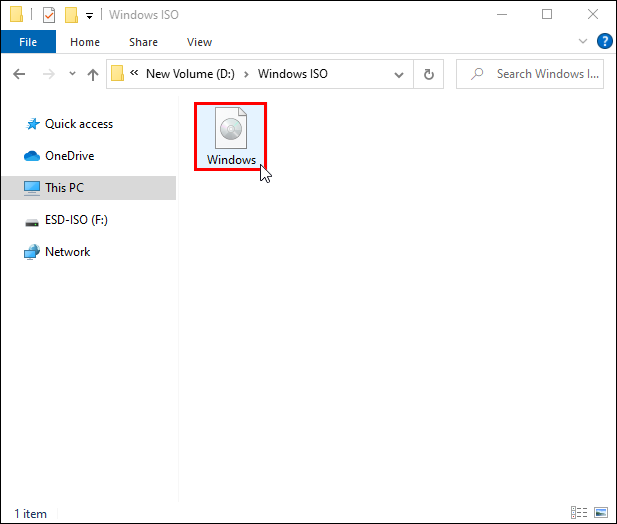
- Locate the archive file on your PC.

- Hover over the ISO file with your cursor.

- Double-click it.
The file should automatically open after that. However, if there’s a program on your PC associated with this type of action, you won’t be able to access the file this way. Instead, try the following steps:
- Right-click on the file to access a drop-down list.
- From the list of options, select “Mount.”

If that doesn’t work either, there’s another way, albeit not as quick:
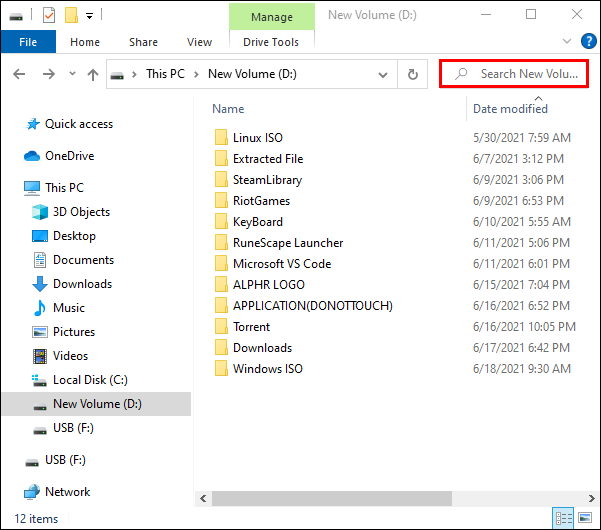
- Use the search function to access the “File Explorer” app.
- Locate the ISO file and click to select it.
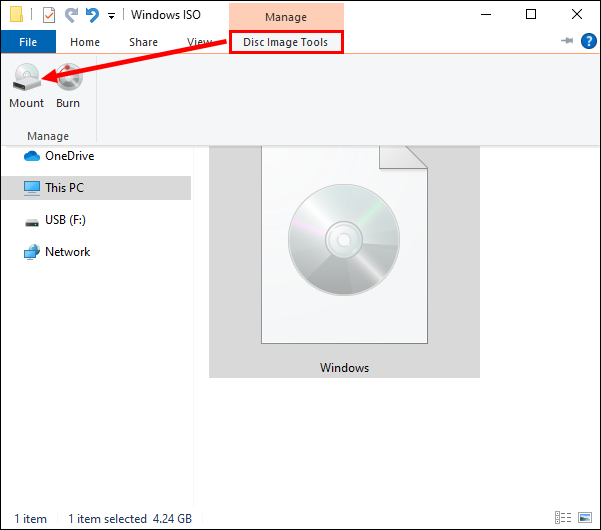
- Open the “Manage” tab above “Disc Image Tools” on the toolbar above and select “Mount.”

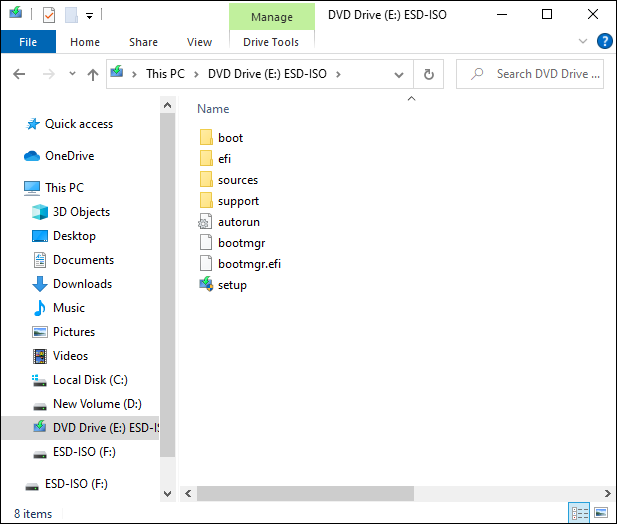
You’ll know you’ve successfully mounted the file when it appears as a new drive on your PC. Also, you can eject or unmount the file once you’re done, but more on that later.
Burn the ISO File to Disc
If you need to transfer the Windows installation file to another PC, the easiest way to do it is by burning it to a disc. The whole process is super quick and only takes a few simple steps:
- Insert a blank portable disc into your computer. It can be either a CD or a DVD; both will do the trick.
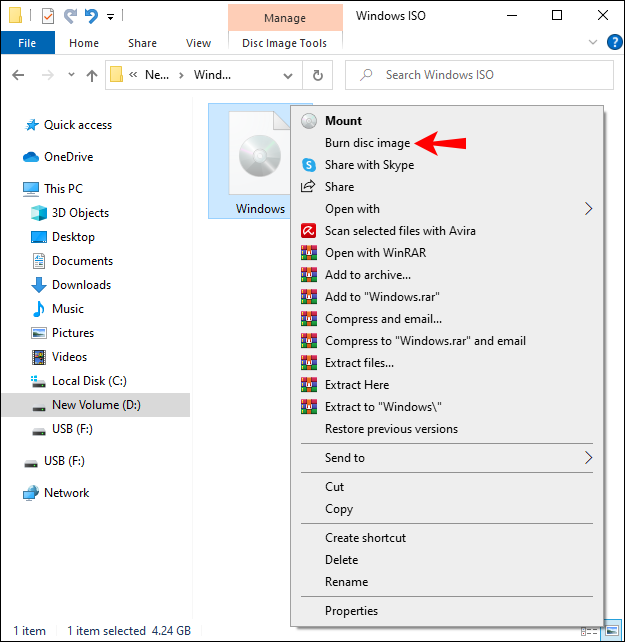
- Locate the ISO file in the “File Explorer” app and right-click it to open a drop-down menu.
- Choose “Burn Disc Image” from the list of options.
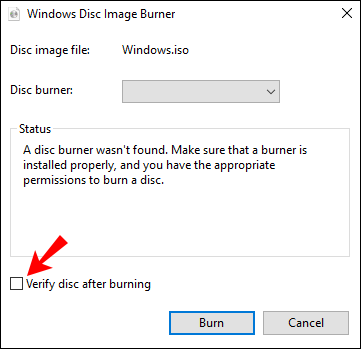
- A pop-up window will appear. Check the little box at the bottom of the panel that says “Verify Disc After Burning.”
- Press “Burn” to complete the process.


Windows USB/DVD Download Tool
You can also use a free utility to manage ISO files if your Windows OS doesn’t have adequate built-in capabilities. The Windows USB/DVD Download tool is available for Windows Vista, Windows XP SP2, and Windows 7 in 32-bit and 64-bit versions. Additionally, you’ll need at least 50 MB of free space left on your hard drive and a PC with a DVD-R drive. Another pre-condition is that you have the Microsoft .NET Framework version 2.0 at least along with the Microsoft Image Mastering API v2 app.
If you meet all the requirements, you can follow these steps to install the tool onto your PC:
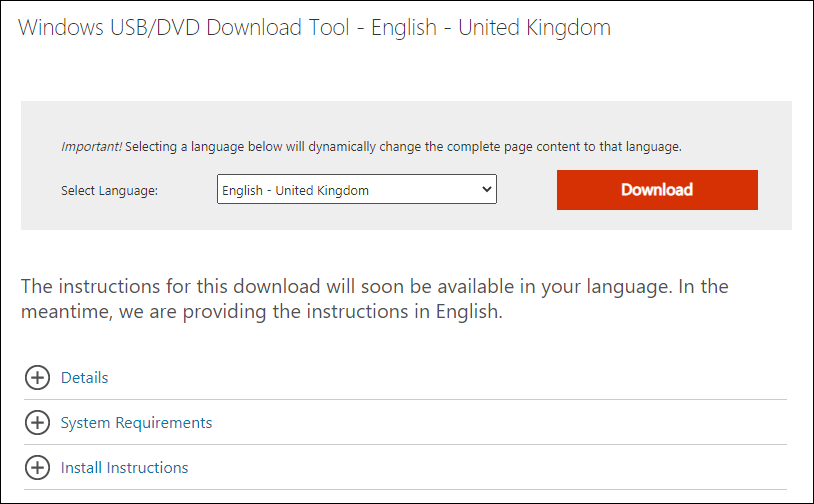
- Open your browser app and go to this website.
- Click the “Download button” and then “Run.”
- Follow the on-screen instructions to complete the process.
- Choose a preferred file destination for the tool.
Keep in mind that you should install the Windows USB/DVD Download Tool to a PC with an Administrative User account.
Once you’re done with the setup, you can use the tool to make a copy of the downloaded ISO file. Here’s how to do it:
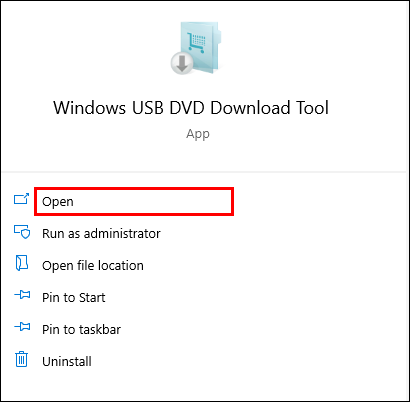
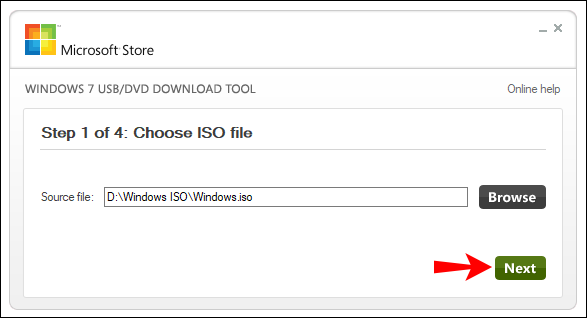
- Launch the Windows USB/DVD Download tool on your PC.
- Navigate to the “Source File” dialog box and enter the name of your ISO file. You can also look for the file by using the built-in browser. Click “Next” after you’ve found it.
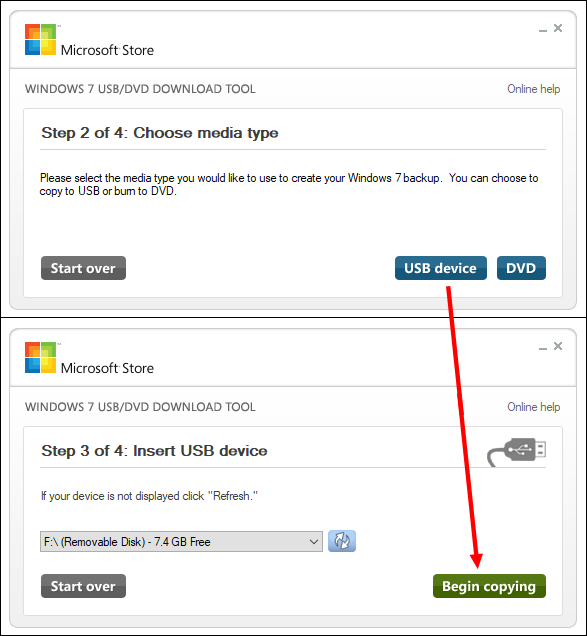
- To create a copy for a USB drive, click “USB Device.” Choose your USB drive from the drop-down list and select “Begin Copying.”
- To create a copy for a DVD, select “DVD Disc.” Locate the DVD drive on the list of available locations and press “Begin Burning.”
Remember, if you want to copy the ISO file to a USB drive, the device needs to have at least 4GB worth of memory. That’s why you won’t be able to use a CD-ROM for backup – there won’t be enough space. Also, the USB drive has to be empty. Otherwise, the Windows USB/DVD Download tool won’t be able to make the file bootable.
USB
You can also create a bootable USB drive to store the ISO file as a backup. Before you try, make sure you have a device with at least 8GB of free memory. Also, since the process will remove all files from the drive, remember to transfer all important data to your PC. Once you’re all set, follow these steps:
- Connect the USB drive to your PC and create a Windows 10 recovery drive with the Recovery Media Creator tool. You can use the search function to access a shortcut. Just type “Create a Recovery Drive” in the dialog box and click on the first result.
- Next, launch the “File Explorer” app and locate the recovery drive. Double-click on it.
- Next, open another “File Explorer” window to locate the ISO file. Double-click on that as well to mount it on your PC as a virtual drive.
- Use drag-and-drop to transfer the ISO mounted drive to the bootable USB drive.

DVD
The simplest way to create a bootable DVD is to use the built-in ISO burner. All you have to do is right-click on the ISO file and click “Burn Disc Image” from the drop-down list. You can refer to the previous section for more detailed instructions.
However, if your Windows OS doesn’t have the built-in feature, you can use several third-party programs instead. For example, Burnaware is a popular solution thanks to the straightforward interface. Furthermore, you can use the free Windows utility we’ve mentioned earlier to accomplish the same result.
Additional FAQs
How to Unmount the File?
Once you’re done setting up Windows, you can unmount or eject the file from your PC. It’s incredibly simple:
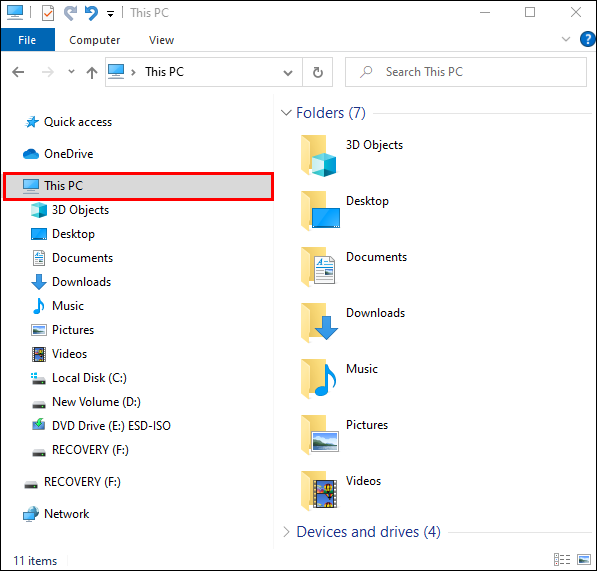
1. Open “File Explorer.”
2. From the panel on the left-hand side, open the “This PC” tab.
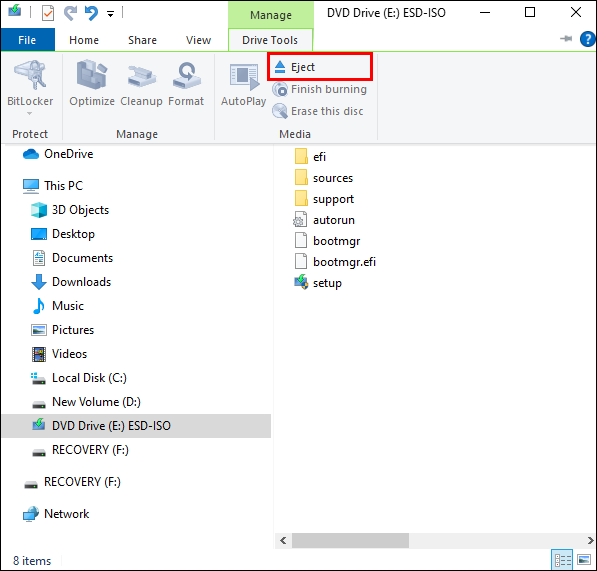
3. Locate the ISO file drive and click on the “Manage” tab at the top of the window.

4. In the top-left corner of the screen, click “Eject” to unmount the file.
Mount Up
ISO files cut the installation process short by gathering all data into one compressed directory. In addition, most PCs come with features that enable them to mount and burn ISO files without the need for third-party software. It’s a vast improvement on the whole process, making Windows installation more accessible.
Of course, even if you don’t have an OS with a built-in ISO burner, you can manage just fine. Several free utilities, such as the Windows USB/DVD Download tool, serve the same purpose. With so many options, there’s no excuse not to perform regular system backups.
What’s your opinion on ISO files? Do you find them helpful? Let us know in the comments section below.
Disclaimer: Some pages on this site may include an affiliate link. This does not effect our editorial in any way.