Screenshots are super important whenever you want to capture the data on your computer’s screen. The most common way of taking a screenshot on a Windows PC is by using the print screen key. However, your keyboard breaking down or the print screen button not working doesn’t mean you can’t capture the screen of your computer.
If you’re trying to figure out how you can take a screenshot on your Windows computer without using the print screen button, you’ve come to the right place. This article will walk you through the process so you can continue to take screenshots of your computer screen more seamlessly. Keep reading to find out more.
How To Take Screenshots Without Print Screen in Windows 11
While Windows 11 has new features that excite some users, nothing much has changed regarding how we capture our screen. Like its predecessor, the OS supports multiple ways to capture your screen without using the print screen key. Here are some of the most common ones.
How to Capture a Screenshot in Windows 11 Using Snip & Sketch Tool
Windows 11 has a built-in snipping tool called Snip & Sketch. Using this tool, it’s possible to take screenshots without needing the print screen button. It offers way more flexibility, as you can capture the entire screen or just a section. To use the feature to capture a screenshot, follow these steps.
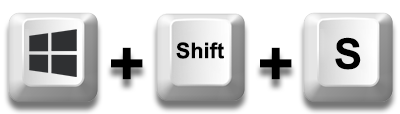
- On your Windows 11 computer, press “Windows + Shift + S” simultaneously.

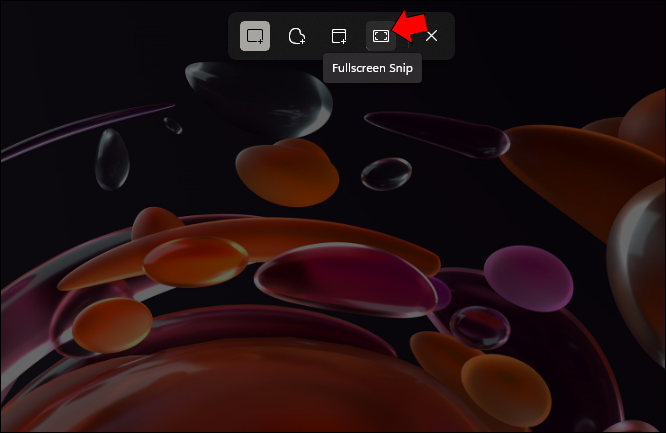
- In the new window, select the full-screen icon to capture the entire screen.
- Choose the appropriate icon depending on the kind of screenshot you want.
- Once you’ve chosen any of the icons above, the screenshot should be captured automatically.
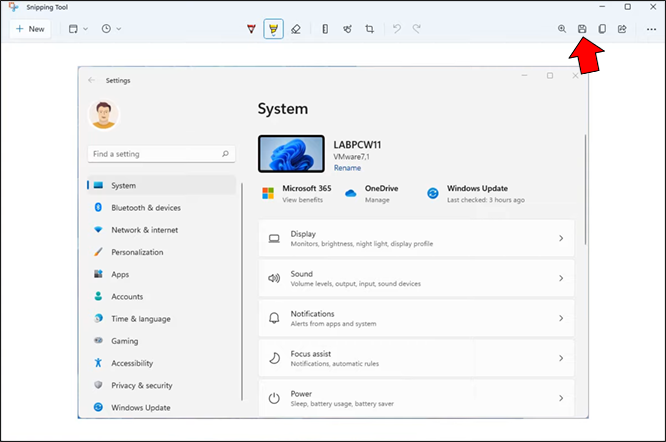
- Click the pop-up window on the bottom-right corner of the screen.
- Select “Save as” and give your screenshot a name and a file path.
- Hit the “Save” button.
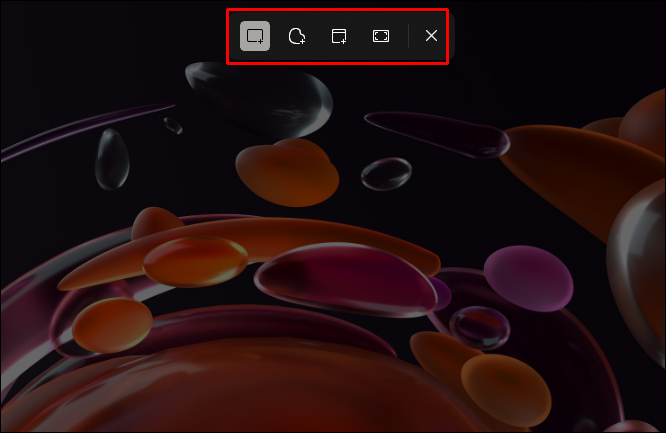


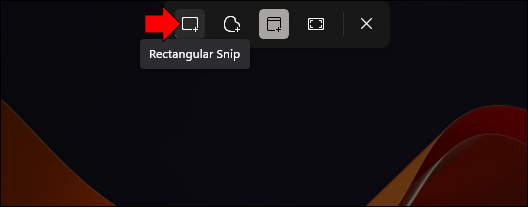
Here’s what the different icons mean in step 3.
- “Rectangular Snip” allows you to capture a portion of your window in a rectangular shape by dragging the mouse over the section.
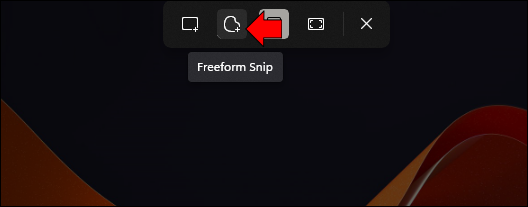
- “Freeform Snip” allows you to capture an image of any shape.
- “Window Snip” allows you to take a screenshot of the active window.
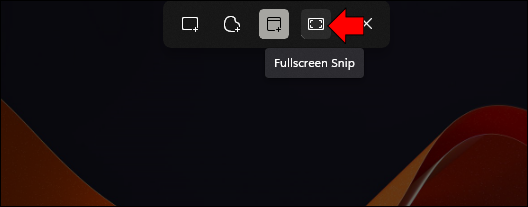
- “Fullscreen Snip” captures all the content visible on the screen.

How to Take Screenshots in Windows 11 Using the Space Bar
If your print screen key is faulty or you are just exploring different ways of capturing screenshots on your Windows 11 computer, here’s how to use the space bar to capture a screenshot.
- On your computer, press “Fn + Windows + space bar” simultaneously.
- To see the screenshot you’ve just captured, go to “This PC,” then “Pictures,” and finally the “Screenshots” folder.


How to Capture a Screenshot in Windows 11 Using the Game Bar App
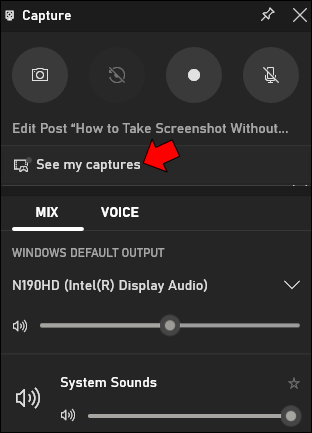
The Game Bar app is an excellent way of screen-recording and taking shots of your gaming screen. The app isn’t just limited to games; you can conveniently capture your screen regardless of the currently running program. To capture a screenshot using the Game Bar, follow these steps.
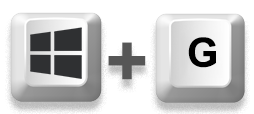
- Press “Windows + G” to open the Game Bar app.
- Click the camera icon to screenshot your active window.
- To locate your screenshot, go to “This PC,” then “Videos,” and open the “Captures” folder. Alternatively, you can open the Game Bar app and go to “See my captures.”

Note: If the Game Bar app doesn’t open right after you’ve pressed the above keys, search for “Game Bar Settings” and turn on the toggle that says, “Record game clips, screenshots, and broadcast using Game Bar.”
How to Take Screenshots in Windows 10 Without Using Print Screen
Just like Windows 11, Windows 10 supports multiple ways of taking screenshots without using the print screen button. Here are some of them.
How to Take Screenshots Using the Snip & Sketch Tool on Windows 10
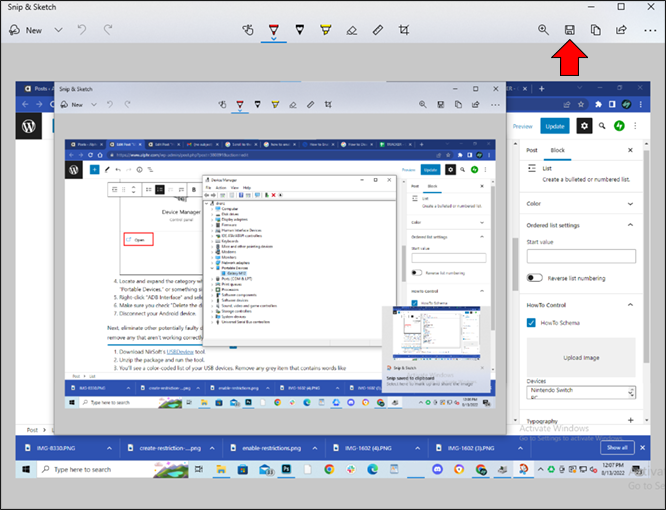
If you’re using Windows 10, you can use the Snip & Sketch tool to capture your computer’s screen without using the print screen button. Here’s how to go about the process.
- Press “Windows + Shift + S” simultaneously.
- Select the kind of screenshot you want by choosing from the listed icons.
- Click the widget that pops up from the bottom-left corner of the screen.
- Select “Save as.”
- Name your screenshot and select the folder that will house your image.
- Click the “Save” button.


How to Capture an Entire Web Page Without Using Print Screen
Have you ever wanted to save a web page as a JPEG for offline viewing? Maybe you need to send a page to a friend or your boss, or maybe you just want to have a copy of your favorite article for later. There are a few ways to do this, but most of them are either complicated or time-consuming. Until now.
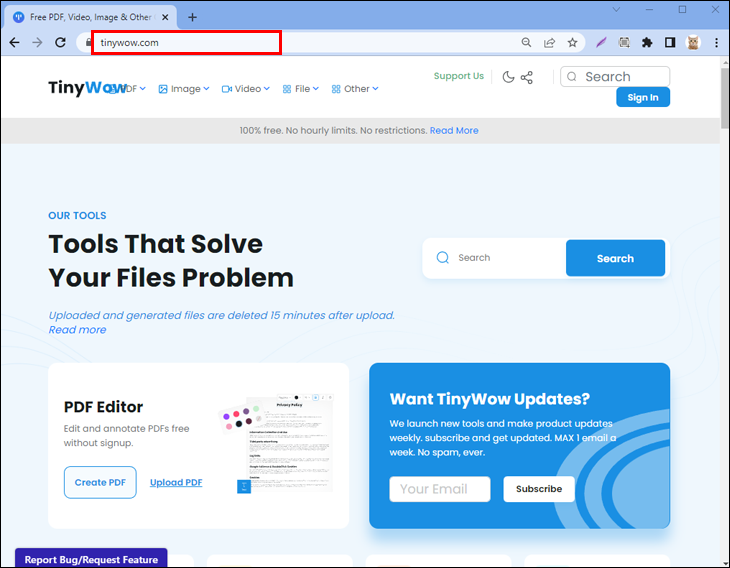
TinyWow is a free online tool that makes it easy and fast to convert web pages to JPEGs. In just seconds, you can have a copy of the page you want, exactly the way you want it. Try TinyWow today and see how easy it is to convert web pages to JPEGs!
Let me show you the quick steps,
- Go to the web page you want to capture and copy the URL.
- Open a new browser tab and search for TinyWow.com.
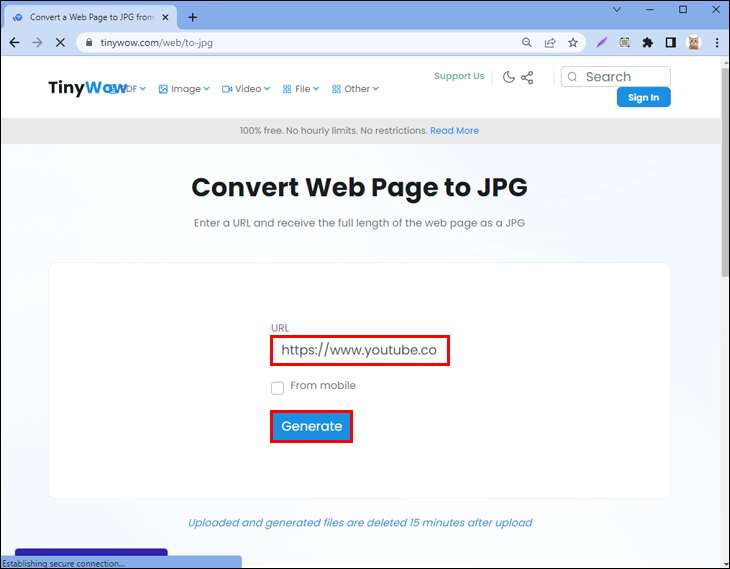
- Hover your mouse to “Other,” then click “URL to JPG.”
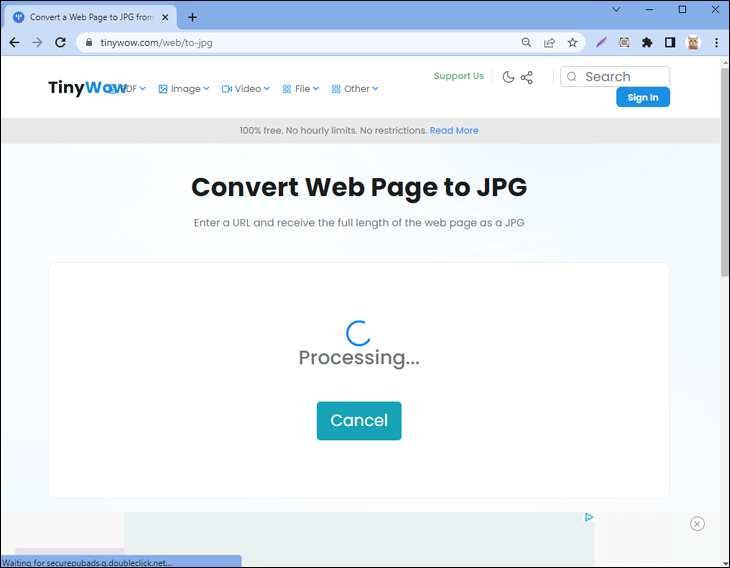
- Paste the URL you copied in the box and click “Generate.”
- Wait for the process to complete.
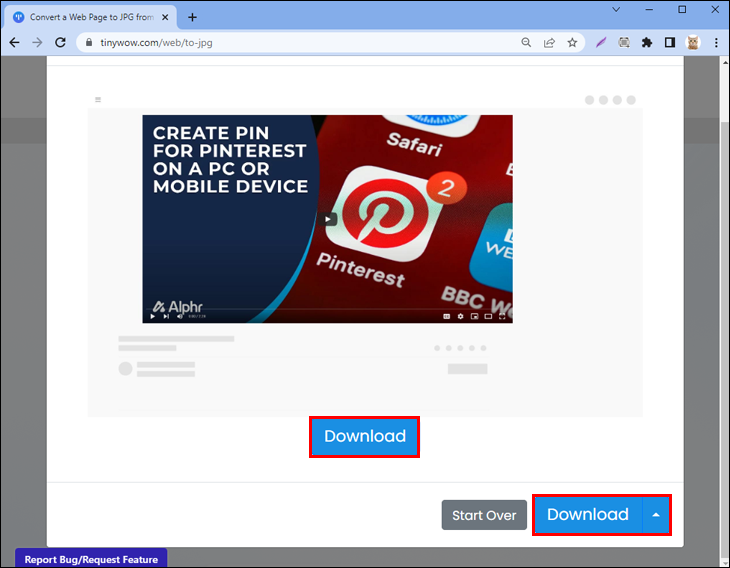
- Voila! Click “Download,” and it will save automatically on your computer download files.


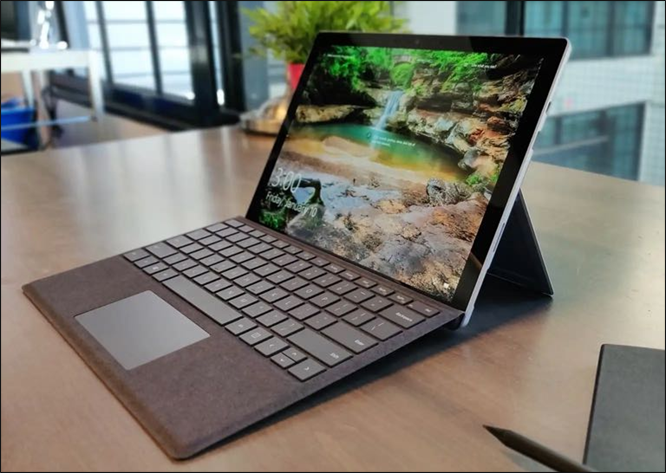
How to Take Screenshots Using the Power Button on a Microsoft Device
If you’re using a Microsoft Surface device with Windows 10, here’s how to take a screenshot.
- Go to your Surface device.
- Hold down the “Power + Volume Up” buttons.
- The screen should dim, and your screenshot should be captured immediately.
- If you’re using Surface version 3 or earlier, use “Windows logo + Volume Down” to take a screenshot.


Additional FAQ
Is the Snipping Tool the same as the Snip & Sketch Tool?
Windows 10 and Windows 11 both have the Snipping Tool and the Snip & Sketch as two different apps. It’s easy to confuse the two. While both apps used to perform a similar task, the Snipping tool is now being repurposed to merge with the Snip & Sketch tool for a tailored experience specifically for Windows 11 users.
Which folder contains my screenshots?
To locate your screenshots, navigate to “This PC,” then “Pictures,” and finally open the “Screenshots” folder.
Explore the World Beyond the Native Print Screen
As you can see, taking screenshots on your Windows PC doesn’t have to be constrained to the print screen button. The built-in snipping tool feature is a reliable print screen alternative. It is free, provides more flexibility when capturing the screen, and doesn’t need any installation. However, there are still many options to explore. Whatever your preference, we hope you can now take screenshots on your Windows PC without using the print screen button.
Have you tried taking screenshots without using the print screen key? How did you go about it? Please let us know in the comments section below.
Disclaimer: Some pages on this site may include an affiliate link. This does not effect our editorial in any way.


