Device Links
By default, Windows File Explorer opens in quick access which contains shortcuts to some of your most used folders. This is handy if the folder you need is on Quick Access, but can be annoying if you’d rather have Explorer start on a different folder.
In this article, we’ll show you how to set the default folder in Windows File Explorer along with some tips on managing the app on your taskbar.
How to Set the Default Folder in Explorer on Windows 11
Normally, the default target of File Explorer can be changed either to the Quick Access Folder or the current PC. This can be done by following these steps:
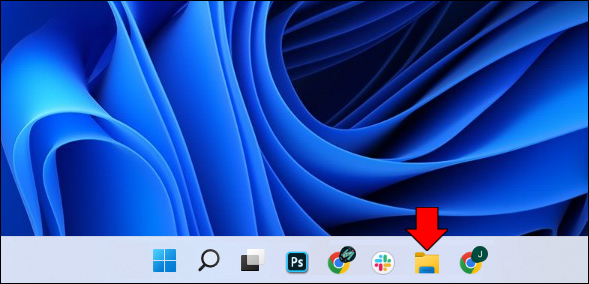
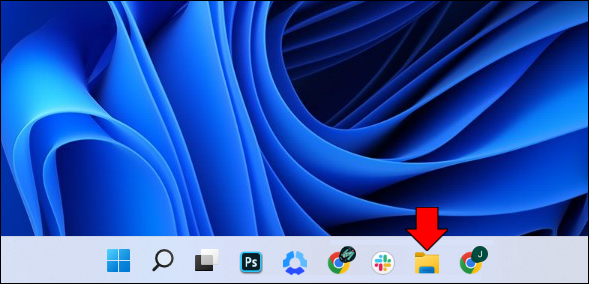
- Open your File Explorer. You can either click it on the taskbar or type “File Explorer” in the search bar.
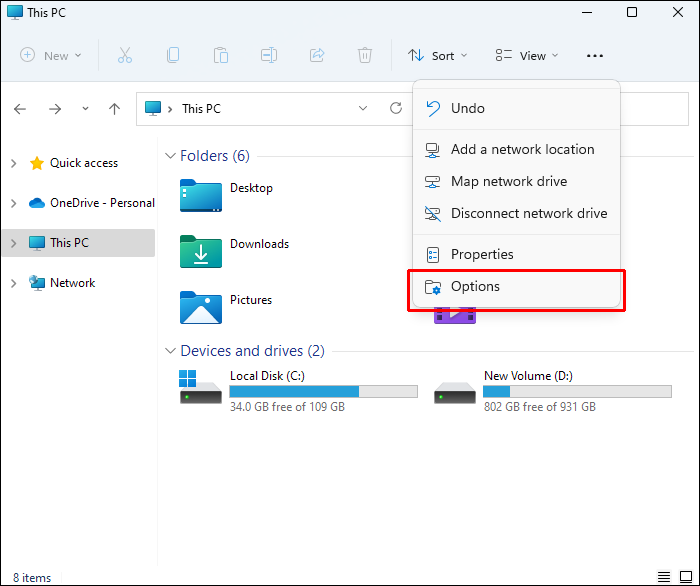
- Click the three-dot menu in the upper right-hand corner of the window.

- Click on “options”.
- On the General tab, click on the dropdown arrow beside Open File Explorer to:
- Choose either “Quick Access” or “This PC”. Quick Access shows any recently opened folders along with pinned addresses. This PC shows the computer’s root directories.
- When you’re done click on “OK.”


If you want to change the path to a specific folder, you will have to do a bit of work as there’s no direct way of doing this. When pinned onto the taskbar, File Explorer won’t allow you to change the path through its property settings. To go around this, do the following.
- Remove File Explorer from your taskbar. This will prevent two instances of the file explorer from cluttering this area. To do this:
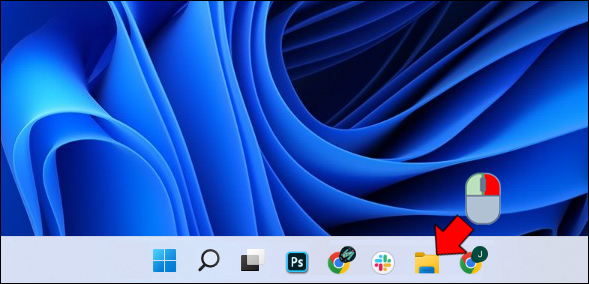
- Right-click on the File Explorer icon on the taskbar.
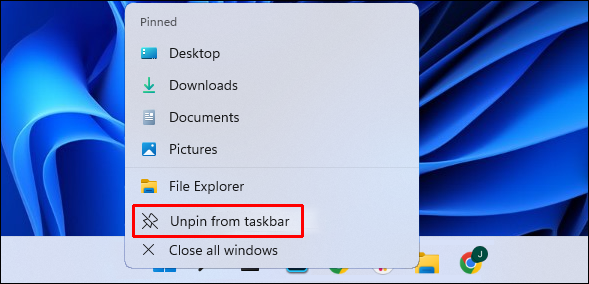
- Choose “Unpin from taskbar”.
- Right-click on the File Explorer icon on the taskbar.
- Create a new shortcut for File Explorer on the Desktop. This will make a new File Explorer folder with a specific path that you can provide. To do this:
- Right-click on your desktop.
- Hover over “New” then select “Shortcut” from the popup menu.
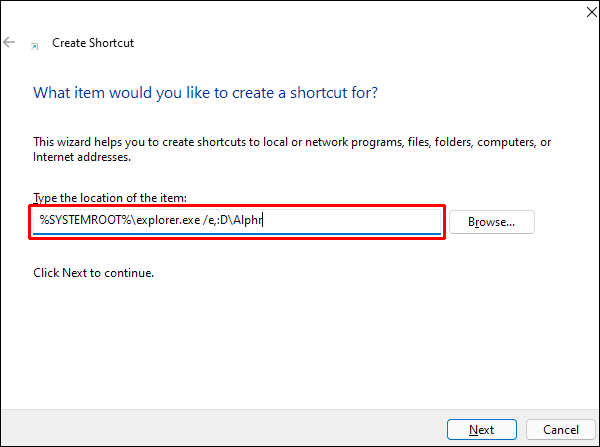
- On the shortcut wizard window, type in “
%SYSTEMROOT%\explorer.exe /e,C:\t” without the quotation marks. If you want to open a folder located on a drive other than drive C, replace “C:” with the drive of your choice. Replace “\t” with the name of the folder you wish to open. For example, if you want Explorer to open your Documents folder on drive C, the entry should be “%SYSTEMROOT%\explorer.exe /e,C:\documents”. - Click on “Next.”
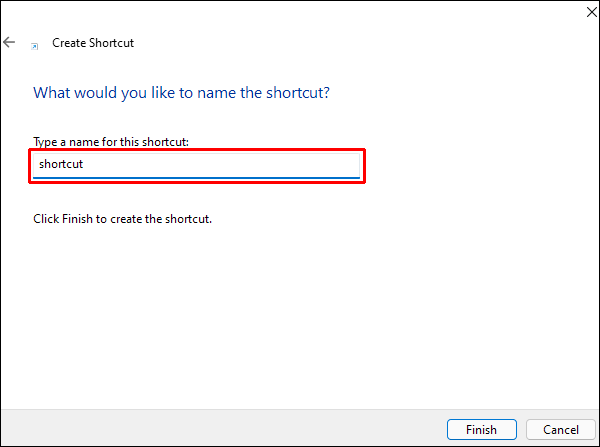
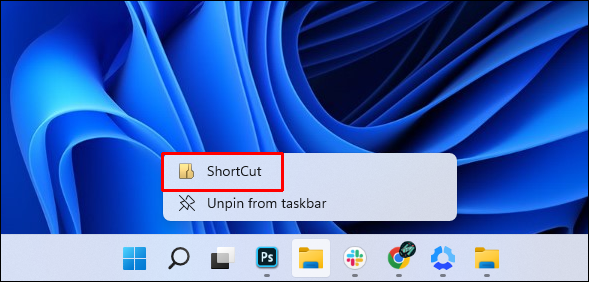
- Choose a name for the shortcut. By default, it will be named explorer, but you can make this descriptive if you wish to create more than one shortcut.
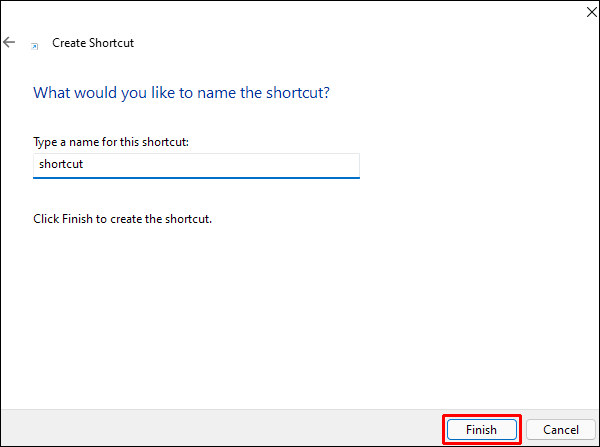
- Click on “Finish.”
- Right-click on your desktop.
- Pin the new File Explorer shortcut onto the taskbar.
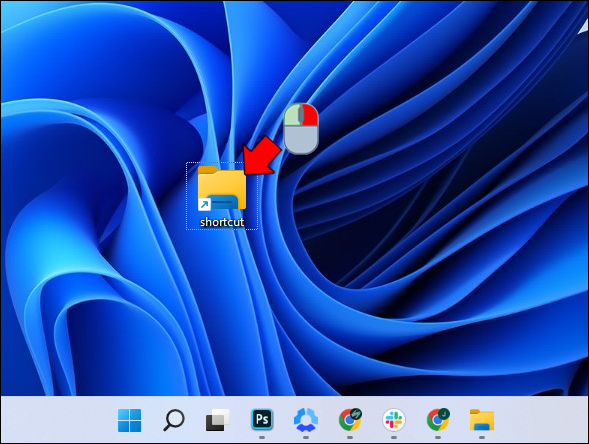
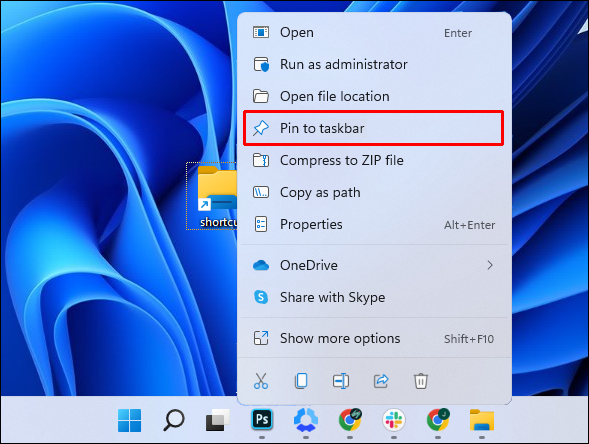
- Right-click on the shortcut on your desktop.
- From the list, select “Pin to taskbar.”
- You can now delete the shortcut from your desktop to reduce clutter.
- Right-click on the shortcut on your desktop.


You now have a File Explorer icon on your taskbar with a specific target folder. You can create more than one of these Explorer icons, though it’s recommended that you change the icon appearance to avoid confusion. This can be done by following these steps:
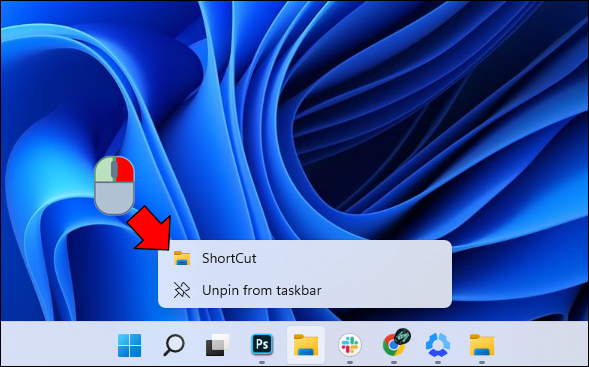
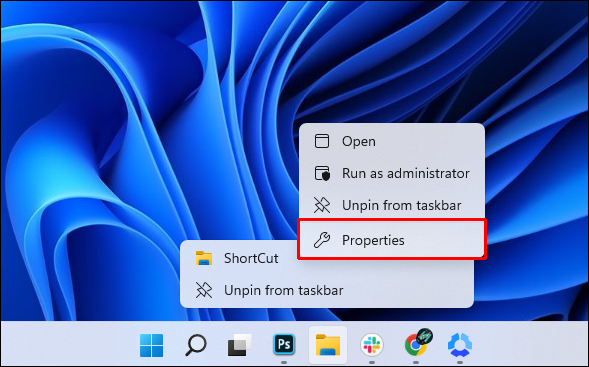
- Right-click the Explorer icon on your taskbar.
- Right-click again on the name of the icon.
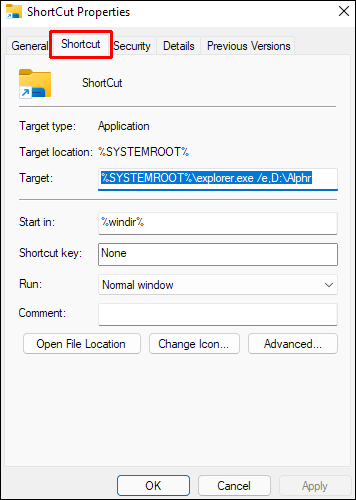
- From the pop-up list, choose “Properties.”
- Proceed to the Shortcut tab.
- Click on “Change Icon.”
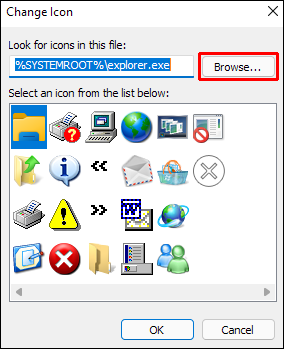
- Choose from the icons available, or if you have an icon folder, navigate to it by clicking on “Browse.”
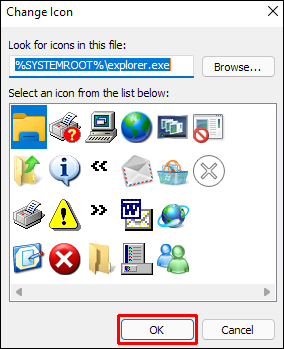
- Click on “OK.”
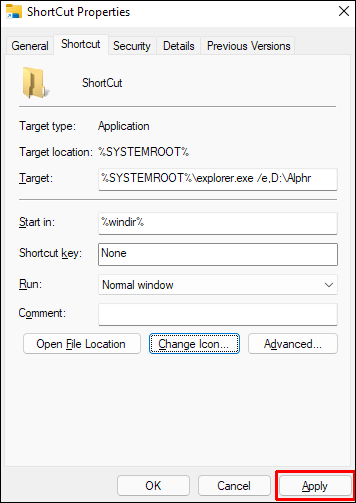
- Click on “Apply.”
- The explorer shortcut should now have its own icon.

Note that the explorer shortcut will only work if you access it via the taskbar. If you open File Explorer via another method, like typing it in the search bar or using “Windows + E,” it will still open Quick Access by default.
How to Set the Default Folder in Explorer on Windows 10
As Windows 11 is a direct upgrade from Windows 10, the method to change the default folder for File Explorer is exactly the same. All the steps that apply to Windows 11 can be used for Windows 10. Follow the instructions given above to change the File Explorer Default on Windows 10.
How to Set the Default Folder in Explorer on Windows 7
Windows 7 has a more direct way of changing the File Explorer target as it gives users the ability to type in an address directly. This can be done by following these steps.
- Right-click on the File Explorer icon on your taskbar.
- Right again on the “Windows Explorer” name on the pop-up menu.
- From the list choose “Properties.”
- Head to the Shortcut tab if it isn’t open by default.
- Click on the Target address bar. Make sure not to change or delete the path that’s already there. If you accidentally deleted it, type in “
%windir%\explorer.exe” to restore it. - Type in one space then enter your desired target path. If you want to open the documents folder for example, the target path should read “
%windir%\explorer.exe %userprofile%\documents\” without the quotation marks. If you’re not sure of the shortcut address just open the folder you want as default, click on the address bar, right-click, and then choose “copy.” - Click on “OK” to save your changes.
- File Explorer will now open to the folder that you specified.
Windows File Explorer Quick Access Tips
If you don’t want to go through the trouble of setting up individual shortcuts for default folders, you can just pin them to Quick Access for easier navigation. Quick Access can be modified by doing the following:
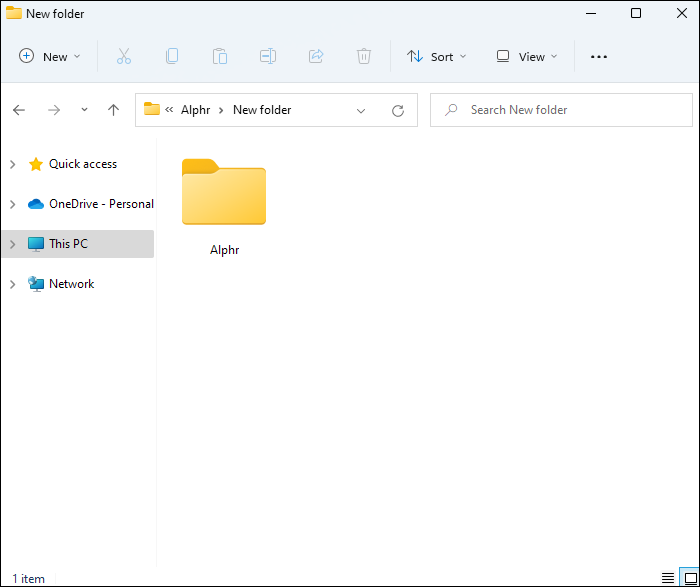
- Open the File Explorer.
- Navigate to the location of the folder that you want to pin to the Quick Access menu.
- Click on the folder once to highlight it.
- On the top menu, click on three-dot icon.
- Choose “Pin to Quick Access.”
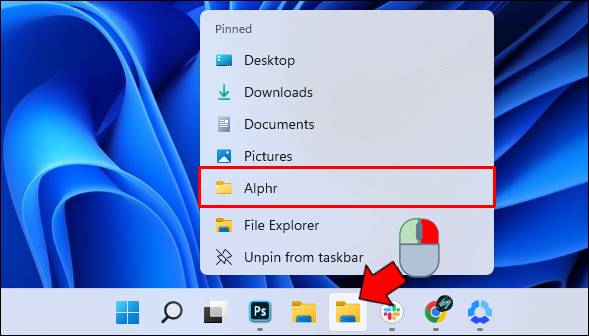
- This folder should now be available on the menu. To navigate to that folder either right-click on File Explorer on your taskbar and then select it from the pop-up menu or click on File Explorer and then choose the folder from the window.


To remove folders from Quick Access, you can do the following:
- Open File Explorer.
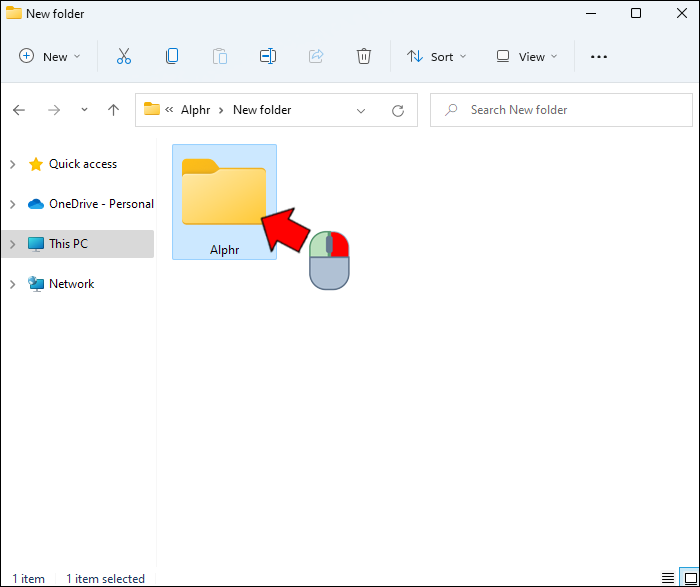
- Right-click on the folder that you want to remove.
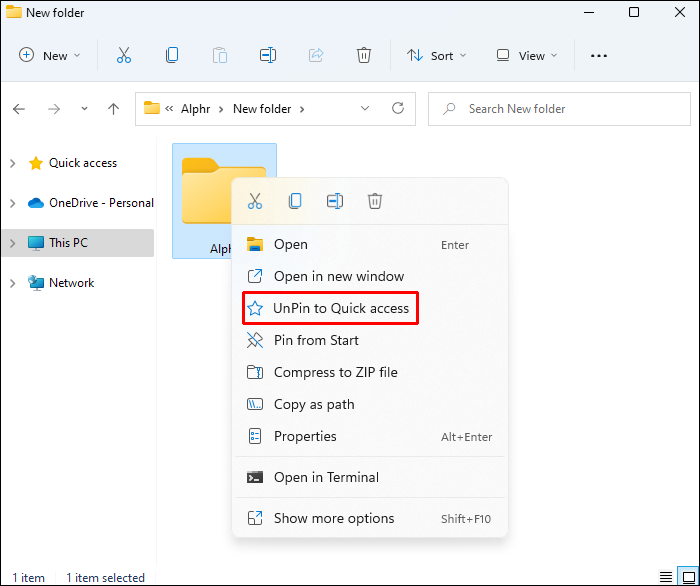
- From the drop-down menu choose “Unpin from Quick Access.”
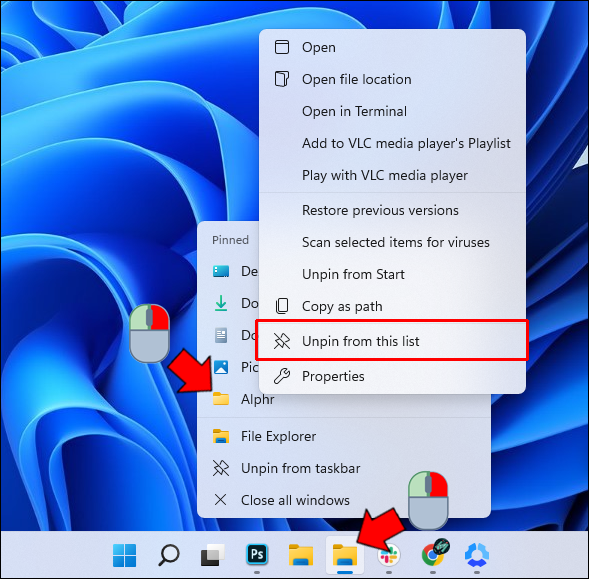
- Alternatively, you can right-click on File Explorer from the taskbar and then click on the “Unpin from this list” icon on the right side of the folder’s name.
You can add functionality to the Quick Access window by adding more utility tools to it. This can be done by following these steps:
- Open the Quick Start window by clicking on File Explorer on your taskbar or by pressing “Windows + E.”
- Click on the dropdown button on the upper right side of the window. This button is just to the left of the File Explorer name.
- Toggle the checkmark of the tools you wish to add. The buttons that are disabled by default are Undo, Redo, Delete and Rename.
- Once done, you can navigate away from File Explorer, all changes are saved by default.
Expanding Utility
Knowing how to set the default folder in File Explorer allows you to expand this application’s utility. This is a handy tool if you want to access specific folders frequently and with minimal clicking.
Do you know of other ways to change the default folder on Windows File Explorer? Share your thoughts in the comments section below.
Disclaimer: Some pages on this site may include an affiliate link. This does not effect our editorial in any way.


