Livestreaming has many advantages, including real-time engagement and better target audience reach, while remaining relatively inexpensive. YouTube, being one of the most popular social media platforms, has a very useful livestreaming function that many users aren’t aware of.
In this article, we’ll show you how to start a private livestream on YouTube so you can reap all the benefits this powerful platform has to offer.
How to Make a Private Livestream on YouTube
Starting a livestream isn’t as simple as opening the YouTube page and turning on your webcam. You’ll need to have accounts created and everything verified before you can even start. Here’s a step-by-step process of what you’ll need to do.
Signing Up for YouTube
To start livestreaming on YouTube, you’ll need a personal YouTube account. Many users watch videos on the website without ever signing up. Getting an account is rather simple and can be done by following these steps:
- If you don’t already have one, create a Google Account. This is required to have a personal YouTube account. You can create an account by going to the Google Account creation page and filling in your details.

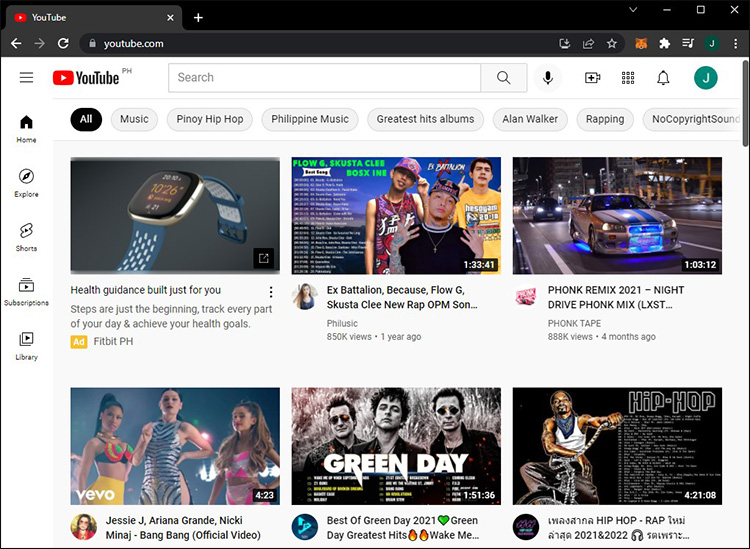
- Open YouTube.

- In the upper right corner of the screen, click on Sign In.
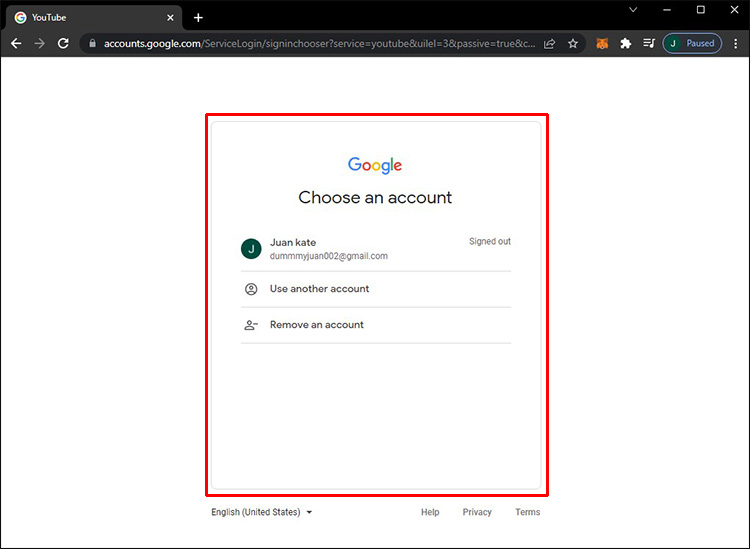
- Choose the Google account that you wish to use.
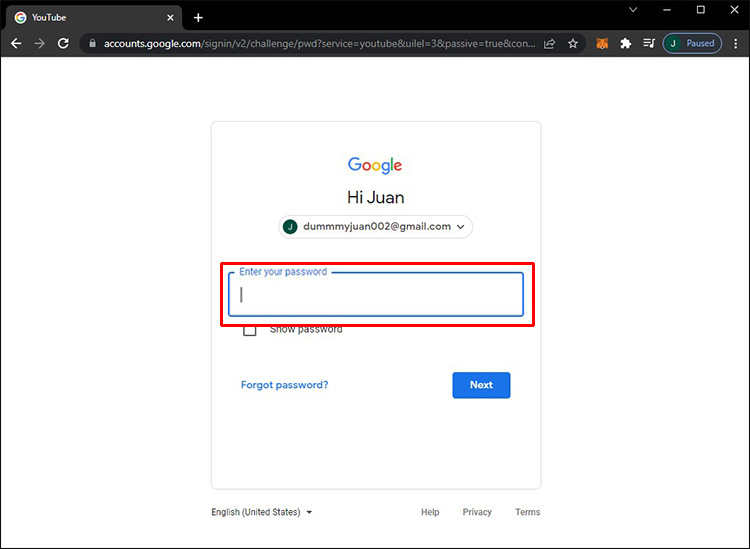
- Fill in your password.
- If this is your first time logging in, you’ll be prompted to either add an address or a recovery email and mobile device. You can choose to skip this if you don’t want to give out personal data.
- With your YouTube account open, proceed to the next step.


Verify Your YouTube Channel
YouTube doesn’t allow livestreaming unless you’ve properly verified your account. This is a rather simple process and can be done by following these steps:
- Open your YouTube account page.
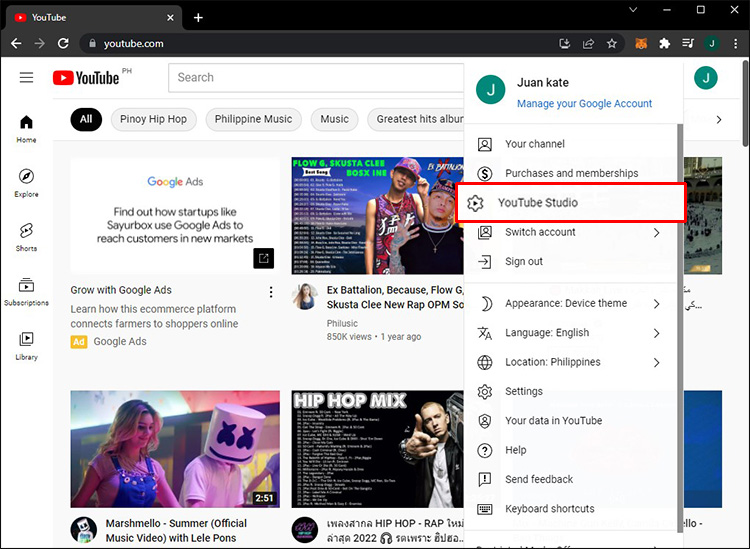
- Click on your profile icon in the upper right-hand corner of the screen.
- From the dropdown list, click on YouTube Studio.
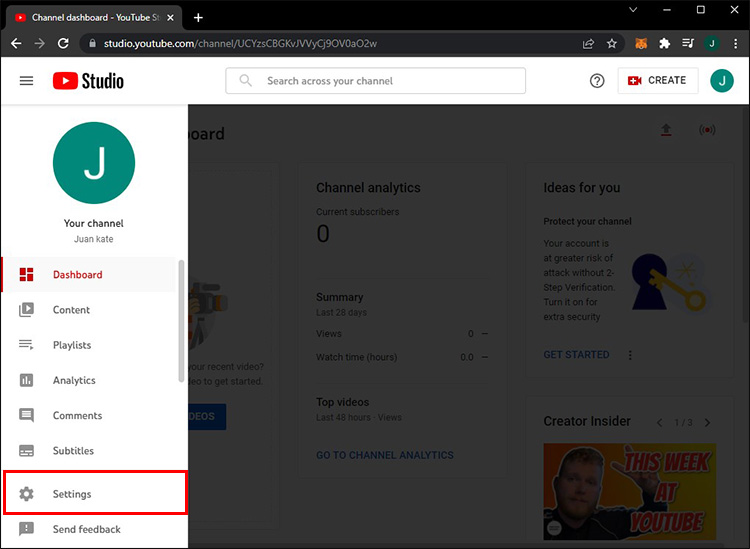
- On the left side of the screen, click on Settings.
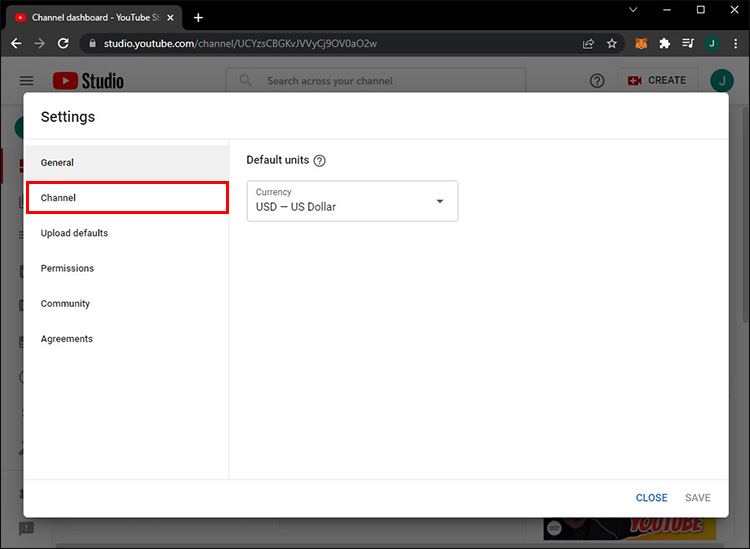
- From the list on the left, click on Channel.
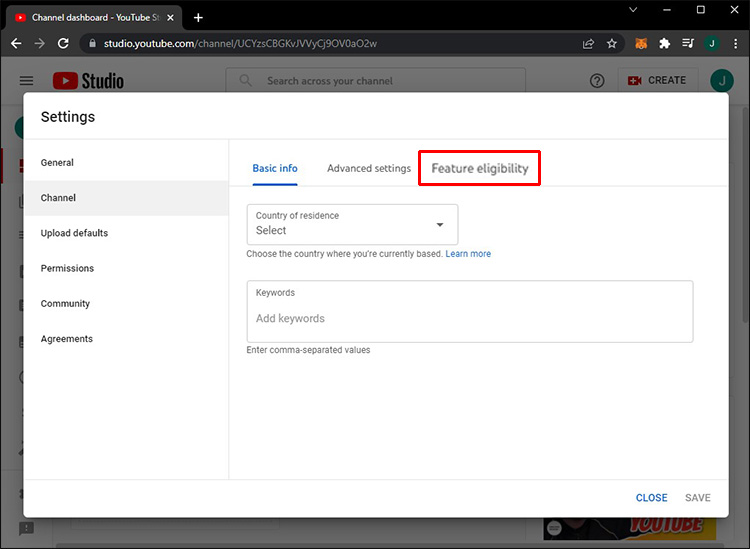
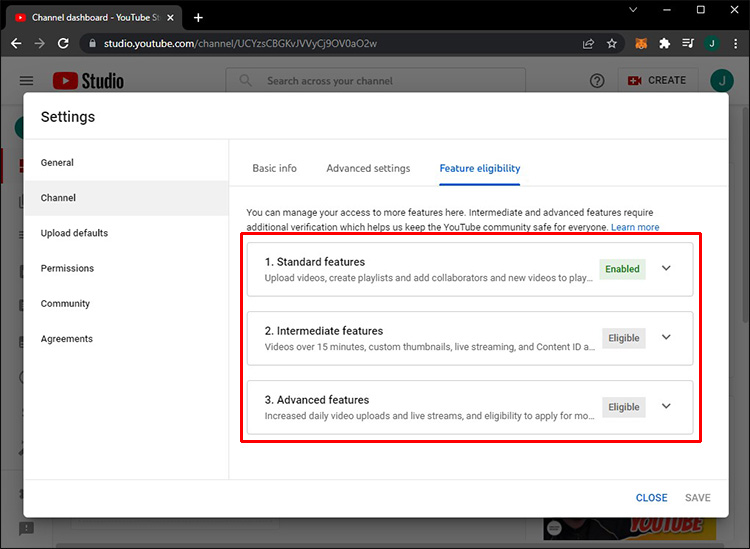
- On the right side, click on the Feature Eligibility tab.
- Look for Features that require phone verification. It should say Eligible to the right of it. If it doesn’t, then this means that your channel has an active Community Guidelines Strike. This must be resolved before you can start livestreaming.
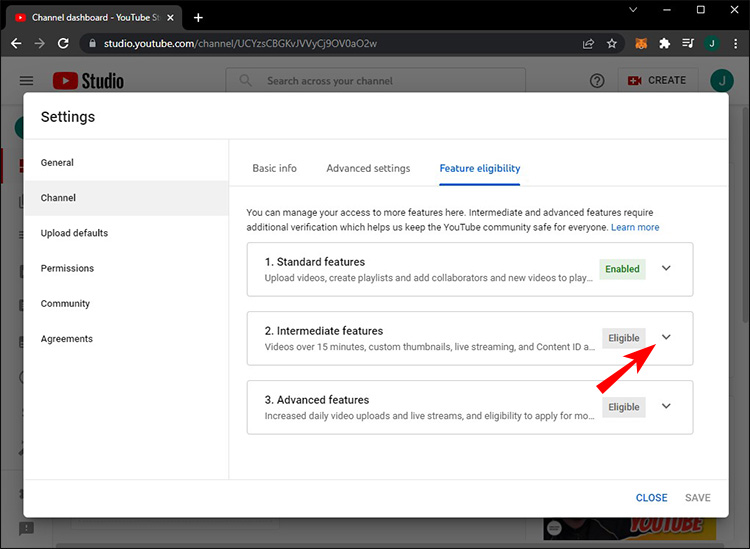
- Click on the dropdown arrow to the right of the Features that require phone verification.
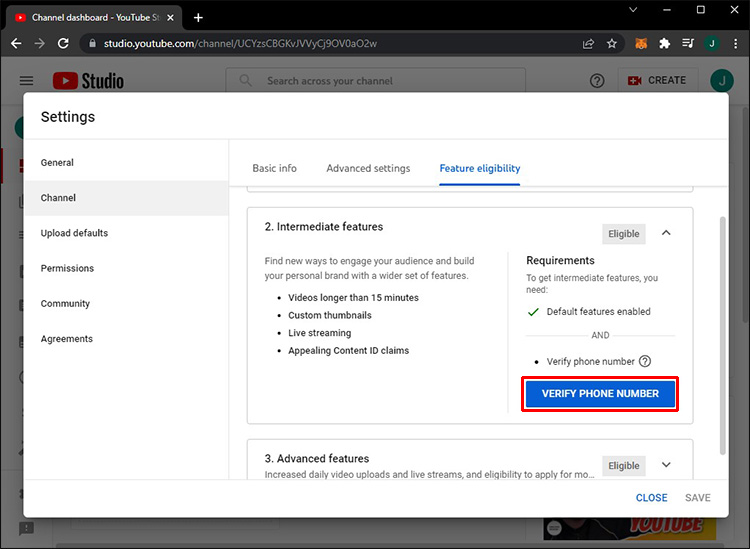
- Click on Verify Phone Number.
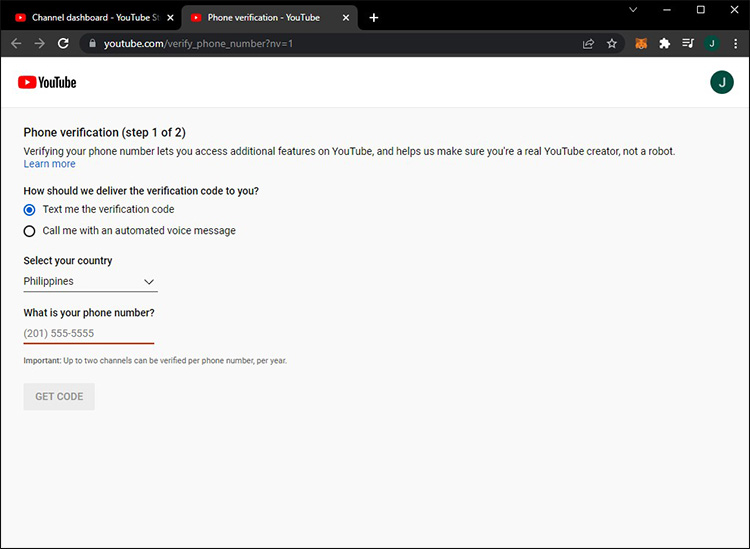
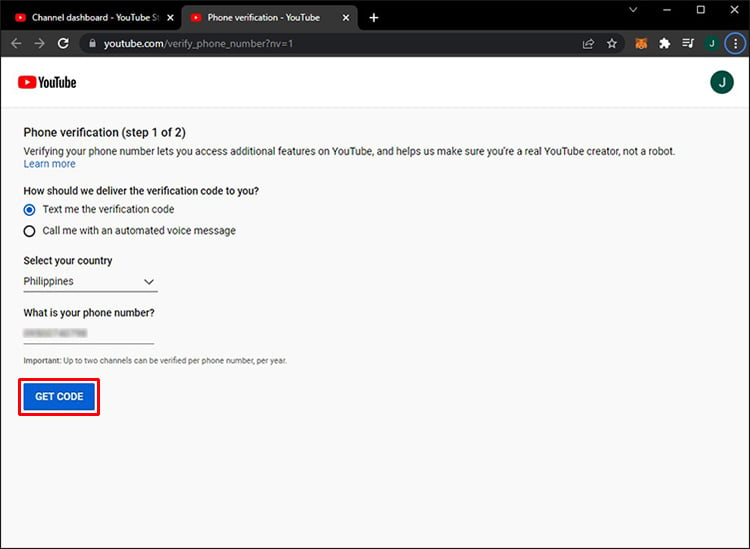
- A page will open that will ask your country and phone number. Fill these in accordingly.
- Click on ‘Get Code”.
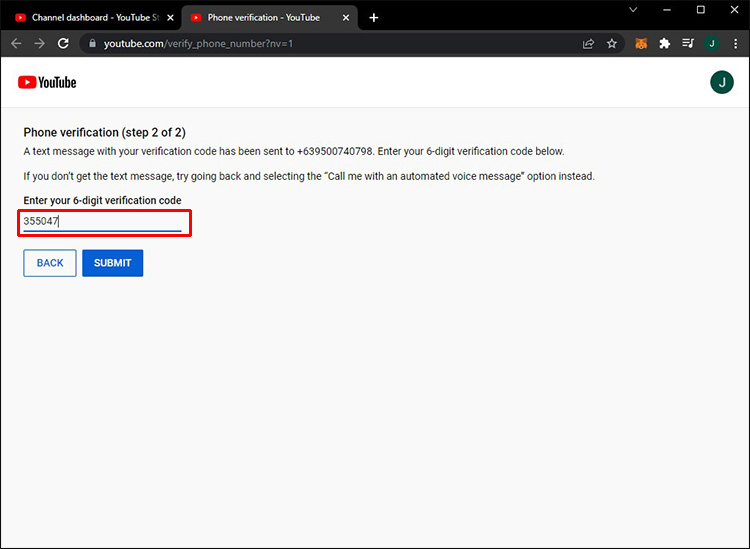
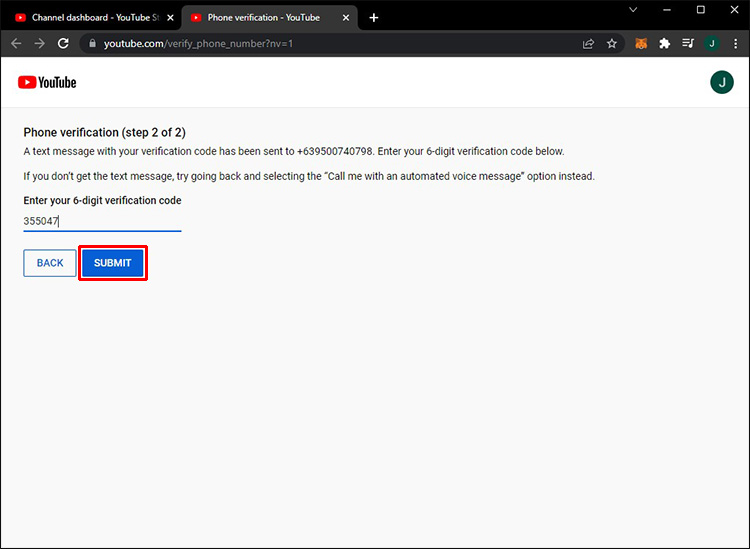
- Wait for the call or text message, then enter the verification code sent.
- Click on Submit. Your phone should now be verified.
It will take about 24 hours for YouTube to enable livestreaming on your account. Once verification is complete, you’ll be able to livestream right away.

Note that the process to enable livestreaming on YouTube mobile is quite similar, but it comes with additional requirements. These are:
- Have a minimum of 50 subscribers.
- Make sure that your channel has no livestreaming restrictions imposed upon it in the last 90 days.
- Make sure that your channel has been verified.
- Your mobile phone must have a minimum OS of Android 5.0.
If you have less than 1,000 subscribers, your livestream viewer count will be limited and any livestreams on your archive will be private as a default. To remove these restrictions, you’ll need to get at least 1,000 subscribers. Livestream limits will usually be lifted at least a week after you reach 1,000 subs.
If at any point you go under 1,000 subscribers, the livestreaming limits will be reinstated and will only be removed after reaching 1,000 subscribers again.
Start Livestreaming
Now that you have everything set up, you can start livestreaming. Private livestreams can be started by doing the following:
- Open your YouTube account.
- On the home page, click on your profile icon in the upper right corner of the screen.
- From the dropdown list, click on YouTube Studio.
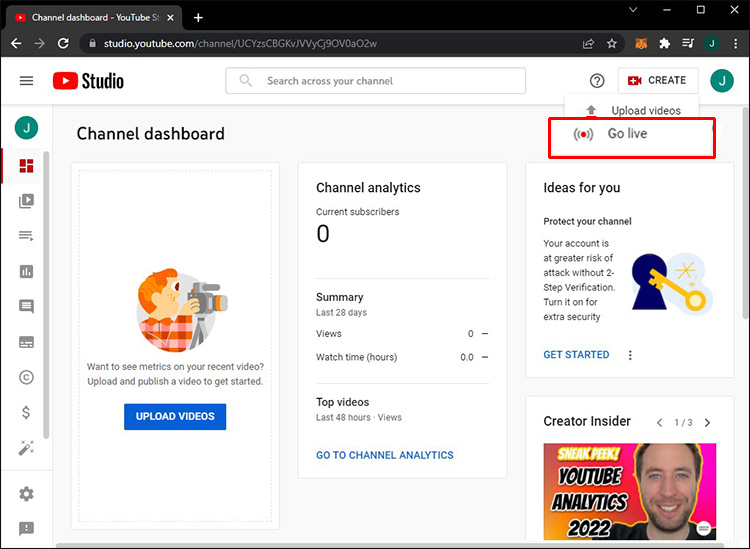
- On the upper right portion of the screen, click on Create then choose Go Live from the dropdown menu. Alternatively, the Go Live icon is accessible just under the Create button.
- A popup window will appear asking you if you want to livestream right now or at a later date. Choosing a later date will allow you to schedule a future livestream with a countdown that will be visible to anyone who can see your videos. Press the Start button on the option that you choose.
- Either option will lead you to the next page, which will ask if you’ll be using the built-in webcam of your device or an available Streaming software. After picking an option, click on Go.
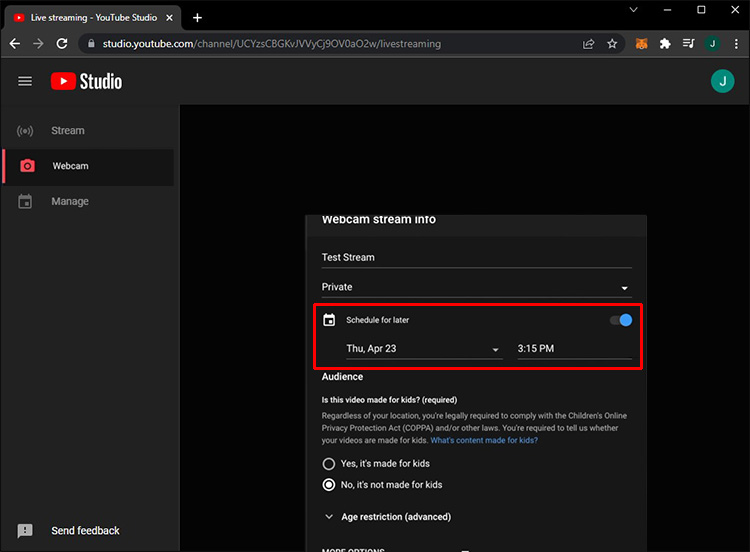
- Once you’ve made a choice, you’ll see the Edit Stream popup window. This is where you’ll get to modify details such as a title, age restrictions, and a custom thumbnail for the stream. This is also where you can set the privacy setting for the livestream.
- If you’ve chosen Schedule for Later, you can enter the date and time for your livestream here.
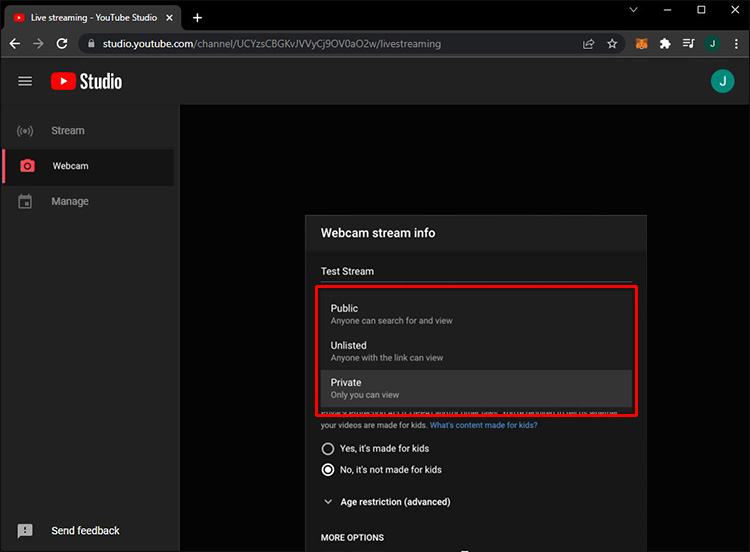
- Click on the dropdown arrow beside Public to see the menu.
The options available are as follows:- Public – Anyone can see the livestream.
- Unlisted – Only those with a link can see the livestream.
- Private – Only you and the people you invite can see the livestream.
As you want a private livestream, you can choose either Private or Unlisted. The difference is that Private allows you to invite people via email and social media to view your livestream, while Unlisted allows users that have a link, uninvited or not, to see it.
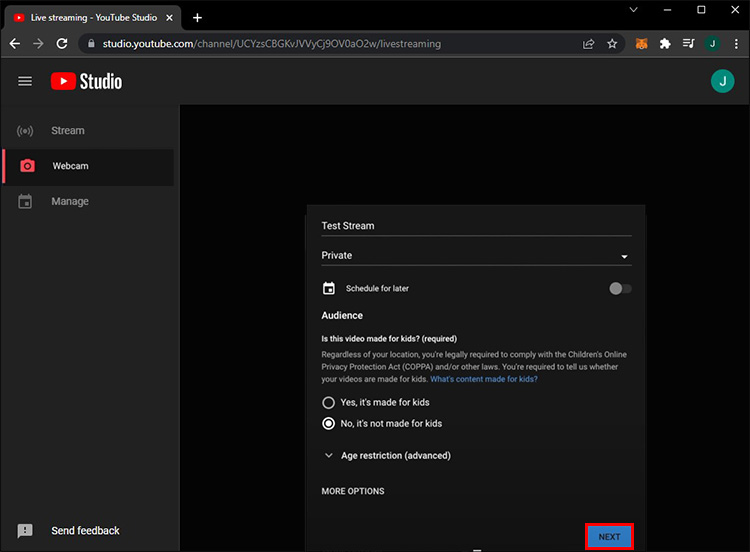
- Click on Next. Note that after pressing the button, YouTube will take a picture to be used as a thumbnail for the video. If you want to retake the picture, click on Retake Thumbnail on the popup window. Alternatively, you can use a saved custom thumbnail by clicking on Upload custom thumbnail and choosing your own file.
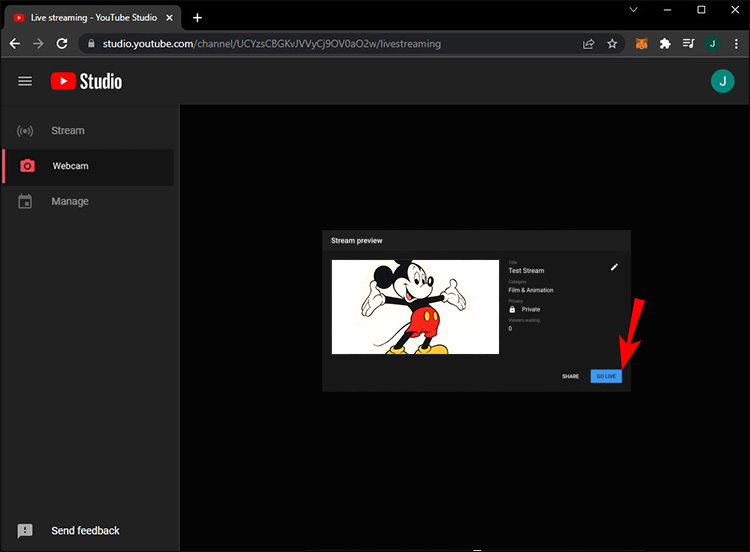
- On the lower right side, click on Share to get the link to your livestream. You can send the link directly from here by clicking on the icons indicated. Alternatively, you can email the link, or open the social media platforms to share the link manually.
- Once you’re done, click on Go Live.
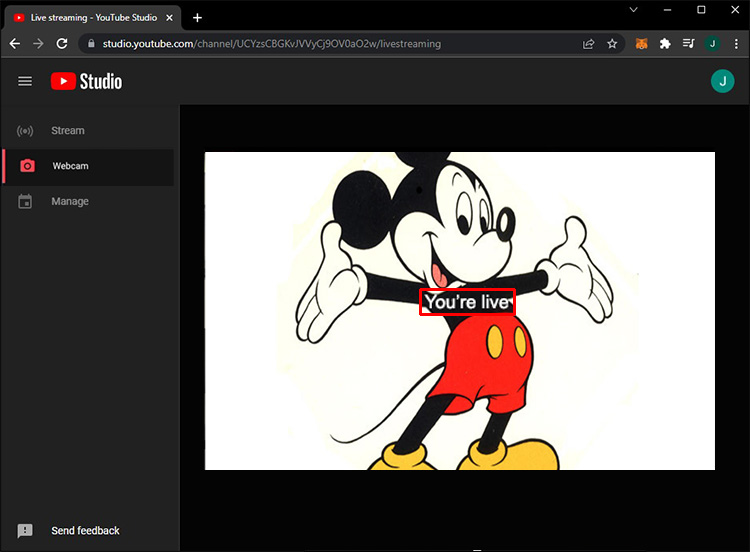
- After a few seconds, YouTube will say that you’re currently live. Congratulations, you’re now streaming. On the right, you’ll see the Live Chat window which will allow you to interact with your audience.
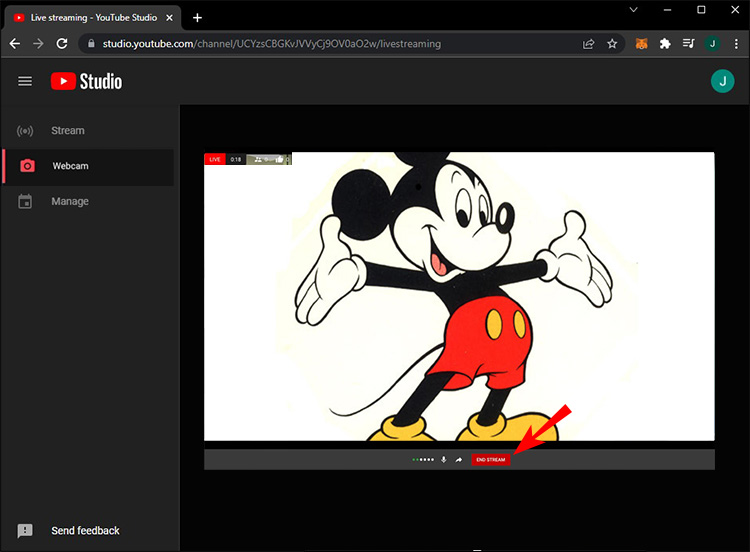
- When you’re done, just click on the End Stream button at the bottom of the window, then click End.
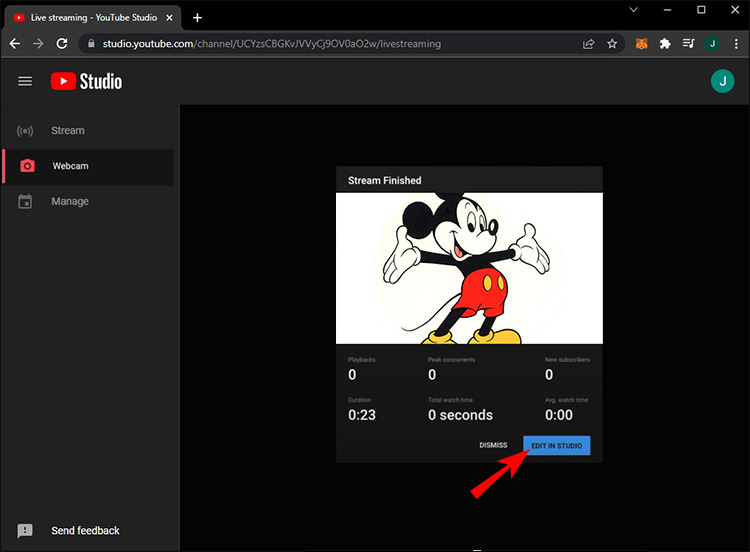
- A popup window will appear that will allow you to edit the livestream in YouTube Studio. If you want to do this, click on Edit in Studio. Otherwise, click on Dismiss.
- The Video will now be saved in your Livestream Archives.

Seeing Previous Livestream Content
If you wish to see all the previous livestreaming videos that you’ve made, they’ll be available in the archive. To access this archive, do the following:
- Open YouTube.
- On the home page, click on your profile icon in the upper right corner of the screen.
- Click on YouTube Studio from the dropdown list.
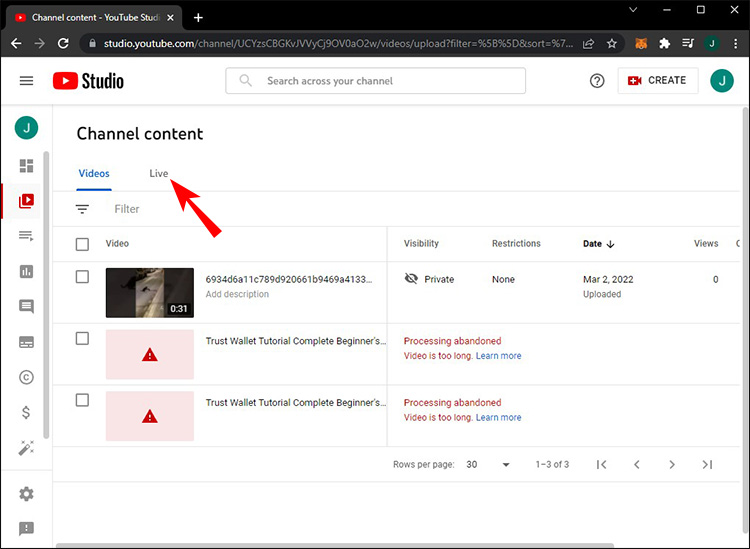
- On the leftmost menu, click on Content.
- From the tabs, click on Live.
- You’ll now see a list of the previous livestream videos that you’ve saved. From here you can edit or delete them as required.

A More Connected World
Knowing how to start a private livestream on YouTube allows you to better reach your audience and can give you the edge in both communication and marketing. The platform is changing as it adapts to a world that’s becoming more connected than ever. Now is the best time to use it to your advantage.
Do you know of other ways to start a private livestream on YouTube that wasn’t mentioned here? Feel free to share your thoughts in our comments section below.
Disclaimer: Some pages on this site may include an affiliate link. This does not effect our editorial in any way.