Before any work video conference or get-together with friends, it’s important to know if your webcam is working properly and, if not, where the problem lies. Is it with the apps using the camera? Is it because you’re trying out a camera on a brand-new laptop?
Testing the camera before you actually need it is the way to go. This way, you can detect if problems lie in the app or the device. Either way, a webcam test can help make sure things are good to go.
In this guide, we’ll share two ways of testing a webcam on Windows 10 devices. Additionally, we’ll share instructions for testing it in Zoom and Skype. Finally, we’ll answer some of the most common questions related to using a webcam on Windows 10.
How to Test a Webcam in Windows 10
This section will describe how to test your webcam on Windows 10 using different methods.
How to Test a Webcam Using the Camera App in Windows 10
Instead of using online tools, you can test your webcam via the native Camera app on Windows 10. Follow the steps below:
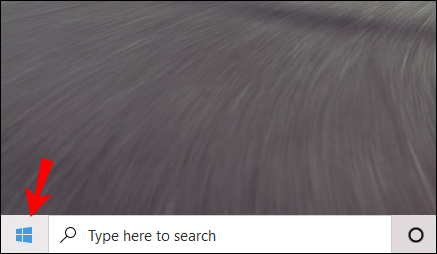
- Click the “Start” button located in the bottom left corner of your screen. If the taskbar is hidden, you won’t see the “Start” button. Click the bottom left corner to make the menu pop up.
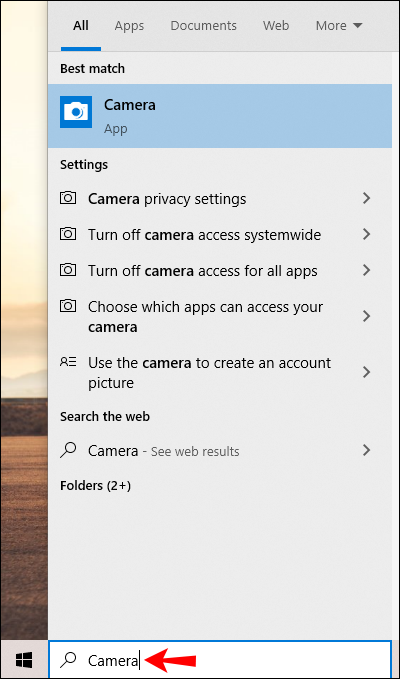
- Type “Camera” in the search bar and hit the “Enter” key.

- Grant access to your mic, webcam, and location if required.
- When the camera app appears, you’ll see yourself on the screen. If you don’t, something isn’t working properly.

Additional FAQs
Read this section to find out more about using the webcam on Windows 10.
How do I choose which webcam to use in Windows 10?
Sometimes, built-in laptop webcams aren’t the best, so you may want to use an external cam instead. To use an external webcam, disable the built-in one first. Here’s how to do that:
1. Hit the “Enter” and “X” keys simultaneously.
2. Select “Device Manager” from the pop-up menu.
3. From the left menu, select “Imaging Devices.” This button has a camera icon, and the name appears when you hover the cursor over it.
4. Right-click the name of a webcam you wish to disable.
5. From the dropdown menu, select “Disable.”
Optionally, you can set the second camera as default instead of disabling the first one. Follow the instructions below:
1. Hit the “Enter” and “S” keys simultaneously to open the “Start” menu.
2. Type “Control Panel” into the search bar and hit the “Enter” key to open it.
3. Under the “Hardware and Sound” section, click “View Devices and Printers.”
4. You’ll see a list of connected webcams. Right-click the one you wish to set as default.
5. From the dropdown menu, choose “Set this device as Default.”
If you have both front and rear cameras and simply want to turn the camera around, follow the steps below:
6. Click the “Start” button located in the bottom left corner of your screen.
7. Type “Camera” into the search bar and hit the “Enter” key.
8. You’ll see a picture of yourself appear. If your laptop or tablet has two cameras, click the camera icon with an arrow at the upper right corner of your screen. This will enable the rear camera.
How do I test my webcam in Zoom?
You can test your camera before making a Zoom call. Follow the steps below:
1. Launch Zoom on your PC and click your profile photo located in the corner of your screen.
2. From the menu, select “Settings.”
3. Navigate to the “Video” tab.
4. You’ll see yourself appear on the screen if the camera is working properly.
5. Optionally, expand the dropdown menu under the camera window to select another camera.
If participants can’t see you during a Zoom call, you can test your video without leaving the meeting. Follow the instructions below:
1. During a meeting, click the arrow icon from the bottom taskbar. It’s located next to the “Stop Video” button.
2. Select “Video Settings” from the menu.
3. You’ll see yourself appear on the screen if the camera is working properly.
4. Optionally, expand the dropdown menu under the camera window to select another camera.
How do I test my webcam in Skype?
Skype allows you to test both video and audio before making a call. To test the camera, follow the instructions below:
1. Launch Skype on your PC and click your profile photo to access the menu.
2. From the menu, select “Settings,” then “Audio & Video Settings.”
3. Under the “Video” section, you’ll see yourself appear in the camera preview.
Note: To try out another camera, change the default camera in Windows 10 Settings app.
My Camera Isn’t Working in Certain Apps. What Should I Do?
Sometimes, your camera may be in perfect order but not work with certain apps. In this case, you must grant the apps access to your webcam and mic. To do so, follow the steps below:
1. Click the “Start” button located in the bottom left corner of your screen. If the taskbar is hidden, you’ll need to click the bottom left corner to make the menu pop up.
2. Type in “Settings” and hit the “Enter” key.
3. Under the “Privacy” section, select “Camera.”
4. Click “Let apps use my camera.”
5. Disable restrictions for each app individually.
6. If the issue persists, check whether camera access is enabled in the app settings.
Test and Troubleshoot
Hopefully, with the help of our guide, you managed to detect the problem with your camera and troubleshoot it. Often, users experiencing such issues blame them on the webcam when in reality the trouble lies in an app. Thus, make sure you’ve granted the necessary permissions and performed a test before using a webcam in third-party apps.
Are you using a built-in Windows 10 laptop cam or a personal device? Which one and can you recommend it? Share your experiences in the comments section below.
Disclaimer: Some pages on this site may include an affiliate link. This does not effect our editorial in any way.


