Paste a crosshair code from an older guide into CS2 today, and there is a good chance the game rejects it. Valve rebuilt the crosshair system to make adjustments more intuitive and resolution-independent.
The September update moved crosshair settings into a new Crosshair/Scopes tab, made crosshairs resolution-independent, and switched the default style to Dynamic Quad. A subsequent patch also changed the share code format so codes could carry dot scale and color as well, as Fragster reported.
So the old instructions only half work. Below are the ways to set up your crosshair now: in the settings menu, with a share code from a teammate or a pro, and through the console.
How to Change Your Crosshair in the Settings Menu
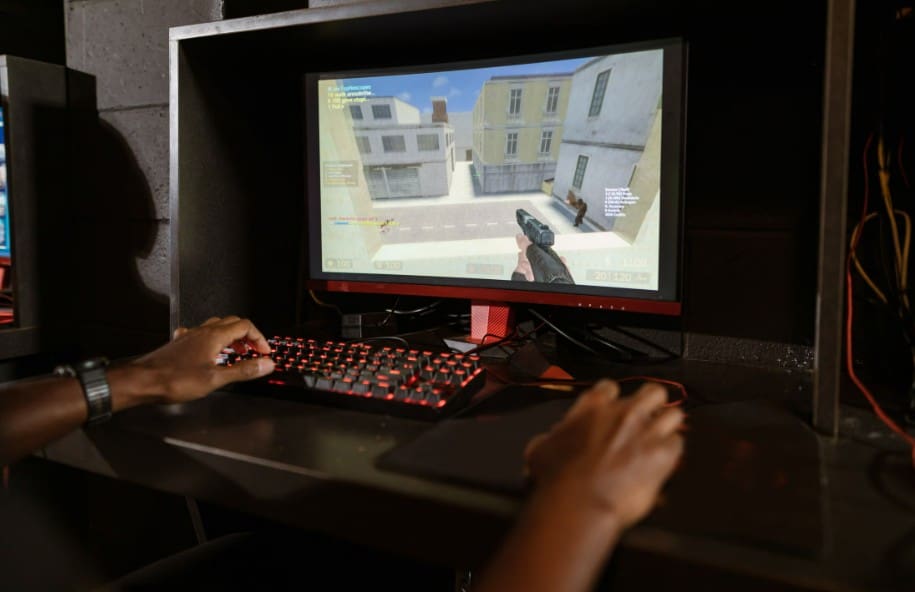
The new tab is where most players should start, because you do not need to type a single command.
- Launch CS2 and click the gear icon in the main menu to open Settings.
- Open the Crosshair/Scopes tab.
- Pick a style. There are ten of them now, from Dynamic Cross to the new Static Quadrant.
- Set the length, thickness, and gap.
- Choose a color and an outline (full, half, or none), and add a center dot if you like one.
The numbers in step 4 mean something different than they used to. They are now pixels at your current resolution. Valve’s follow-up notes give a clean example: thickness 1, length 8, and gap 4 draw a 1-pixel-wide bar that is 8 pixels long, with a 4-pixel gap.
Change your resolution later, and the game rescales the crosshair for you. A 2-pixel line set at 1280×720 becomes 4 pixels at 2560×1440, so it covers the same share of the screen.
How to Import a Crosshair Code in CS2

A share code packs your whole crosshair into one line of text. Importing one replaces your current settings, so save yours first.
- Open Settings and go to the Crosshair/Scopes tab.
- Click Share or Import, then copy your current code somewhere safe, like a note on your phone.
- Paste the new code into the field.
- Click Import and test the result on a workshop aim map before your next match.
Look at the first letters before you paste. Codes made after the September 30 patch start with CS, have no dashes, and run 46 characters. Older ones look like CSGO-xxxxx-xxxxx-xxxxx-xxxxx-xxxxx. Players report that those either fail with an invalid code message or load a crosshair that looks different from the original.
If you want to practice your newly imported crosshair setup on community practice maps or test utility line-ups, you can check out guides on how to open a CS:GO map to load local training environments.
How to Copy a Teammate’s Crosshair
Liked the crosshair of the teammate who just carried your pistol round? You can take it from the scoreboard, as long as you are spectating them.
- Check that
cl_show_observer_crosshairis set to 2 (everyone) or 1 (friends and party only). It is 2 by default. - After you die, spectate that teammate.
- Hold Tab, then right-click to free the cursor.
- Click the player’s name and choose the copy crosshair option in their profile panel.
Copying overwrites your current crosshair, so back up your own code first. In a live match, you can only spectate your own team, which keeps the enemy AWPer’s crosshair out of reach this way.
How to Copy a Pro Player’s Crosshair in CS2
You will rarely spectate a pro in your own match, so for their setups you need a code. The CS2 crosshair database lists pro share codes by player, one code per card. Check the prefix before you copy: ZywOo’s and m0NESY’s start with CS, so they paste straight into the Import box.
If the only code you can find for a player still starts with CSGO-, it was made before the rework. You will have to rebuild it by hand in the new tab, matching the shape by eye, and that takes some trial and error. In the menu, negative gaps now work only on the classic dynamic style, so a static cross with a negative gap won’t carry over exactly.
Aspect ratio matters too. If a pro plays 4:3 stretched and you play native 16:9, the same code will look narrower on your screen than it does on theirs.
How to Change Your Crosshair With Console Commands
The console is quicker once you know the commands, and they are what you put in an autoexec file.
- Go to Settings, open the Game tab, and set Enable Developer Console to Yes.
- Press the ~ key to open the console.
- Type a command and press Enter.
Several commands were renamed in the rework. In the current list of CS2 console variables, length, thickness, and gap have new names. The old cl_crosshairsize and cl_crosshairthickness are hidden, and cl_crosshairgap is gone from the list. If your autoexec came from a guide written before September 22, check it against this list:
cl_crosshairstyle: style from 0 to 9; 4 is Static Cross, 7 is Dynamic Quadcl_crosshair_length: length of each bar, 0 to 255cl_crosshair_thickness: thickness, 0 to 32cl_crosshair_gap: distance between the center and the barscl_crosshaircolor_r,cl_crosshaircolor_g,cl_crosshaircolor_b: color, 0 to 255 eachcl_crosshaircolor_a: opacity, 0 to 255cl_crosshairdot 1: adds a center dotcl_crosshair_drawoutline: 0 for none, 1 for full, 2 for halfcl_crosshair_t 1: hides the top bar for a T-shaped crosshair
To build Valve’s example crosshair as a static cross, enter the line below in the console. It is the same 1-pixel bar, 8 pixels long with a 4-pixel gap, from the September 23 notes:
cl_crosshairstyle 4; cl_crosshair_length 8; cl_crosshair_thickness 1; cl_crosshair_gap 4
For cyan instead of the default green, add cl_crosshaircolor_r 0; cl_crosshaircolor_g 255; cl_crosshaircolor_b 255.
If you ever want to manage your account matchmaking preferences, bypass global queues, or look into options like how to turn off Prime in CS:GO, handling those game state adjustments can similarly be done through account configurations.
Final Thoughts
Updating your crosshair in CS2 is much simpler once you understand how the new resolution-scaling system and revised share codes operate.
Whether you prefer fine-tuning your sight lines in the settings tab, importing a share code from the CS2 crosshair database, or executing console commands directly, having a clear crosshair tailored to your playstyle is essential for consistent aim and target tracking.
Always back up your current settings before testing new configurations so you can quickly revert if a new layout doesn’t feel right during a match.
Related Posts
 Four Ways xAI Could Change the Way You Use AI
 Something Went Wrong With Bing AI – How to Fix It
 How to Use ChatGPT as a Search Engine and Should You Do It?
 The Importance of a Privacy Oriented GPT Tool and How HiddenGPT Helps You Stay Safe
 Top AI Tools for Finance and Accounting
 How to Synthesize Customer Surveys With Power Automate AI
 How to Use Freepik AI Image Generator
 The Best AI Website Builders to Try
 Understanding ChatGPT Generation Limits

Disclaimer: Some pages on this site may include an affiliate link. This does not effect our editorial in any way.