Like most people, you probably don’t pay much attention to your hard drive until it’s full and starts giving you problems.
In this article, we’ll show you how to view your hard drive usage in Windows 11 so that you can identify which files are taking up the most space and delete them if needed.
View Hard Drive Usage on a Windows 11 PC
By default, the Storage Sense feature in Windows 11 will delete unneeded files from your hard drive automatically to free up space. But you can also monitor your hard drive usage manually. This information can be useful if trying to free up space on your hard drive.
For example, if you see a lot of space being used by temporary files, you can delete those files manually to free up space. Or, if you see that a lot of space is being used by video files, you can move those files to an external hard drive or cloud storage service.
By monitoring your hard drive usage, you can ensure your hard drive has enough space for the most important files.
Let’s look at the different ways you can view hard drive usage in Windows 11.
How to View Your Hard Drive Usage With File Explorer
File Explorer is a handy tool that allows you to view the contents of your hard drive and see how much space each file or folder is taking up. To open File Explorer:
- Click on the Start button and select “File Explorer” from the list of programs.

- Once you have File Explorer open, you should see a list of all the drives on your computer, including your hard drive.

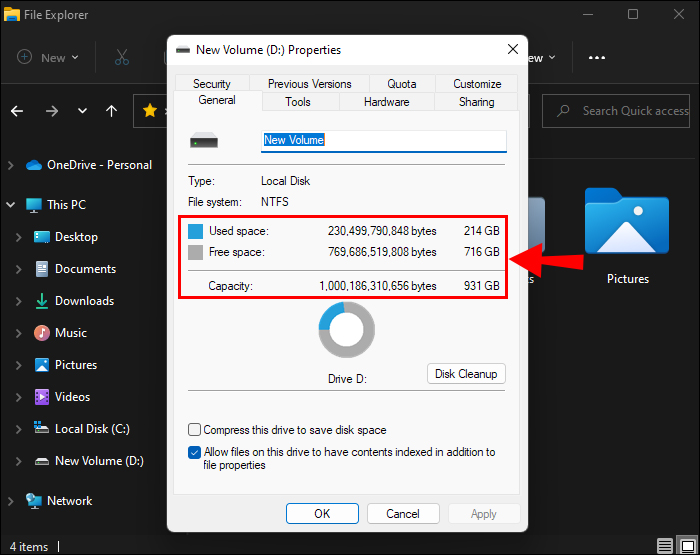
- To view your hard drive usage, simply right-click the hard drive icon and select the “Properties” option from the popup menu.
- This will show you how much space is being used on your hard drive and how much space is available.


You can also use File Explorer to delete files or folders you no longer need to free up space on your hard drive. Simply open the hard drive, right-click on the files or folders you want to delete, and then select “Delete” from the menu. Once you have deleted the unwanted files, your hard drive usage will decrease.
How to View Your Hard Drive Usage With WinDirStat
WinDirStat is a disk usage statistics viewer and cleanup tool for Windows. If you’ve ever wondered where all your disk space has gone, WinDirStat will provide the answer.
The program scans your entire hard drive and displays a graphical representation of the file system, showing the size and location of files and folders. This makes it easy to identify which files and folders are taking up the most space and helps you to make informed decisions about which ones to delete.
Best of all, WinDirStat is free and open-source, so you can be sure it won’t contain any malicious code.
Here’s how to view your hard drive usage with this tool:
Step 1: Install WinDirStat on Windows
First, you need to install WinDirStat on Windows 11. Here’s how to go about it:
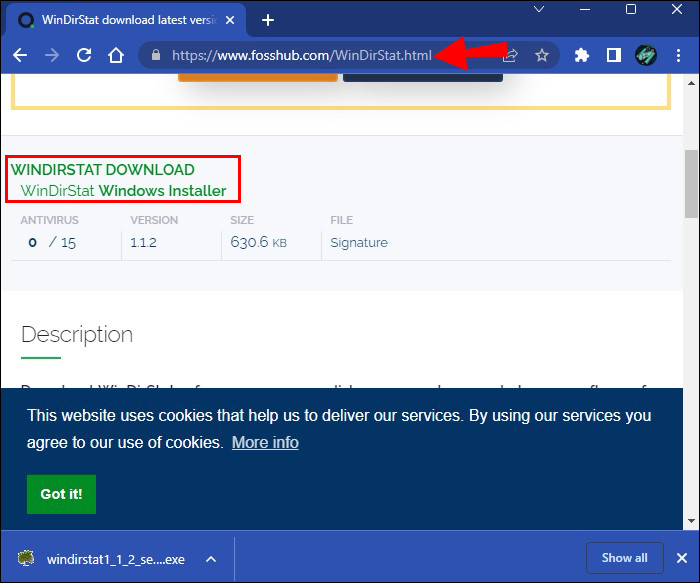
- Go to the WinDirStat website and click on the “Download” button.
- Save the installer to your computer and open it.
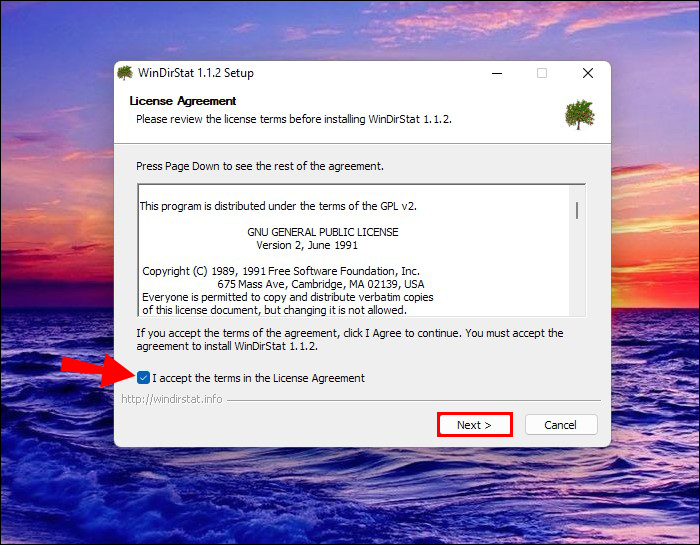
- Click “Next” and “I accept the terms in the License Agreement.”
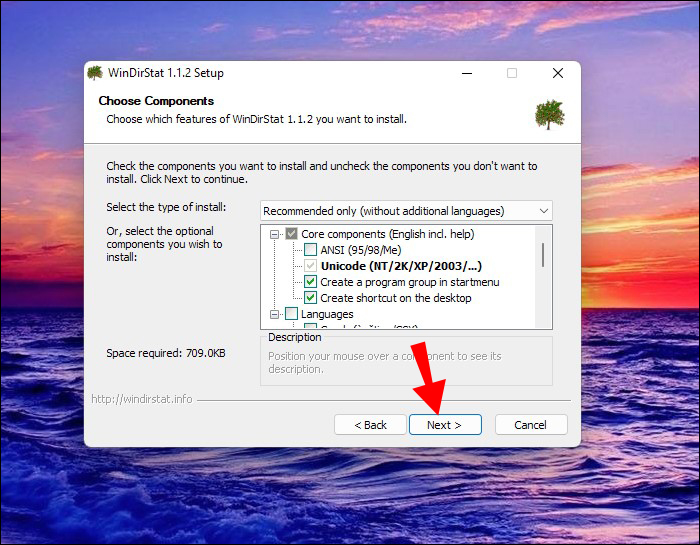
- Then on “Install.”
- Click on “Next” again.
- Tap “Finish” when the installation is complete.


Step 2: Scan the Hard Drive
Once you’ve installed WinDirStat on Windows, you can now proceed to inspect your hard drive usage:
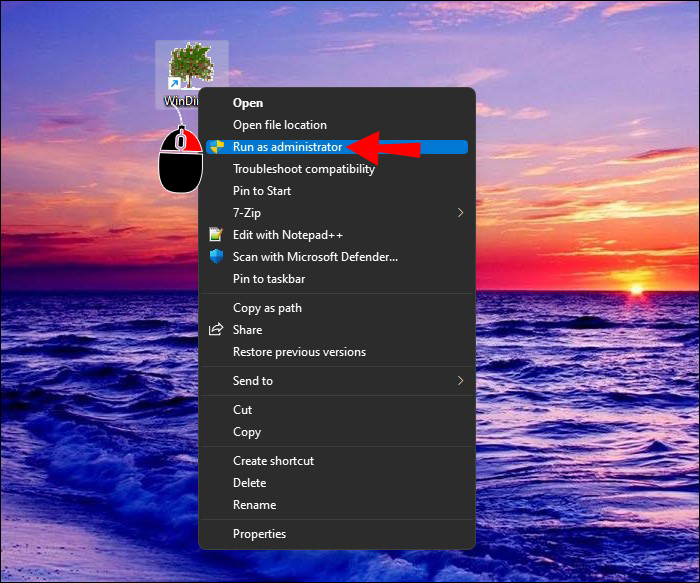
- Right-click on the WinDirStat program icon and select “Run as administrator” from the popup menu.
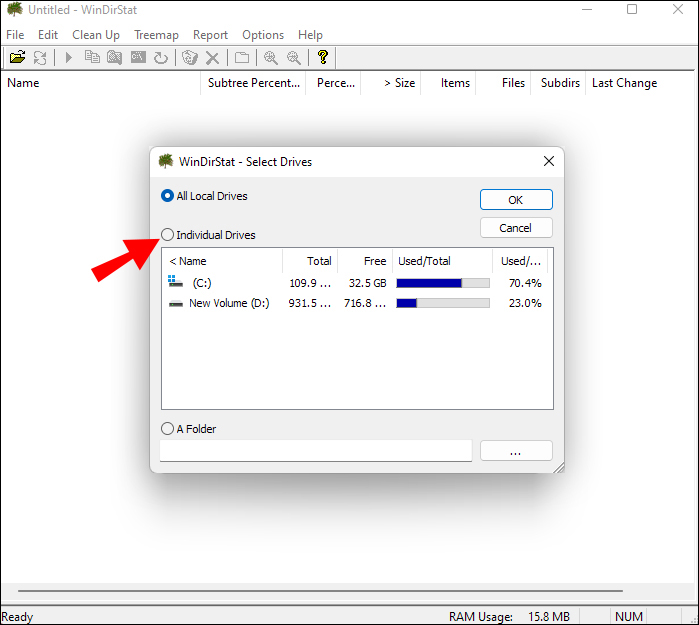
- Click on “Individual drives.” This will enable you to view the files taking up space in each partition on your hard drive.
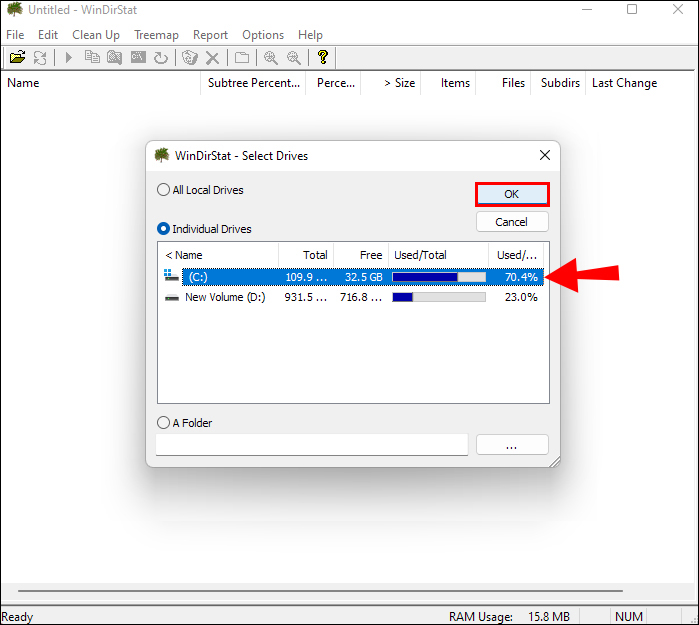
- Select the partition you want to inspect and then tap “OK” in the top right corner.
After this, WinDirStat will scan the selected drive partition and display a graphical report showing the files taking up the most space.
The interface is divided into two main sections. On the left is a tree view of the file system, with folders arranged in hierarchical order. This lets you see at a glance which folder is using the most space. You can expand and scroll down to find the specific file that is taking up the most space.
On the right is a list of file extensions sorted by size. This lets you see at a glance which file types are taking up the most space. Each file type is represented by a different color in the graphical view at the bottom of the page.
If a specific file is using an undesirable amount of space, you can delete it from within WinDirStat by right-clicking on the file and selecting “Delete.” Once you have deleted the file, you can click on the “Refresh” button to rescan your hard drive and update the display.
How to View Your Hard Drive Usage With the Windows Resource Monitor
The Resource Monitor is a hidden gem in Windows 11 that provides a wealth of information about your computer’s resource usage.
To access the Resource Monitor:
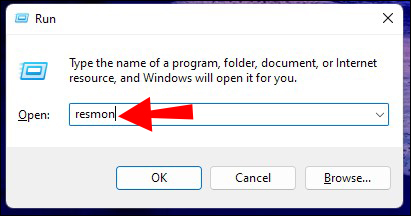
- Press the Windows key + R on your keyboard.
- Then type “resmon” and press “Enter.” This will open the Resource Monitor window.
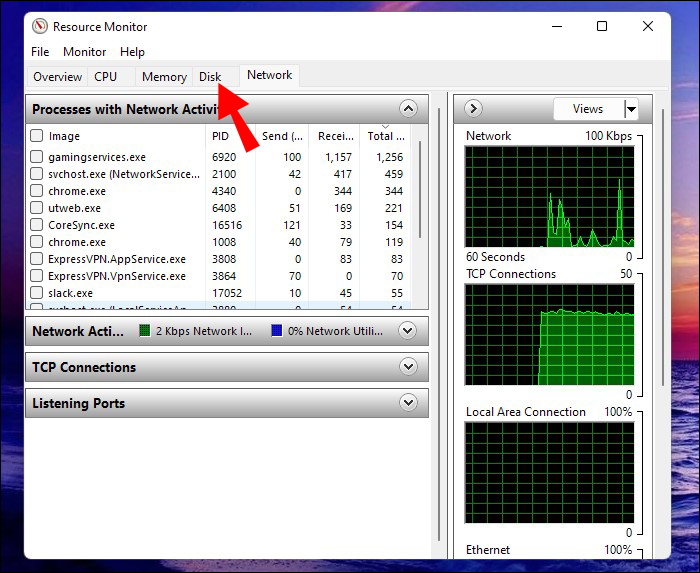
- Select the “Disk” button at the top of the window.
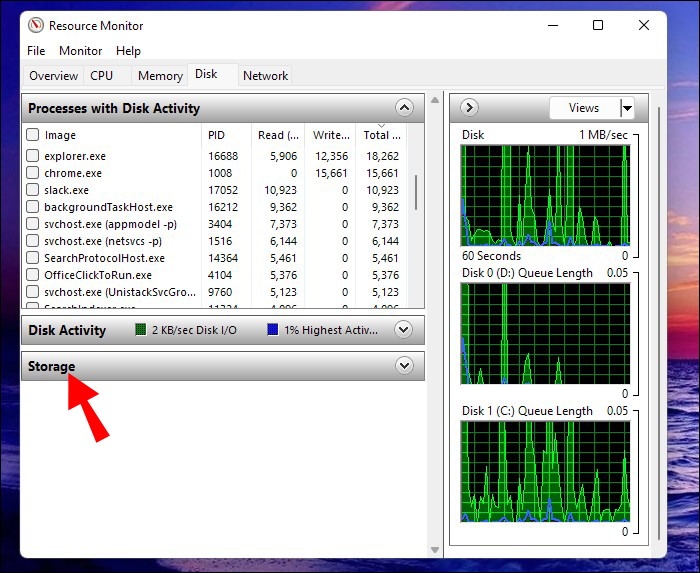
- Click on the “Storage” section to expand it. You should now see columns for available space, total space, and the average disk queue length.

If any of your drives are getting close to full, you can free up some space by deleting unnecessary files. You can also try moving large files to another drive with more storage space. Regularly checking your drive capacity can help keep your computer running smoothly.
How to Check Drive Storage Space With PowerShell
PowerShell is a powerful scripting language that comes pre-installed on all recent versions of Windows. Here’s how to use PowerShell to quickly check your drive storage space:
- Press the “WIN + X” keys on your keyboard and then select “Windows PowerShell” from the menu that appears. If you don’t see “Windows PowerShell” listed, you can also search for it in the Start Menu.
- Once PowerShell has launched, type the following command and press “Enter:”
Get-Volume


This command will give you a list of all storage volumes on your computer along with their friendly name, filesystem label, capacity, and amount of free space.
How to Check Drive Storage Space With Settings
To check drive storage space with the Settings app on Windows 11:
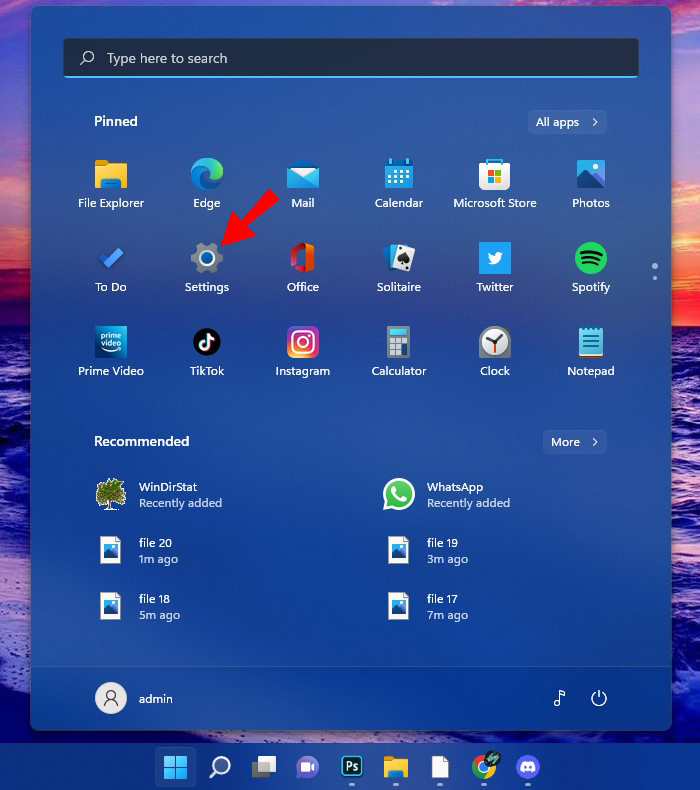
- Open the Settings feature on your computer. This can be done by clicking the Start button, then selecting the settings cogwheel icon.
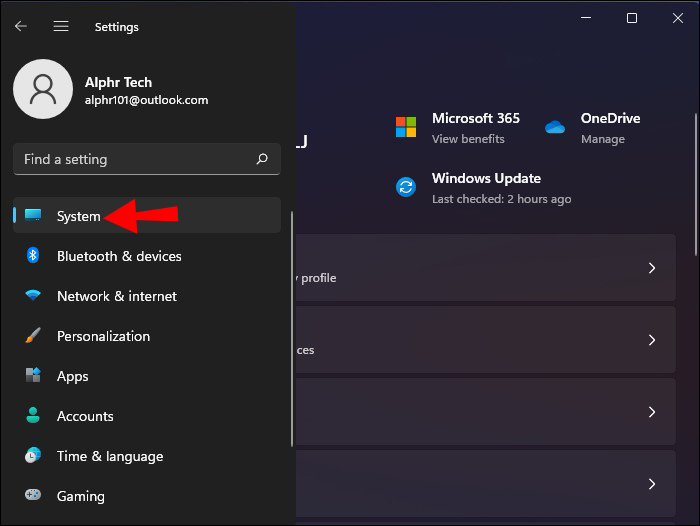
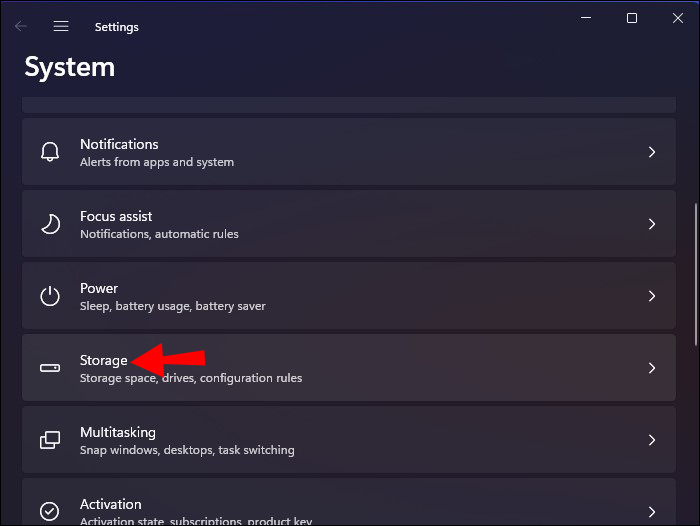
- In the Settings window, select the “System” option.
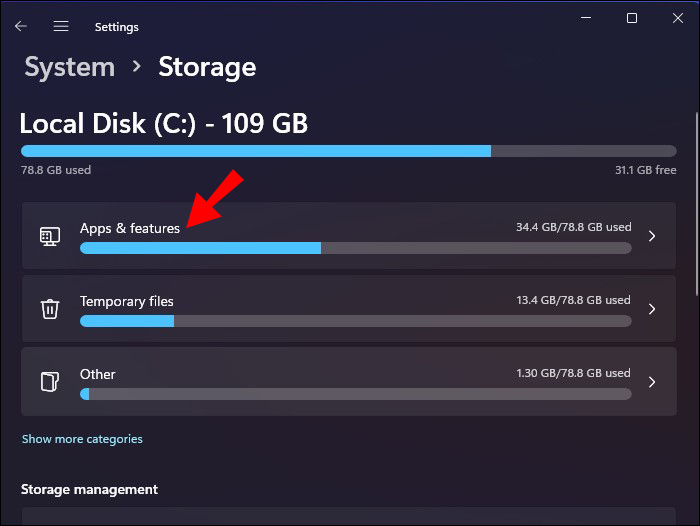
- On the left side of the System window, select “Storage.” This will bring up information on the storage space for each drive on your computer.
- For more detailed information, click on the drive you want to check. This will open a new window that shows you how much space is being used by each type of file (such as photos, videos, music, and so on). You can also use this window to delete files you no longer need in order to free up space.
Keep an Eye on Your Hard Drive Usage
Checking your hard drive usage in Windows 11 is a quick and easy process that only takes a minute or two. Doing this periodically ensures that you always have enough space on your hard drive for all of your important files.
Have you tried to check your hard drive usage in Windows 11 using any of the tools discussed in this article? How did it go? Let us know in the comments section below.
Disclaimer: Some pages on this site may include an affiliate link. This does not effect our editorial in any way.


