Some of us have printers at home for work or leisure, and our computers usually recognize these devices permanently. However, some users have found that updating to Windows 11 results in their systems not detecting their printers. Therefore, they can’t make hard copies of documents.
Fortunately, there are several ways to address this error on Windows 11. They’re tried and true but will not guarantee a complete fix. Read on to find out more.
Troubleshoot First
Windows 11 comes with many troubleshooters like its predecessors, allowing owners to try and address problems independently. Printers are no exception, so you can still try and solve any software errors.
Before troubleshooting the printer, ensure it’s plugged into a power supply properly and has a secure connection to your PC. There should be paper in the tray and some ink or toner left in the cartridge.
Here’s how to use the troubleshooter.
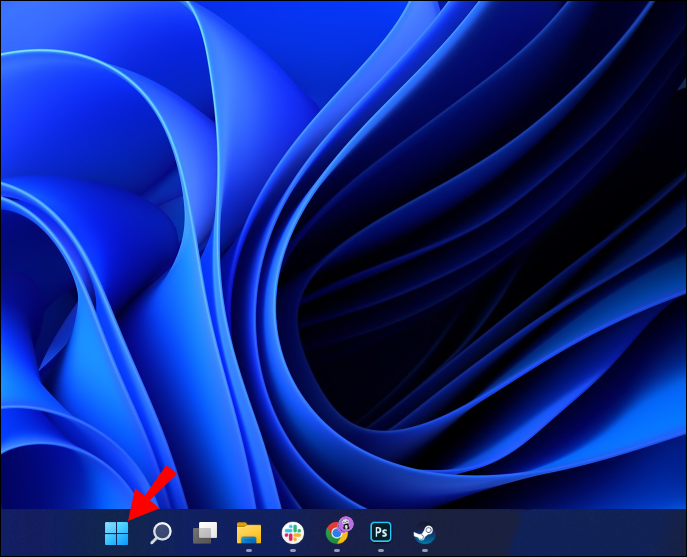
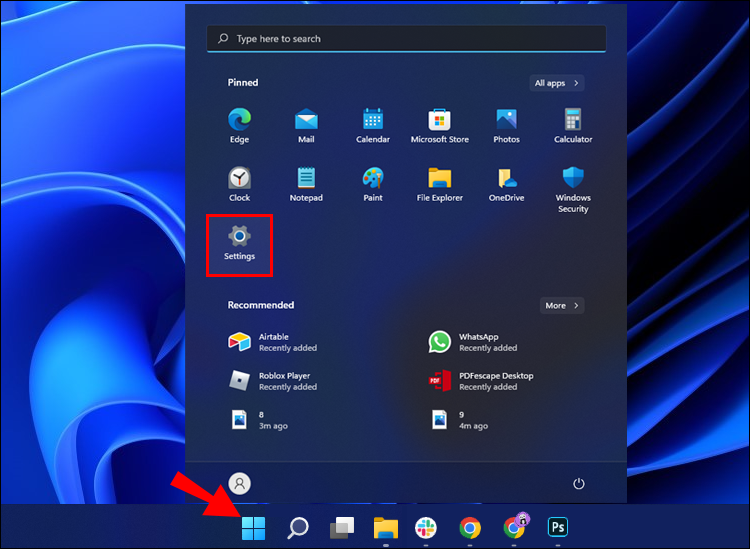
- Open the Windows Start Menu.
- Go to “Settings.”

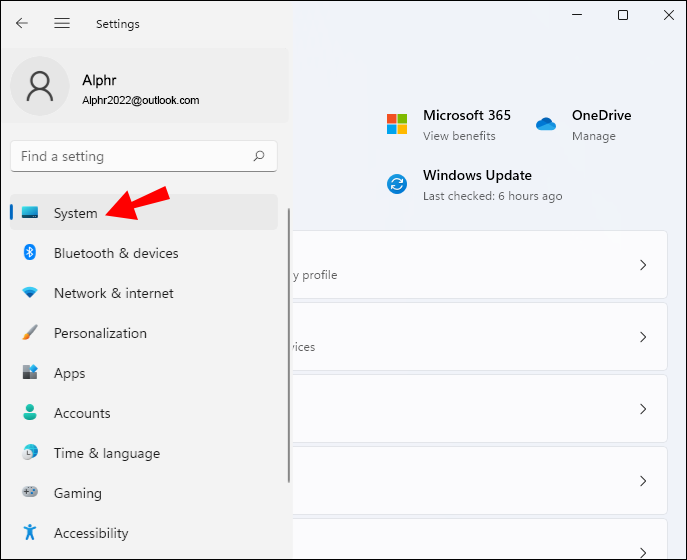
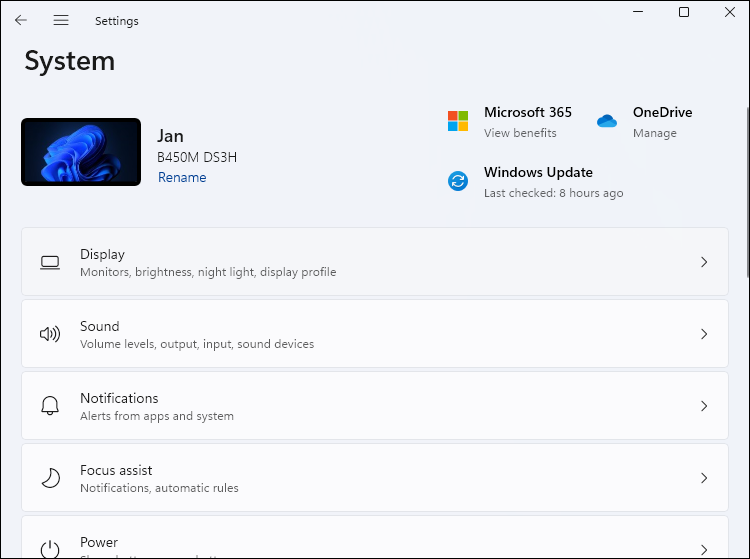
- Click on “System.”
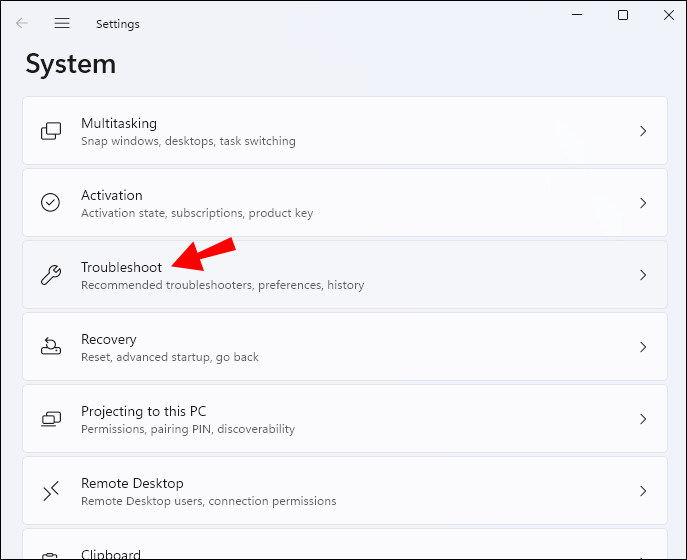
- Pick “Troubleshooter” from the list of options.
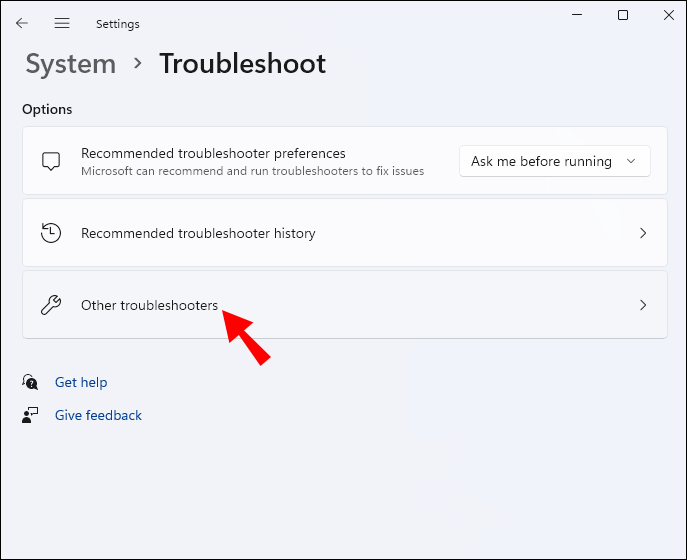
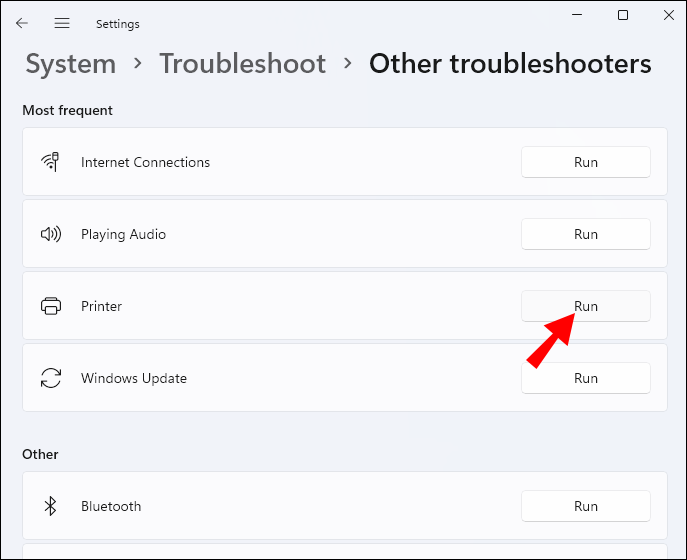
- Select “Other Troubleshooters.”
- Run the Printer troubleshooter.
- Follow the software’s instructions if there are any apparent errors.

This solution tends to iron out some minor issues with the software. However, it may not detect all your problems. Should this be the case, try another solution.
Check for New Windows Updates
In the past, build KB5006746 of Windows 11 was known to cause printer issues. Those who find themselves stuck in this version will have to update immediately.
Check your Windows 11 version first before proceeding.
- Open the Start Menu and head to the “Settings” menu.
- Head to the “System” section.
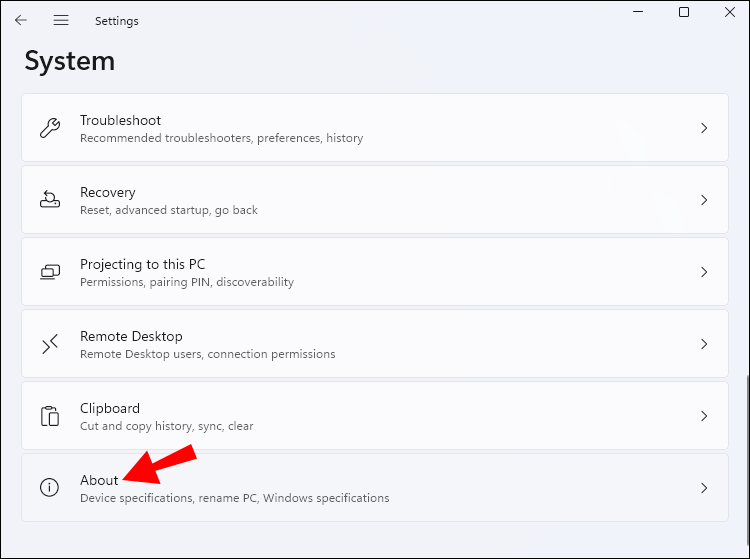
- Scroll down and find the “About” option.
- Under “Windows Specifications” is your build.
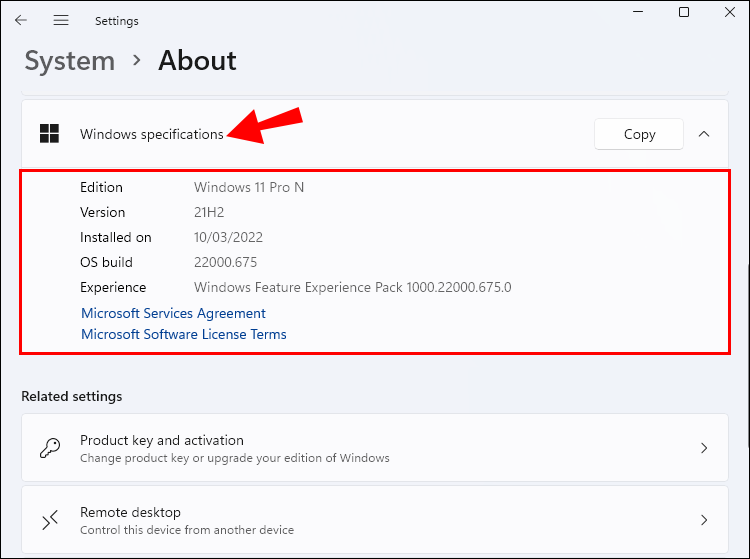
If it’s KB5006746, you should update your PC. Even if not, it’s still best to switch to the newest version, as you also get the latest security features.
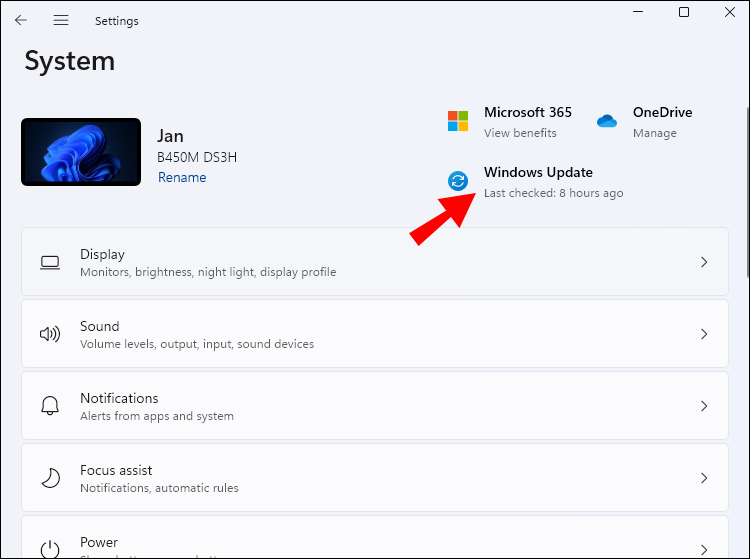
- Press “Windows Key + I” to open the “Settings” menu immediately.
- Look for “Windows Update.”
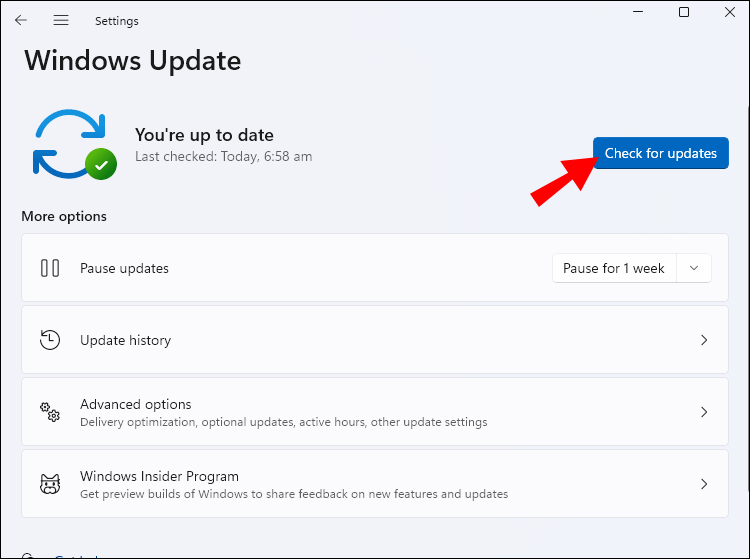
- Go to that section and click on “Check For Updates.”
- Windows will update if there’s a new version.
- Wait for your PC to finish installing the update.
- Reboot your computer and try if the printer still isn’t detected.


It’s still a good idea to update your Windows 11 build. Microsoft recommends this unless the newest one has a fatal error. In that case, you can also roll back to an older version.
However, you can only do this if you’re within 10 days after updating your Windows 11 version.
- Go to the “Settings” menu.
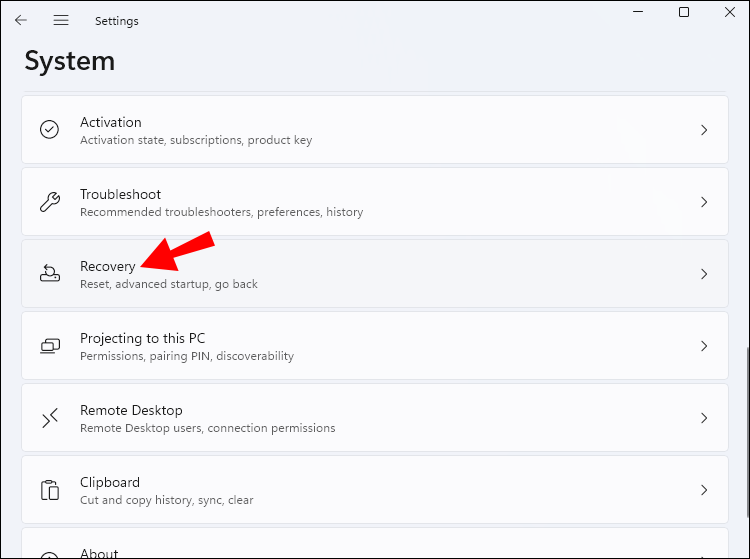
- Head to “System.”
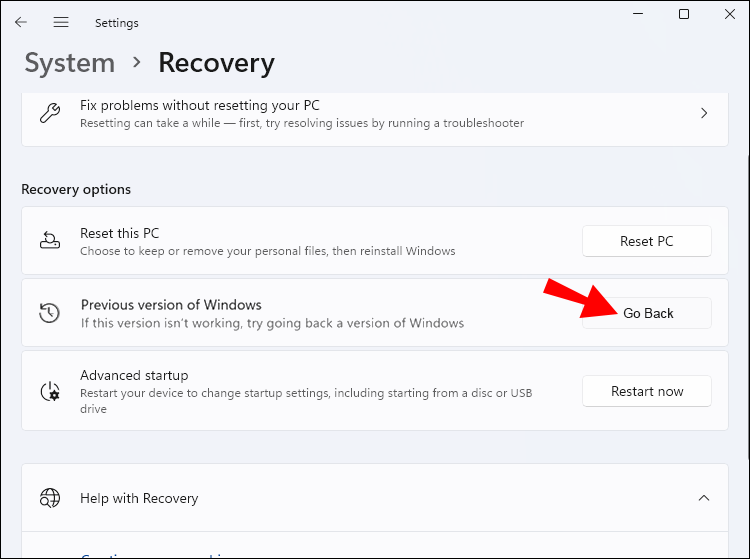
- Look for “Recovery.”
- Click on “Go Back.”
- Answer the questions and click “Next.”
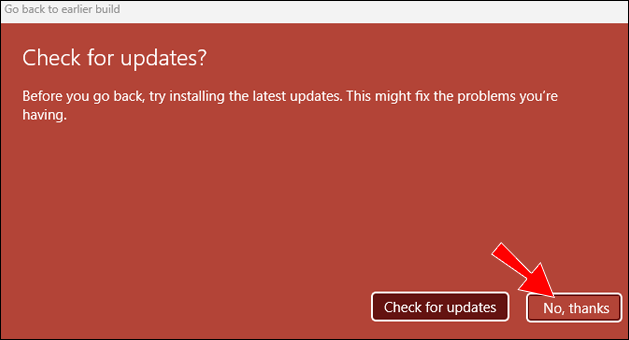
- Select “No, Thanks.”
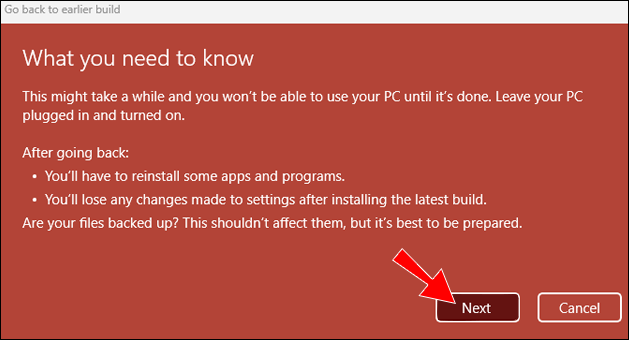
- Read through the warnings and click on “Next” for the subsequent two screens.
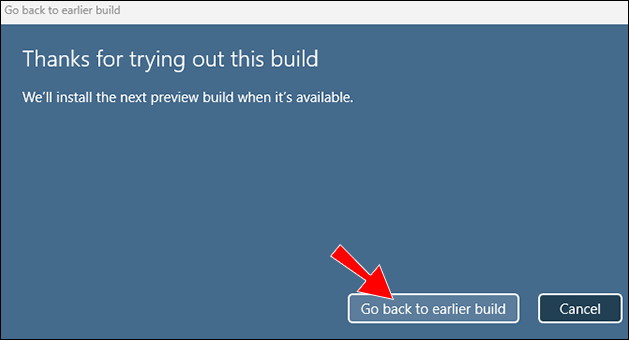
- Select “Go Back To An Earlier Build.”
- Wait for the process to finish.
- Check your printer.

We don’t recommend rolling back often, as this method isn’t always available for users. However, there are some cases when reverting is more helpful.
Before you revert, try looking online for similar cases. If many users say the newest version introduces bugs that disable printers, you can either revert or wait.
Update Your Printer Drivers
Printer drivers allow the devices to work with PCs, and they should be kept up to date. If not, there can be malfunctions. Failures to detect are one such problem.
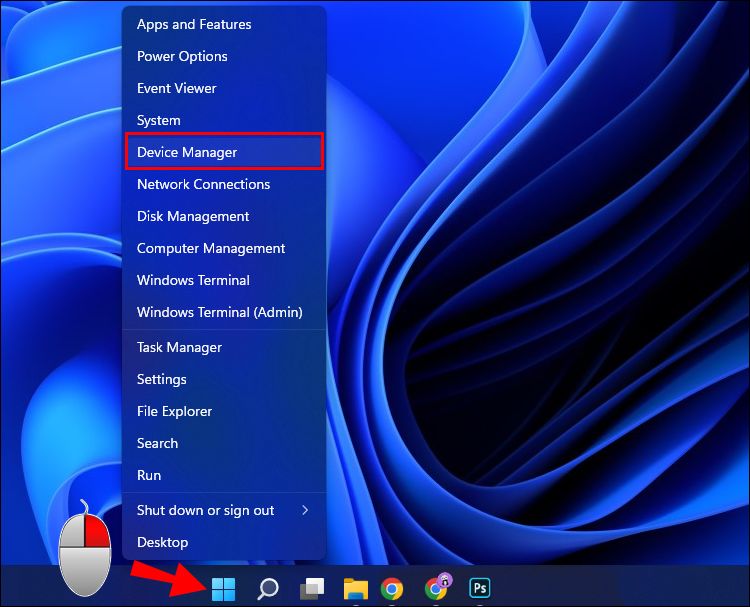
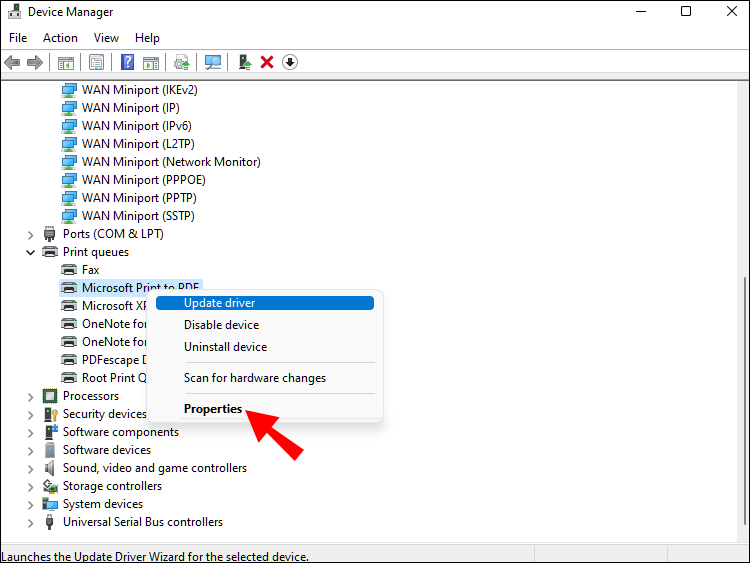
- Right-click the “Start Menu” pick “Device Manager.”
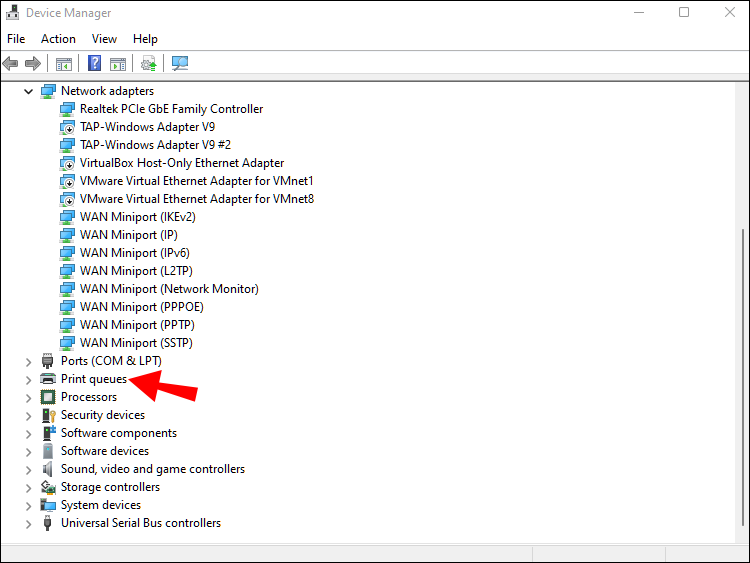
- Scroll and look for “Print Queues.”
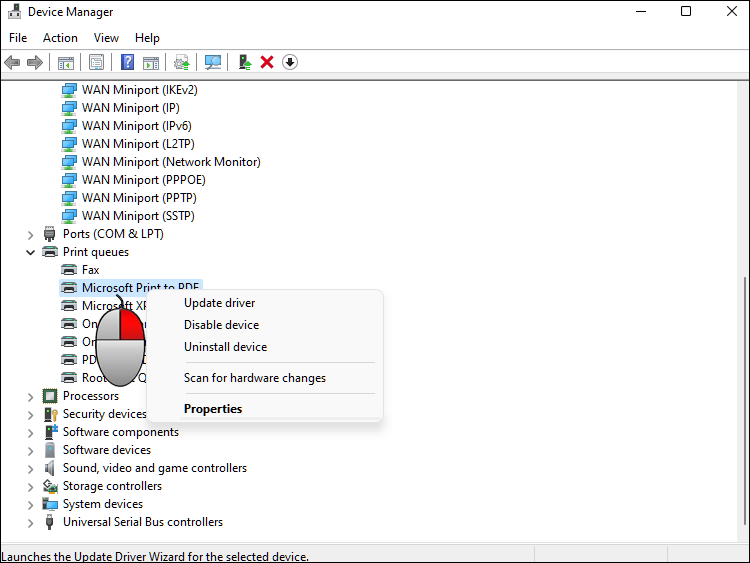
- Right-click on “Microsoft Print to PDF.”
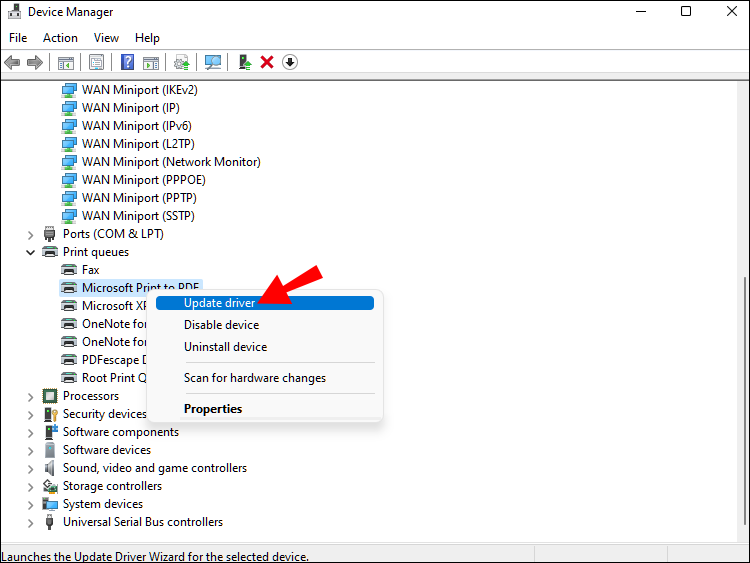
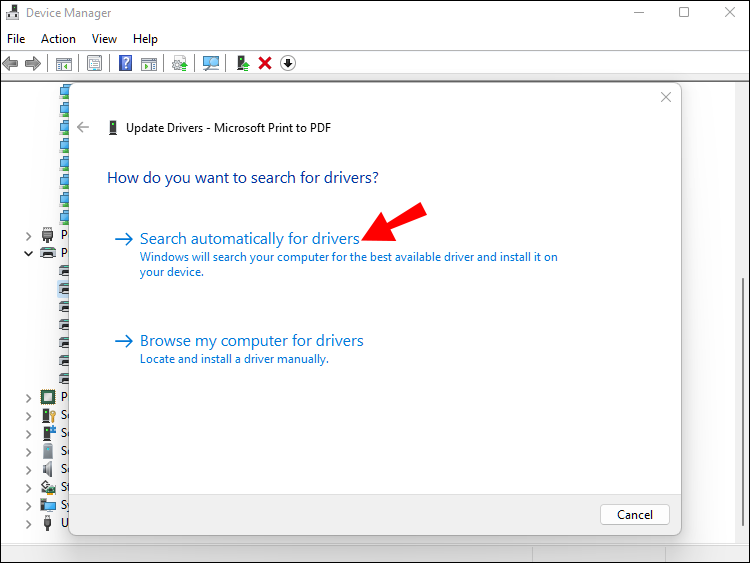
- Pick “Update Driver.”
- Select “Search Automatically For Drivers.”
- If there’s a new one, Windows will update it.
Should this not work, try the manual method.
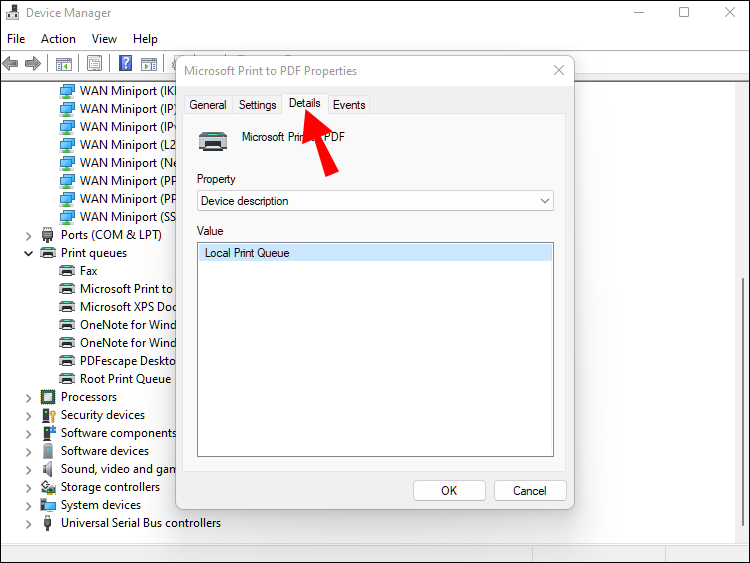
- From Step 4 above, select “Properties” instead.
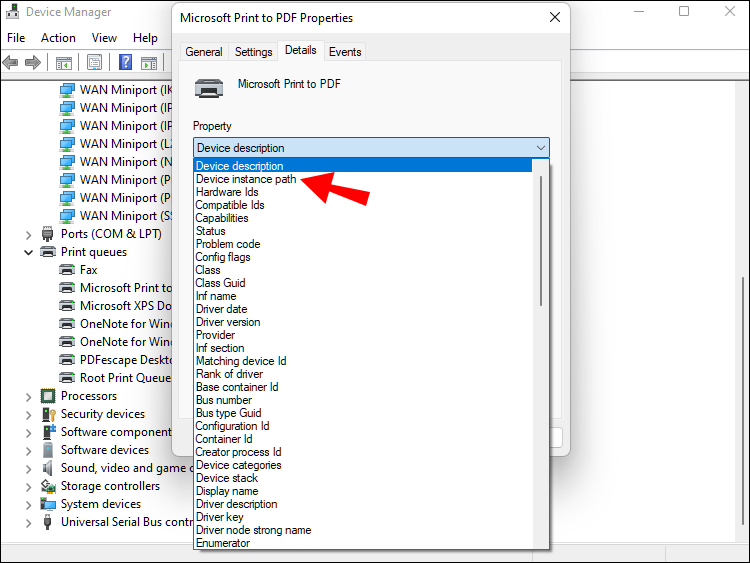
- Go to “Details.”
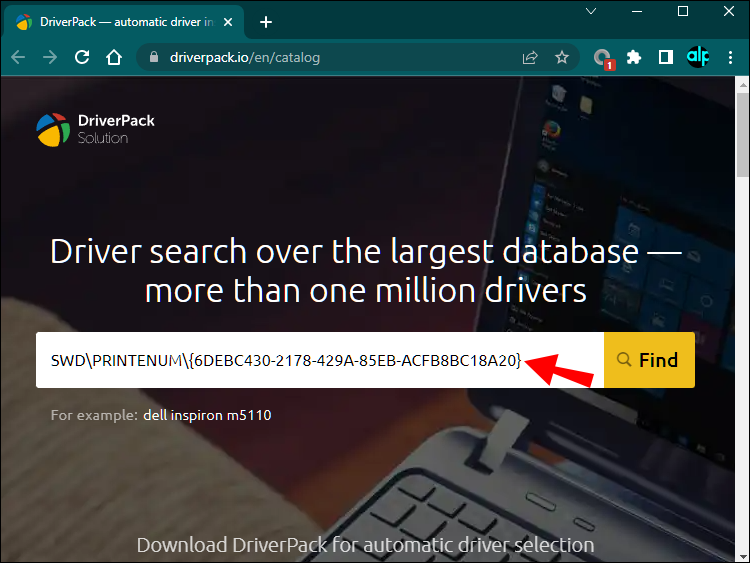
- Look for “Device Instance Path” and copy the “Value.”
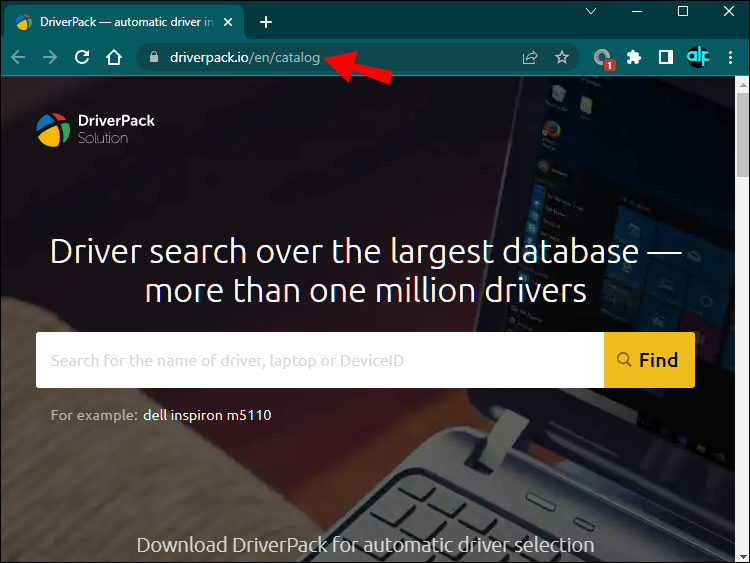
- Go to this website.
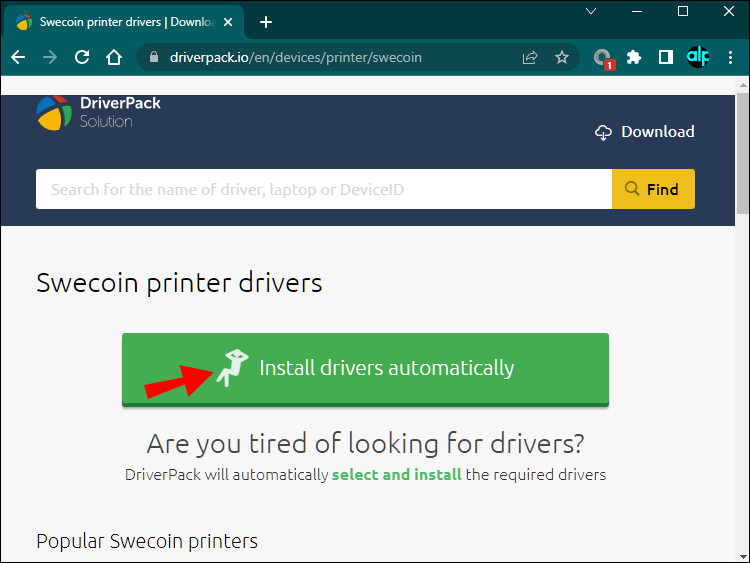
- Paste the Value in the search box and download the latest driver.
- Install the driver.

Your printer should be detected, as the old drivers are now replaced.
If you have software that helps check for outdated drivers, you can use that instead. These programs tend to make the job more convenient. Follow the instructions for the software when updating these drivers.
Reset Your Print Spooler
Drivers aren’t always the problem, as other factors can make these devices malfunction. Here’s how to restart a print spooler.
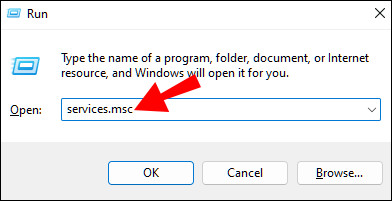
- Press “Windows Key + R.”
- In the Run dialog box, type “services.msc.”
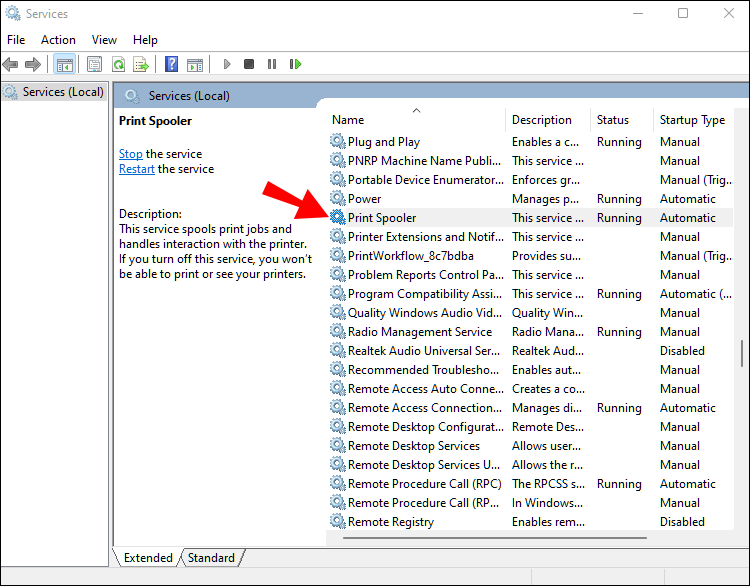
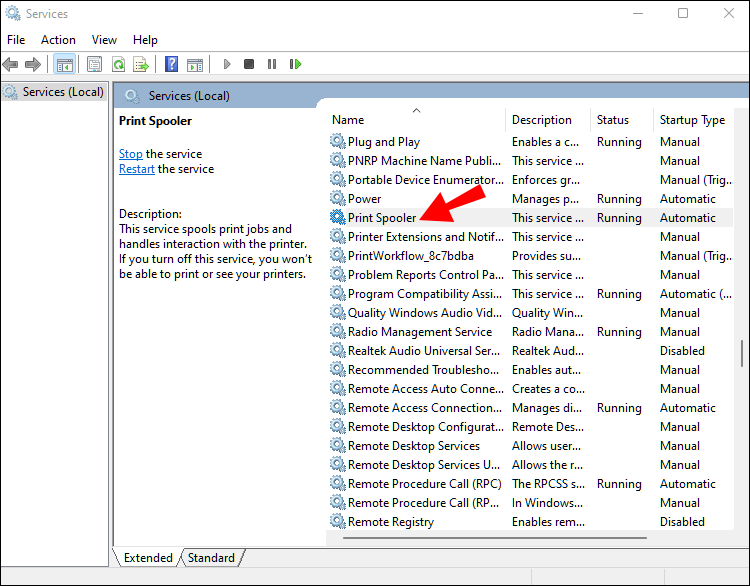
- Look for “Print Spooler.”
- Double-click on Print Spooler.
- Stop the Print Spooler.
- Follow this path: C:\Windows\system32\spoolsv.exe
- In the “spool” folder, delete everything inside.
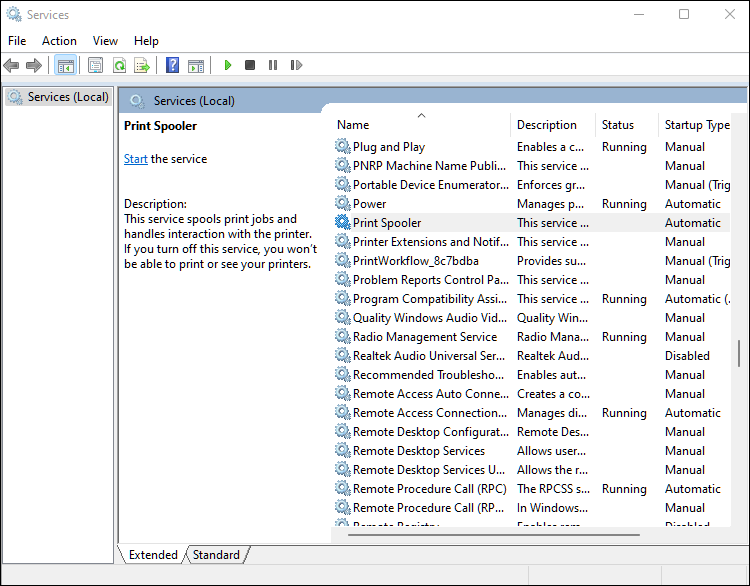
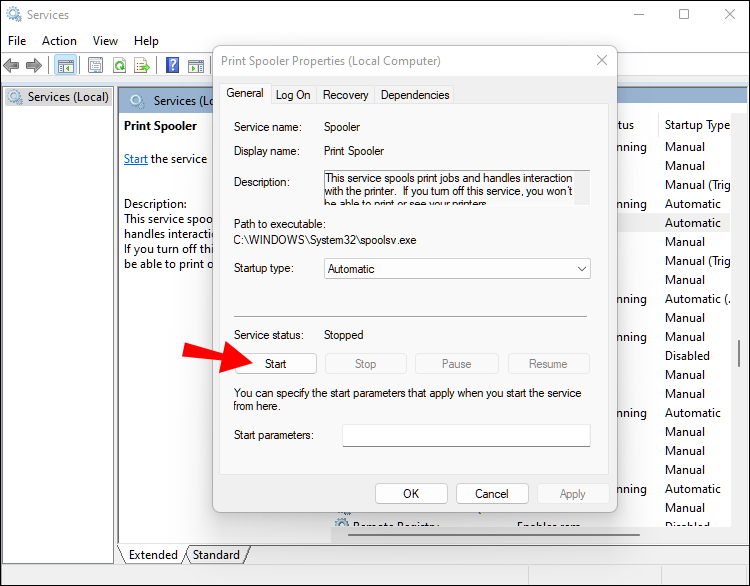
- Go back to “Services.”
- Start the Print Spooler again.
- Restart your PC and test your printer.


Windows should now detect the printer. Navigating to the path is easy as you only need to click on the correct folders and locations.
Set Your Default Printer
If you’ve used more than one printer on a computer, Windows 11 may sometimes set one as the default printer. Your current one might not be the primary choice, so the system doesn’t consider it. You can select a new default printing device and make Windows pick it first to fix this.
- Open the Start Menu.
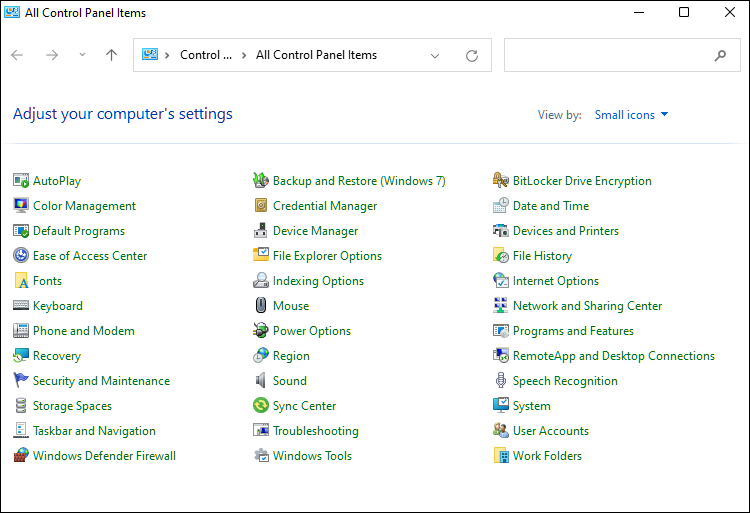
- Navigate to the “Control Panel.”
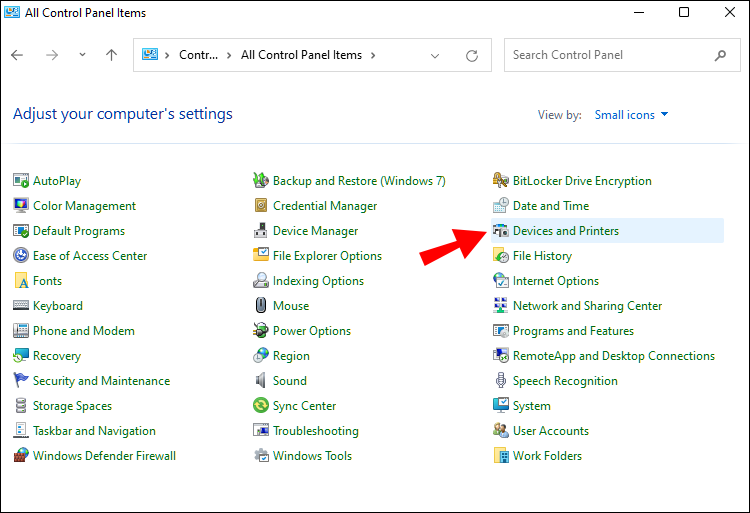
- Look for “Devices And Printers.”
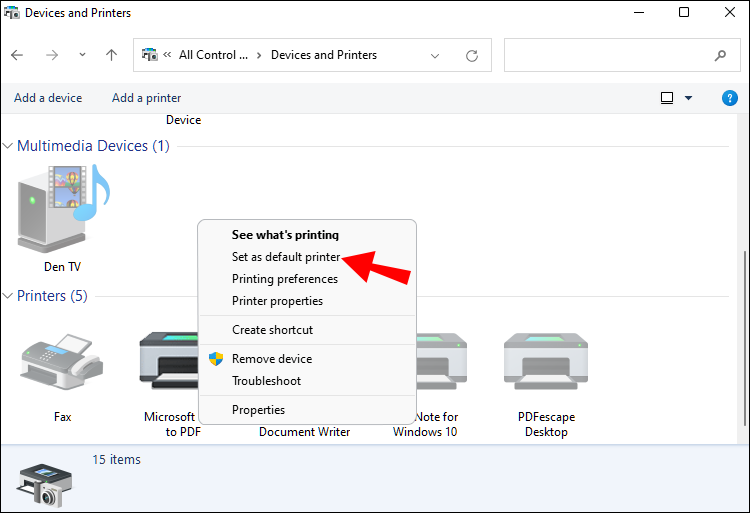
- Look for your current PDF printer and right-click it.
- Select “Set As Default.”

Sometimes, doing this helps. If not, follow these instructions:
- Right-click on your default printer again.
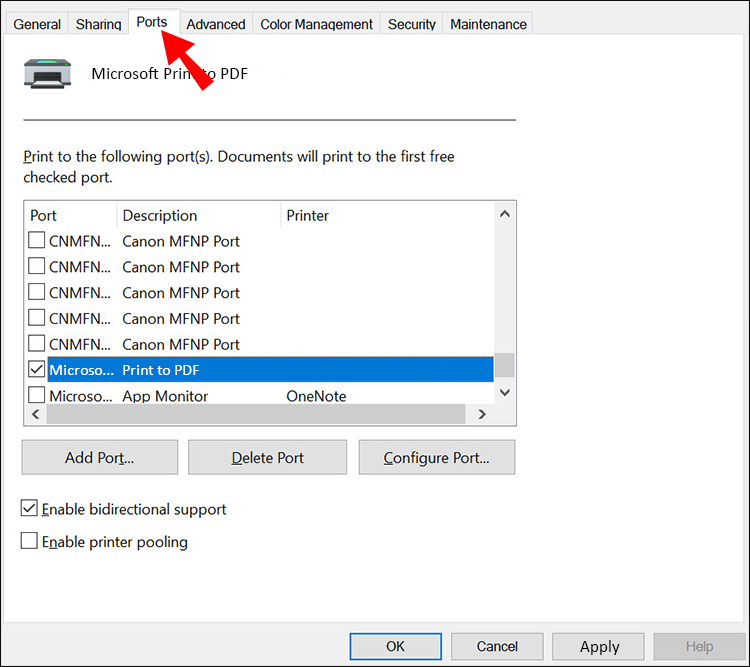
- Select “Properties” this time.
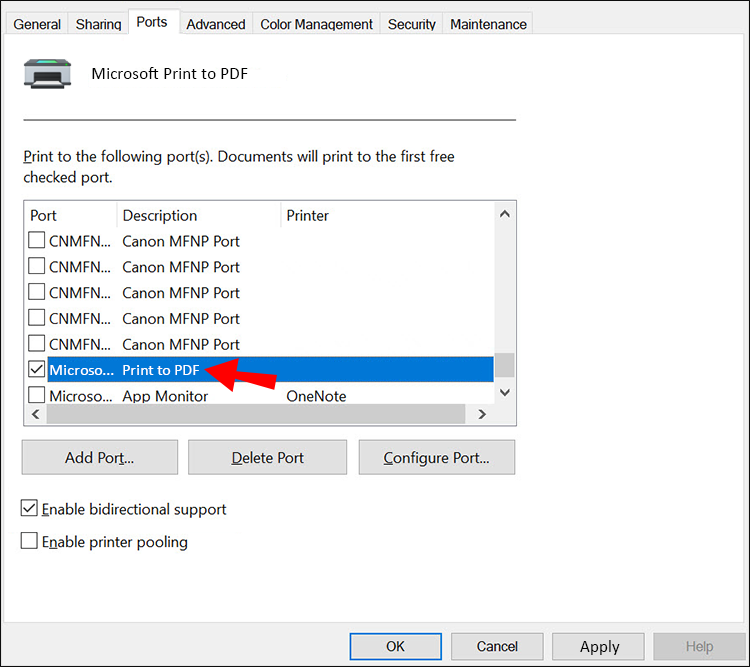
- Go to “Ports.”
- Look for the port type that matches your printer’s connection.
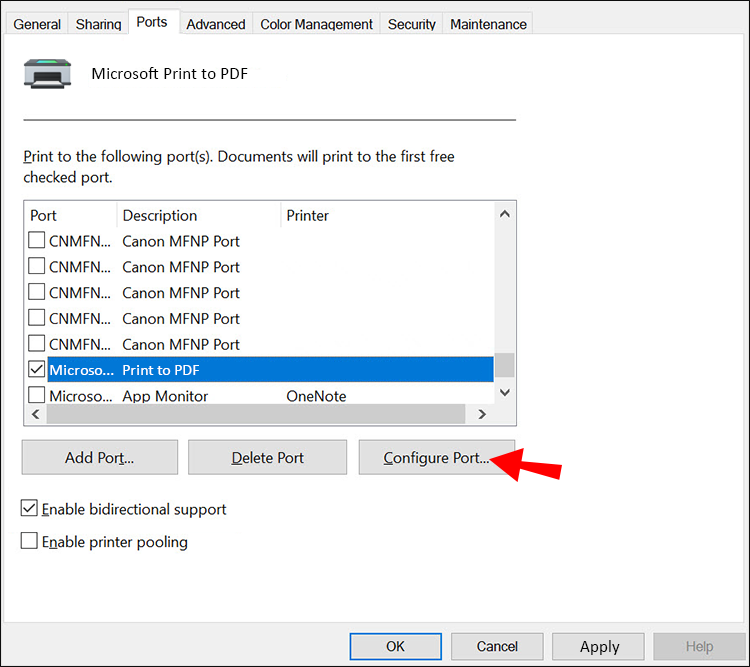
- Click on “Configure Port.”
- Select “Apply” and then “OK.”


Everything should now work. Some printers are connected using an Ethernet cable, so you’ll have to find the proper connection in Step 4.
Disable Firewalls
Firewalls help protect our computers from malware and other malicious threats, but they sometimes prevent us from playing certain games or using devices. If your firewall is blocking the printer, consider turning it off.
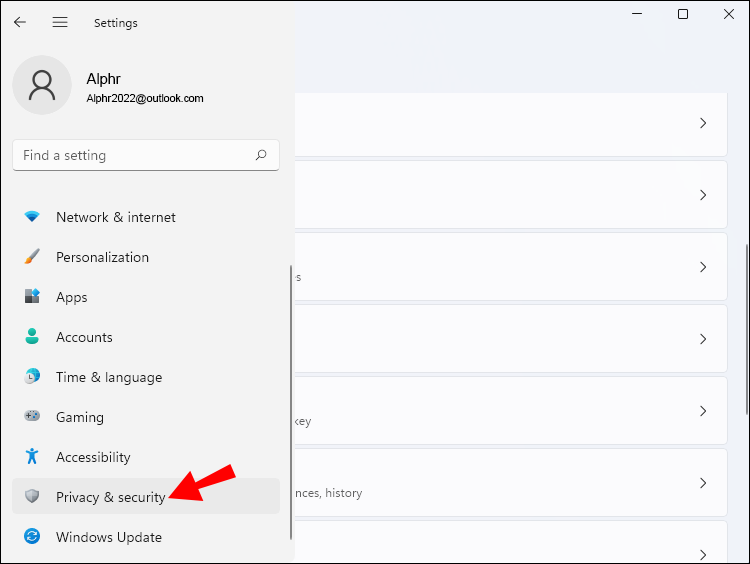
- Open the “Settings” menu.
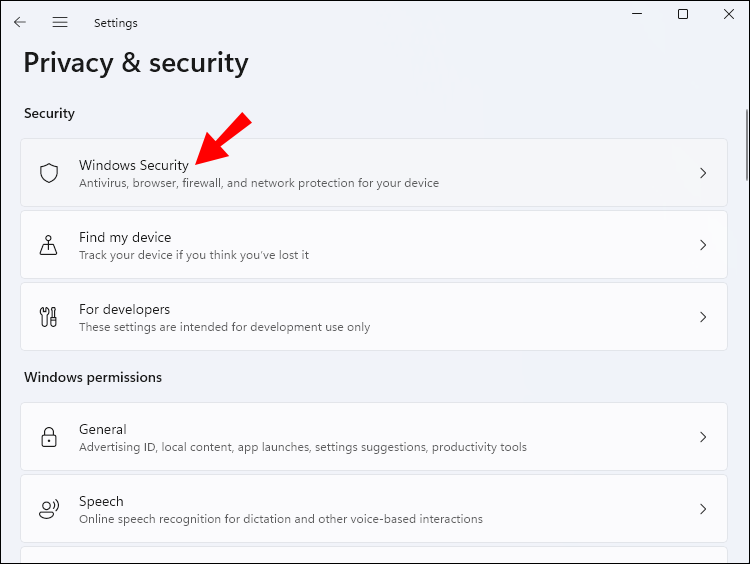
- Go to “Privacy & Security.”
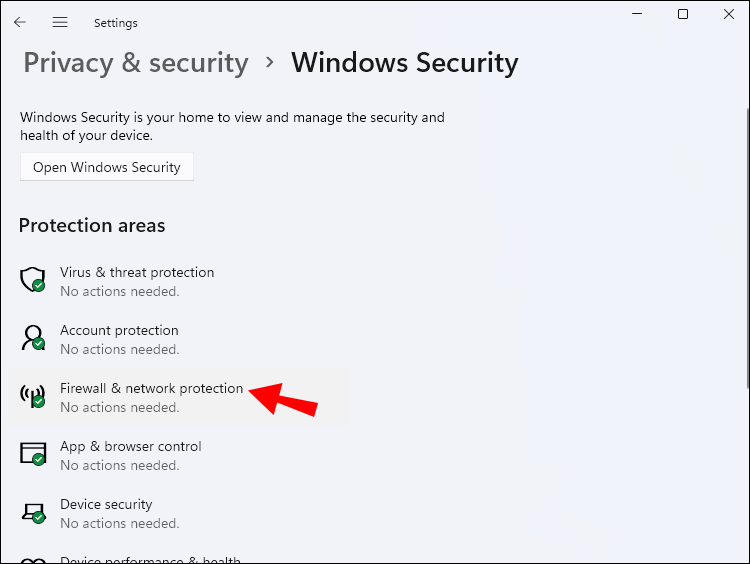
- Head to “Windows Security.”
- Select “Firewall & Network Protection.”
- Disable your firewall.
- Go back and turn the firewall off for both private and public networks.

If the firewall is the culprit, your printer should now be functional.
System Restore
Should none of the options above help, you can try Windows System Restore. This is a way to revert Windows to a stage when you know your printer was functional.
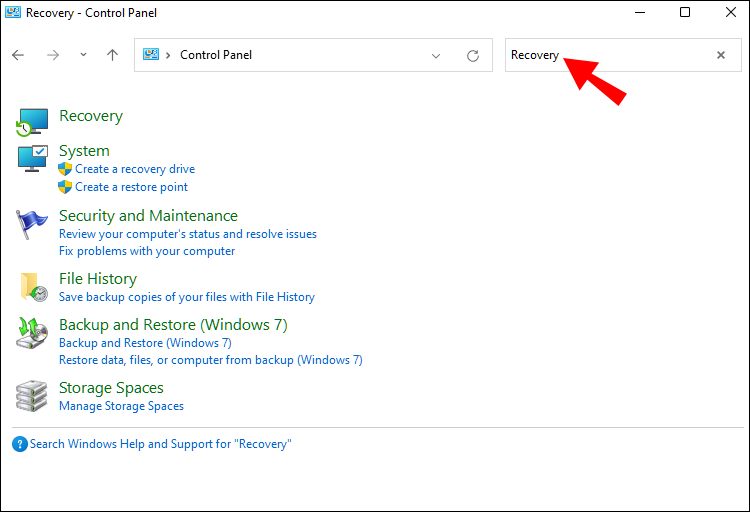
- Navigate to the Control Panel.
- Search for “Recovery” in the search box.
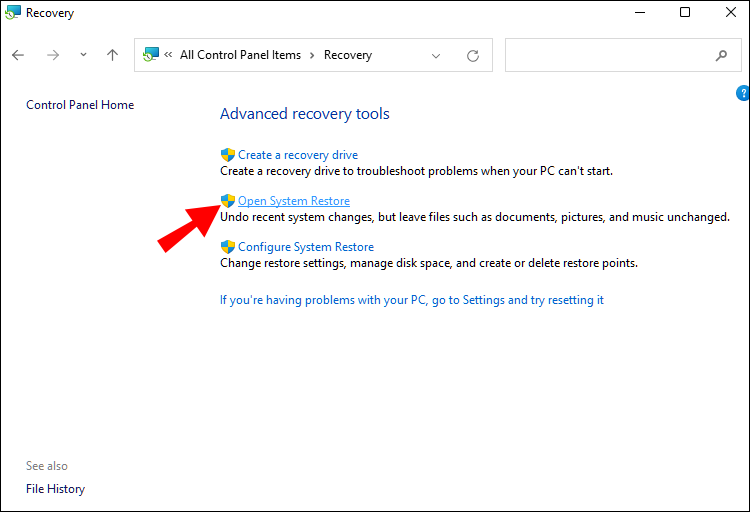
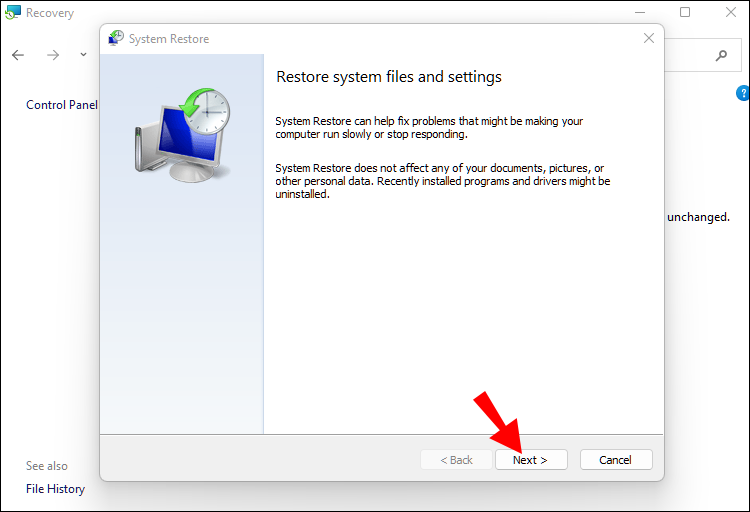
- Click on “Open System Restore.”
- Proceed in the dialog box by clicking “Next.”
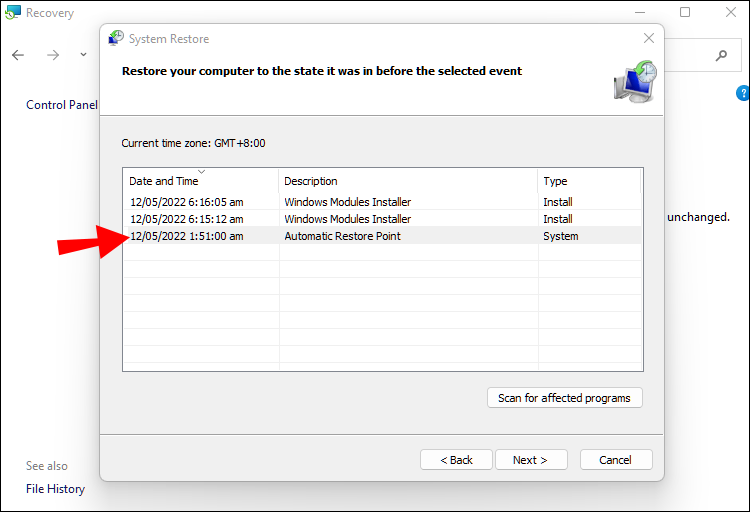
- Pick a restore point.
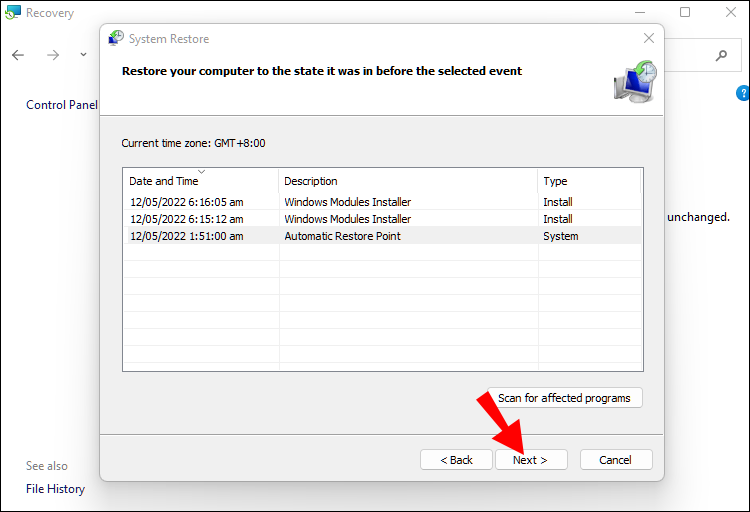
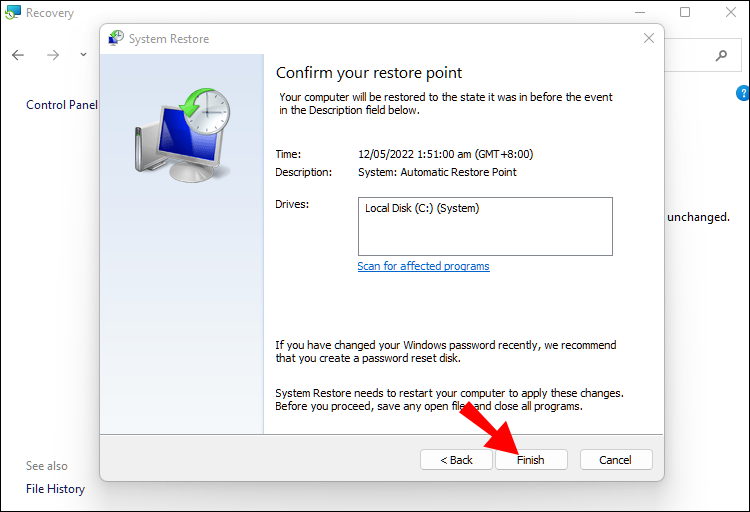
- Click on “Next“ and then “Finish.”
- Confirm your choice by selecting “Yes.”

Windows 11 isn’t the most stable operating system yet, as many users still report baffling errors and other problems. Should none of these options work, it may be the printer’s issue. It might be time to replace it with a new one.
Back to Normal
With your printer back to normal, you can now print sheet music, scripts, or anything you want. These solutions aren’t just for Windows 11 since they’ve been known to work for older versions of Windows for years. You’ll find them to be effective for the most part.
Which solution helped your computer detect your printer? Do you know of any other ways to address this issue? Let us know in the comments section below.
Disclaimer: Some pages on this site may include an affiliate link. This does not effect our editorial in any way.


