Wireshark is a popular open-source packet analyzer that offers a wide range of convenient features for network analysis, troubleshooting, education, and much more. People who want to use Wireshark for the first time and those who already have experience with it often wonder about reading HTTPS traffic.
If you’re one of them, you’ve come to the right place. Here, we’ll explain what HTTPS is and how it works. Then, we’ll discuss whether you can read HTTPS traffic, why that might be an issue, and what you can do about it.
What Is HTTPS?
Hypertext Transfer Protocol Secure (HTTPS) represents a secure version of HTTP that guarantees safe data transfer and communication between a web browser and a website.
HTTPS ensures security and prevents eavesdropping, identity thefts, man-in-the-middle attacks, and other security threats. These days, any website that asks you to enter your information or create an account features HTTPS to protect you.
HTTPS shields from security threats and malicious attacks by encrypting all exchanges between a web browser and a server.
It’s important to clarify that HTTPS isn’t separate from HTTP. Rather, it’s an HTTP variant that uses specific encryption like Secure Socket Layer (SSL) and Transport Layer Security (TLS) to secure communication. When a web browser and a web server communicate through HTTPS, they engage in an SSL/TLS handshake, i.e., an exchange of security certificates.
How can you tell if your communication to a website is secured with HTTPS? Simply look at the address bar. If you see “https” at the beginning of the URL, your connection is secure.
Wireshark How to Read HTTPS Traffic
One of the main features of HTTPS is that it’s encrypted. While this is an advantage when you’re shopping online or leaving personal information on a website, it can be a drawback when you’re tracking to monitor web traffic and analyze your network.
Since HTTPS is encrypted, there’s no way to read it in Wireshark. But you can display SSL and TLS packets and decrypt them to HTTPS.
Follow these steps to read SSL and TLS packets in Wireshark:
- Open Wireshark and choose what you’d like to capture in the “Capture” menu.

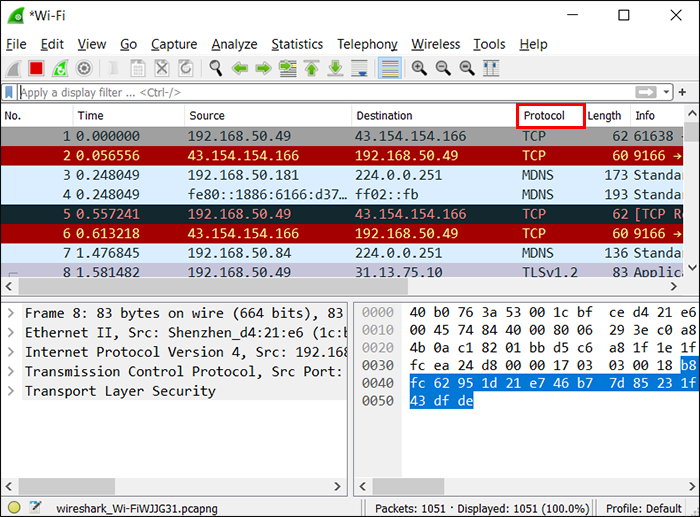
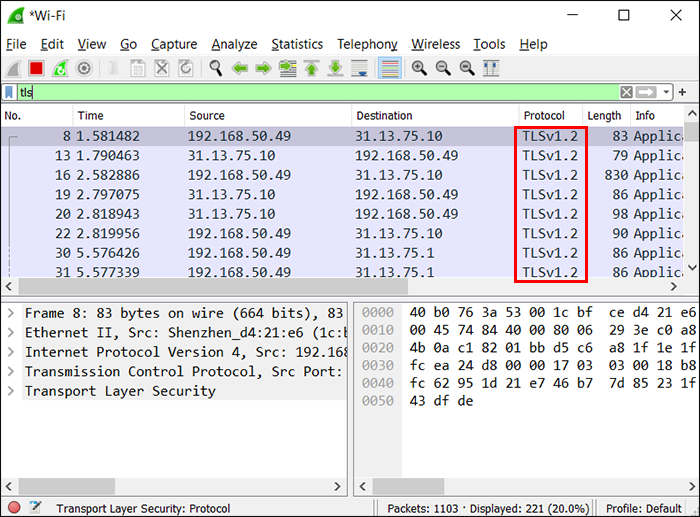
- In the “Packet List” pane, focus on the “Protocol” column and look for “SSL.”

- Find the SSL or TLS packet you’re interested in and open it.
How to Decrypt SSL in Wireshark
The recommended way to decrypt SSL is to use a pre-master secret key. You’ll need to complete these four steps:
- Set an environment variable.
- Launch your browser.
- Configure your settings in Wireshark.
- Capture and decrypt session keys.
Let’s go over each step in more detail.
Set an Environment Variable
An environment variable is a value that determines how your computer handles different processes. If you want to decrypt SSL and TLS, you first need to properly set an environment variable. How you’ll do this depends on your operating system.
Set an Environment Variable in Windows
Windows users should follow these steps to set an environment variable:
- Launch the Start menu.
- Open “Control Panel.”
- Go to “System and Security.”
- Choose “System.”
- Scroll down and select “Advanced system settings.”
- Double-check if you’re in the “Advanced” section and press “Environment Variables.”
- Press “New” under “User variables.”
- Type “SSLKEYLOGFILE” under “Variable name.”
- Under “Variable value,” enter or browse the path to the log file.
- Press “Ok.”


Set an Environment Variable in Mac or Linux
If you’re a Linux or Mac user, you’ll need to use nano to set an environment variable.
Linux users should open a terminal and enter this command: “nano ~/ .bashrc”. Mac users should open Launchpad, press “Other,” and launch a terminal. Then, they should enter this command: “nano ~/ .bash_profile”.
Both Linux and Mac users should then follow these steps to proceed:
- Add this file at the end of the file: “export SSLKEYLOGFILE=~/.ssl-key.log”.
- Save your changes.
- Close the terminal window and launch another one. Enter this line: “echo $SSKEYLOGFILE”.
- You should now see the full path to your SSL pre-master key log. Copy this path to save it for later, as you’ll need to enter it in Wireshark.
Launch Your Browser
The second step is launching your browser to ensure the log file is being used. You need to open your browser and visit an SSL-enabled website.
After you’ve visited such a website, check your file for data. In Windows, you should use Notepad, while in Mac and Linux, you should use this command: “cat ~/ .ssl-log.key”.
Configure Wireshark
After you’ve established your browser is logging pre-master keys in the desired location, it’s time to configure Wireshark. After configuring, Wireshark should be able to use the keys to decrypt SSL.
Follow the steps below to do it:
- Launch Wireshark and go to “Edit.”
- Click on “Preferences.”
- Expand “Protocols.”
- Scroll down and select “SSL.”
- Find “(Pre)-Master Secret log filename” and enter the path you set up in the first step.
- Press “Ok.”


Capture and Decrypt Session Keys
Now that you’ve configured everything, it’s time to check whether Wireshark decrypts SSL. Here’s what you need to do:
- Launch Wireshark and start an unfiltered capture session.
- Minimize the Wireshark window and open your browser.
- Go to any secure website to get data.
- Return to Wireshark and select any frame with encrypted data.
- Find “Packet byte view” and look at “Decrypted SSL” data. HTML should now be visible.


What Convenient Features Does Wireshark Offer?
One of the reasons Wireshark is a leading network packet analyzer is that it offers a wide range of convenient options that improve your user experience. Here are some of them:
Color Coding
Going through vast amounts of information can be time-consuming and exhausting. Wireshark tries to help you distinguish different packet types with a unique color-coding system. Here, you can see the default colors for major packet types:
- Light blue – UDP
- Light purple – TCP
- Light green – HTTP traffic
- Light yellow – Windows-specific traffic (including Server Message Blocks (SMB) and NetBIOS
- Dark yellow – Routing
- Dark gray – TCP SYN, ACK, and FIN traffic
- Black – Packets containing an error
You can view the entire coloring scheme by going to “View” and selecting “Coloring Rules.”
Wireshark allows you to customize your own coloring rules according to your preferences in the same settings. If you don’t want any coloring, switch the toggle button next to “Colorize Packet List.”
Metrics and Statistics
Wireshark offers various options for learning more about your capture. These options are located in the “Statistics” menu at the top of the window.
Depending on what you’re interested in, you can review statistics on capture file properties, resolved addresses, packet lengths, endpoints, and many more.
Command Line
If you have a system that doesn’t have a graphical user interface (GUI), you’ll be happy to know Wireshark features one.
Promiscuous Mode
By default, Wireshark lets you capture packets going to and from the computer you’re using. But, if you enable the promiscuous mode, you can capture most of the traffic on the entire local area network (LAN).
FAQ
Can I filter packet data in Wireshark?
Yes, Wireshark offers advanced filtering options that allow you to display relevant information in a few seconds.
The platform has two types of filters: capture and display. Capture filters are used while capturing data. You can set them before starting a packet capture and can’t modify them during the process. These filters represent an easy way to quickly search for the data you’re interested in. If Wireshark captures data that doesn’t match your set filters, it won’t display them.
Display filters are applied after the capture process. Unlike capture filters that discard data that doesn’t match the set criteria, display filters simply hide this data from the list. This gives you a clearer view of the capture and allows you to easily find what you’re looking for.
If you use many filters in Wireshark and have trouble remembering them, you’ll be happy to know that Wireshark lets you save your filters. That way, you don’t have to worry about forgetting the correct syntax or applying the wrong filter. You can save your filter by pressing the bookmark icon next to the Filter field.
Master Network Analysis With Wireshark
Thanks to its impressive packet analysis options, Wireshark allows you to get an in-depth view of the traffic going to and from your network. Although it offers advanced features, Wireshark features a simple, intuitive interface, so even those new to the packet analysis world will quickly learn the ropes. Reading HTTPS traffic may not be straightforward, but it’s possible if you decrypt SSL packets.
What do you like most about Wireshark? Have you ever had any issues with it? Tell us in the comments section below.
Disclaimer: Some pages on this site may include an affiliate link. This does not effect our editorial in any way.


