Sometimes, even the most perfect photos don’t start that way. A picture may have an unwanted space, object, or person inside it. The space or object is not necessarily bad, but it can take away the focus of your picture. After all, pictures are memories of good times – why should you let an unwanted photo-bomber ruin it?
In such cases, picture cropping tools can salvage an otherwise beautiful picture marred by unsightly background objects. Cropping images to recapture viewer focus is a vital tool in your editing arsenal, and there are a variety of ways to do it, including tools like GIMP.
This article will guide you through the image cropping process using GIMP and outline steps to crop your images in various ways, from resizing to cropping irregular image shapes.
Where Is the Crop Tool?
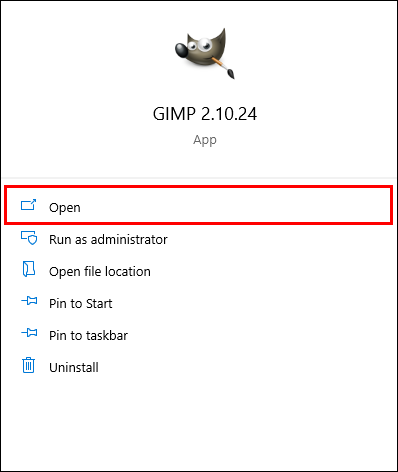
Like most image editing apps, GIMP’s crop tool is in the application’s toolbox. If you want to crop your image using GIMP, you can find the crop tool by the steps below:
- Open the GIMP app.
- Locate the “Tool Box.” It should be displayed on the right or left side of the screen.

- Find the “Paper Knife” icon to crop your image.

If you find icons less than intuitive, you can also locate the crop tool by another method as outlined below:
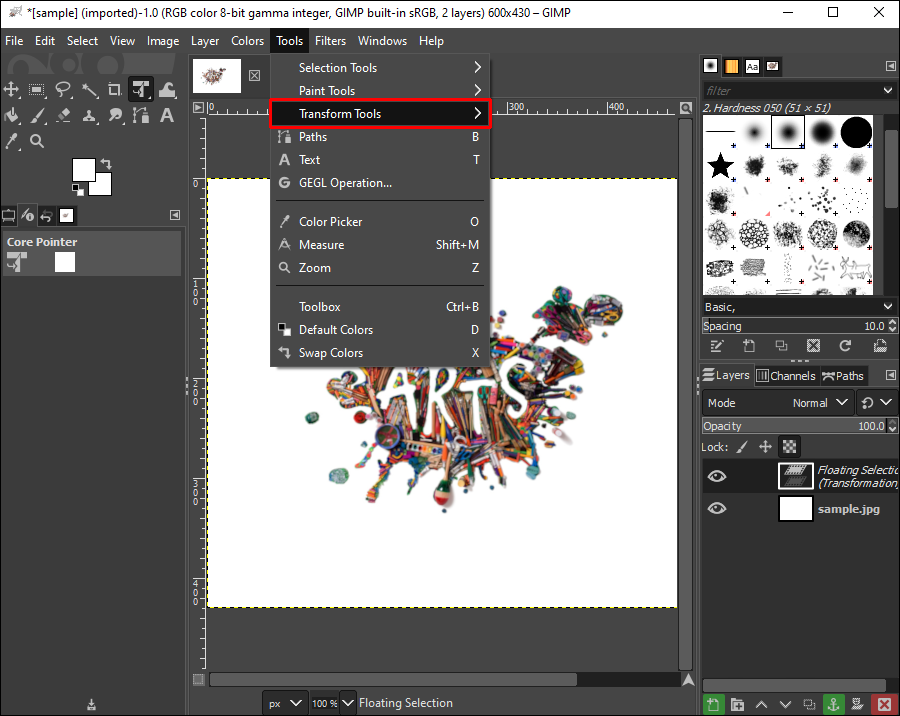
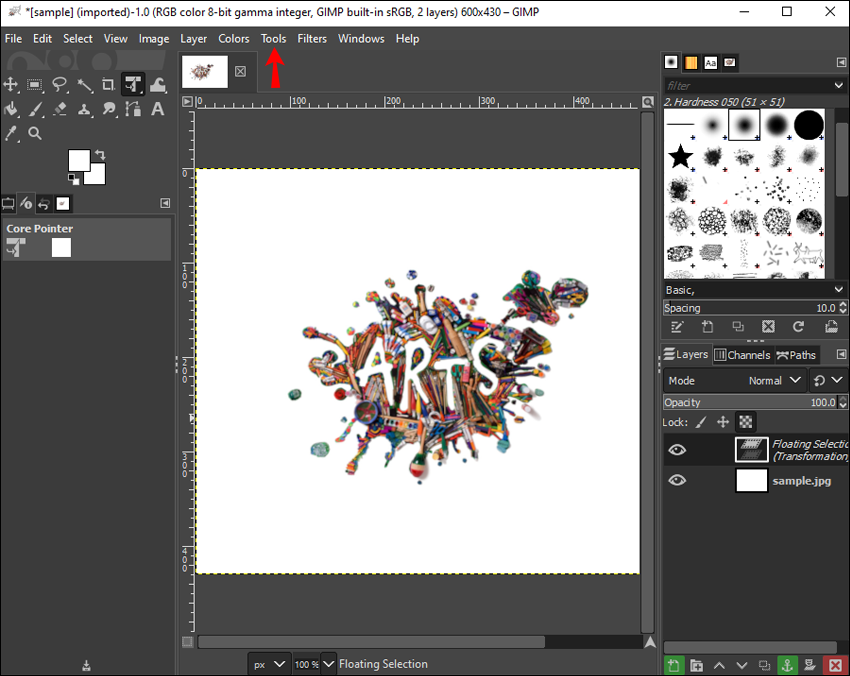
- Click on “Tools” in the image window.
- Select “Transform Tools.”
- Locate the “Crop” button.

How to Crop an Image
If you have taken a stunning image, but an object in the background is breaking the focus of your picture, cropping it out is an option to save your photo.
Here are the steps needed to get started using GIMP:
- Launch GIMP on your desktop computer.
- Click on “Tools” in the image window.
- Select “Transform Tools” from the dropdown list.
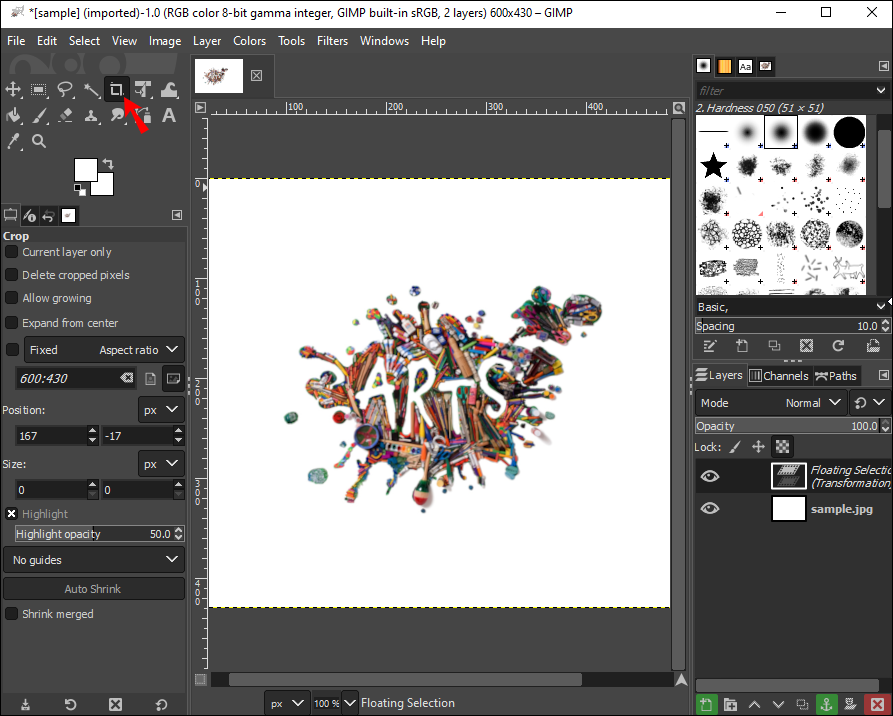
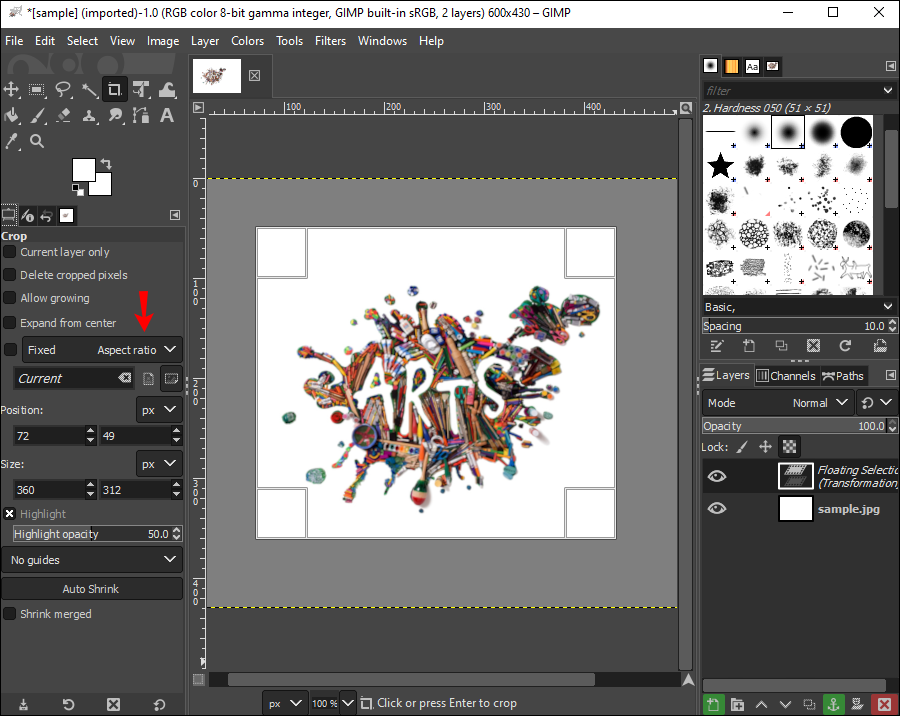
- Click on the “Crop” button. This button activates the cursor to outline the crop area over the image.
- Press the left mouse button and draw across the image you wish to crop.
- A new dialog will pop up.
- Select “Fixed” for a specific aspect ratio.
- Adjust “Position,” which determines the tilt of the image.
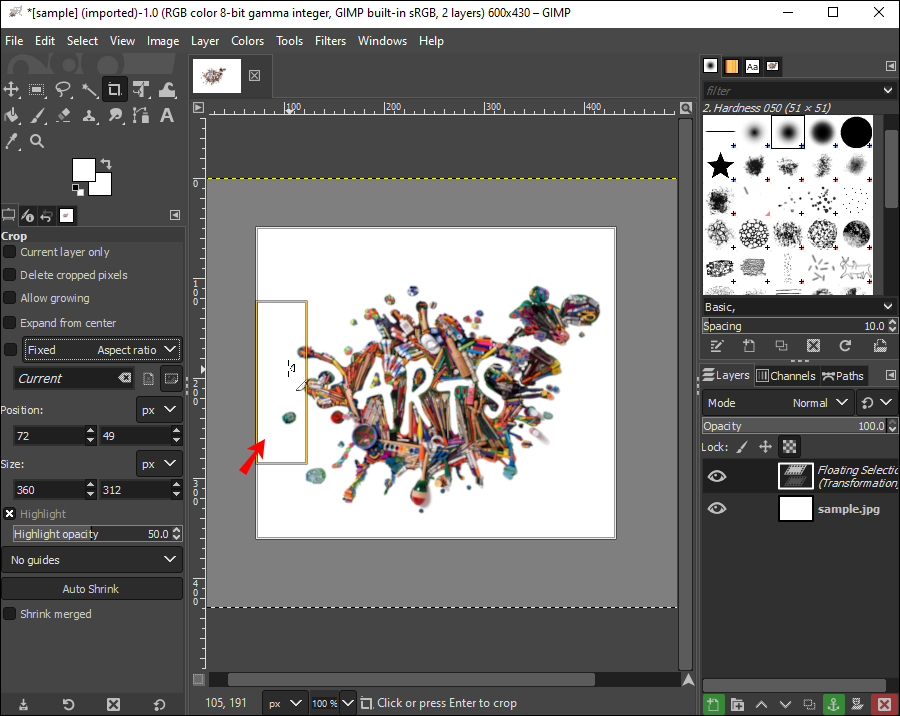
- Double-click inside the rectangle.


Crop, prop and drop your Instagram stories or Facebook post feed by using GIMP cropping tools.
Remember that as you click and drag your image through different areas, the cursor will change. This is perfectly normal and merely signifies when and where the app will change the image’s dimensions. You can check out the dimensions and ratios as you drag the image via the dialog box.
Otherwise, you can set customized aspect ratios in Step 7, including 1:1 for squares and 6:9 for landscapes. In most cases, you’ll probably keep your aspect ratio “fixed” to match the original image. However, it’s a great option if you need to crop images for avatars, profile pictures, and blogs.
How to Crop an Image to a Specific Size
Sometimes you need your image to be cropped to a specific size. Resizing might not be possible with simple cropping tools. However, GIMP makes it simple to resize images to a specific size – any size.
Here’s how to get started:
- Launch GIMP on your desktop.
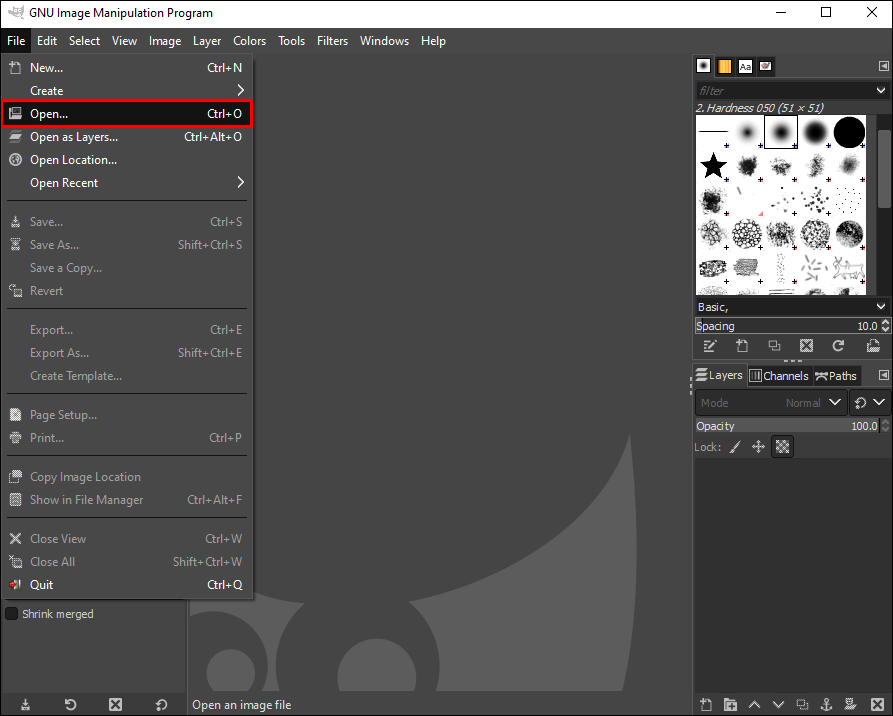
- Click on “File.”
- Go to “Open” and select the image you wish to crop.
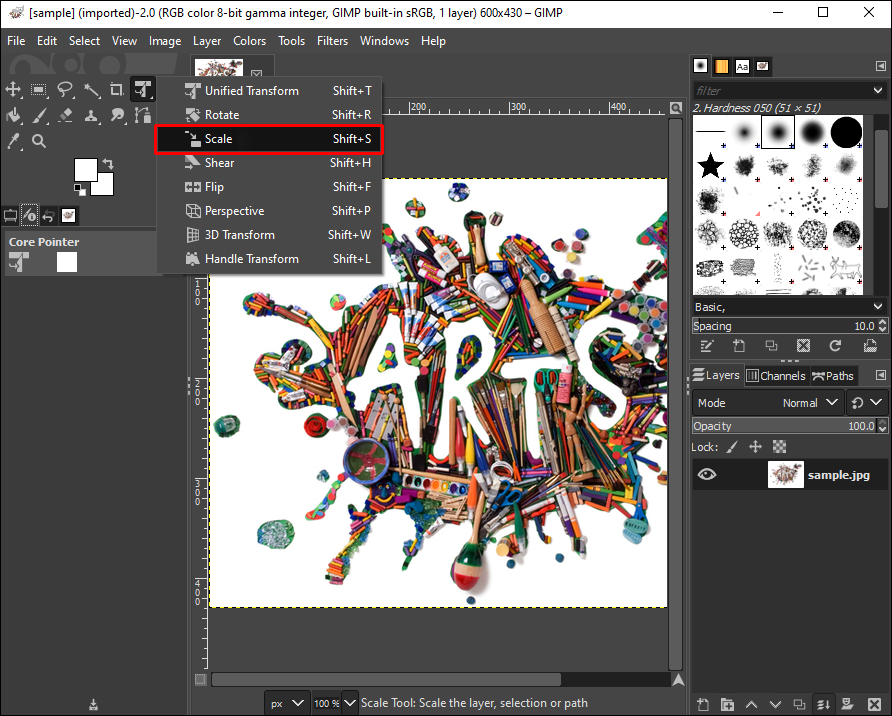
- Select “Image.”
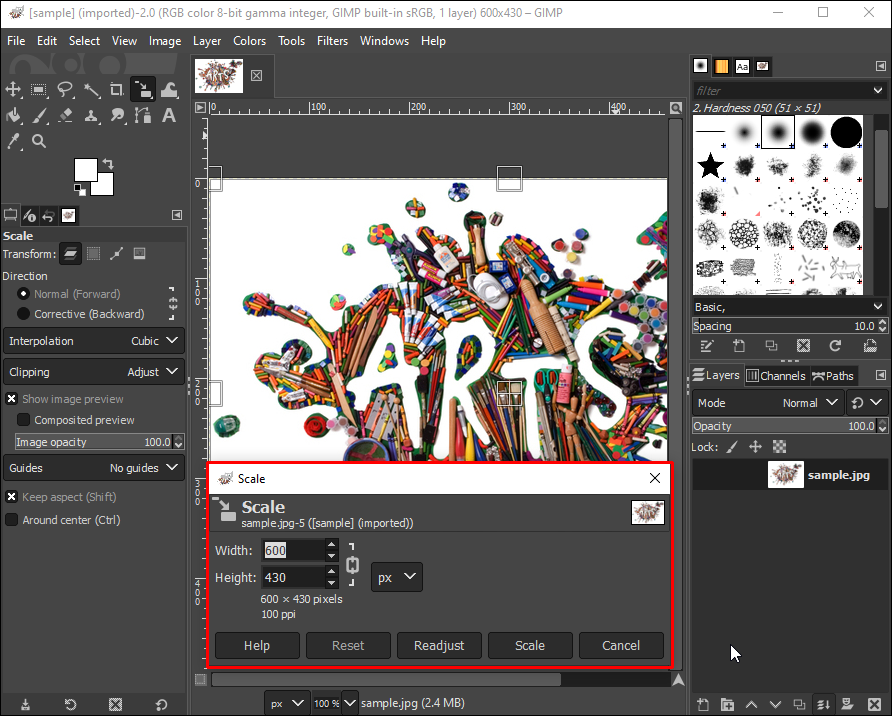
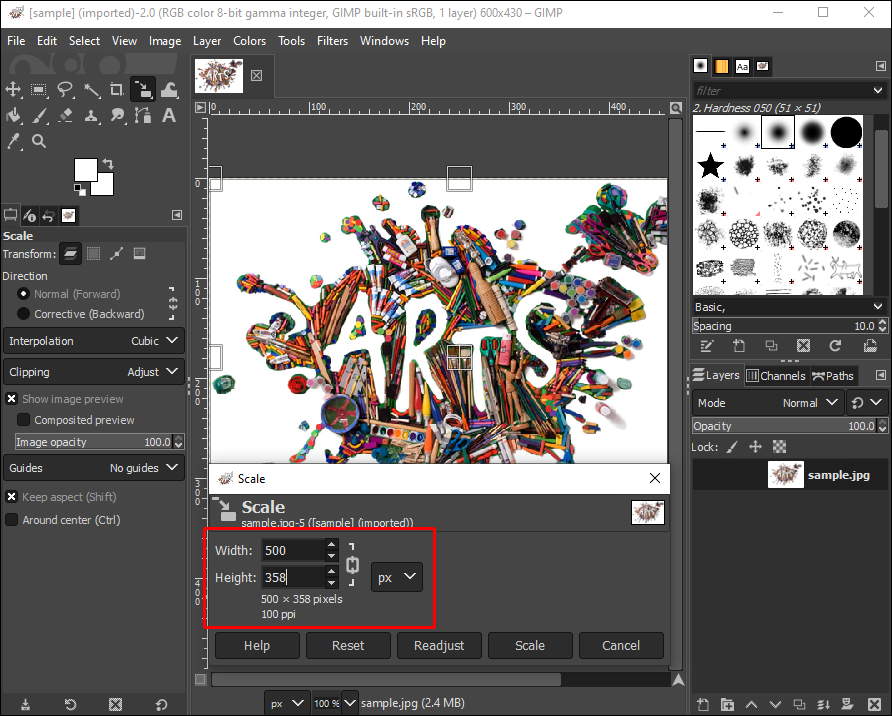
- Choose “Scale Image.” A new window will pop up.
- Under “Image Size,” insert your desired “Width” and “Height.”
- Input your desired “Resolution.”
- Click “Scale.”

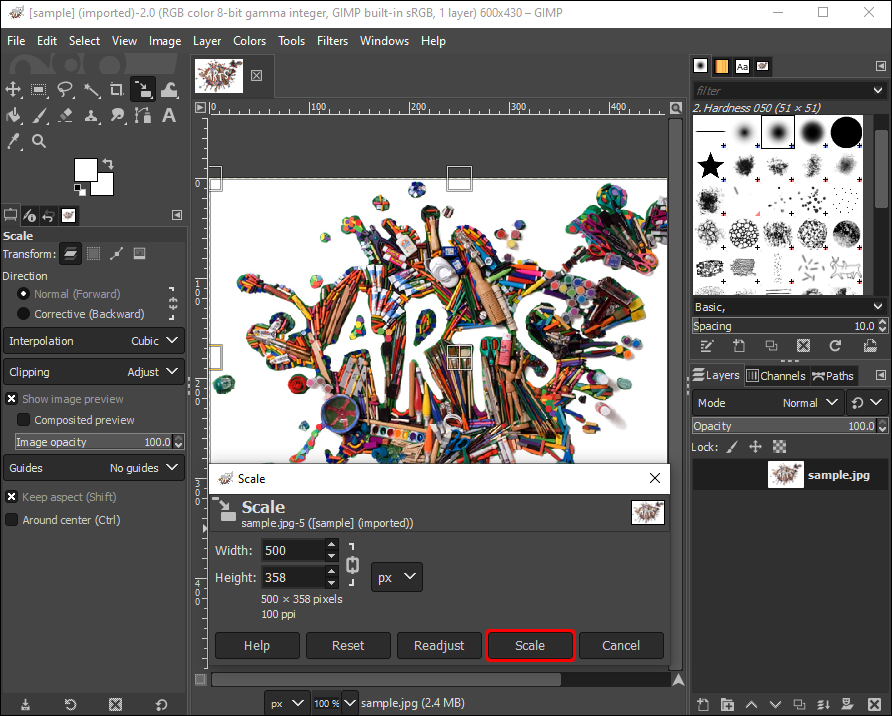
You can turn simple landscapes into Facebook cover images or simple portraits into Instagram posts using GIMP scaling tools.
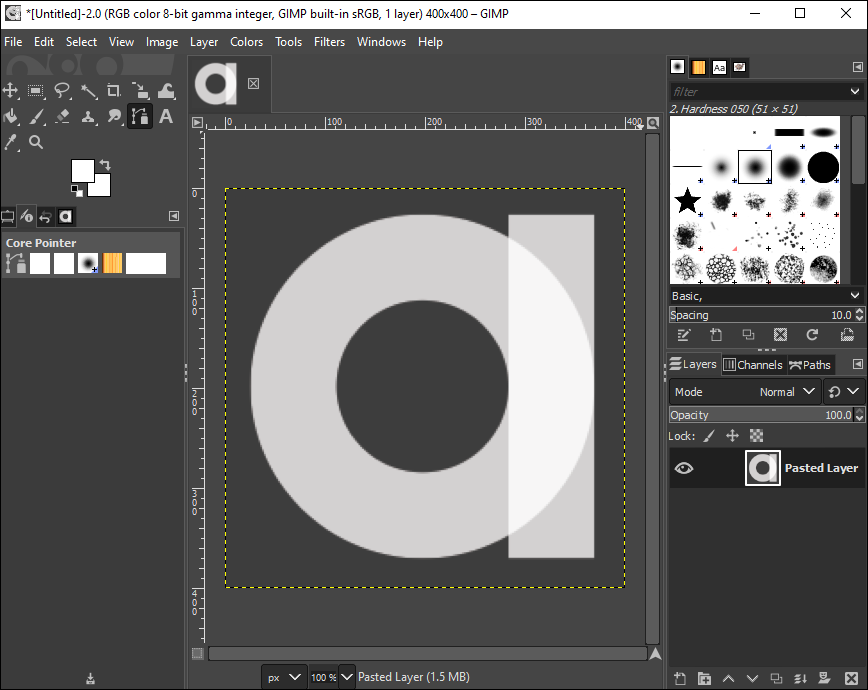
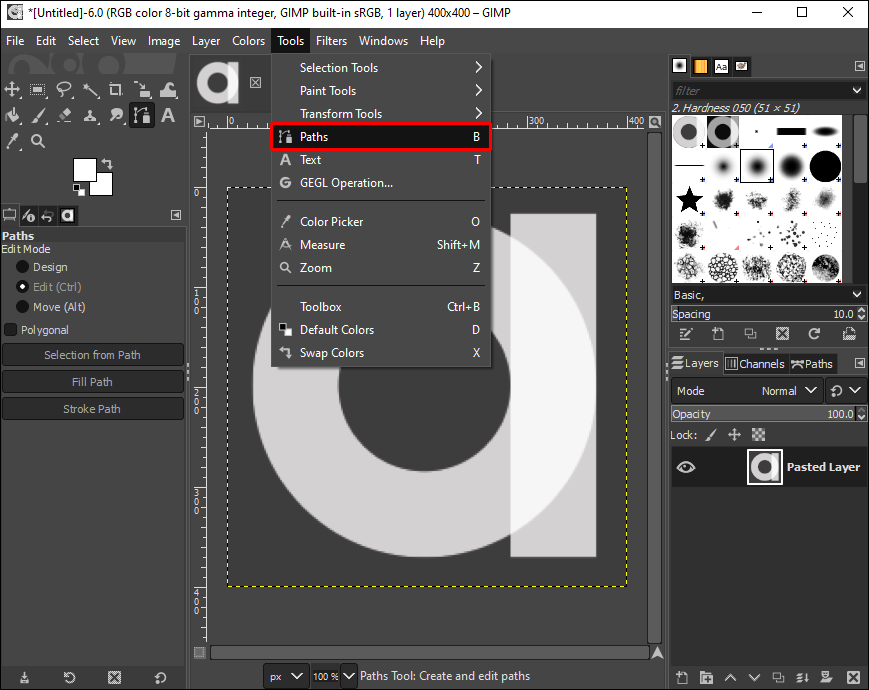
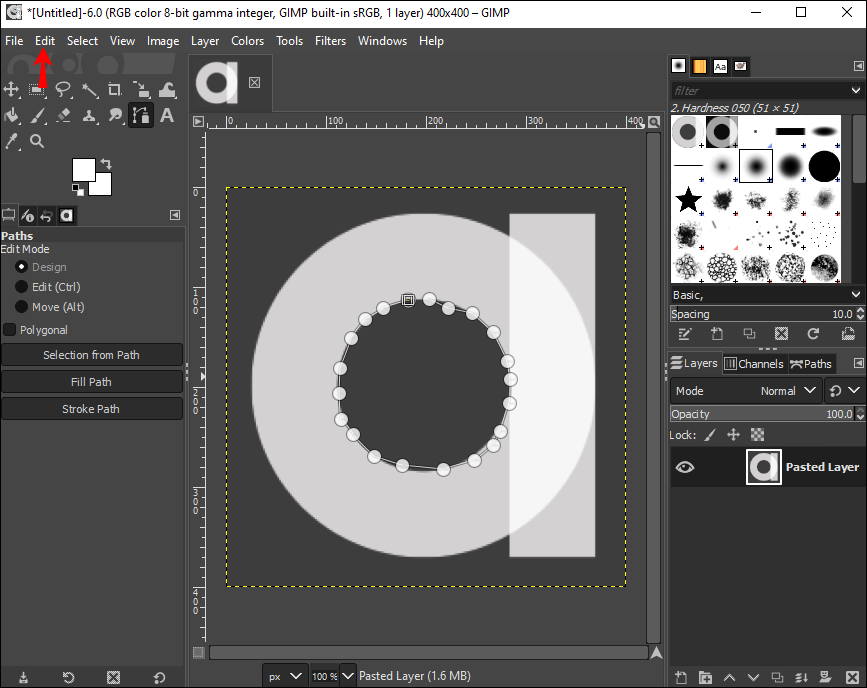
How to Crop an Irregular Image Shape in GIMP
If you are looking to crop out unique or irregular image shapes to portray your creativity and artsy skills, GIMP offers a fantastic tool to crop out irregular image shapes. To get started, all you need to do is:
- Open the image you wish to crop.
- Go to “Toolbox.”
- Click on “Paths.”
- Draw freely around the image you want to cut.
- Press “Enter.”
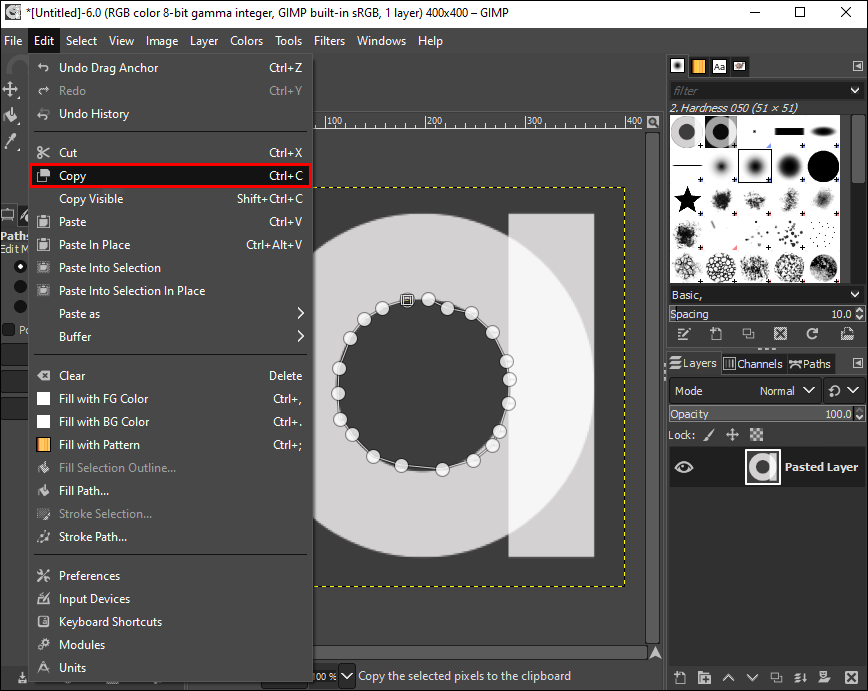
- Go to “Menu” and click “Edit.”
- Select “Copy” and go to “Menu” again.
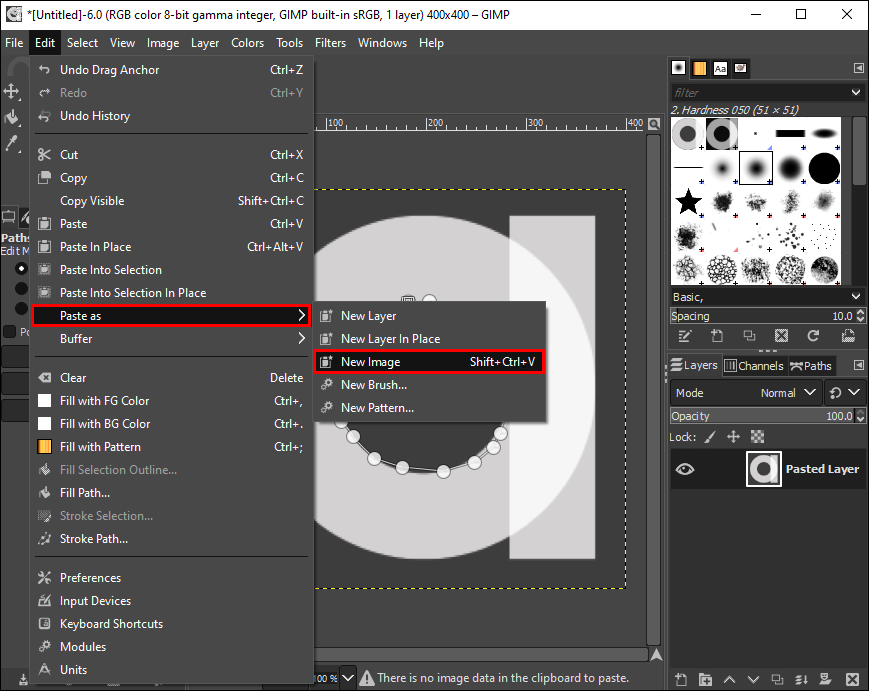
- Select “Edit.”
- Choose “Paste as” and paste the selection as “New Image.”

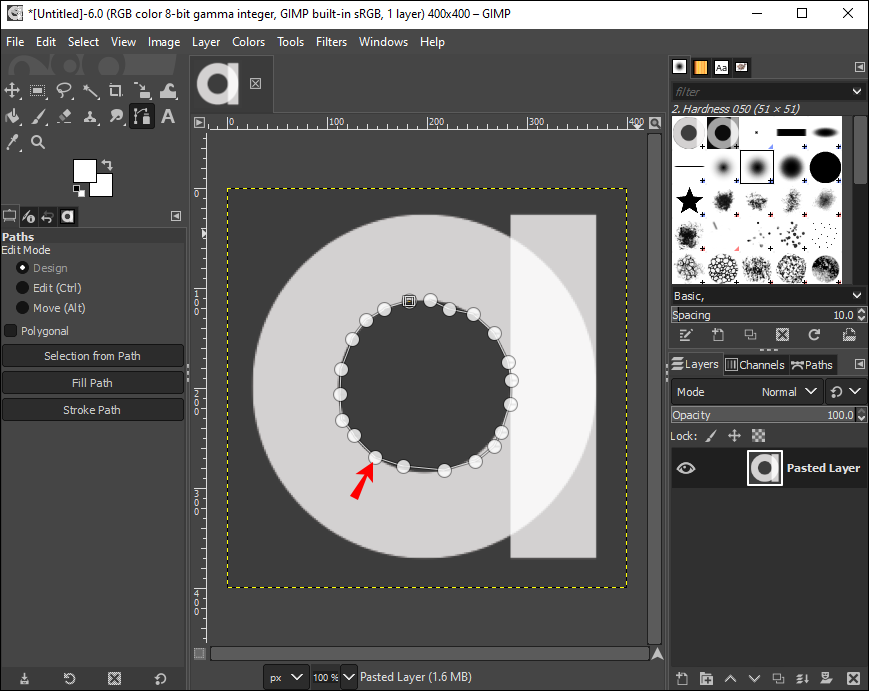
You can start adding irregular shapes to your art portfolio and amplify your Instagram page with surreal shape art.
Crop to Make Your Images Pop
Cropping your image allows you to maintain the focus of the viewer. It takes away unnecessary objects and details that would otherwise divide the viewer’s attention. You can also scale and resize your image to fit special sizes. Resizing is very useful when you need to turn a square image into a landscape image. All in all, GIMP is an easy graphic editing tool that can make your image crop and pop.
How often do you crop images? Do you cut out irregular shapes using a crop feature? Let us know in the comment section below.
Disclaimer: Some pages on this site may include an affiliate link. This does not effect our editorial in any way.


