Erasing image backgrounds in Google Slides helps create smooth slideshow presentations. It gives the slides a polished look emphasizing the page’s main content. This is essential in elevating your professional reputation.
This article explains how to remove backgrounds from images in Google Slides.
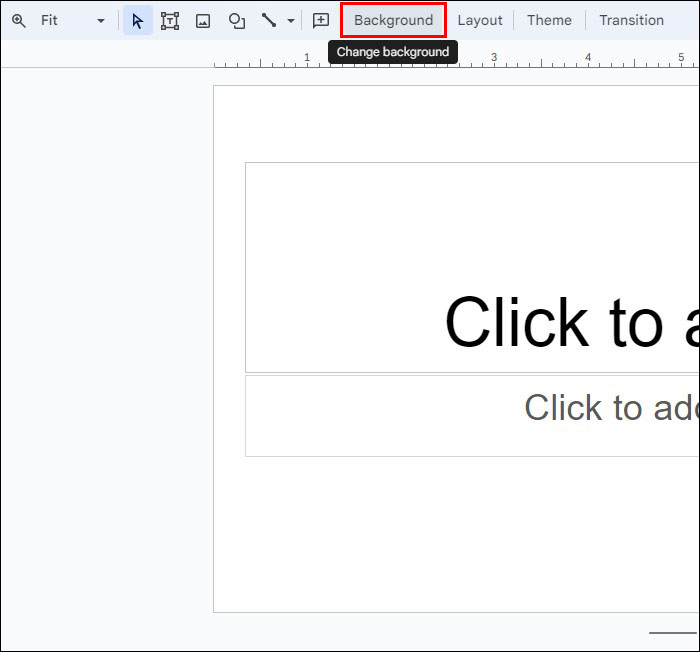
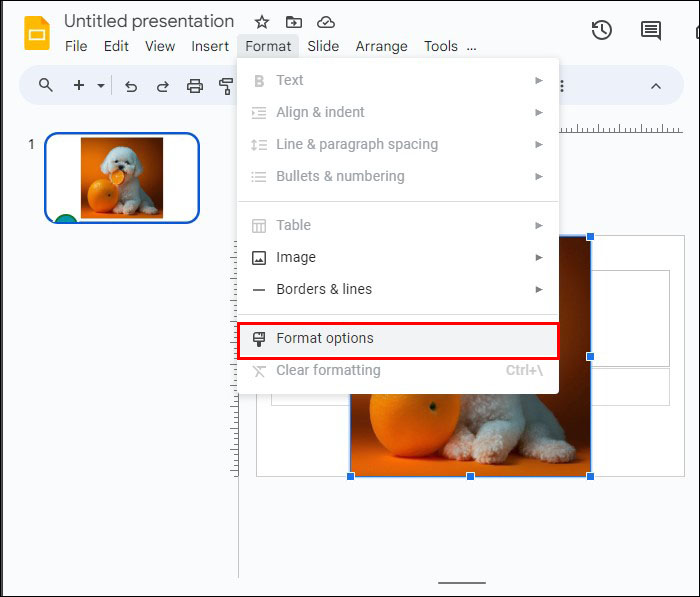
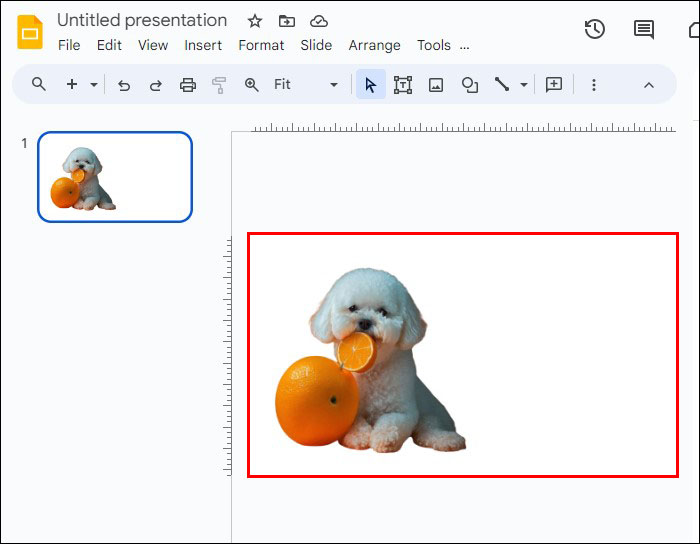
Removing an Image Background Using Google Slides
Google Slides has made the process of removing image backgrounds pretty straightforward. Here’s how it’s done:
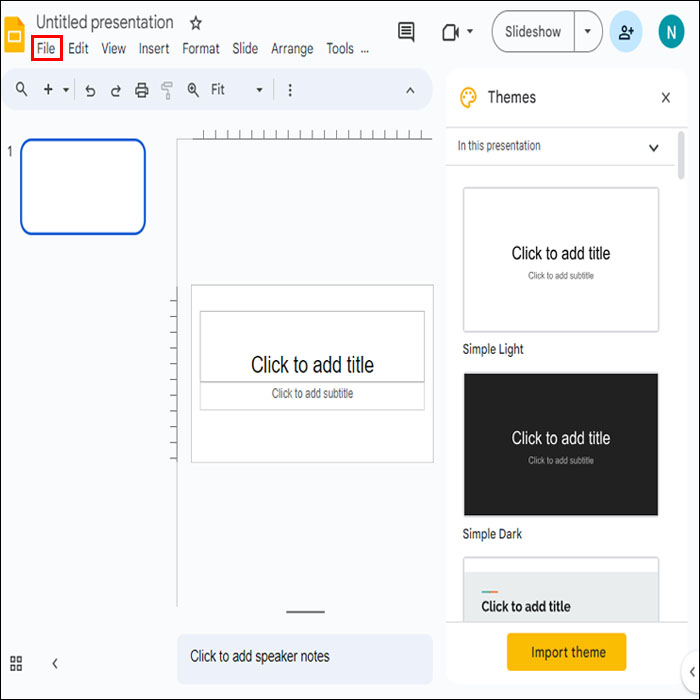
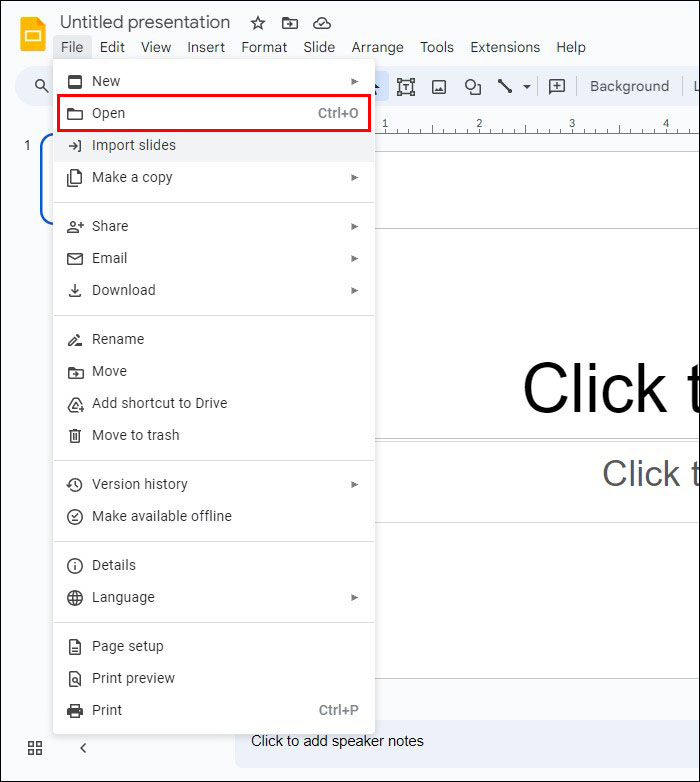
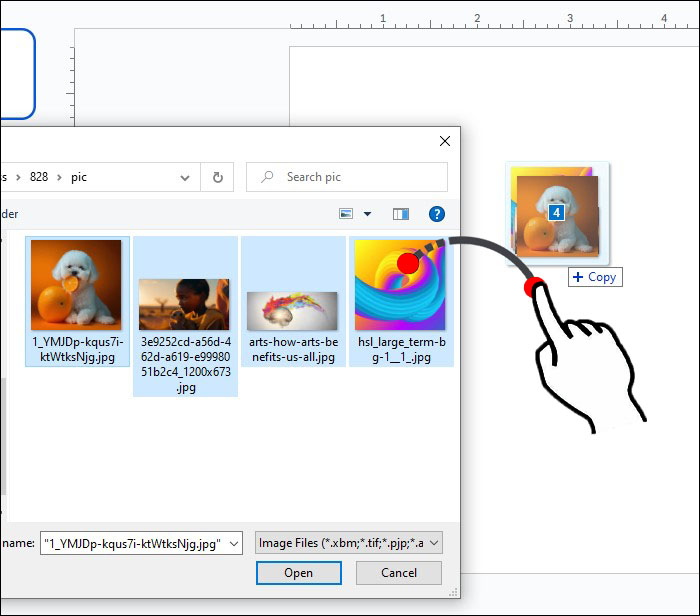
- Launch Google Slides and go to “File.”
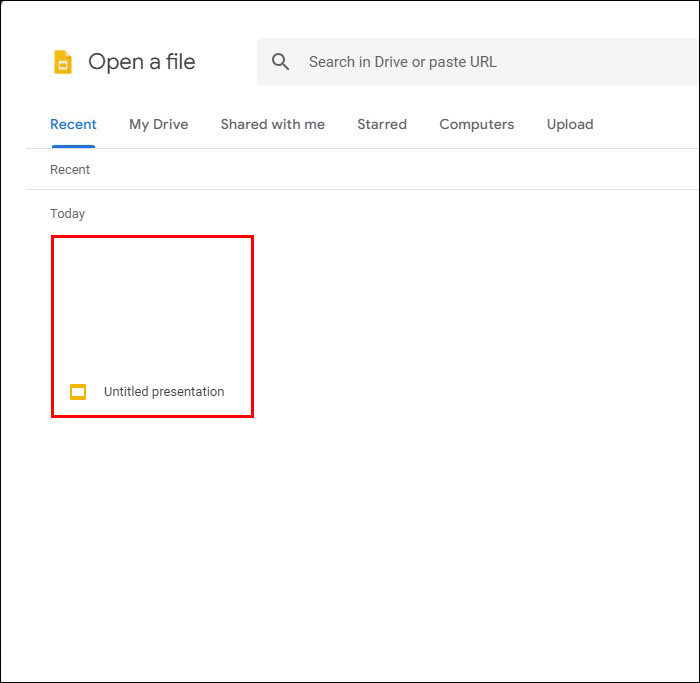
- Click “Open” to upload the image files to the app.

- Navigate to the “Slide” option on the toolbar.
- Click on the “Change Background” option.
- Find the “Color” setting on the new popup window.
- Choose the “Transparent” option.
- Select “Done.”
- Click the “Save” button to back up the polished image.


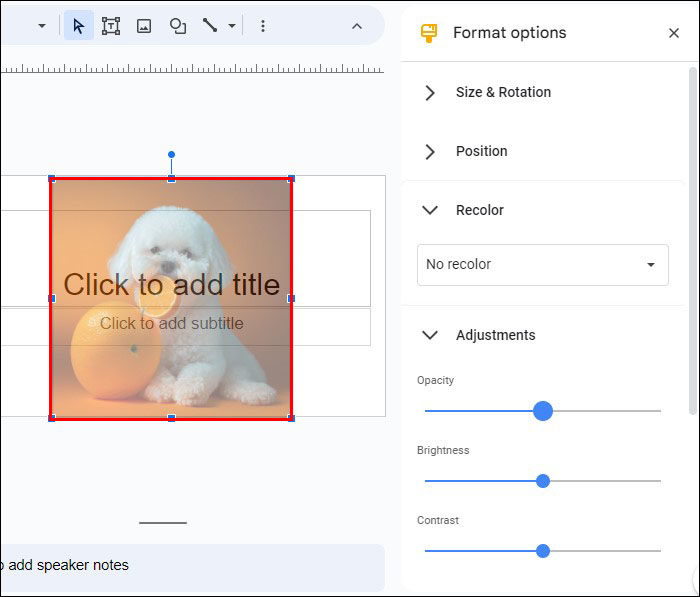
Creating Transparent Image Backgrounds
Here’s how you can make your image background transparent in Google Slides:
- Launch Google Slides and upload the image you’d like to use.
- Choose “Select.”
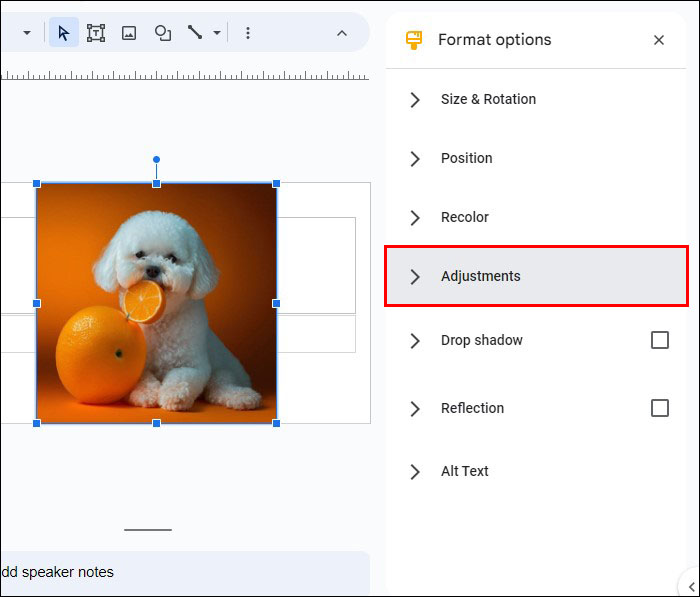
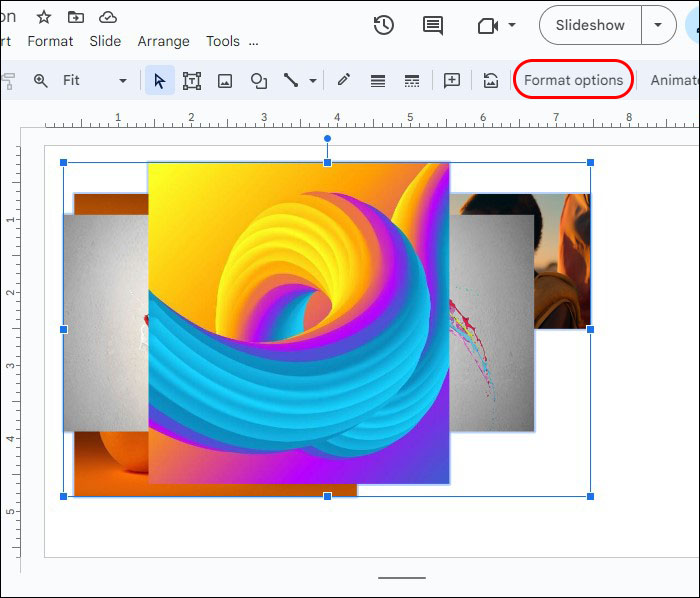
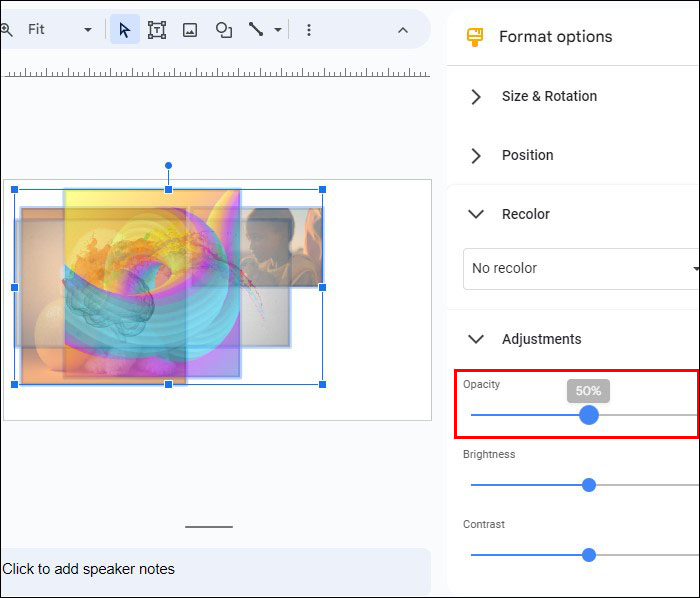
- Navigate to “Format” and choose “Format Options.”
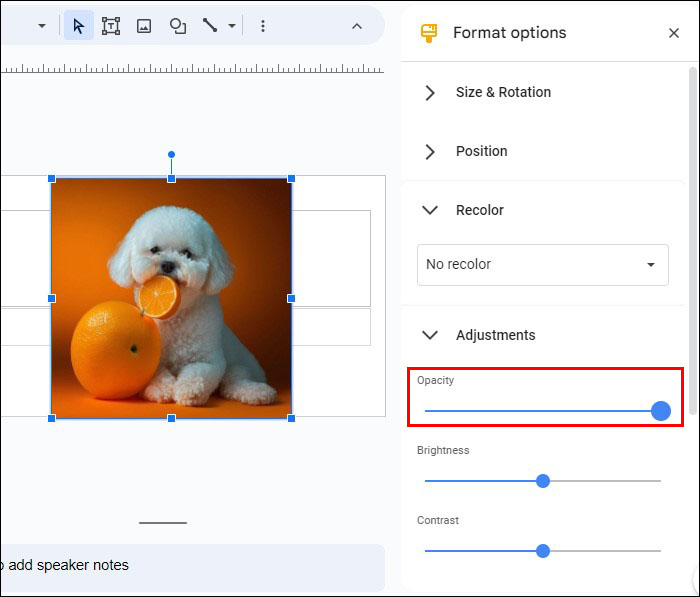
- Select “Adjustment.”
- Click on “Opacity.”
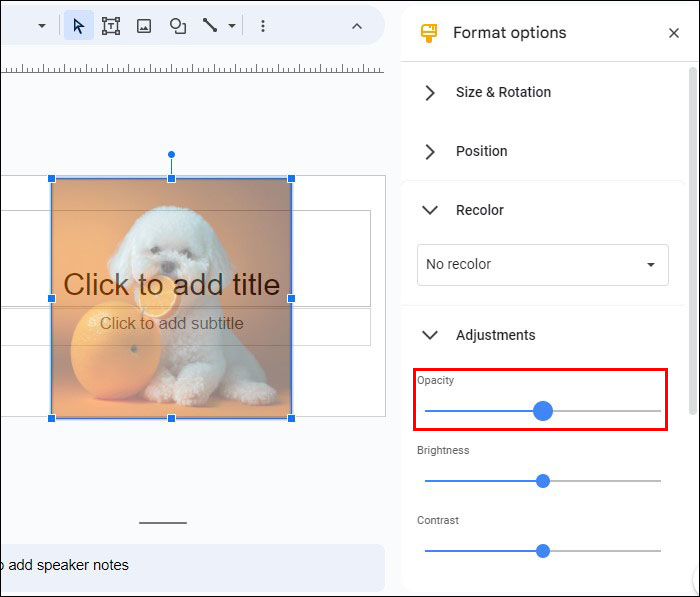
- Move the transparency slider to the left or right while observing the effect on the image until you attain the desired background effect.
- Enjoy a transparent Google Slide image background.
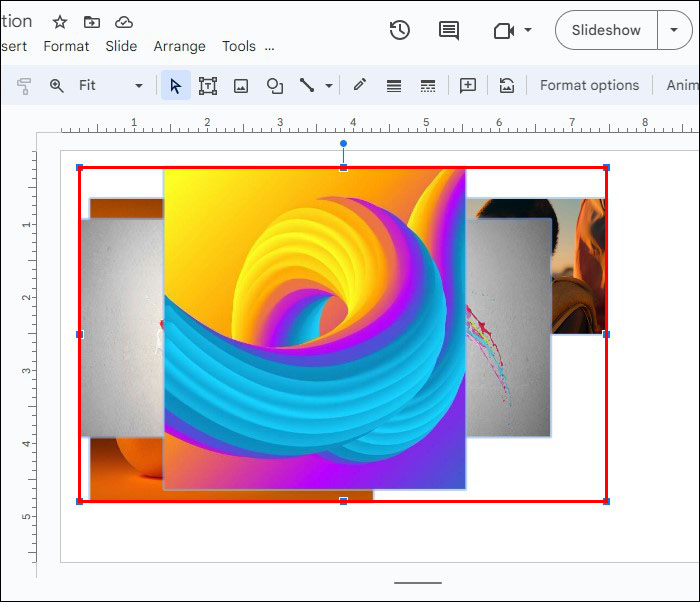
Removing Background Images for Multiple Photos
Making several image backgrounds transparent is possible if you’re working on a large presentation.
- Select all images you’d like to work on.
- Drag and drop them into a new Google Slide.
- Reselect the photos.
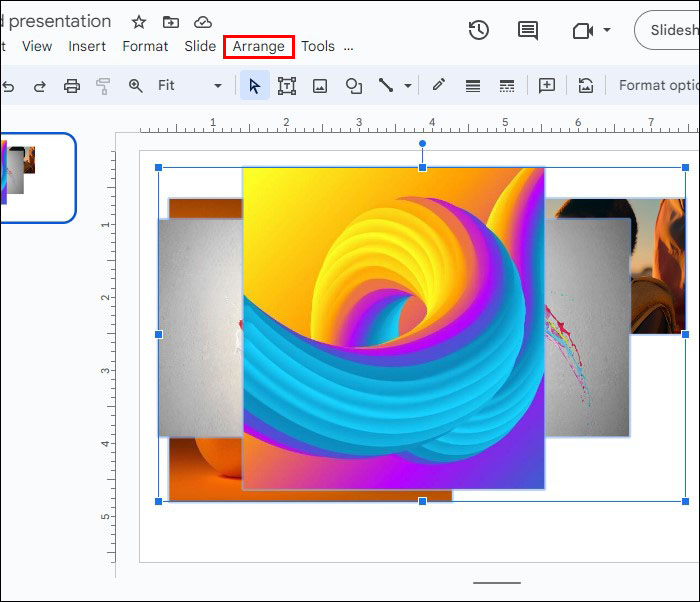
- Click “Arrange” on the top navigation bar.
- Scroll down the dropdown menu and select “Group.”
- With all images still selected, navigate to “Format Options.”
- Select “Adjustment” and click on “Transparency.” Moving the slider to effect to change settings will affect all images.


Additional Usage Scenarios
If you need to transfer each image to a new slide later, here’s what you can do:
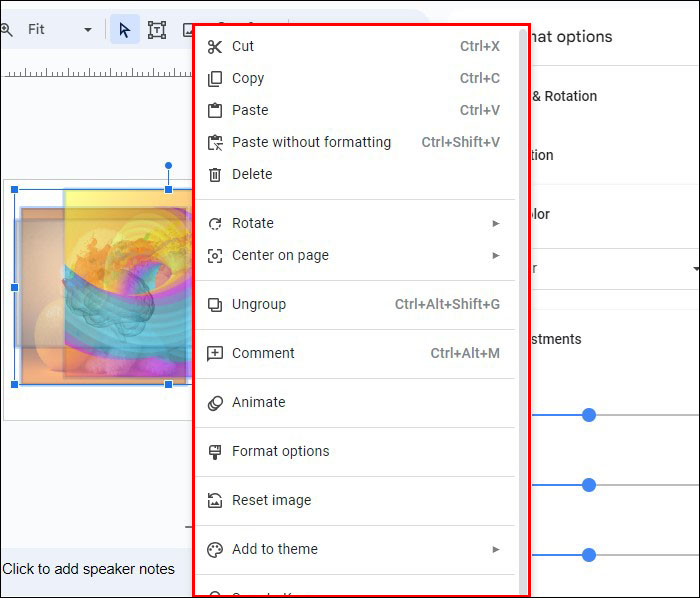
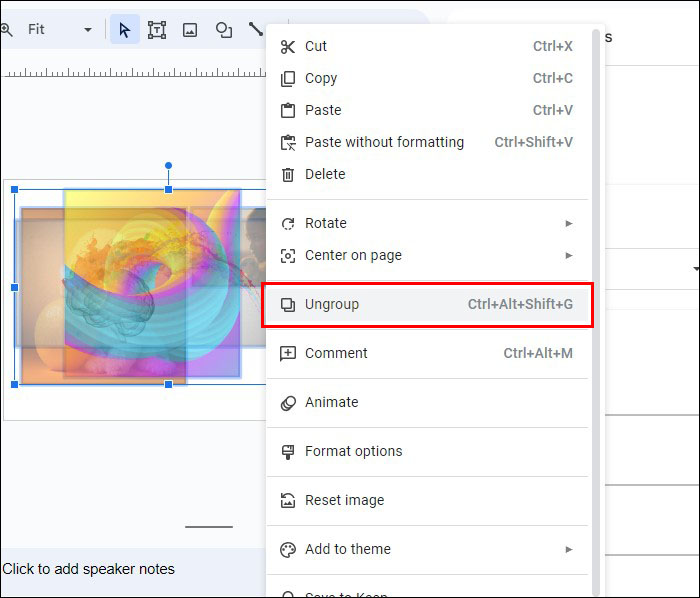
- Right-click on the selected images.
- Scroll down the dropdown menu and choose “Ungroup.”
To add an individual image as a background in a different slide, follow these steps:
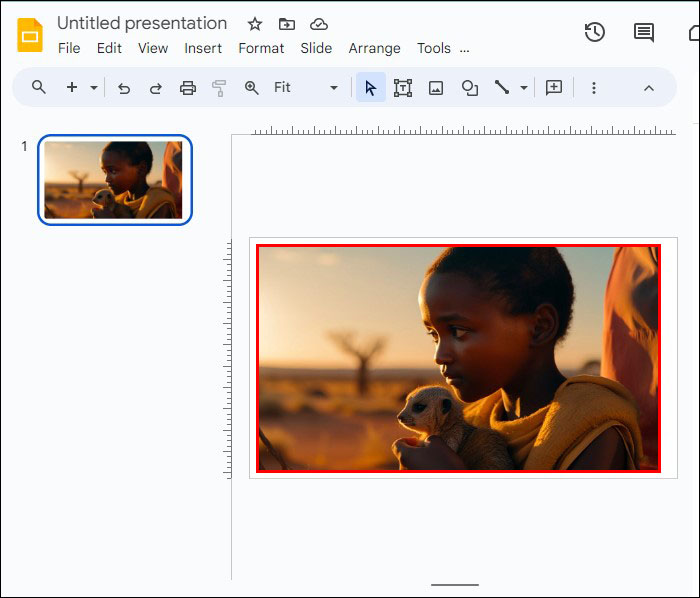
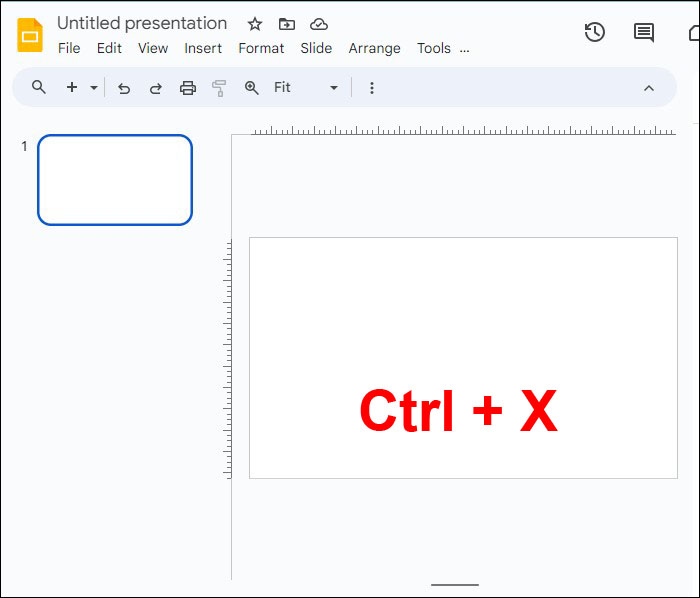
- Select the photo you’d like to use.
- Hit Command +X for Mac or Ctrl + X for Windows.
- Go to the new slide.
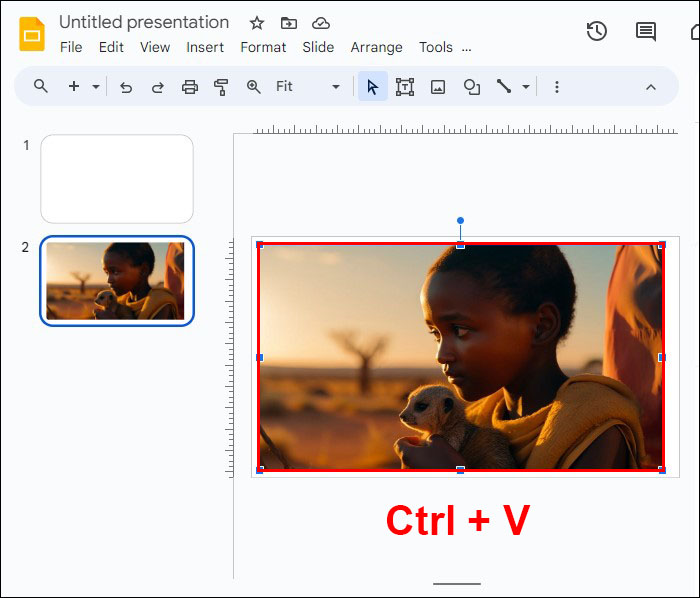
- Hit Command + V for Mac or Ctrl + V for Windows.
- Drag the image corners to ensure it fits the whole background.
You’ll have to rearrange the photo placement to ensure your text remains clear and vibrant. Here’s how it’s done:
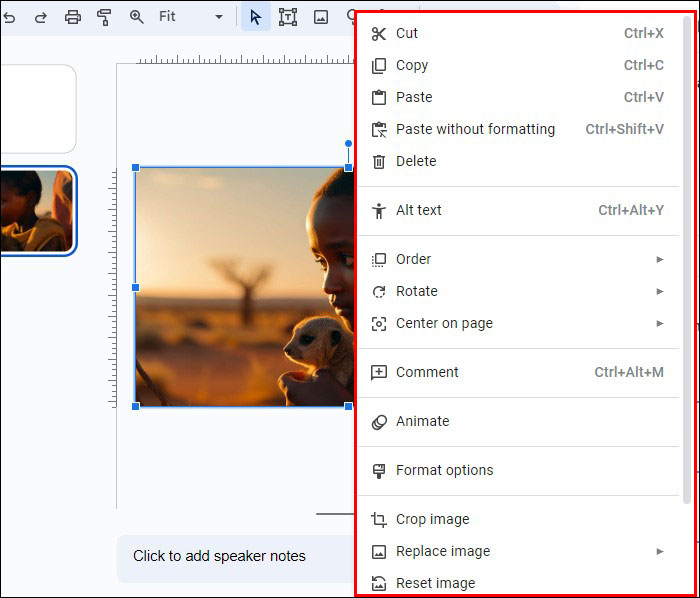
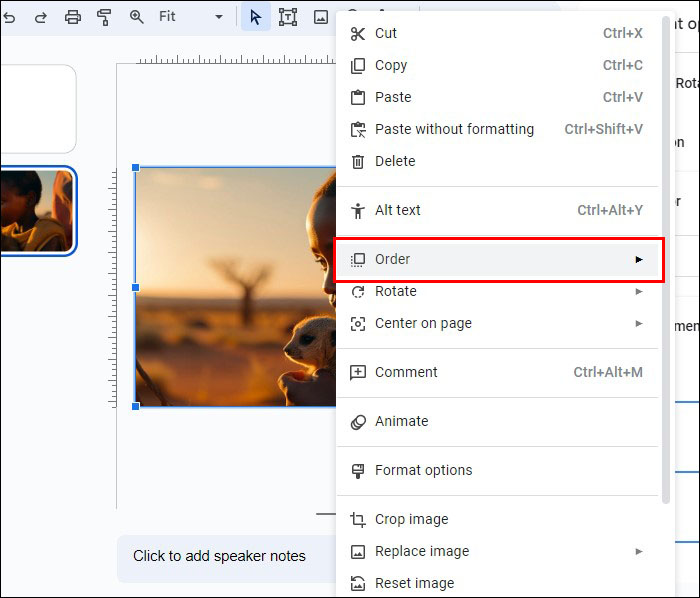
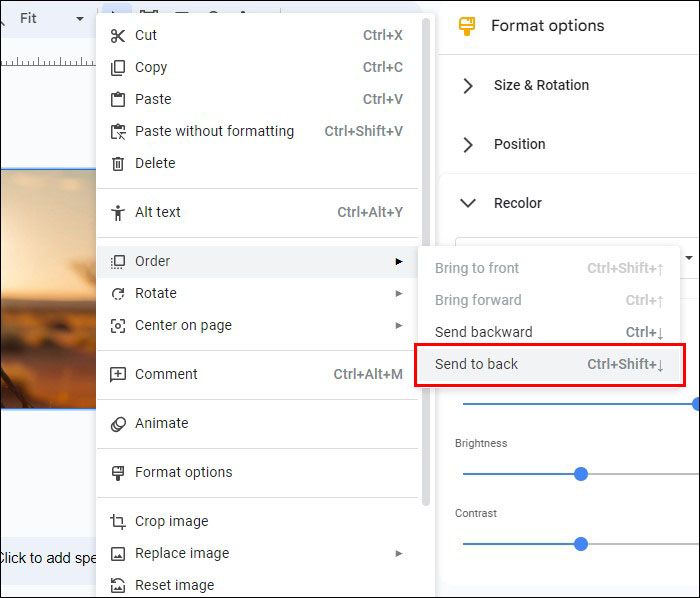
- Right-click on the image.
- Choose “Order.”
- Click “Send to Back” to move the image beneath the text.
This method is a great way to improve productivity and maintain consistent quality presentations.
Using Third-Party Applications
Even though Google Slides provide some helpful functions to remove image backgrounds, you may occasionally require more advanced functions.
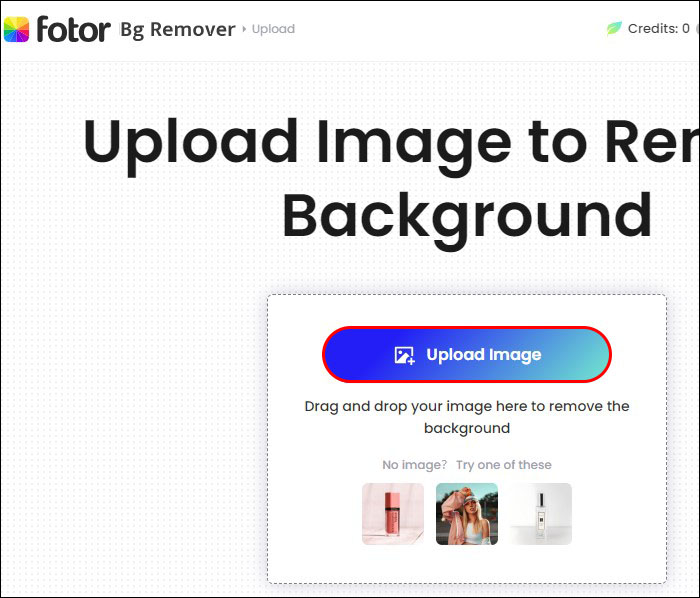
Third-party applications boast superior properties and features that make removing photo backgrounds a breeze. One excellent option is the AI-themed Fotor Background Remover. This app automatically detects the primary subject in an image and achieves an instant polished finish after removing the background. It does all the work for you. Genius!
Follow the steps below to remove photo backgrounds with Fotor:
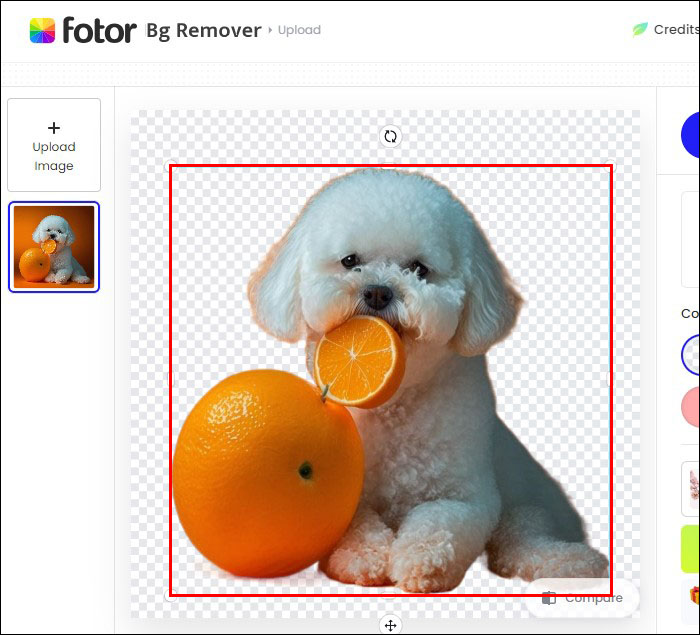
- Launch Fotor and upload the image.
- The photo background will be automatically removed.
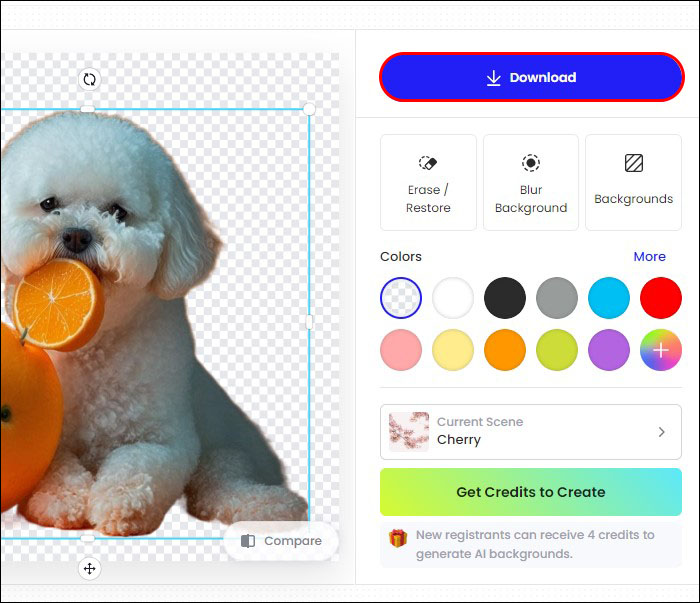
- Click the “Download” button to obtain a new image with transparent background.
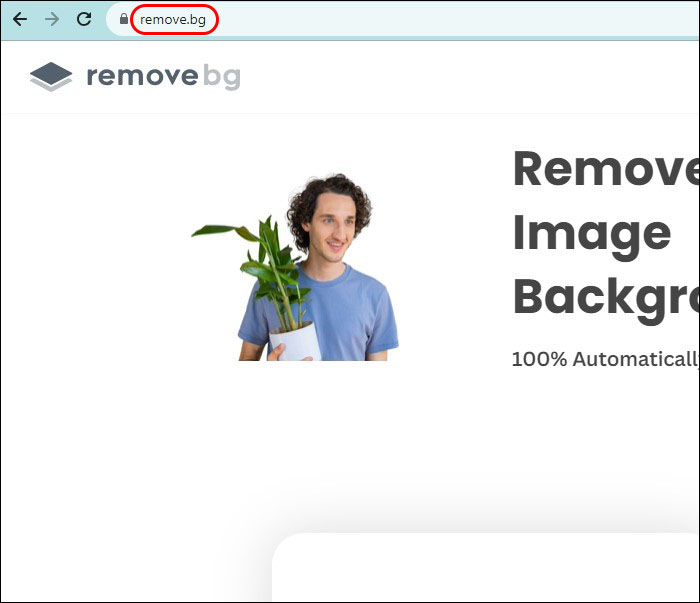
Using Remove.bg
Since Google Slides can’t remove image backgrounds by default, utilizing free external tools is a smart choice. Remove.bg is one of the best photo editing apps on the market, and it can help you alter your photo framework as desired.
Here’s how you can use it:
- Launch your browser and search for Remove.bg
- Select “Upload Image” if you’d like to use an image file stored within your device. When sourcing for an image online, click on the “Paste Image or URL” bar.
- Remove.bg will automatically remove the background from the photo.
- Select “Download.”
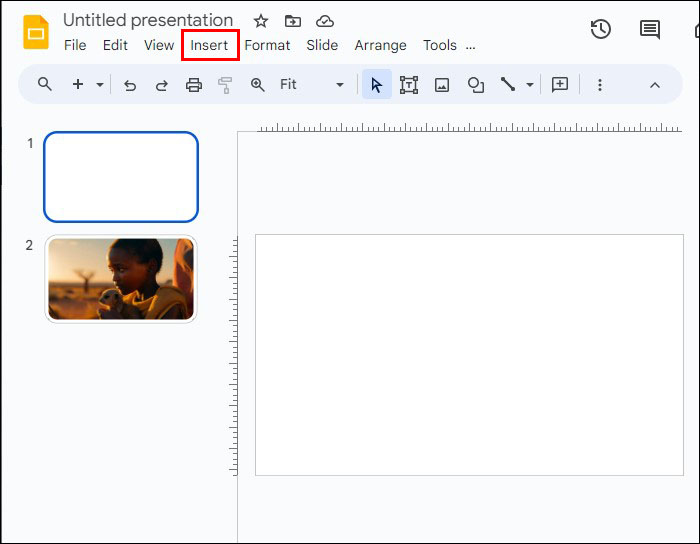
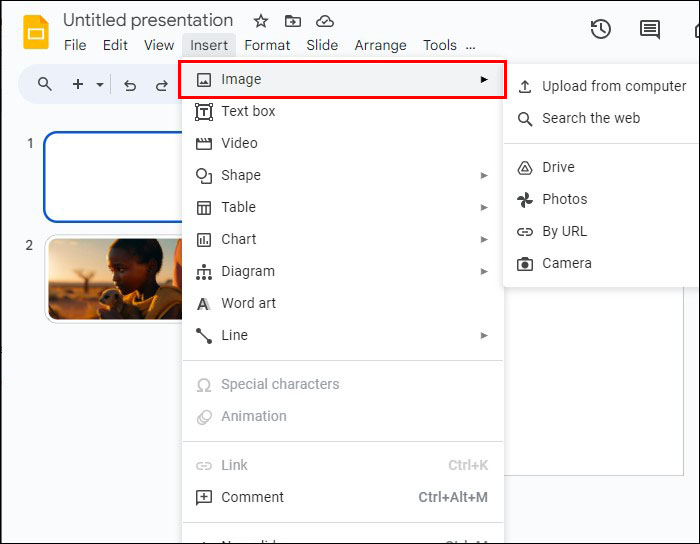
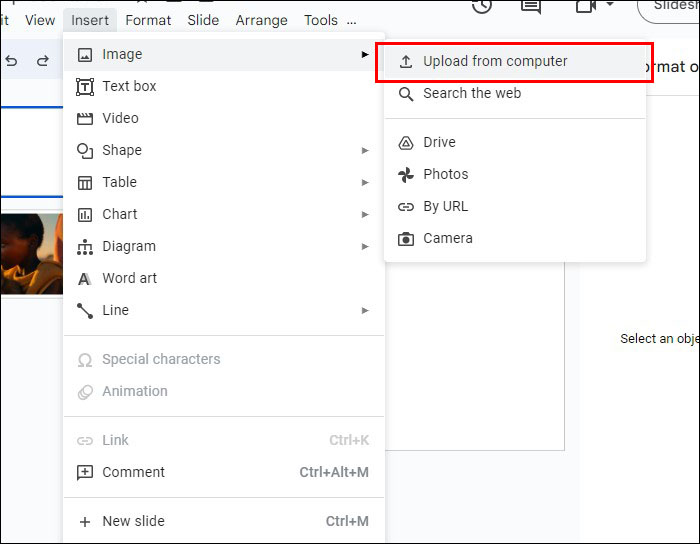
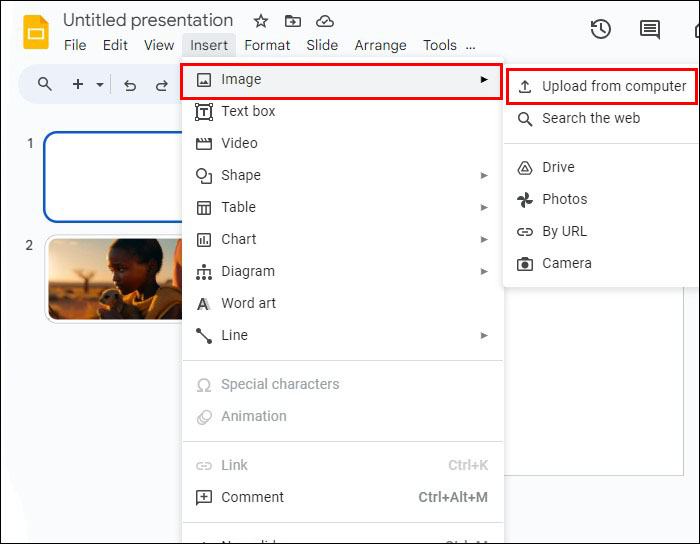
- Return to Google Slides and go to “Insert.”
- Click on “Image.”
- Select “Upload from Computer.”
- Select the new refined file.

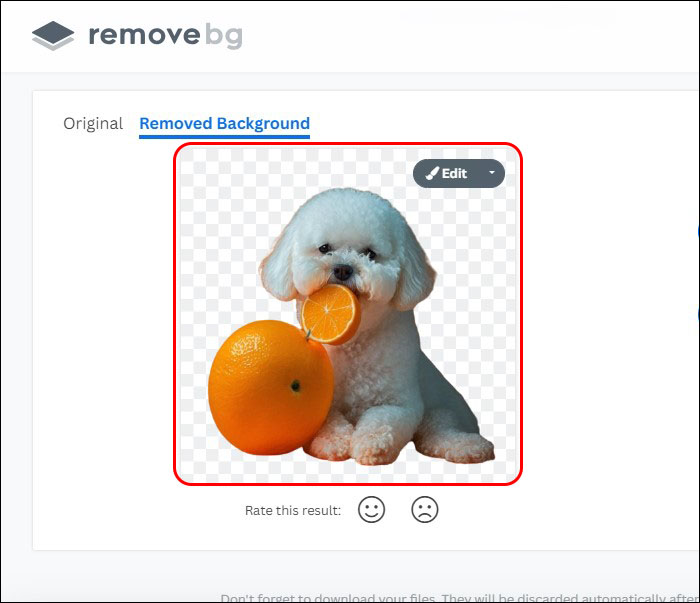

However, it’s recommended that you use this third-party application only for images with white backgrounds. The reason being Remove.bg doesn’t perform well when removing colored backgrounds.
Using Slazzer.com
Slazzer.com brands itself as an instant online background remover that uses AI technology to help save time and offers a polished and precise image cutout. Unlike Remove.bg, this app also works well with colored backgrounds.
Here’s how you can remove colored backgrounds from images you’d like to use in Google Slides:
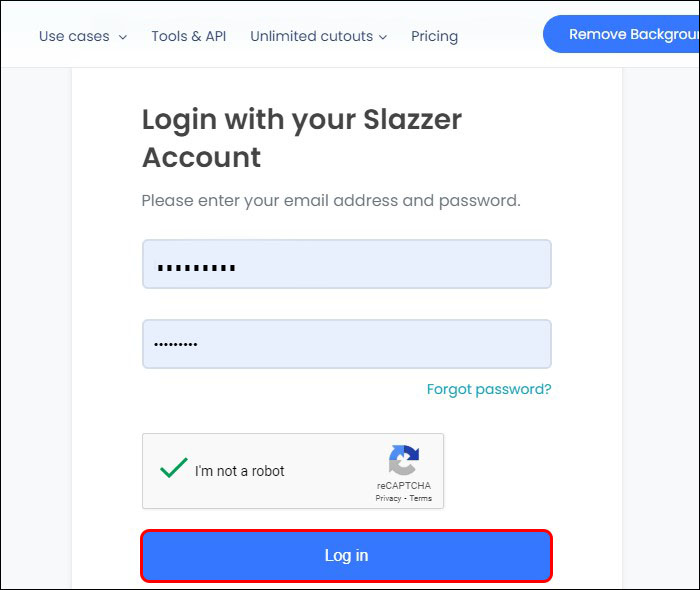
- Launch your browser and paste in this link Slazzer.com
- Set up a new account or sign in to an existing one.
- Select “Upload Image” or drag and drop the image in the upload section.
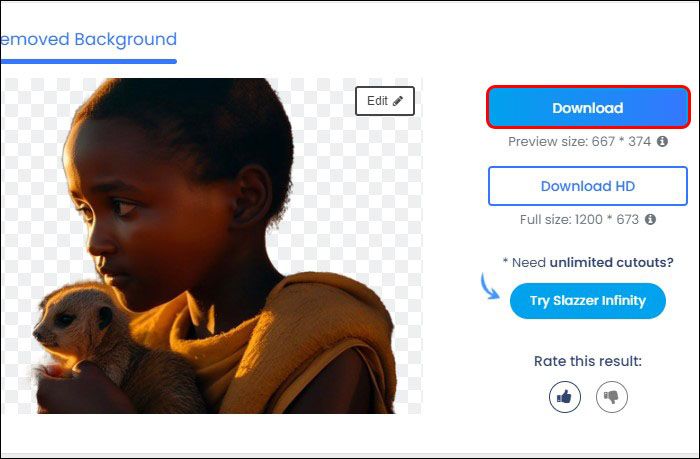
- Wait for the new transparent background photo to be processed and choose “Download.”
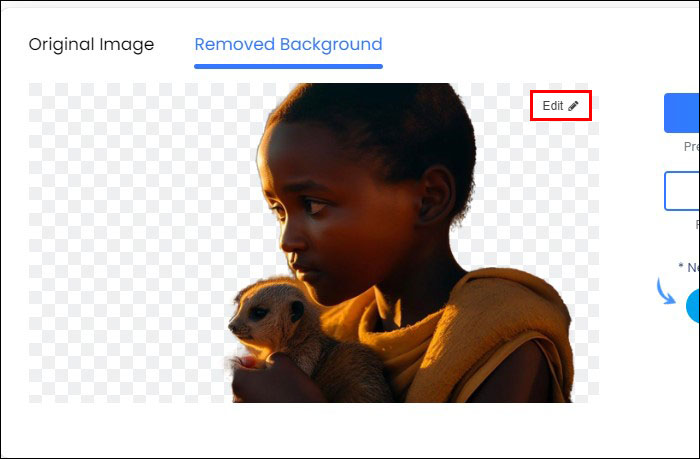
- If you want to edit the picture further, select “Edit.”
- Return to Google Slides and select “Insert.”
- Choose “Image,” then go to “Upload from Computer.”
- Find your new photo file and enjoy your transparent background.


Be aware that opening a Slazzer account is free. It’ll help you obtain free credits to unlock unique features like HD picture downloads. However, signing up on Slazzer isn’t mandatory. You can still remove the background from the image without registering.
Quick Fixes for Removing Image Background in Google Slides
You may encounter many issues when trying to remove photo frameworks in Google Slides. Highlighted below are some of the frequent problems that may crop up and how to solve them:
- Partial background removal: There are two ways to handle this issue. You can alter the tolerance level or complete the rest of the process by manually erasing the image scene.
- Loss of additional information: This usually occurs when the image you’re using has a very low resolution. The best way to overcome this problem is to improve photo quality or use a third-party application.
- Transparency issues: The opacity level of an image can affect other elements in the image. Adjusting the photo property can help resolve the issue. You can also rescale the picture or reorganize the elements.
- Fewer customization options: Some users find using Google Slides restrictive. The reason being it offers very few editing tools. You can work around this issue using specialized photo editing software to help remove the background images.
FAQs
Can you remove other objects from Google Slides?
Yes. Google Slides allows you to remove any items within your presentation by using the cut or delete function.
Can image size be altered when using Google Slides?
Yes. Google Slides provide formatting options that help to rescale and rotate photos.
Does Google Slides allow you to adjust image color?
Yes. The “Recolor” feature in the Google Slides formatting panel enables you to do this.
What other effects can you add to Google Slide images?
There are several customization options in Google Slide. You can input shadow and reflection effects to your pictures to make your presentation more vibrant.
Curate Polished Images in Google Slides
Google Slides is a dynamic tool for working with designs. Yet, removing a photo background within the app can be challenging. The reason being that the program has no dedicated feature for this role. Thankfully, the app does offer a viable solution through its basic functions that help alter the transparency of the picture framework.
Have you ever removed the background image from a Google Slide? Did you use any of the tips and tricks featured in this article? Let us know in the comments section below.
Disclaimer: Some pages on this site may include an affiliate link. This does not effect our editorial in any way.