Google Slides offers you options to make your presentation as unique as possible. With that in mind, you don’t have to use plain squares or rectangles for your images in Google Slides presentations. Trying different shapes can enhance the overall appearance. An ordinary picture can be transformed into an attention-grabbing element for your presentation in a few easy steps.
This article explains how to change an image shape and add other significant effects in Google Slides.
How to Change the Shape of an Image in Google Slides
Add some pizzazz to your Google Slide presentations by changing your image shapes using these steps:
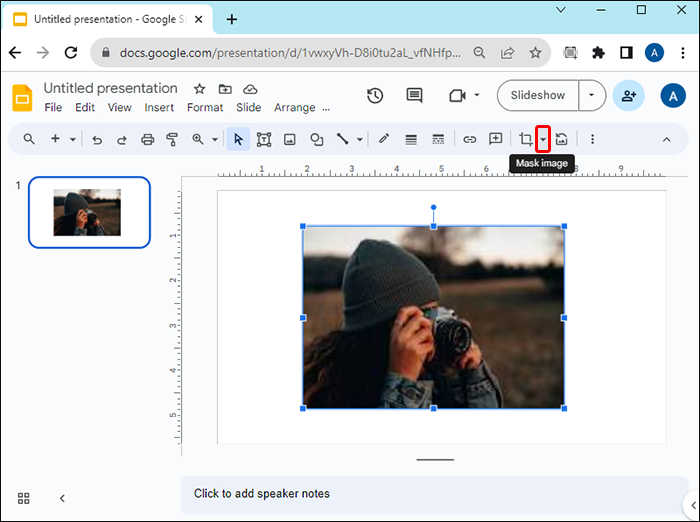
- In a Google Slide, click on your image.

- Go to the “Mask Image” icon (a small down-facing arrow) on the top toolbar next to the “Crop Image” icon.

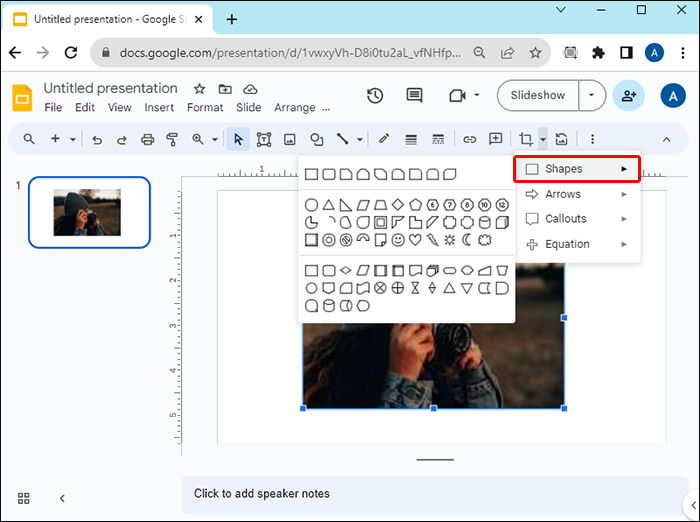
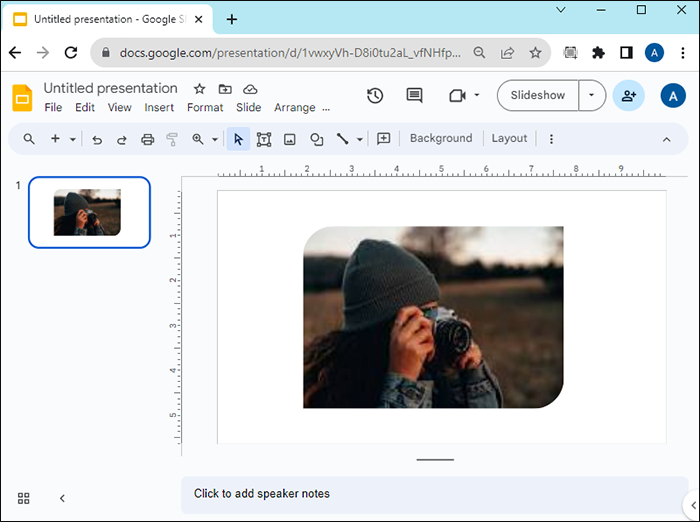
- Click on “Shapes” and choose your preferred shape.
- To apply the mask, tap outside of the image.
Change an Image Shape in Google Slides on Android
If you’re using an Android device to edit your Google Slides and you need to change an image shape, follow these steps:
- Open your Android device’s “Google Slides” app and go to your presentation.
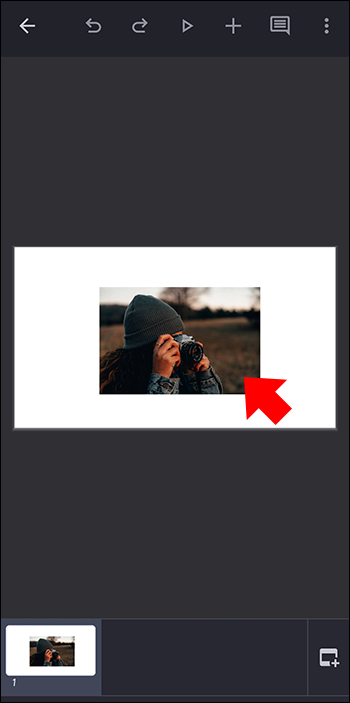
- Open the slide and select your image shape.
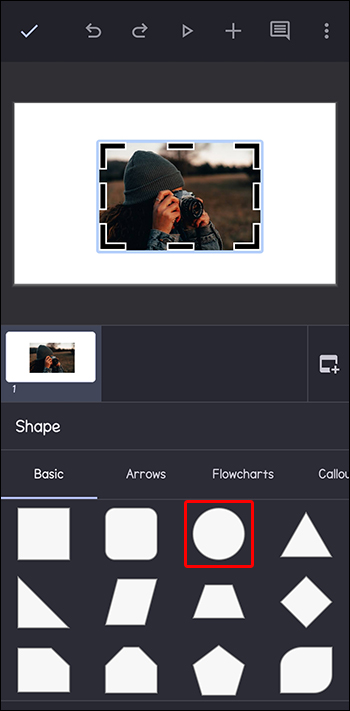
- At the bottom, tap on the “Crop” icon.
- Go to “Mask” and choose a shape from the selection.
- The mark will be applied when you tap outside of the image shape.

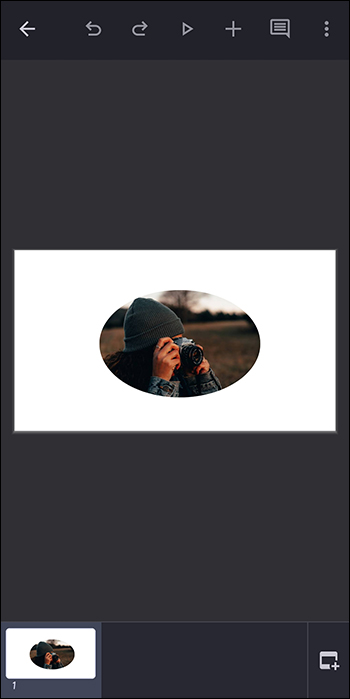
Double-tap to edit the picture in the image shape.
Format Your Shape in Google Slides
In Google Slides, you can change the look and location of an element using the Format option. You can format your image shape by following these steps:
- Click on your shape in your Google Slide.
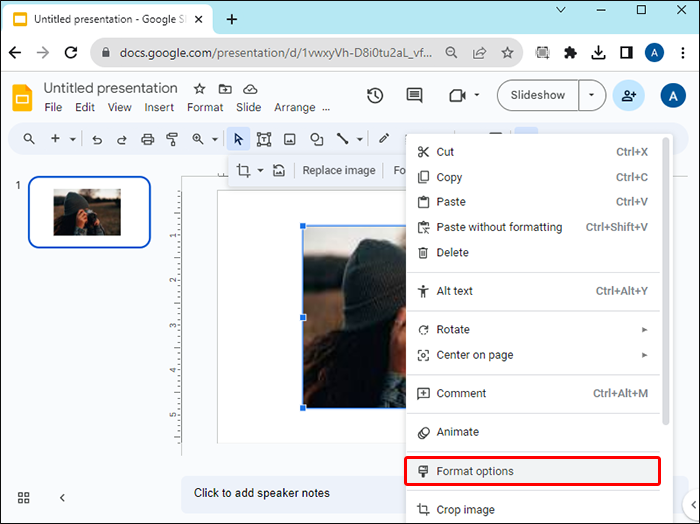
- Select “Format” from the top toolbar, or right-click on the image and scroll down to select “Format Options.” You’ll see various formatting options like size, rotation, position, and adjustments.
- Select the aspect you’d like to change, click on it, then choose from the additional aspects underneath.
Replace an Image in a Shape in Google Slides
You may want to use the image shape in different Google Slides but would need to replace the image. Follow these steps to replace images in shapes in Google Slides:
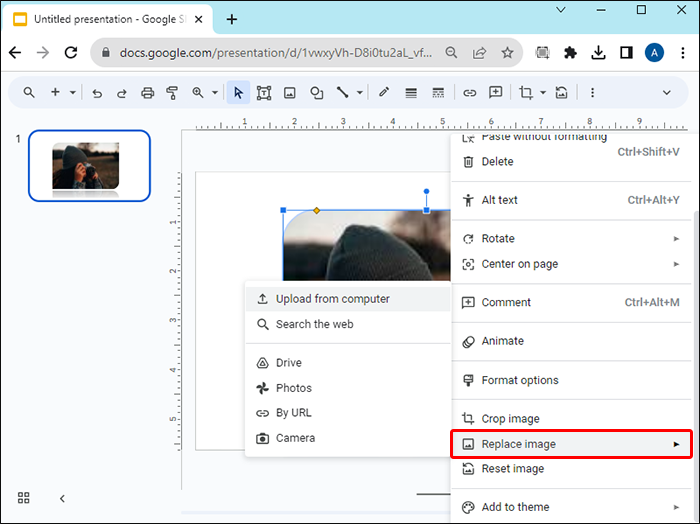
- Right-click on the image shape.
- Scroll down and select “Replace Image.”
- Choose an upload option to replace the new image.


Adjust an Image Shape’s Transparency/Opacity in Google Slides
Make your slide interesting or maximize space by adding text on top of an image shape. You’d need to adjust the image’s transparency, so the text is visible. Here are steps for how to do this:
- Right-click on the image shape in your Google Slide.
- Select “Format Options” from the top toolbar, or right-click on the image and scroll down to select “Format Options.”
- Click to expand “Adjustments.”
- Drag the sliders for opacity, brightness, and contrast to complement your text or slide design.
- If you want to start from scratch, select “Reset.”
Reflect Your Image Shape or Add a Drop Shadow
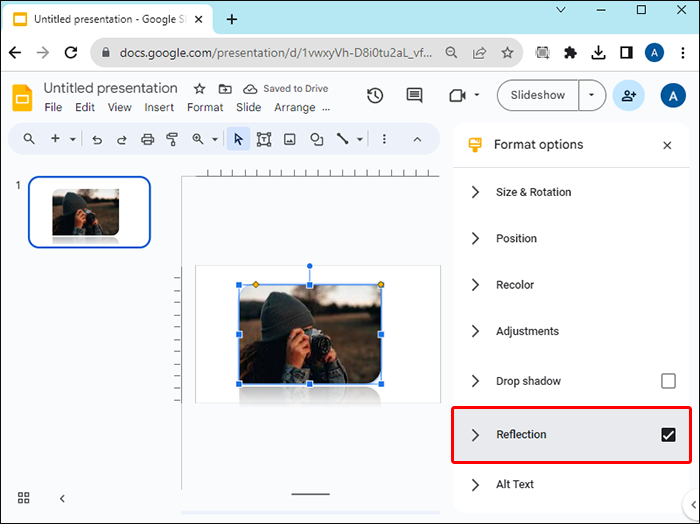
“Reflection” adds a reverse mirror image of your element while “Drop Shadow” adds depth in the form of a shadow behind the element. You can add these fantastic features to your image shapes to enhance your presentation, but using them on a single image is advisable. Here are steps to reflect your image shape in Google Slides:
- Click on your image shape in your Google Slide to apply the Reflection feature.
- Right-click on the image and scroll down to select “Format Options” or select “Format” from the top toolbar.
- Scroll down to “Reflection” and click to expand.
- Drag on the sliders to adjust the opacity, distance, and size of the reflection.

If you’d prefer to add a drop shadow to your image shape in Google Slides, follow steps 1 and 2 above, but select and expand the “Drop Shadow” option. Adjust the sliders according to your preferences.
Group Image Shapes in Google Images to Lock Them
There’s nothing more annoying than carefully placing and aligning shapes only to move or delete them by mistake. A way to prevent this is to lock them in place using the group feature in Google Slides. You can then move all the shapes together as one object. To group your image shapes in Google Slides, follow these steps:
- Open a presentation in Google Slides.
- Choose the slide that has the image shapes you need to group.
- Hold down the “Shift” key and click on the shapes.
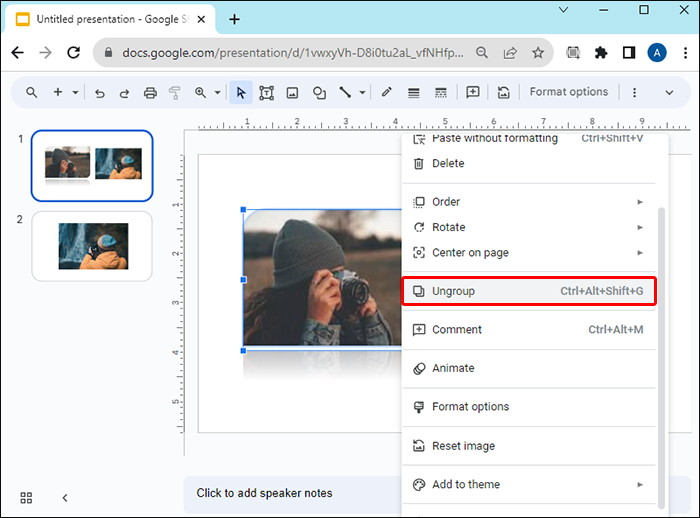
- Right-click on one of the selected shapes and choose “Group.”
- To ungroup the image shapes, right-click and go to “Ungroup.”


Lock an Image Shape to Use It as a Background
To use an image shape as a background, lock it so it doesn’t move and remains behind other elements in your slide. To lock an image shape as a background in Google Slides, follow these steps:
- Open your presentation in Google Slides and go to the slide with your image shape.
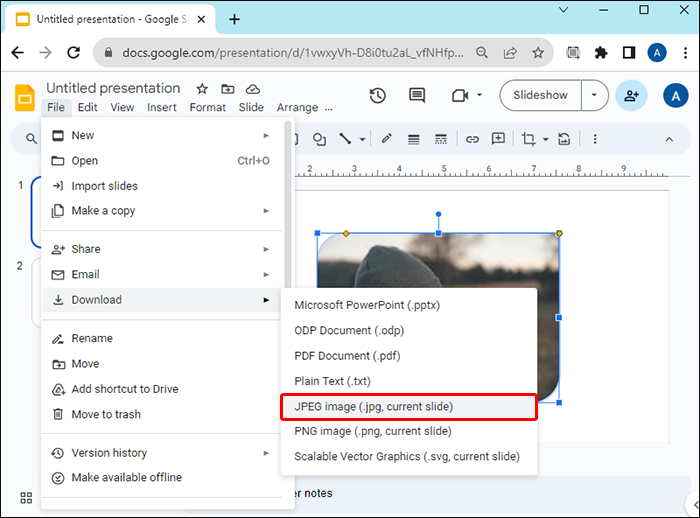
- Select your image shape and go to “File.”
- Click on “Download” and download the image shape as a JPEG.
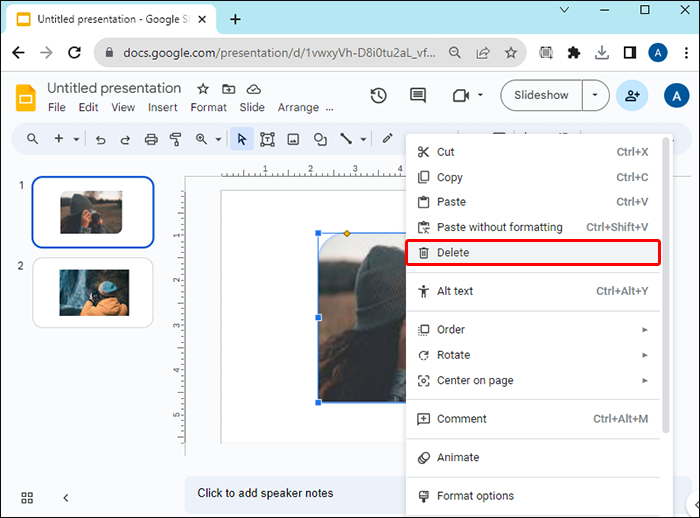
- Delete the image shape from the slide.
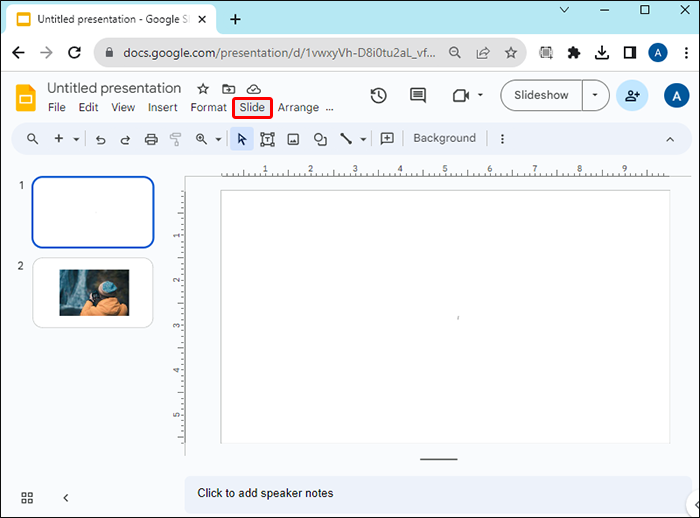
- Go to “Slide” from your top menu options.
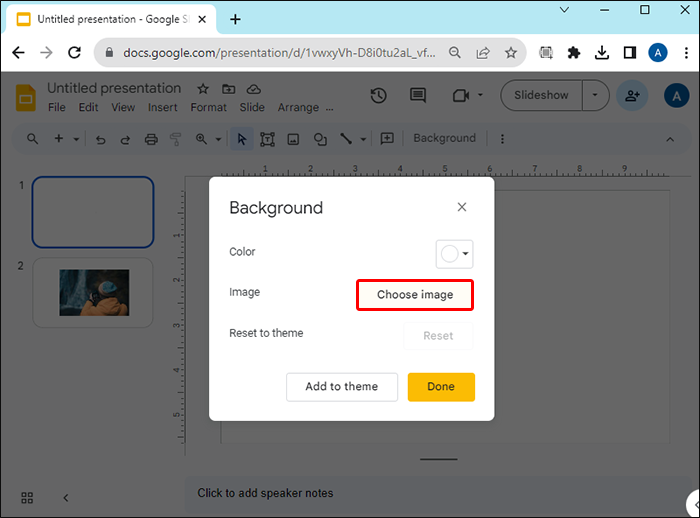
- Select “Background.”
- Click on “Choose Image” and “Browse” to upload the downloaded image shape.
- Hit “Done.”


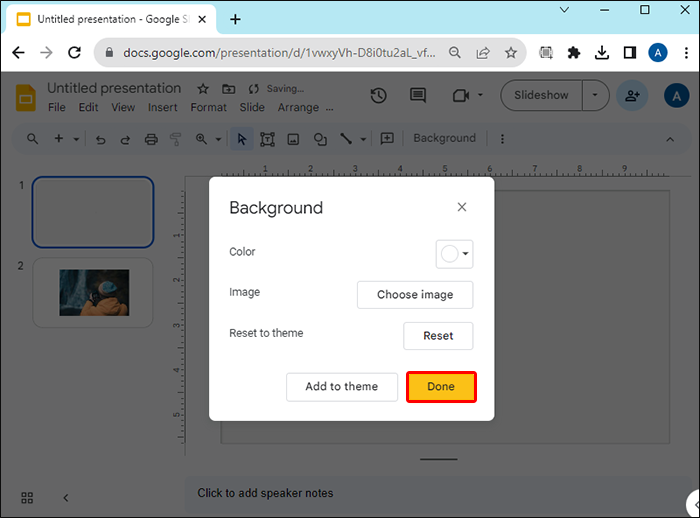
Your image shape will now be locked as a background and can’t be deleted or moved.
Download Free Templates to Use in Google Slides
When you want creative visuals for Google Slides presentations with funky shapes but don’t have time for the abovementioned process, download free templates from sites like Slidesgo. Use the search bar to find a template that uses the types of shapes you need, then click on it. A separate page opens, and you can click the download button to download the template which, when clicked, launches in your Google Slides and is ready for you to customize.
Beautify Your Google Slides Using Different Shapes
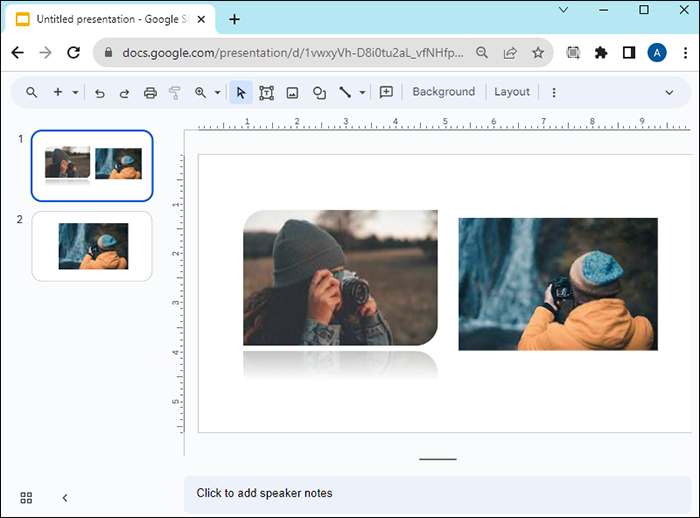
Picking a funky shape using the mark feature in Google Slides enhances the appeal of your Google Slides presentation and makes it more memorable. Once you’ve changed your image’s shape, you can add a drop shadow or reflection, or if you’d like to add text on top, you can change its opacity.
Do you have a favorite shape you use in Google Slides? Let us know in the comments section below.
Disclaimer: Some pages on this site may include an affiliate link. This does not effect our editorial in any way.