Once you’ve built and tested your ManyChat automation, turning it into a template is the fastest way to clone your bot to other platforms without any rebuilding. It’s also a great way to share your bot or automation flows with other people, which can be useful if you’re handing off a project or are simply running courses about the app. But you might be thinking “How Do I Create a Template in ManyChat?”
Here is a deep dive into everything you need to know about creating, configuring, and managing ManyChat templates.
What You Can Include in a Template
You decide exactly which elements—automations, tags, custom fields, growth tools, etc.—go into your template so it’s perfectly tailored to your use case. This can include:
- Cloning every flow, rule, and setting across an account.
- Packaging a single marketing sequence.
- Sharing just the keywords, tags, or growth tools you need.
How Do I Create a Template in ManyChat – Step by Step
Of course, to use the templates, you have to have an existing flow or automation, so this really only applies if you’re a relatively advanced user.
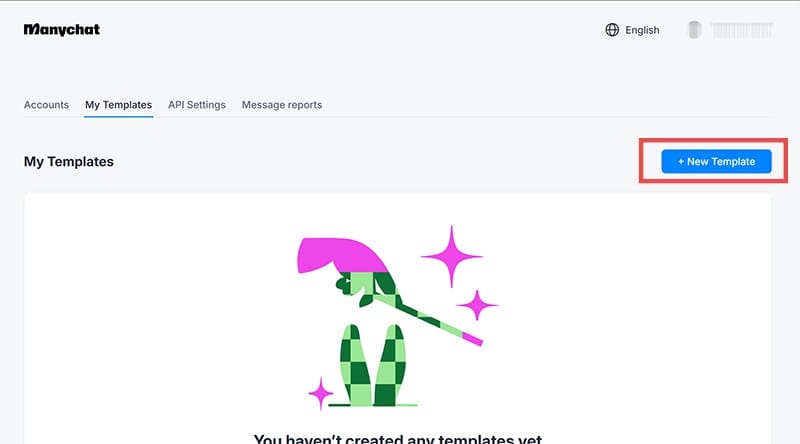
Step 1. Navigate to “My Profile” (by clicking on your username), then go to “My Templates.” This is your central hub for all templates you own or have installed.

Step 2. Click on “New Template” to launch the creation wizard. This will let you start selecting content.
Step 3. Choose the ManyChat page or channel whose content you want to package. Only elements from this account will be available for inclusion.
Step 4. Check the boxes next to each automation, growth tool, keyword, tag, or custom field you wish to include. Here are some notes to keep in mind:
- Selecting an automation auto-includes any connected elements (for example, a sub-flow or referenced custom field). You can deactivate any linked items you don’t want.
- If your template contains any PRO-only features or exceeds the free-plan limits, it becomes a PRO template—installable only on PRO accounts.
- Any ManyChat AI features you include require the AI add-on on the destination account.
When you’re done selecting, go to “Next Step.”

Step 5. Decide where the imported “Bot Fields” will live on the destination account. This can be “Template Field,” which will be predetermined (filling with an existing value or prompting the user for input during installation). If you put “Bot Field” instead, the end user can change them to what they want.
Click on “Next Step” when you want to proceed.

Step 6. Give your template a clear, descriptive title and optional icon or image.
Step 7. Toggle “Control Options” toEnable options to restrict who can view or edit it. “Protect template” prevents end users from sharing the template itself. “Lock for editing” makes the user unable to change the fields. “Remote control” allows you to view who downloaded and installed the template and enables you to block them from using it (for example if it’s a subscription service).
Step 8. Click “Create The Template” to finalize. ManyChat then generates a permanent link to the template, which you can copy and share wherever you want.


Managing and Editing Templates
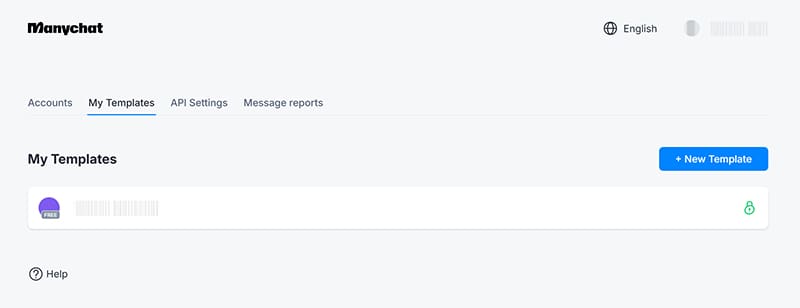
After creation, you can use the “My Templates” tab to:
- Add more elements, update descriptions, enable or disable public access.
- Remove outdated templates you no longer need.
- See who’s installed your templates and manage link permissions.
Every change you make here automatically updates the template package, ensuring anyone who installs it next gets the latest version.

Disclaimer: Some pages on this site may include an affiliate link. This does not effect our editorial in any way.