Flashcards are an excellent way to boost memory retention and make learning more fun. But creating traditional flashcards using pen and paper is often a time-consuming and energy-draining task. Fortunately, the Google Slides software takes the hassle out of creating flashcards. The program allows users to create interactive digital flashcards that help them better remember important information.
Read on to learn more.
How to Make Flashcards With Google Slides
Google Slides is a relatively user-friendly app that works well on both Windows computers and MacBooks. Making digital flashcards involves several steps, from resizing the presentation and adding questions to customizing the deck with images and backgrounds.
STEP 1: Resize the Presentation
Before inserting quotations and answers to your slides, you need to make sure you’re satisfied with the size of the slides. This allows you to print out the slides and cut them up to create a well-organized deck. Here’s how to do so:
- Head to the Google home page and tap the grid in the top-right part of the window. Select the Drive icon and sign in on the login page using your Google account credentials. Alternatively, head to https://slides.google.com to go directly to the Google Slides page.

- From your Google Drive, press the “New” button in the left corner of the interface and pick “Google Slides” from the list of options.

- Navigate to the top of the page and choose one of the available options to create a new presentation.
- Tap the white square with the “+” icon inside it to generate a blank slide.
- Select “Template Gallery” to view the program’s built-in slide templates.
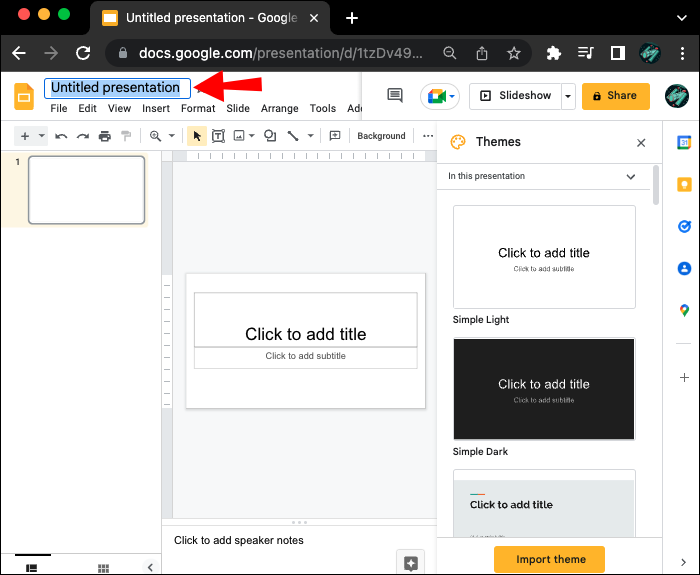
- Click on the “Untitled” field and type a topic-related name for your flashcards.
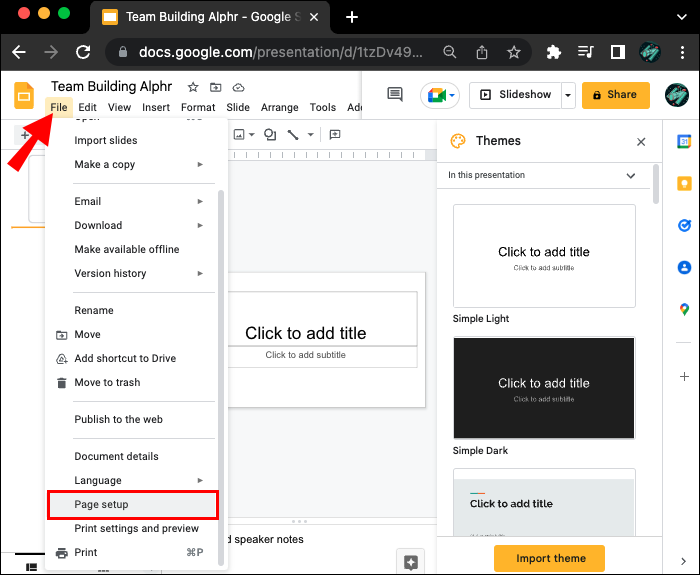
- Choose “Files” and tap “Page setup.”
- Select the “Custom” option and set the dimensions to “10×7.5 inches.”
- Hit the “Apply” button to save the changes.


Tweaking the “Page setup” to 10×7.5 inches means that the digital flashcard will fit on a standard piece of paper when printed. You can review the cards in the Slides app or take them with you and keep them in your bag or pocket. This gives you access to valuable information even when you’re away from your computer or mobile devices.
STEP 2: Adding a Question Box
After setting up the presentation, it’s time to create the first flashcard and insert a question textbox. The below steps will guide you through the process:
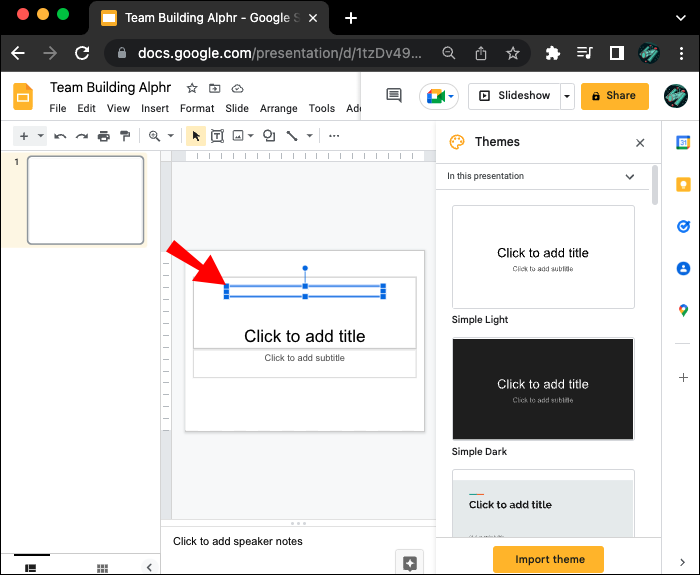
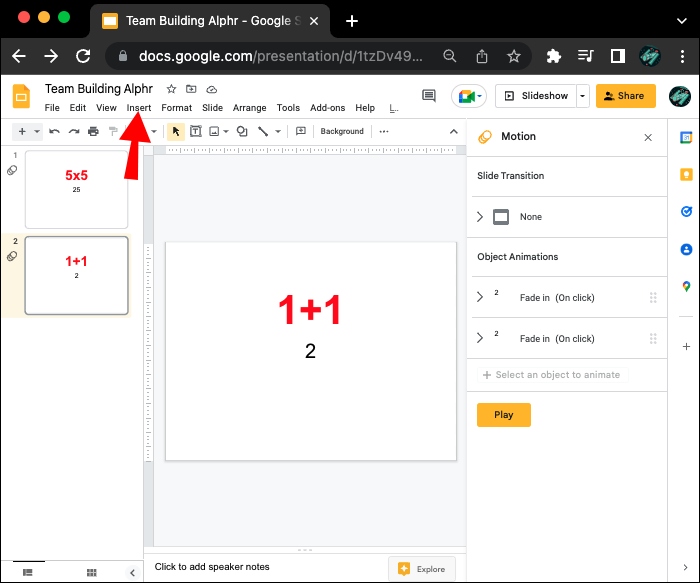
- Click on the “Insert” card in the menu bar above the presentation and select “Text box” from the list of options.
- Move the cursor over the slide until the box appears.
- Drag the box to the desired position.
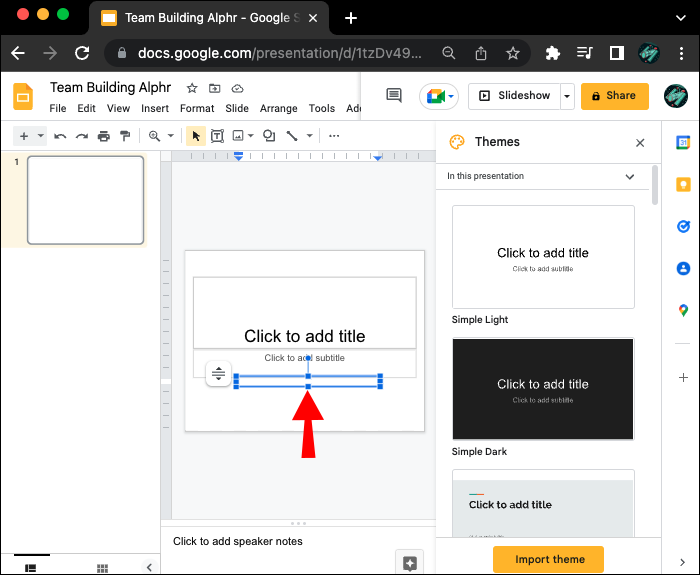
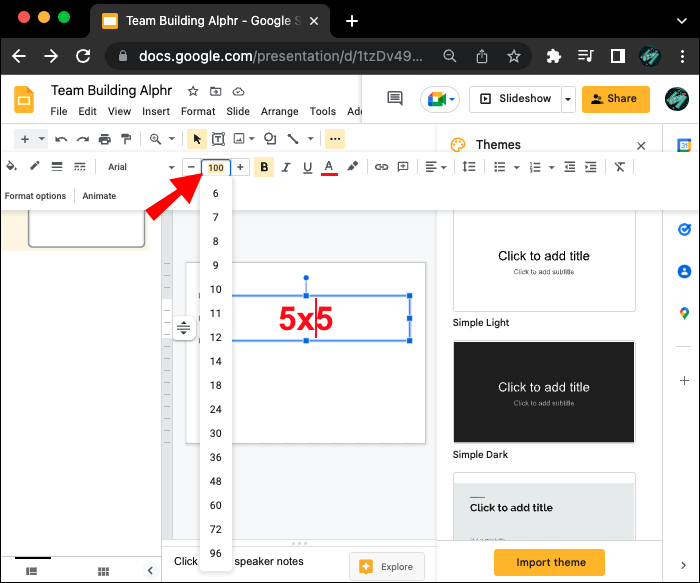
- Tap the box to select it and type your question.
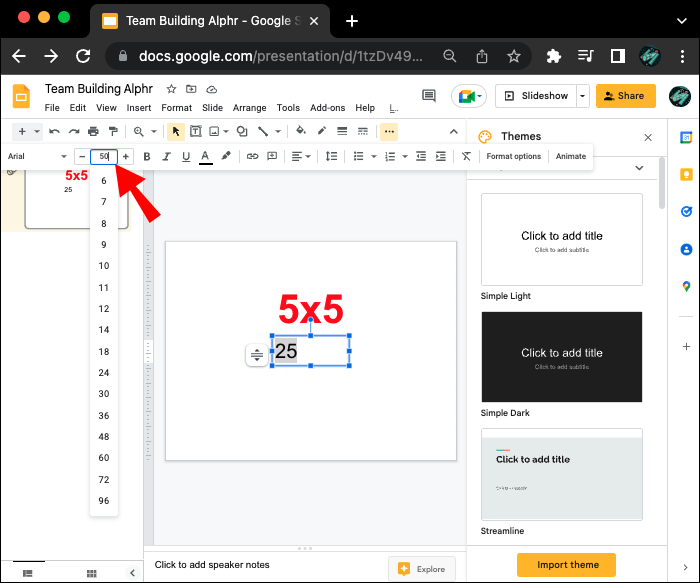
- It’s best to set the font size to 100. (If you’re adding more content, return the text box and resize the question.)


Depending on your preference, you can reposition the text box. However, keeping it in the default center position grabs the reader’s attention, helping with information retrieval.
STEP 3: Adding an Answer Box
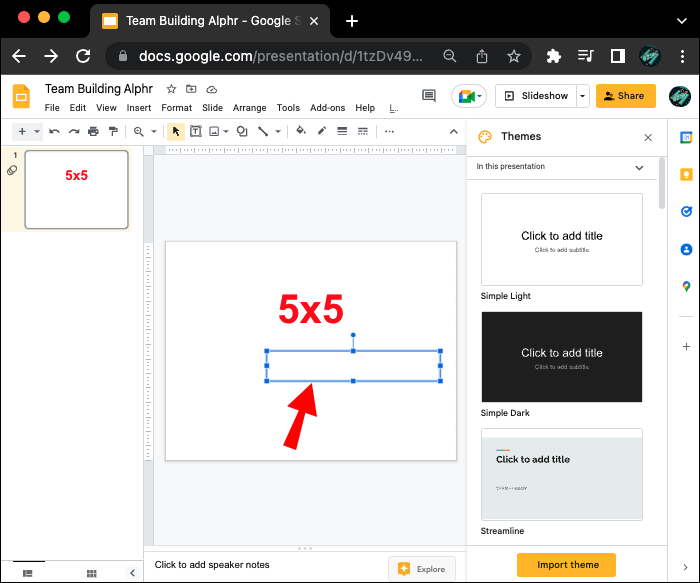
To complete the flashcard, you must insert and fill in an answer textbox.
- Press the “Insert” button above the slide and click on the “Text box” option.
- Move the cursor over the slide until the text box pops up.
- Resize the box using the cursor and make it smaller than the question box.
- Drag the box and move it to the lower-middle of the question in the slide.
- Tap the text box and type the answer.
- Adjust the font size so that the answer appears smaller than the question.


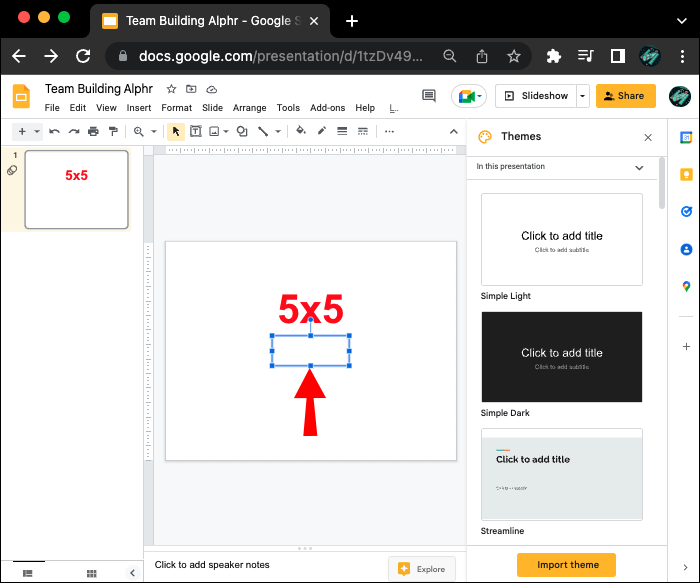

You can also further modify the text by changing its color. To make sure it stands out, you could bold, underline, or italicize it.
STEP 4: Animate the Answer Box
If you plan to use the flashcards on your computer, it’s essential to animate the answers. Here’s how you can do it:
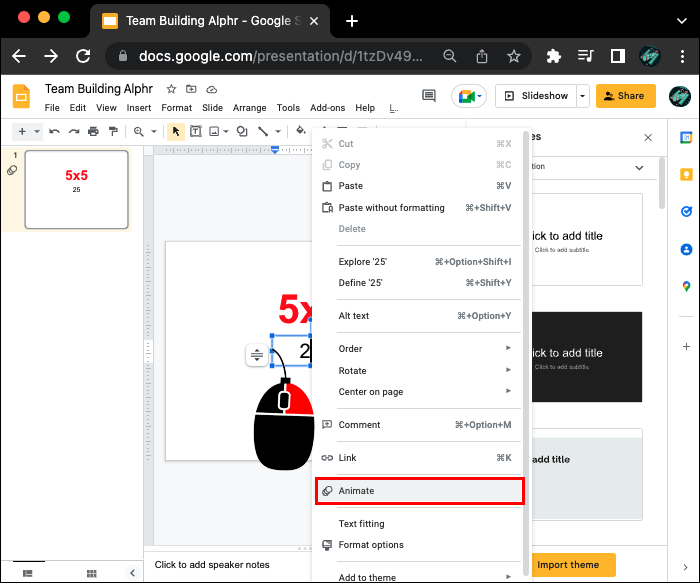
- Right-click on the answer box and scroll to the bottom of the “Animate” drop-down menu. The action will turn the textbox blue.
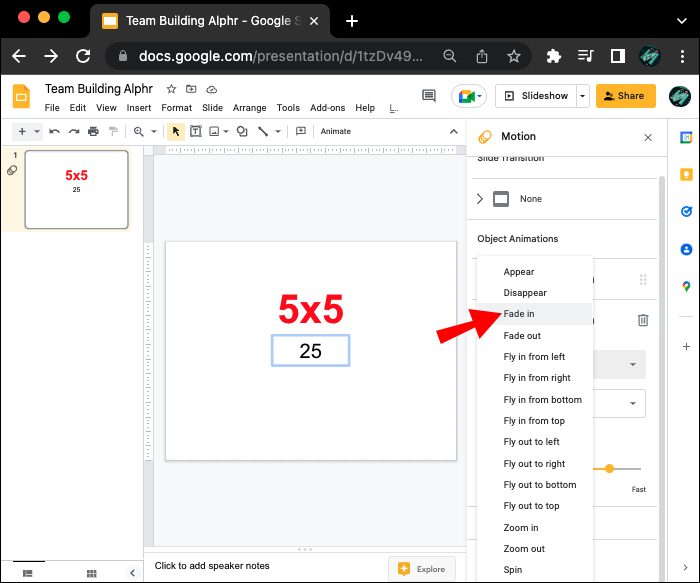
- Select the “Fade In” rectangle.
- Return to the list of options and tap “On Click.”
- Drag the slider to adjust the animation speed.
- Select “Play” from the lower end of the sidebar to preview your animation.
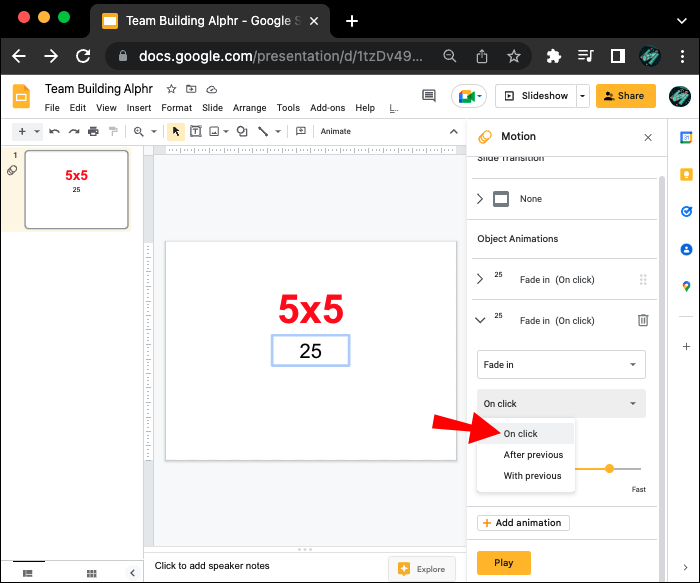
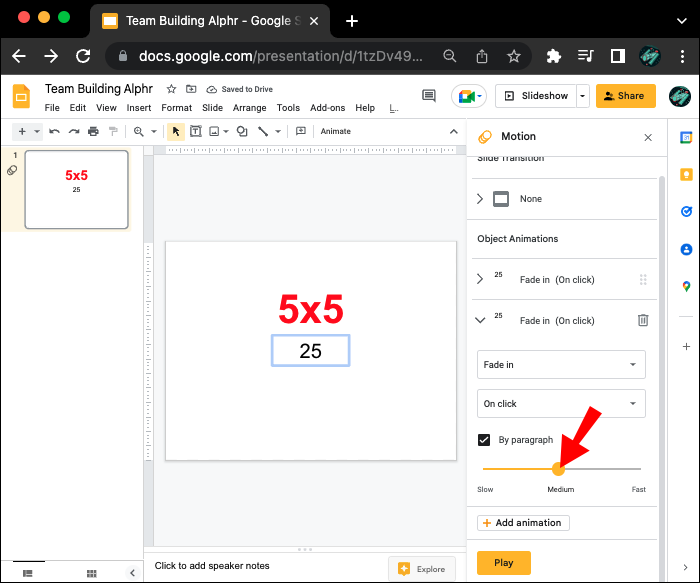

When you press the “Fade In” and “On Click” options, the box will slowly appear when you’re ready to check the answer to the question.
STEP 5: Create More Flashcards
When you create the first flashcard, Google Slides allows you to replicate its design and save time. To add more flashcards to your digital deck:
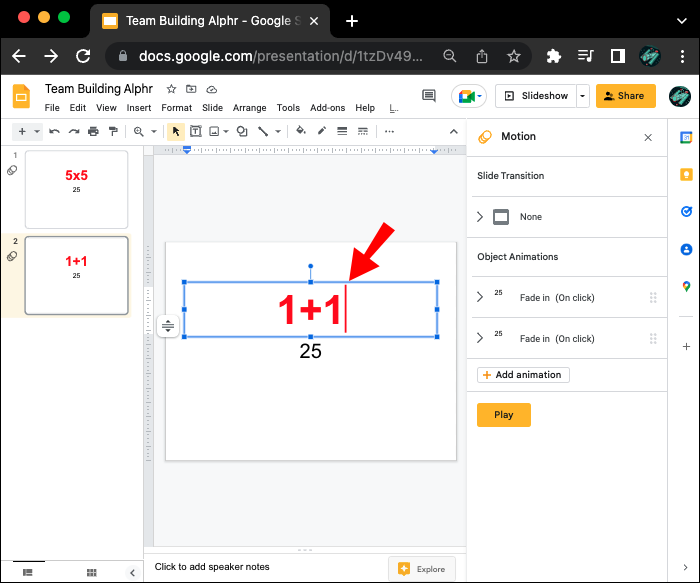
- Click on the “Slide” card in the top menu bar and select the “Duplicate slide” option.
- Tap the question box to change its content.
- Press the answer box to type the appropriate information.
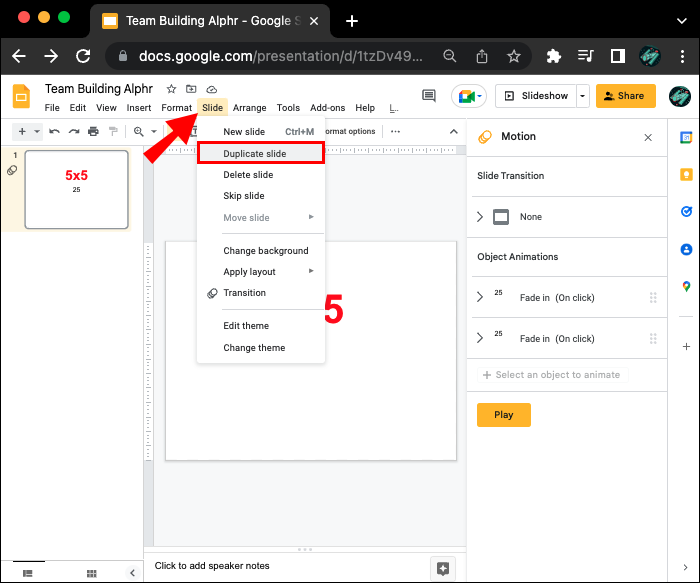
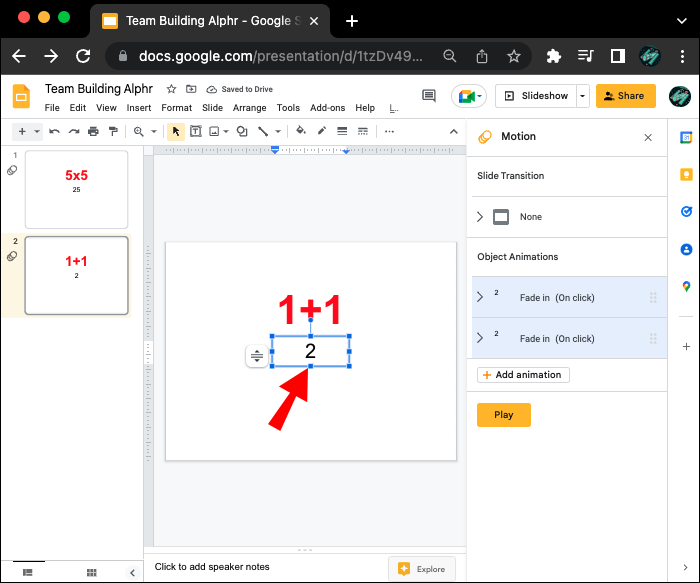
Since this is a replicated card, it’s already animated. To complete your deck, repeat the above process for each flashcard.
STEP 6: Randomize Your Flashcards
To make studying with the deck more effective, it’s best to rearrange the flashcards so that their order is randomized. You can manually move the slides into different positions each time before sending them to new users. Or, you can install the Randomizer add-on to shuffle the cards quickly. To get the add-on in Google Slides:
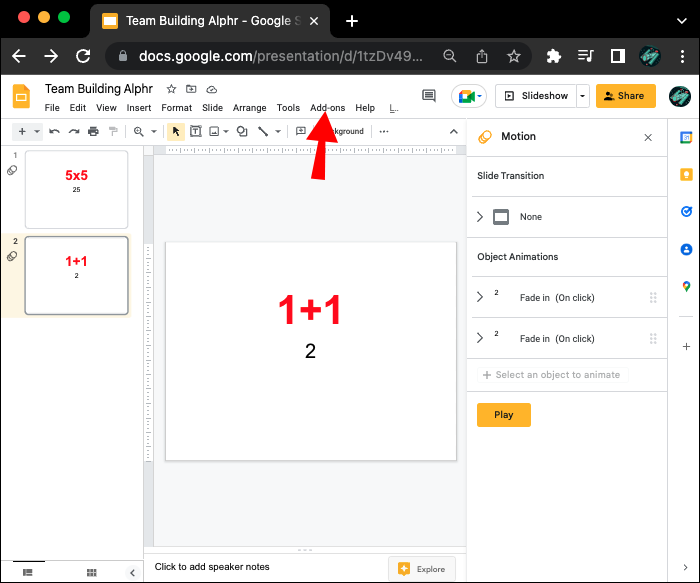
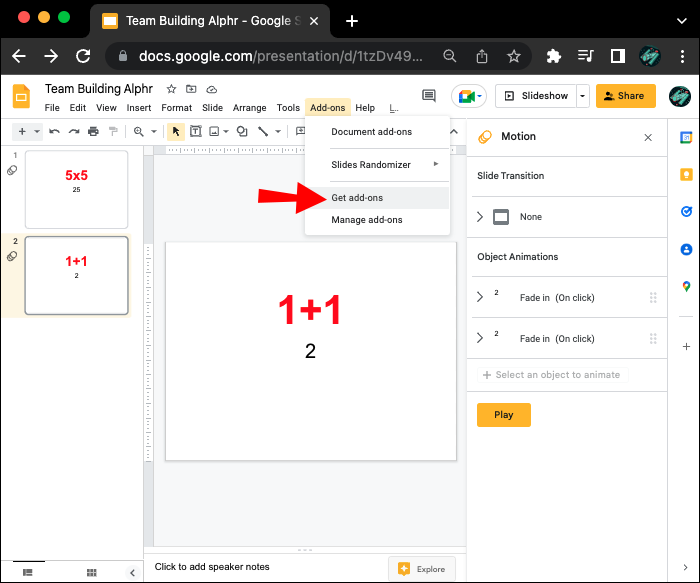
- Click on the “Add-ons” card in the menu bar above your presentation.
- Select the “Get add-ons” option.
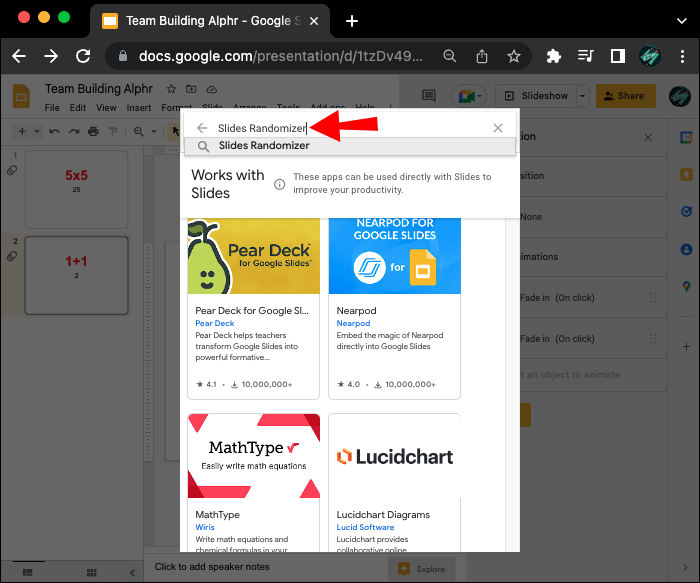
- Type “Slides Randomizer” into the search box.
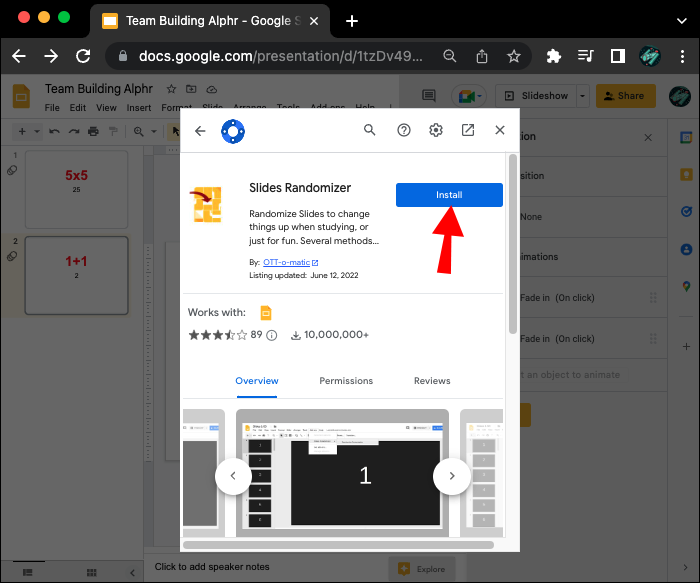
- Follow the onscreen instructions and press each prompt to install the add-on.
STEP 7: Customize the Flashcards
Once you master the basics of making flashcards in Google Slides, you can get creative and customize your deck.
The easiest way to decorate your flashcards is by inserting images.
- Navigate to the editing bar above the flashcards and click on the “Insert” section.
- The pop-up window will display the following options:
- Uploading a photo from your computer
- Taking a new photo using your computer’s webcam
- Pasting a photo URL
- Selecting an image from one of your Google albums
- Browsing the web for a new picture
- Select one of the above options to upload the photo to your flashcard.


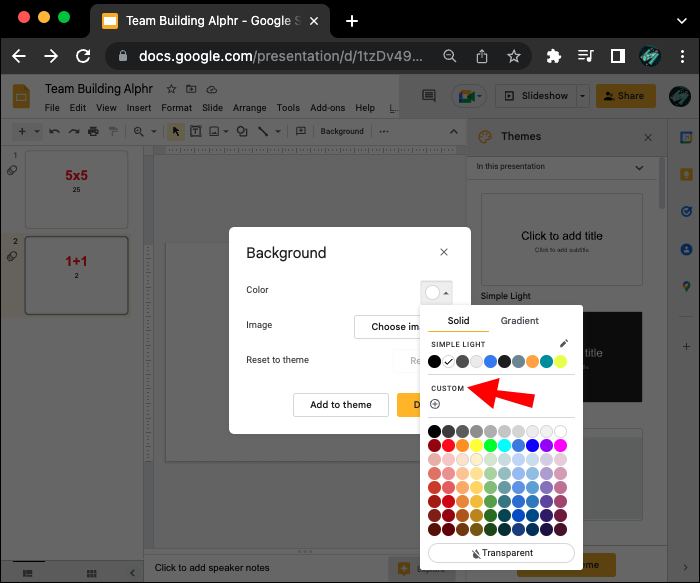
Another method is changing the background color of the flashcards.
- Click on any blank space outside your text boxes.
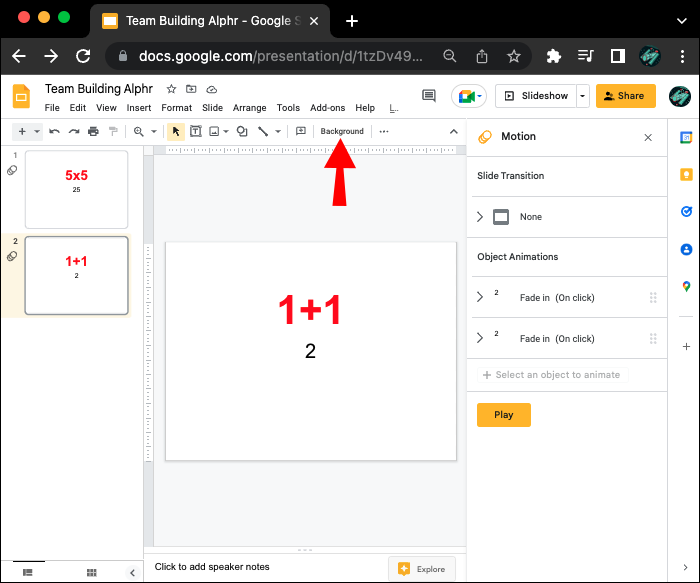
- Find the small “Background” box above your presentation and tap to select it.
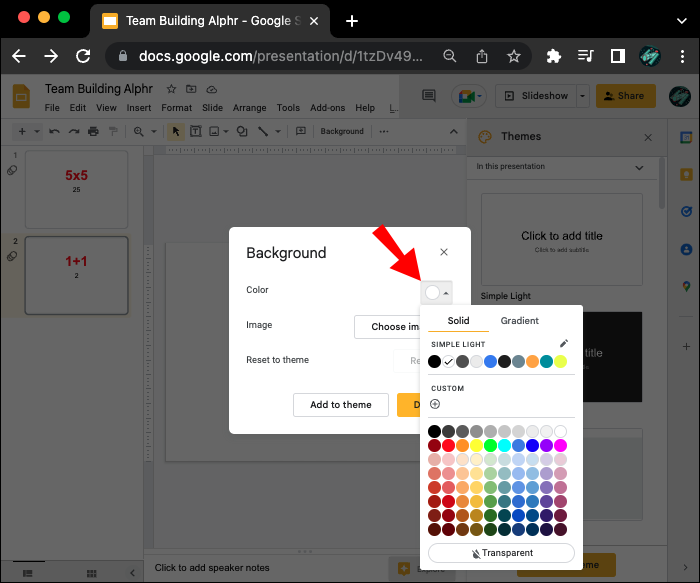
- Press the “Color” field to choose a solid color.
- To create and set a custom background color, tap the “Custom” button beneath the available color options.
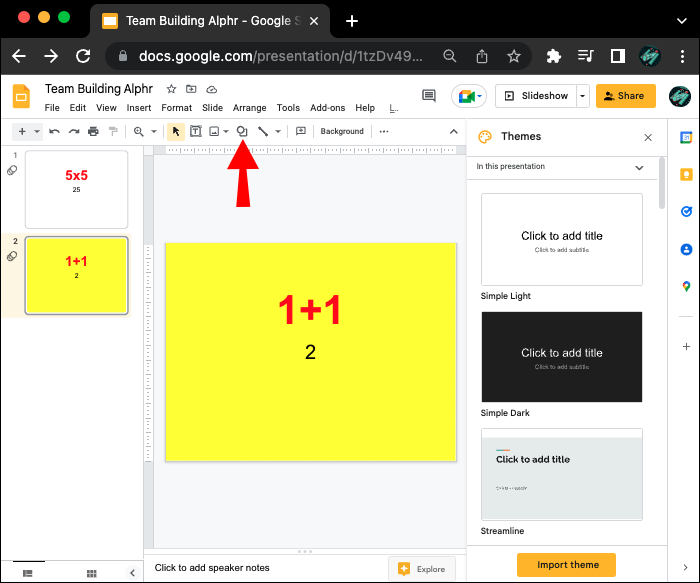
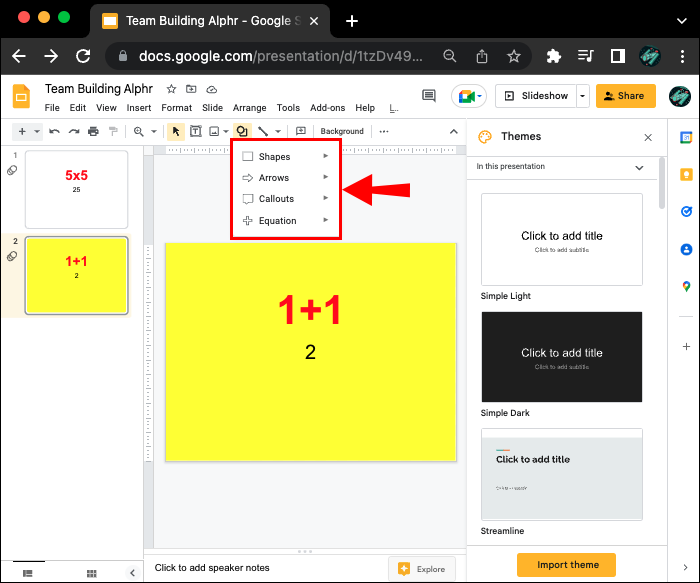
If you don’t want to make any drastic changes to the flashcards, you can add shapes to subtly elevate their appearance.
- Press the “square and circle” button from the menu bar.
- Go through the list of options and decide whether to add shapes, equations, arrows, or callouts.
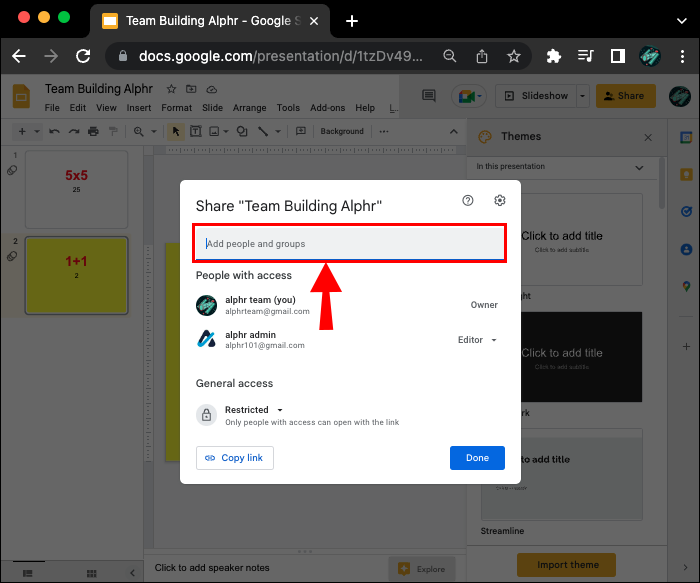
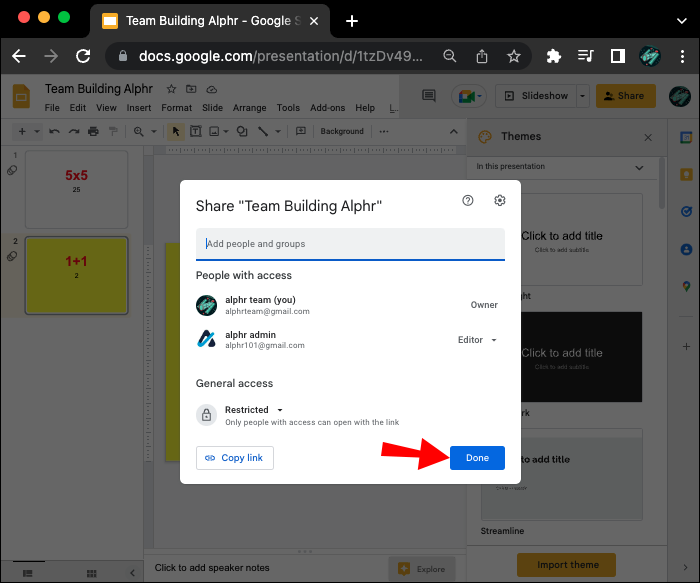
STEP 8: Edit Permissions for Your Flashcards
Once you’ve customized your deck, you can tweak the presentation’s settings and share the flashcards with other people.
- Click on the “Share” button in the upper-right part of the desktop.
- To enable others to use the cards, type their email and select the pencil-shaped button next to it.
- Copy the link and forward it to your students, friends, or coworkers.
- Press “Done.”


Additional FAQ
Should I use Microsoft Word or Google Slides to make flashcards?
Although you can create flashcards in Microsoft Word, that’s not the tool’s main purpose, so it lacks many advanced features like animating answers. You’ll have to type the question and its answer on separate flashcards. In comparison, Google Slide streamlines the process and has a “Fade In” effect that keeps the question and its solution on the same card.
Make Your Flashcards Fun With Google Slides
Whether you’re studying for a test, writing a speech, or making a work proposal, Google Slides can help you achieve your goals. The easy-to-use program allows you to create digital flashcards and has several features you can use to customize your deck. Also, you can resize, download, and print the cards and take them with you wherever you go.
Have you used Google Slides before? Which features did you like the most? Let us know in the comments section below.
Disclaimer: Some pages on this site may include an affiliate link. This does not effect our editorial in any way.