A couple of weeks ago, I wrote a tip about securely erasing external drives before you get rid of them. Well, the same theory applies to Apple’s wireless base station/backup device, the AirPort Time Capsule. Since it has a hard drive in it that probably contains all of the data from all of the Macs in your house, you’ll definitely want to learn how to wipe it before it falls out of your control!
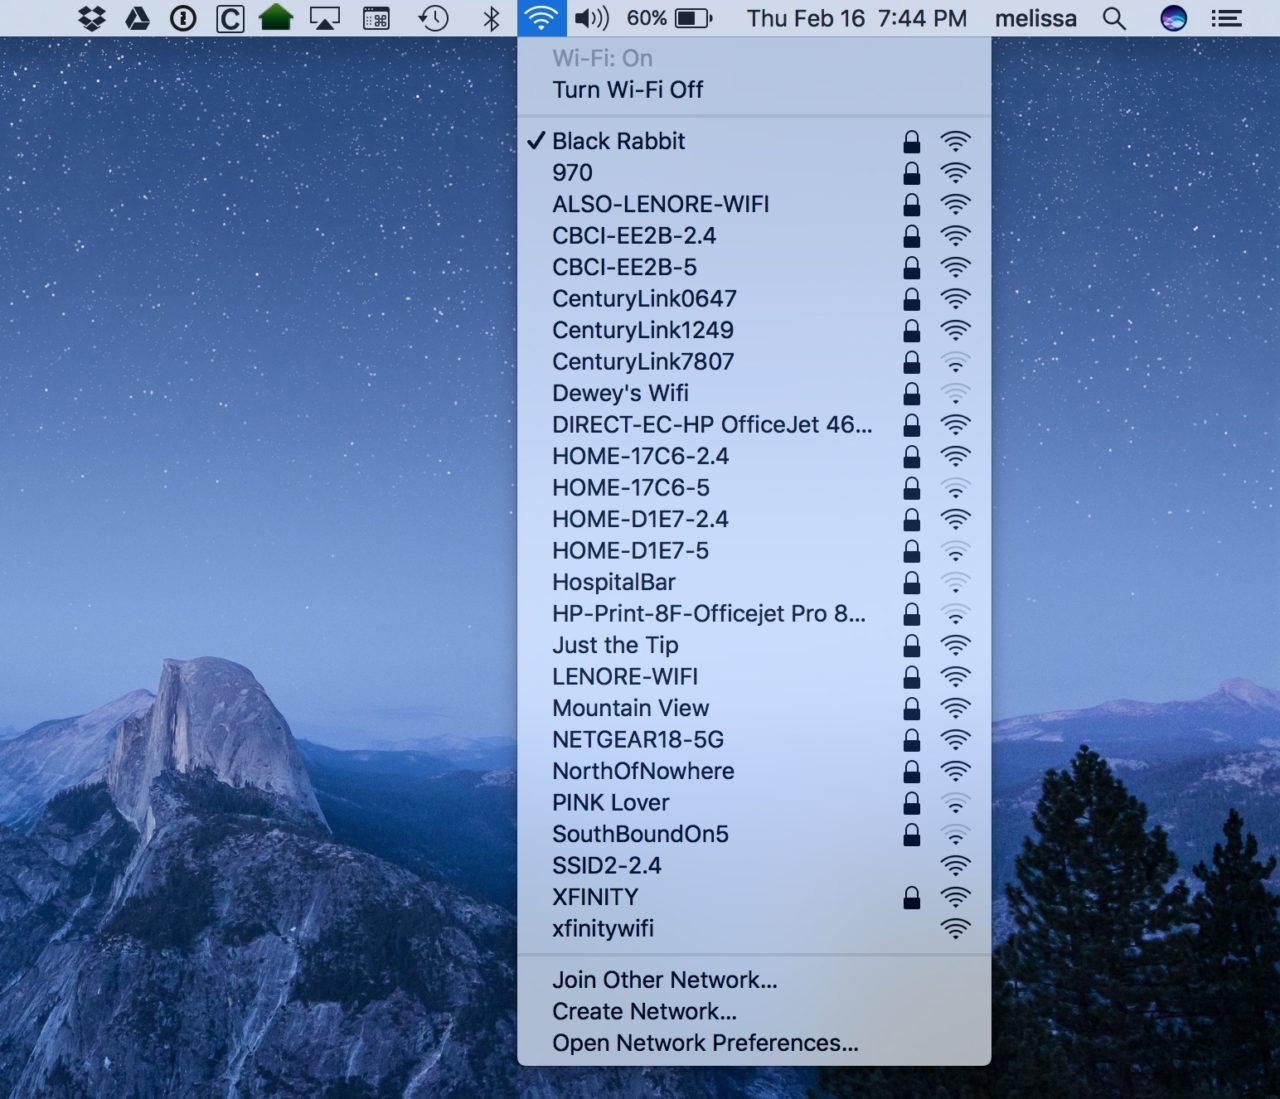
Thankfully, the process of securely erasing a Time Capsule is pretty easy using the tools that are built in to your Mac. To securely erase a Time Capsule, what you’ll want to do first is make sure that you’re on the same wireless network as it is. You can check for that up under the Wi-Fi menu near the top-right of your screen; your current network is the one with the check next to it. If you’ve been using the Time Capsule to provide your wireless access, it’ll likely already be on the same one.
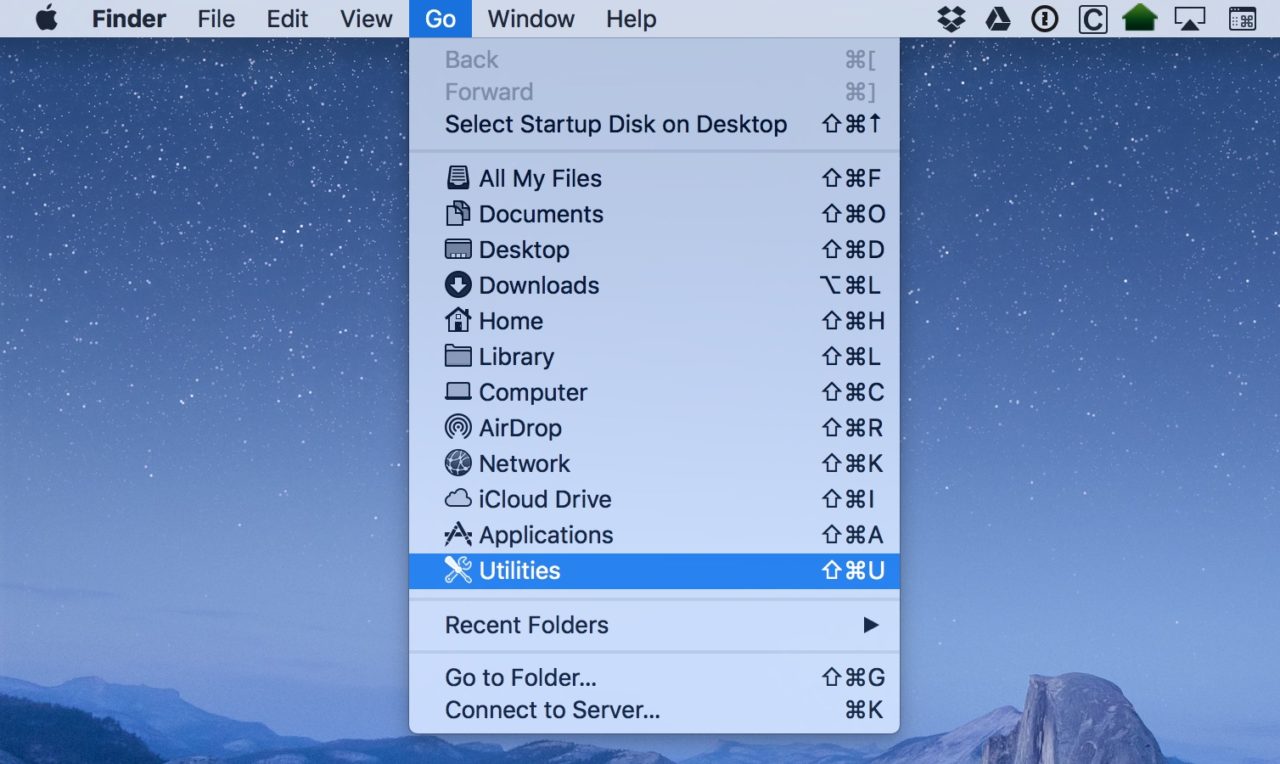
If you find it easier, you can also connect the Time Capsule to your Mac with an Ethernet cable, but in any case, when your Mac can “see” the Time Capsule over a network, it’ll appear within a program called AirPort Utility. Get to that by clicking on the Finder icon in your Dock (it’s the blue smiley face on the left side) and then choosing “Utilities” from the “Go” menu at the top (alternatively, you can also find AirPort Utility by searching for it via Spotlight).
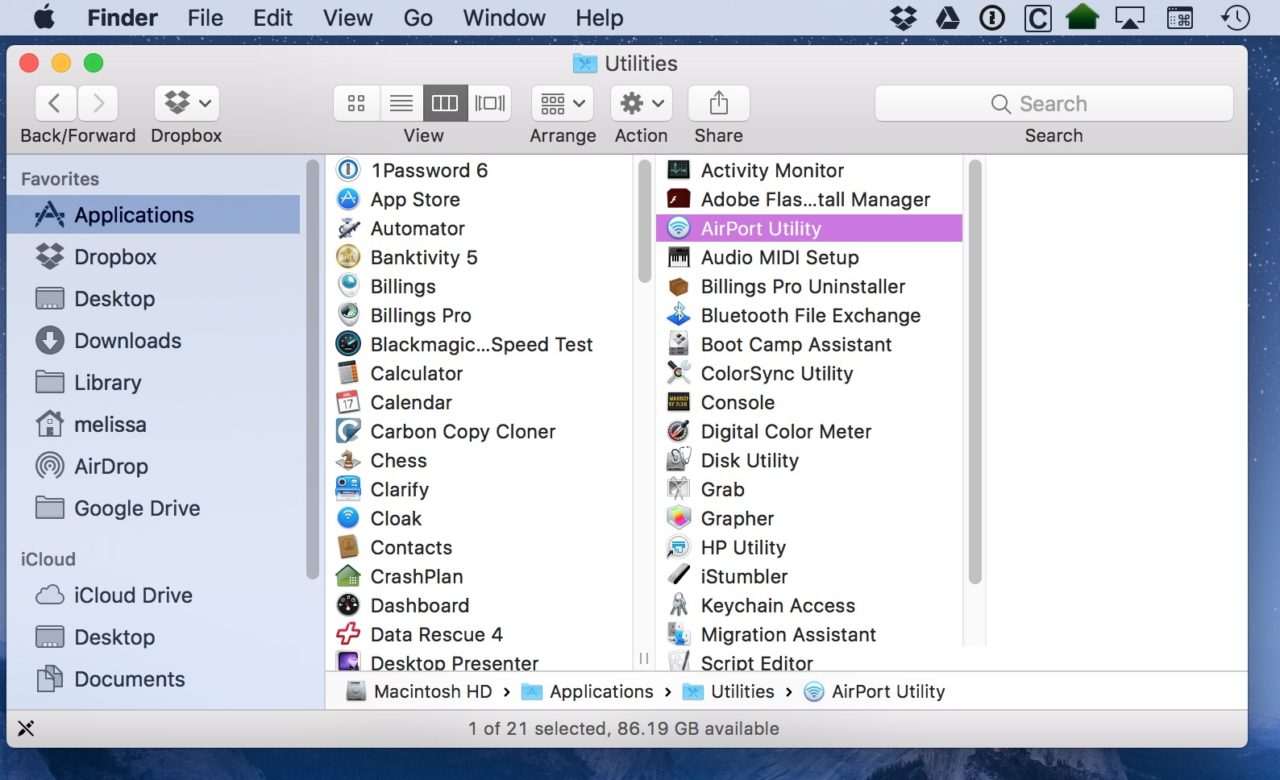
When the “Utilities” folder opens, look for the AirPort Utility program in there, and then double-click to launch it.
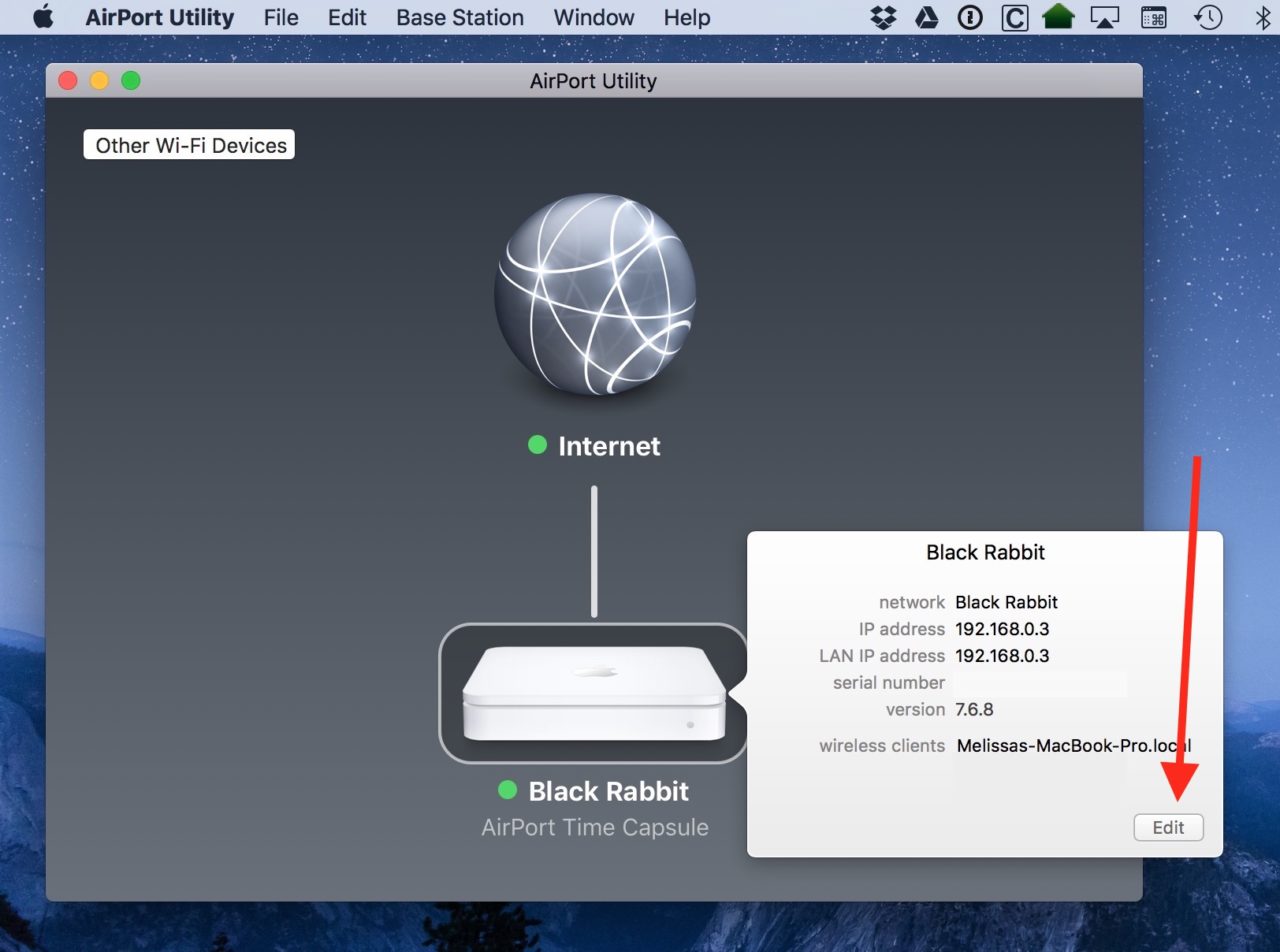
Within AirPort Utility’s main window, you should see something that looks like this:

Next, this may seem silly, but make sure you’re erasing the correct Time Capsule. If you have more than one Apple router, or if you share a network with others, double-check to ensure that the one you’re seeing in AirPort Utility is the one you want to erase, because you won’t be getting your data back after this!
Now, click to select your Time Capsule and enter the password for the device (which is likely the same as your Wi-Fi password, although may have been configured differently when you first set it up). After entering the correct password, click the “Edit” button to make changes to it.
Now, if you’re not a networking-type person, the info you’ll see on the following screens can seem daunting, but never fear—we’re heading straight to the “Disks” tab at the end.

See that “Erase Disk” button I’ve called out? Yep, it’s that simple. The only tricky part is on the screen you’ll see after you click that:
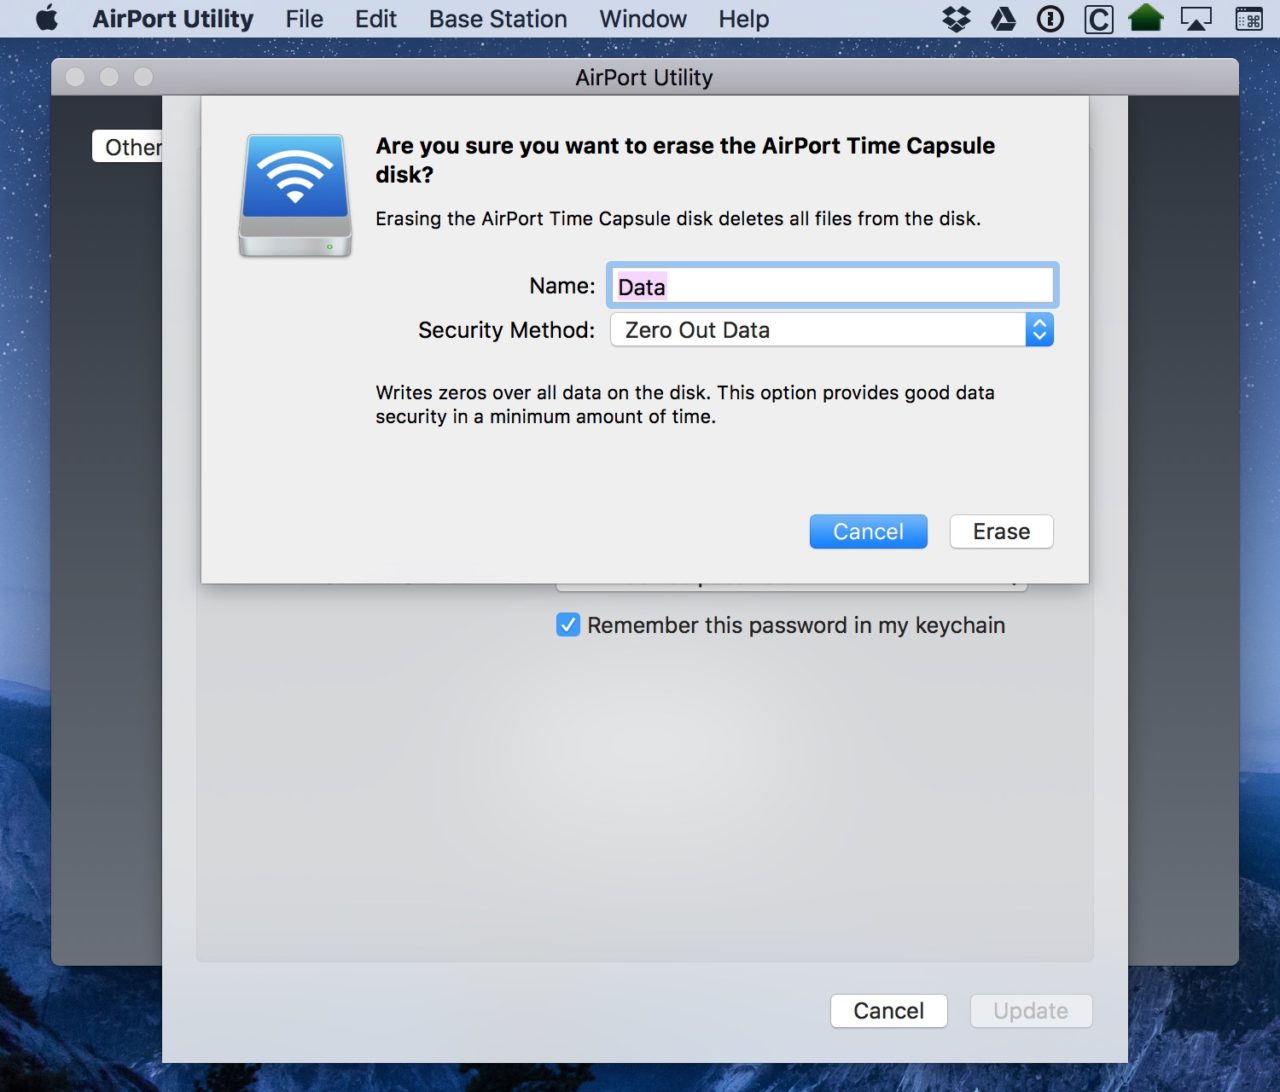
By default, the “Security Method” drop-down will be set to “Quick Erase (non-secure),” which is definitely non-secure, as the name suggests! I strongly recommend that you change “Security Method” to “Zero Out Data” as I’ve done above, as that’ll make sure that no one can retrieve your backups should they come across your old Time Capsule. Anyway, once you’ve done that, click “Erase,” and your Mac will warn you of what’s about to happen.

Click “Continue,” and the process will begin. As the warning dialog box notes, the Time Capsule’s light will blink amber throughout this, and if you’re curious about how much time the wipe has left, go back to AirPort Utility’s main window (shown in my third screenshot above), where you’ll see a progress indicator.
One other thing: If you’re getting rid of the Time Capsule entirely, you could also consider wiping its actual configuration profile as well. This will mean that the device will no longer reflect the name of your network, and it’ll behave just like a brand-new Time Capsule. The option for that is within AirPort Utility under the “Base Station” menu when you’ve got a device selected.

And that’s it! Feel free to toss your Time Capsule in the trash afterward! No, not really, recycle it instead. Apple even has resources on their site for doing so. You won’t get a gift card for recycling a Time Capsule the way you would with a Mac or iPhone, but you’ll be able to soundly pat yourself on the back for doing a good thing. And I think you should pat yourself on the back a second time for learning how to securely erase your Time Capsule first!
Disclaimer: Some pages on this site may include an affiliate link. This does not effect our editorial in any way.