Two main methods can be used to trace images in Illustrator: live trace, where images are automatically traced, or manual tracing using Adobe Illustrator tools. Fortunately, both are relatively easy to master once you know how.
This article explains how to trace an image in Illustrator.
Methods Used to Trace an Image on Illustrator
The tracing method you pick depends on the nature of the image.
Use the Image Panel or Trace Tool
This is the most common option. It can be used to trace logos and photo images and involves a few steps to achieve the best results. You can start by downloading an image and opening it in Adobe Illustrator.
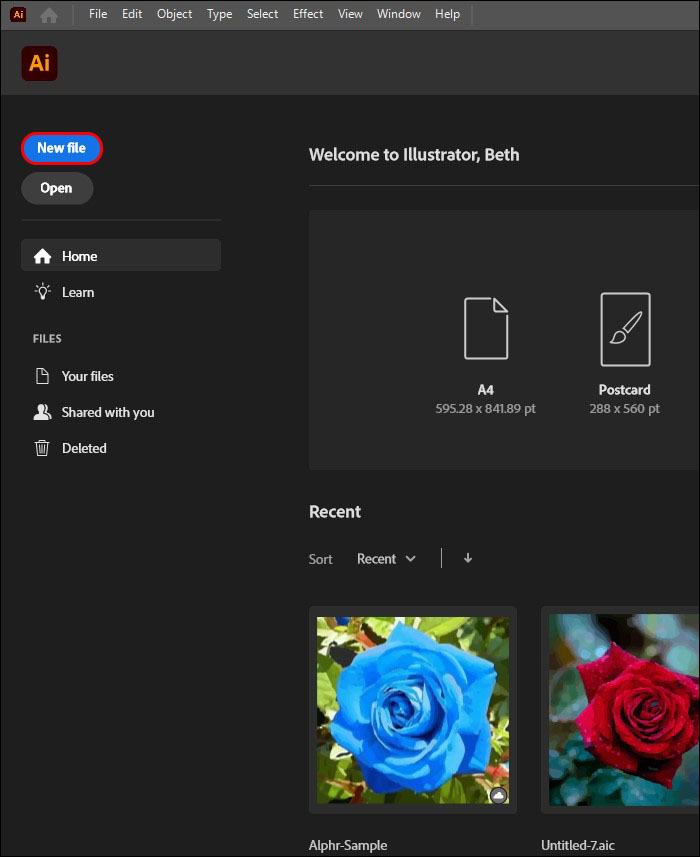
- Click the yellow Illustrator icon that resembles a square with the letters “Ai” in the middle. This opens Adobe Illustrator.

- Select “New file” within the title page.

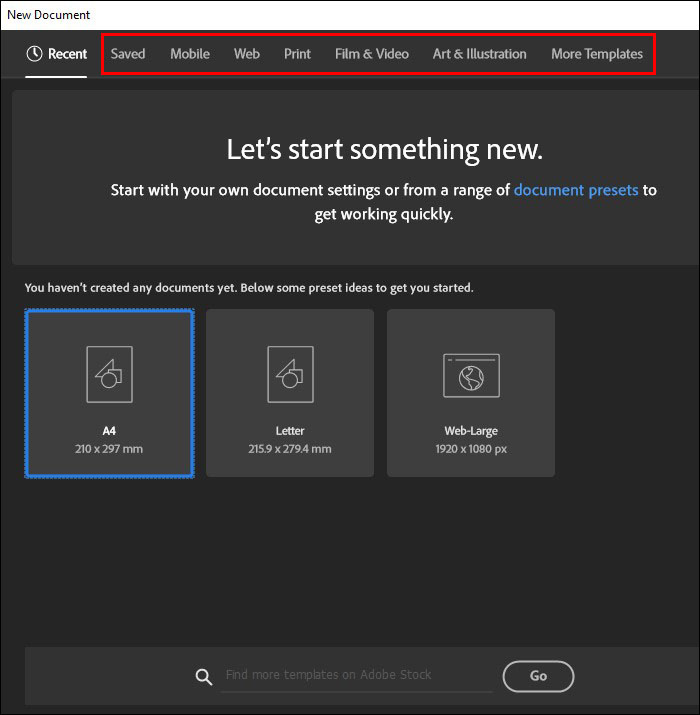
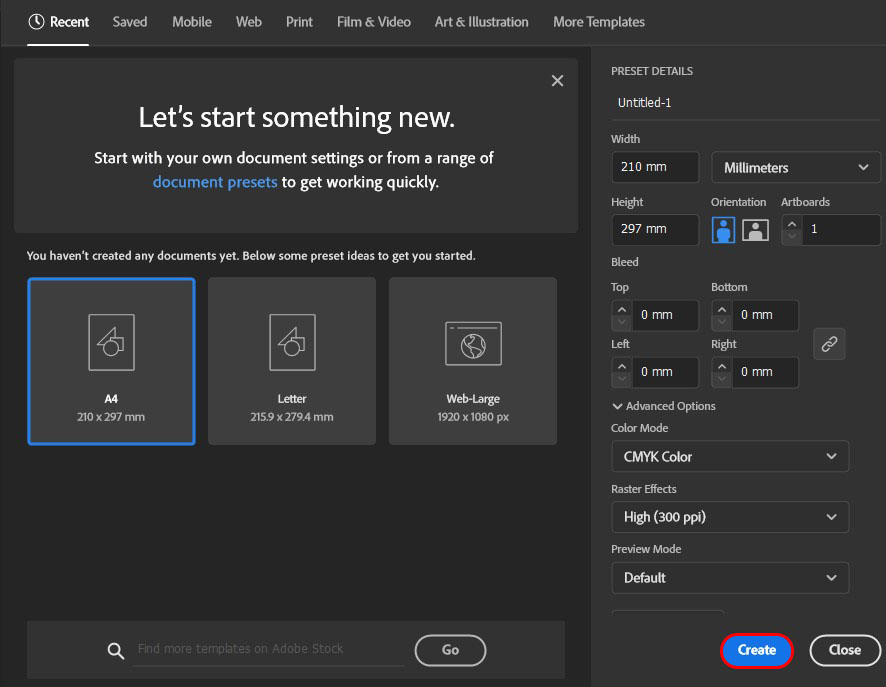
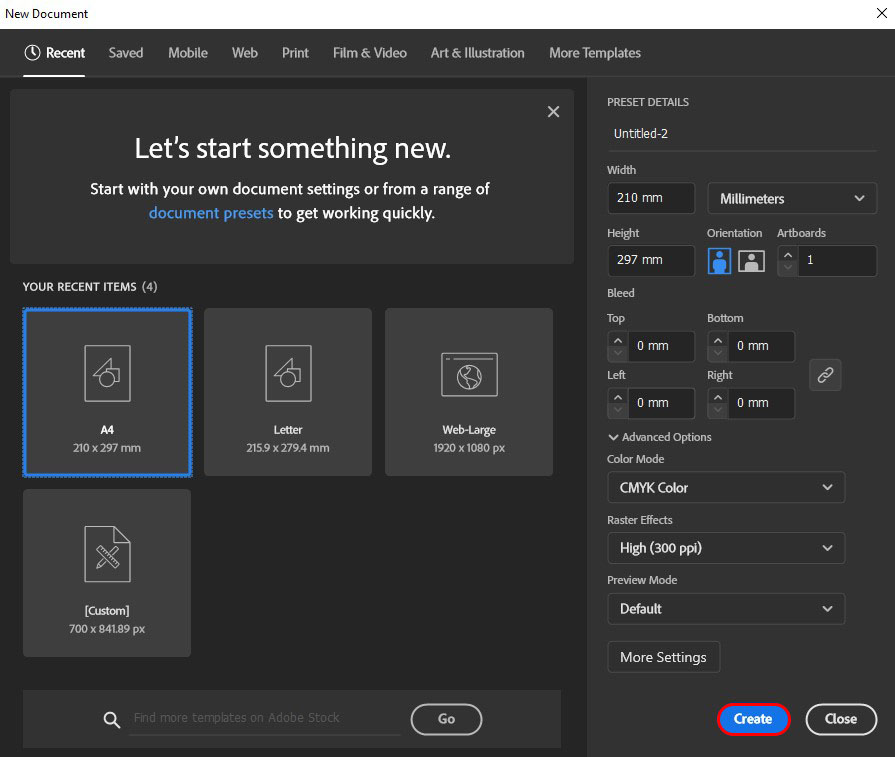
- Choose an intention tab found at the top. The options are video, film, print, web, and mobile. You can also enter the artboard width and height and pick the preferred color mode. The options are CMYK or RGB.
- Hit the “Create” option.
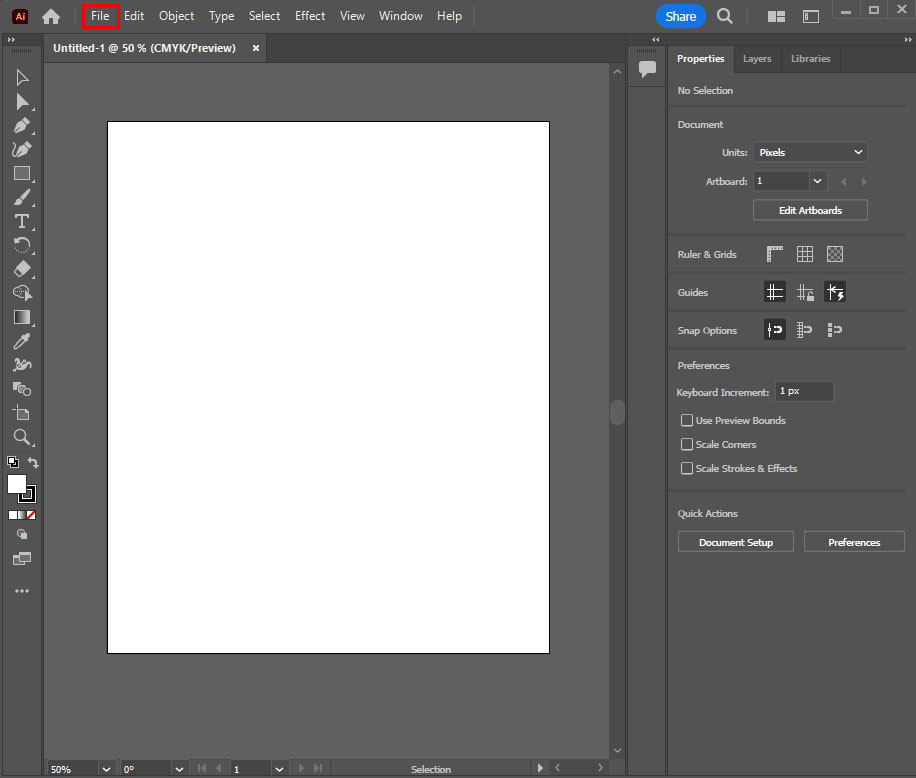
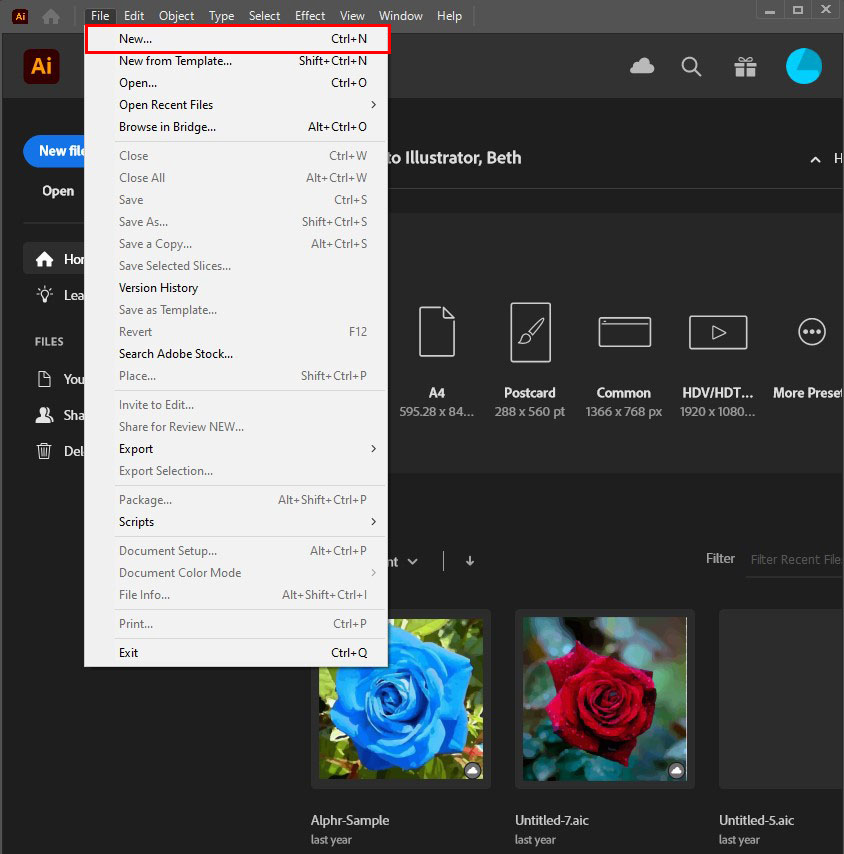
- Alternatively, click the “File” option at the top menu bar. Select “New.”
- It’s important to note that not all images best fit Adobe Illustrator tracing. If you choose photo-realistic images with many details, tracing may take too long and exhaust the processing power of your device. The resulting files are pretty large in this case. This option better fits more straightforward images like illustrations, cartoon images, and logos. The images need to be of a high resolution.
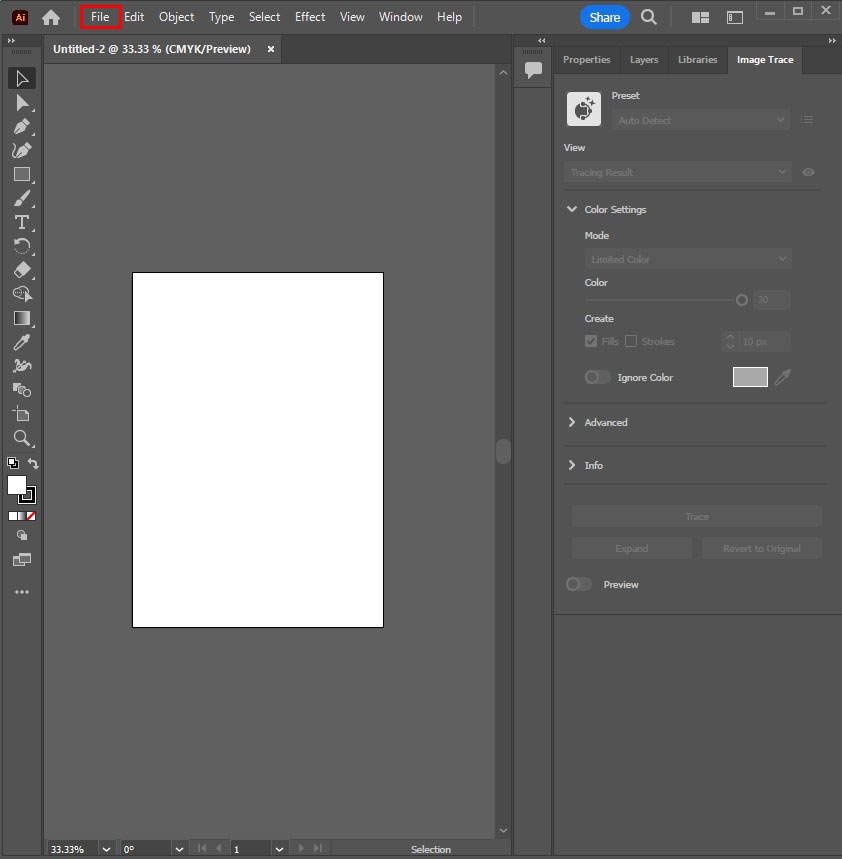
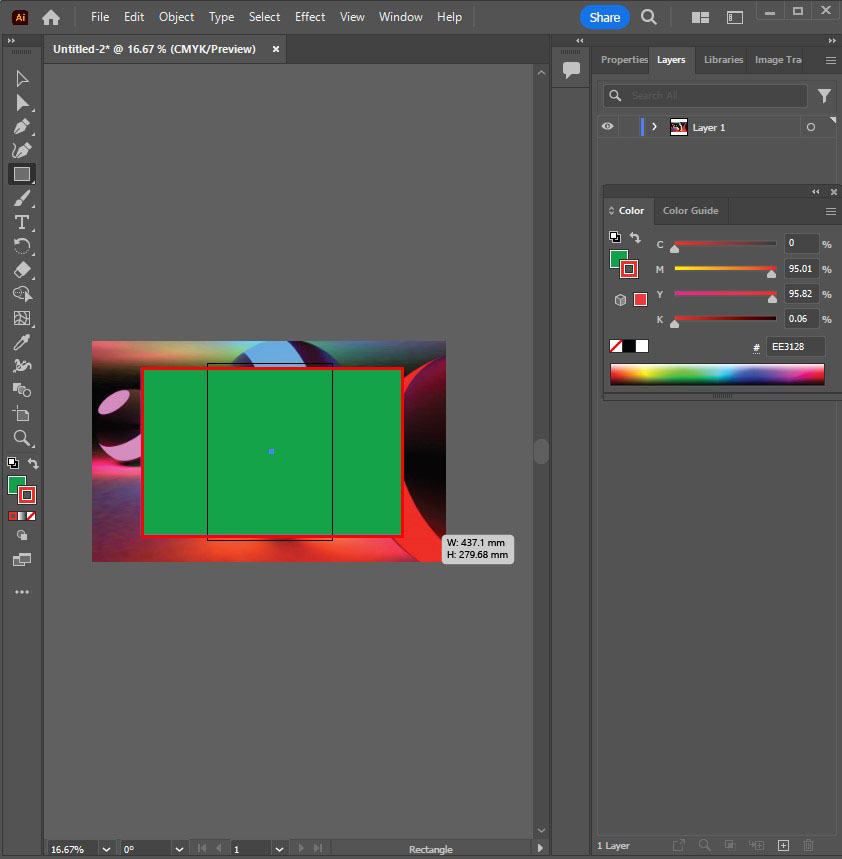
Place Your Image in Illustrator
When you’re all set, it’s time to place the image that needs to be traced.
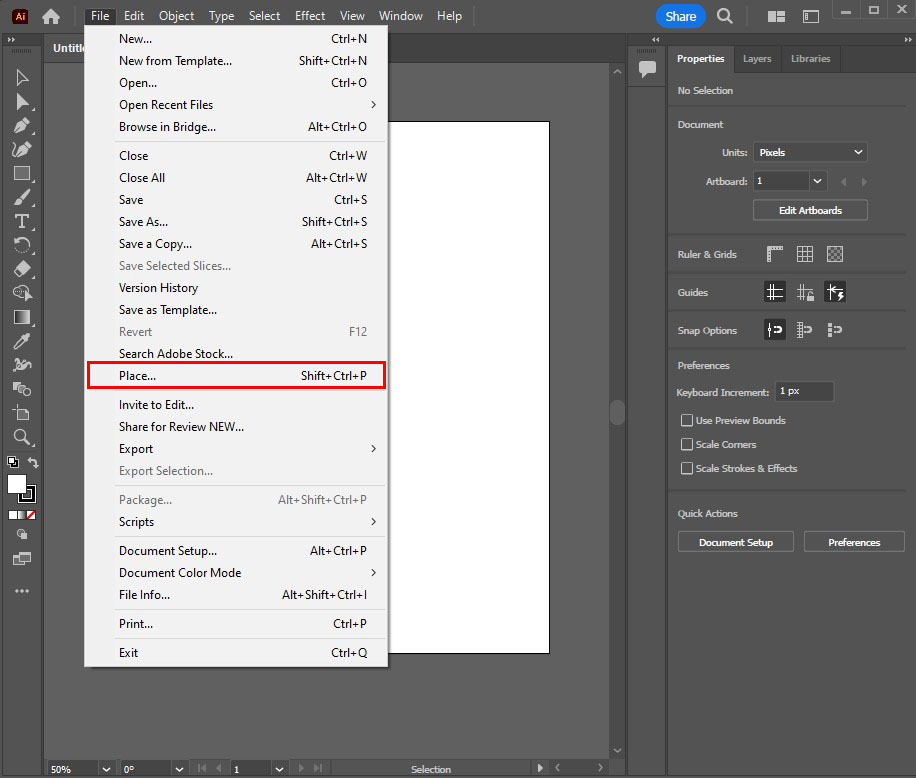
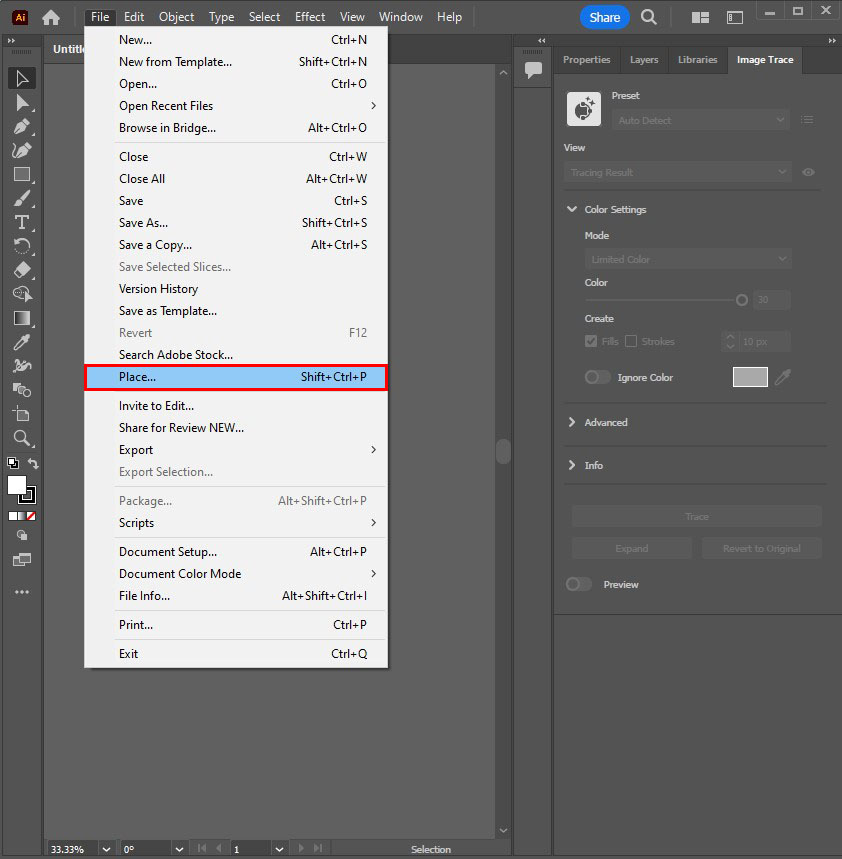
- Go to the top and click “File” on the menu bar.”
- Select the “Place” option.
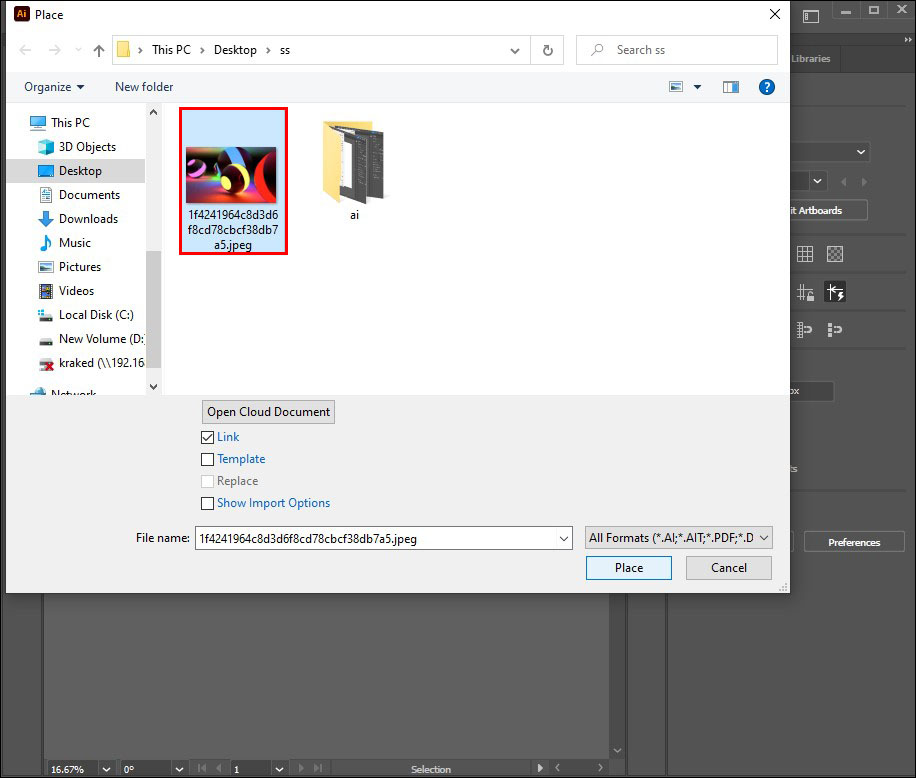
- Pick the image that needs to be traced.
- Tap “Place,” click on the image, and drag it to the desired position.
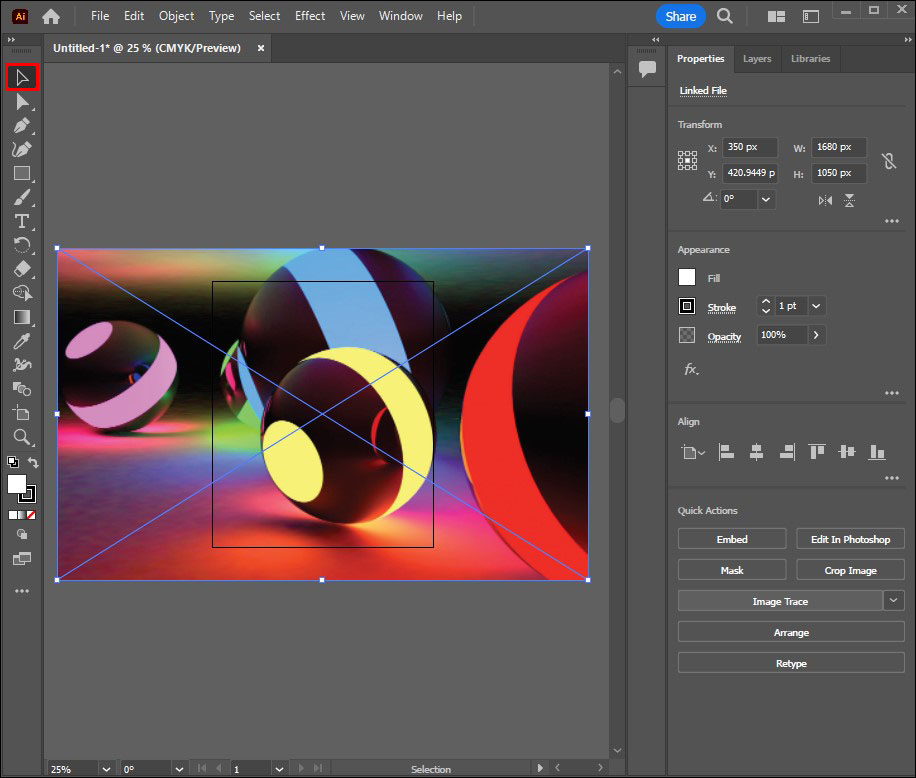
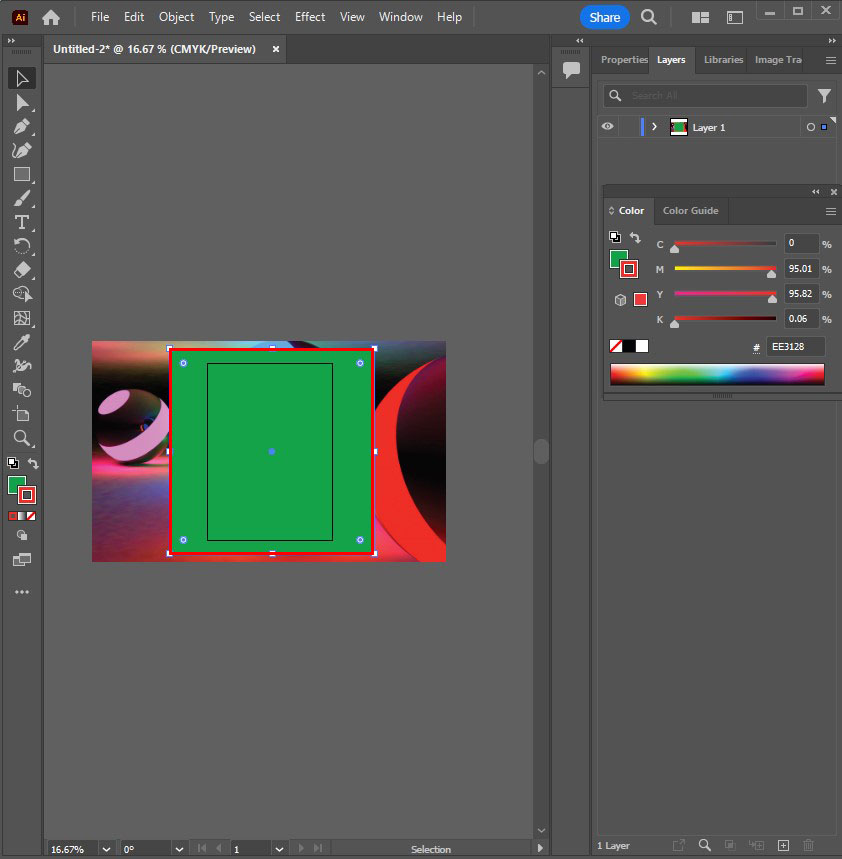
- On your keyboard, press “V.” Alternatively, click the black mouse cursor icon within the toolbar. This selects the selection tool. Select the image by clicking it.
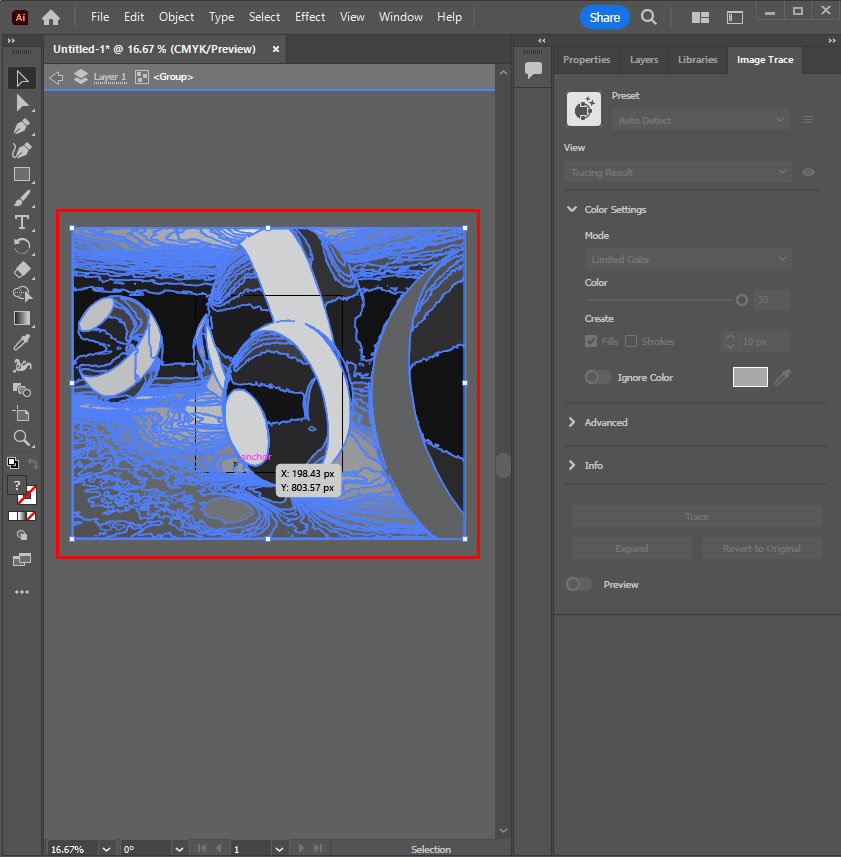
Launch the Tracing Options Menu
Once done, you need to launch the tracing options menu:
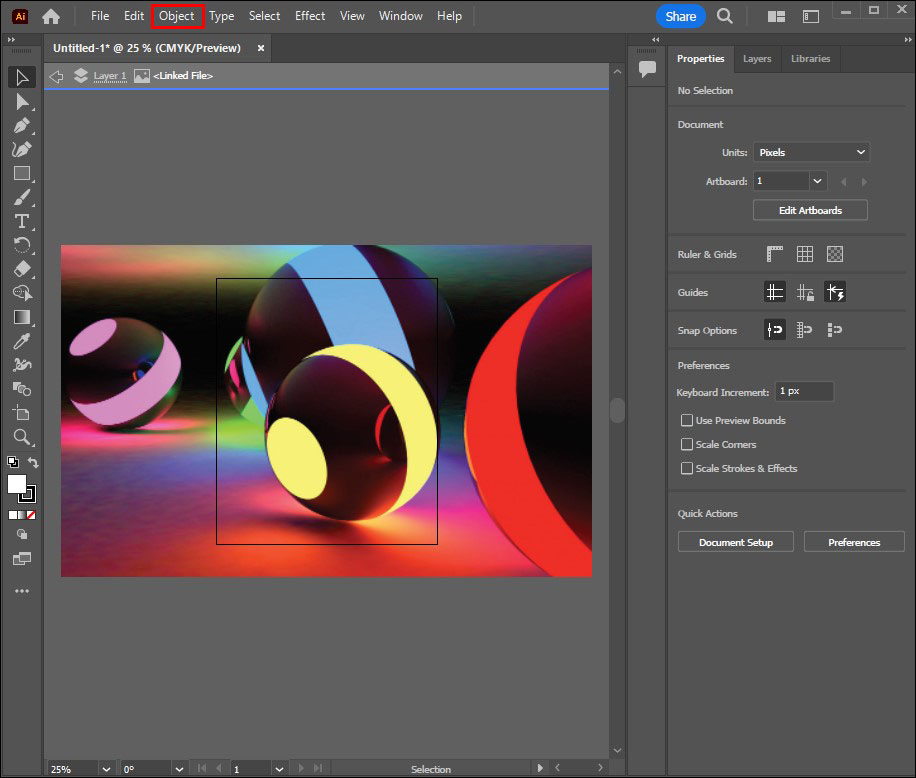
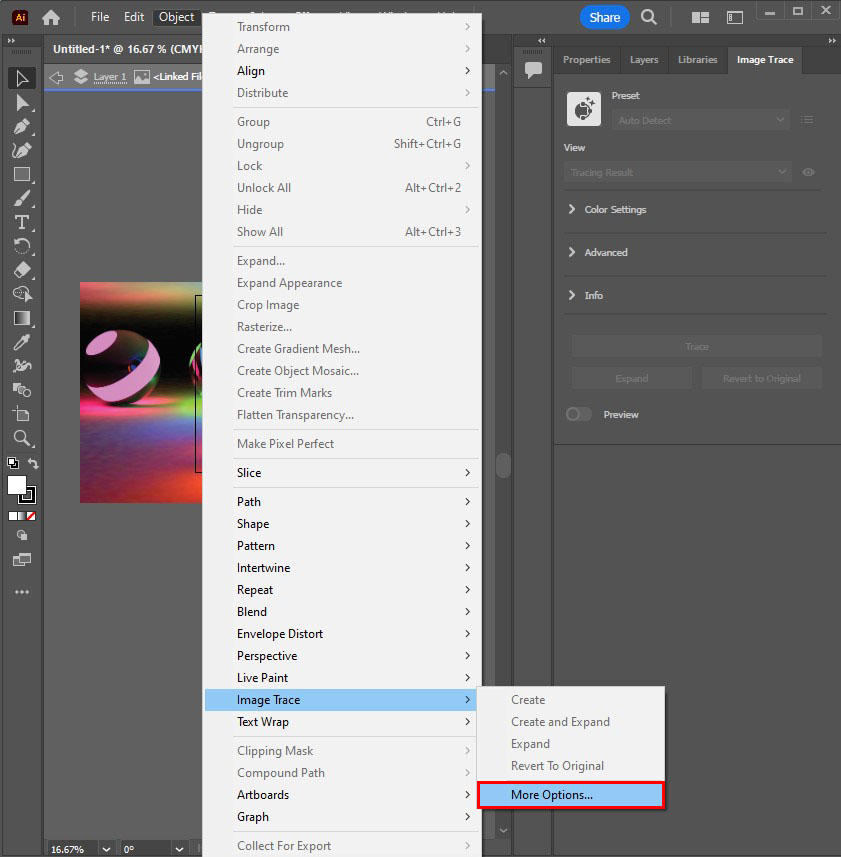
- Click on “Object” within the top menu bar.
- Select “Image Trace.”
- Choose “More Options.”
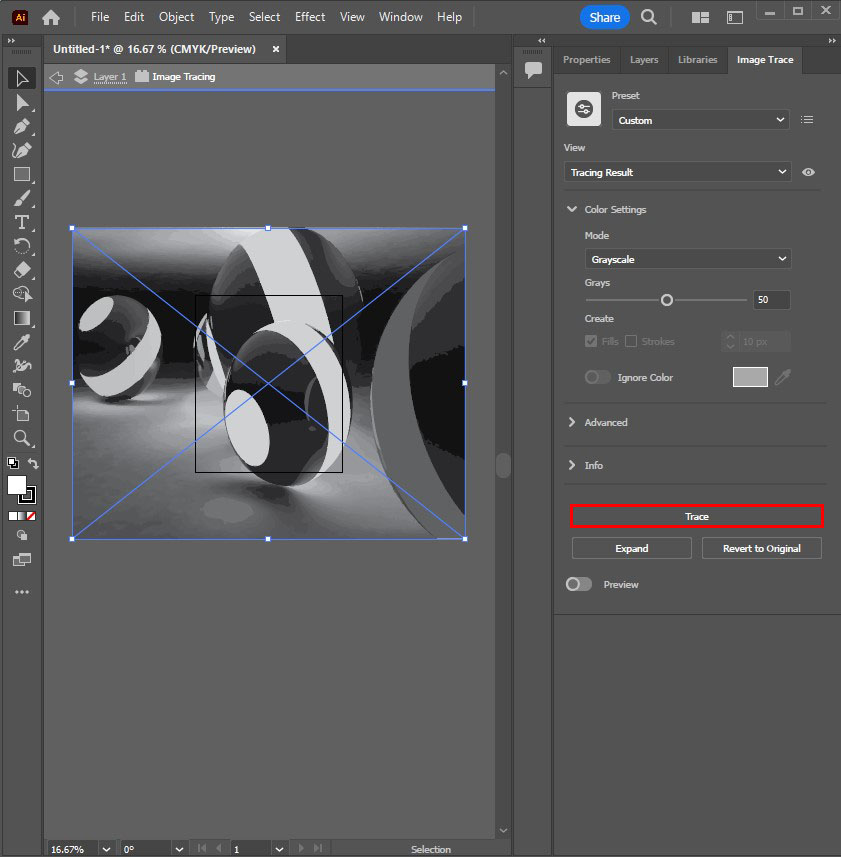
- When you get to Tracing Options, you can make adjustments. The options include presents, preview, mode, threshold, max colors, palette, resample, blur, output swatches, strokes, and fills.
- When you get to Tracing Options, you can make adjustments. The options include presents, preview, mode, threshold, max colors, palette, resample, blur, output swatches, strokes, and fills.
- Select “Trace” after all the adjustments within the Tracing Options menu have been made. This applies to the results.
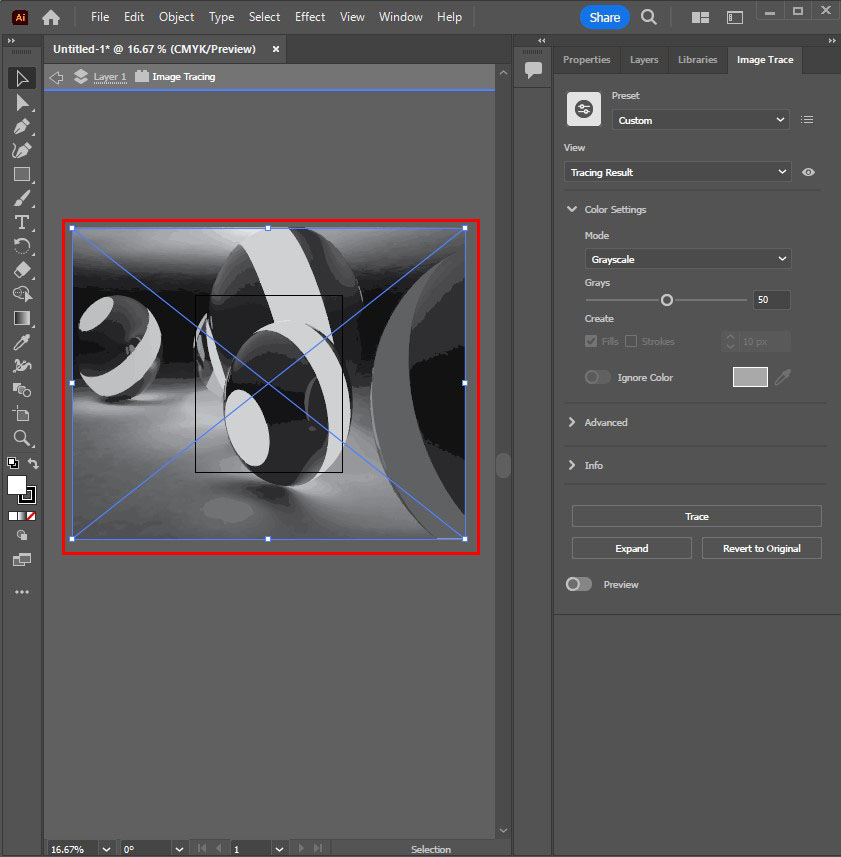
- Check if the image has a blue bounding box all around it on the art board. This guarantees that the image is selected. If there’s no bounding box, click on the image using the selection tool.
- Expand your trace results to apply them to the images. This also makes it possible to edit colors and vector points in the images that have been traced. Do this by going to the menu at the top and selecting “Object.” Select “Live Trace” and “Expand.”

The number of colors selected gives the traced image the color range you want to be implemented. For a Logo, it’s a colored trace with several flat surfaces.
Direct Trace or Manual Tracing Method
Different tools can be used to trace the object’s boundary on canvas. The Shape Tool or Pen Tool is often used for precise object tracing if the image is traced using a mouse. Alternatively, choose a Pen Tablet to access Brush Tool and Pen Tool to create a hand-traced image.
- Select the Adobe Illustrator icon resembling a square with “Ai” in the middle. Click it to open.
- Choose “Create New” found on the title page. Pick the intention tabs. These are video, film, print, and web. Alternatively, add the width and height of the artboard and pick the desired color mode.
- Click the “Create” option.
- Alternatively, click the “File” option in the menu bar and select “New” to open a new Illustrator project.
- As with the automatic illustration, not all the images are suitable for tracing, with the more realistic images with many details being hard to trace. They result in large files that use up a lot of space.

When you reach the create option, you must add the image to be traced. The steps below help you place an image in Illustrator.
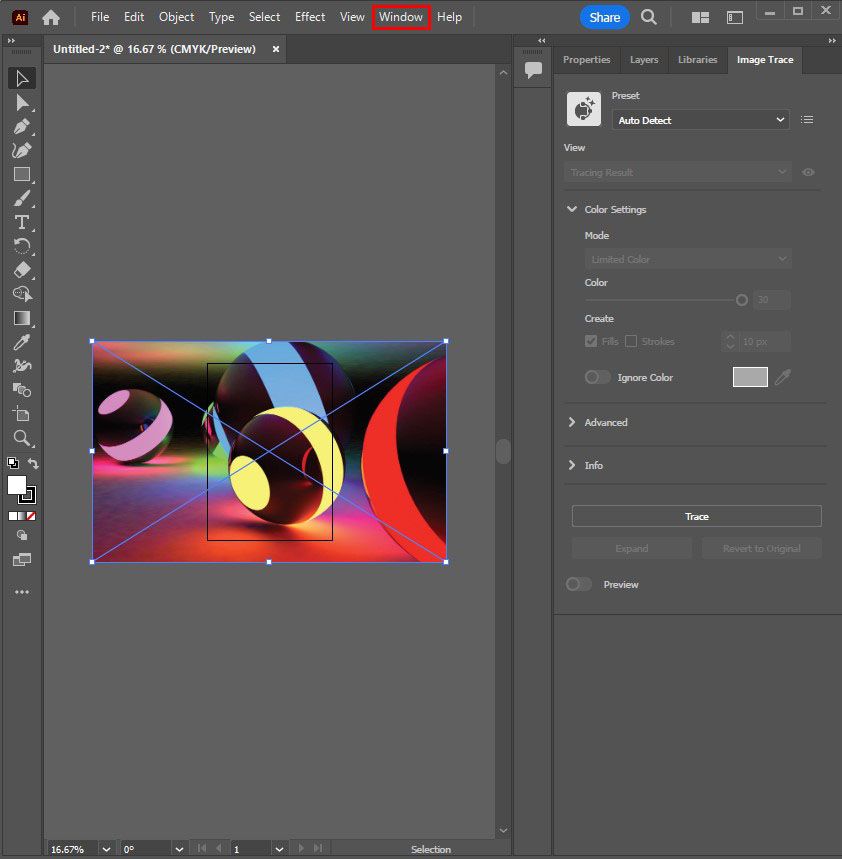
- Go to the top menu bar and click the “File” option.
- Select “Place” and pick the image that needs to be traced.
- Click the “Place” again.
- Select the image and drag it to the desired position.


After placing the image correctly, you need to create a new layer by going to the layers panel.
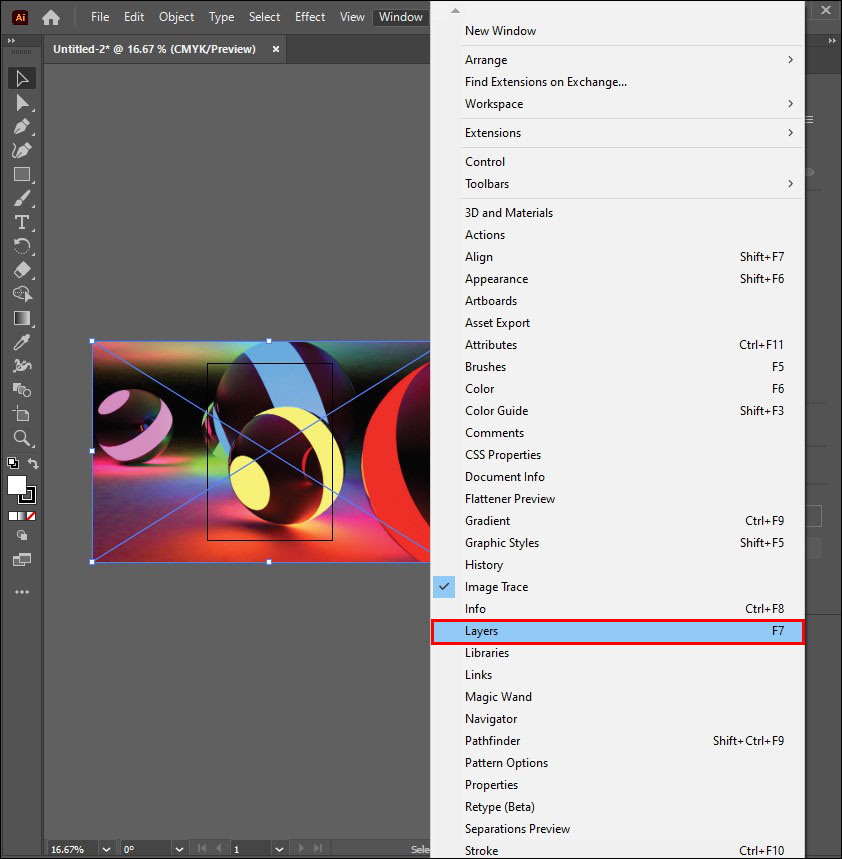
- Select the “Layers Panel.” If unavailable, go to the top menu bar and select “Window.”
- Click the “Layers” option.
- Here, you can add many layers as needed. You may also find creating different layers for the drawing parts suitable.
- If an object within the layer blocks the view, hide that specific layer by selecting the eyeball icon next to the layer within the layers panel.
- Alternatively, hold the “Command” option on Mac or Ctrl on Windows. Select the eyeball icon next to the layer to show outlines minus the color.
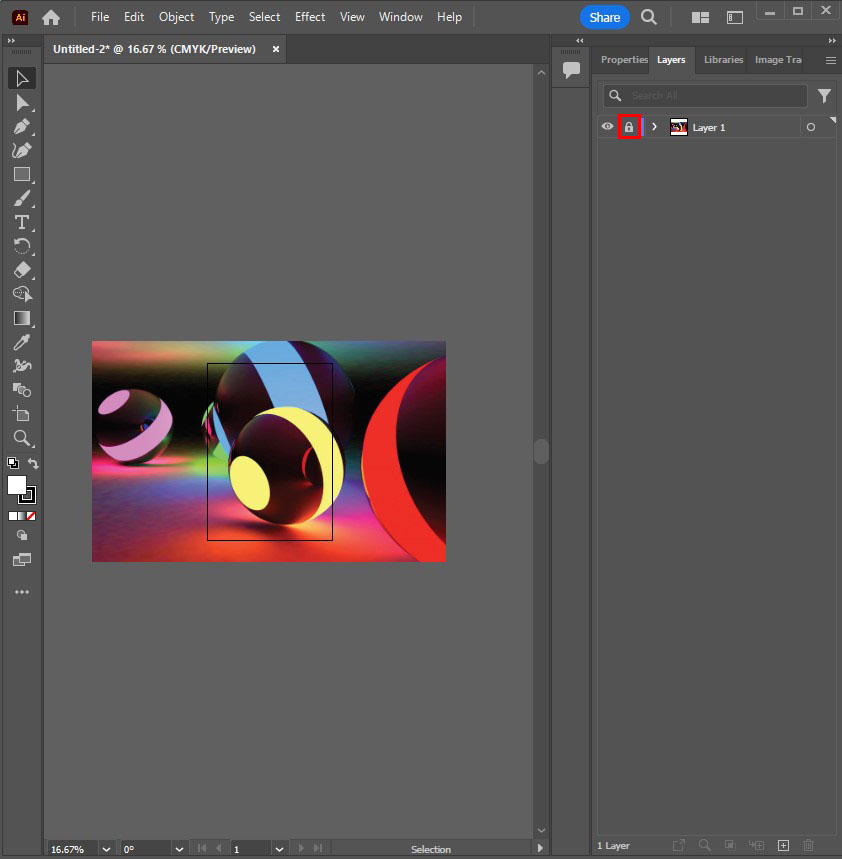
- Click the blank square next to the eyeball icon in the layers panel where the original image is located. This essentially locks your panel in place to prevent accidental shifting and selection.
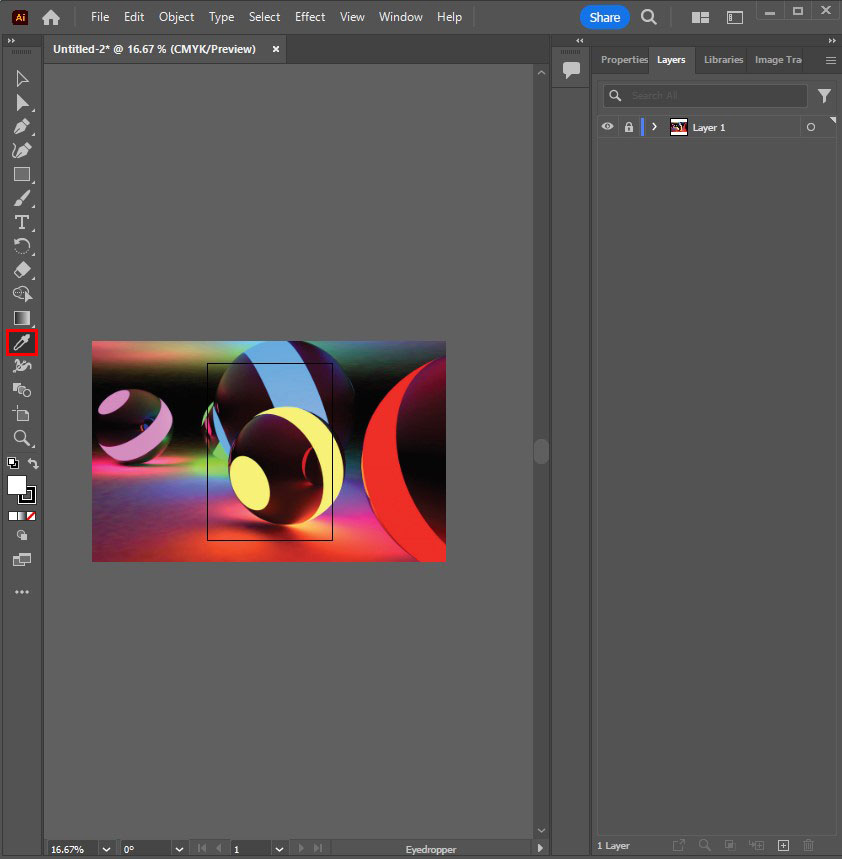
Use the Eyedropper Tool
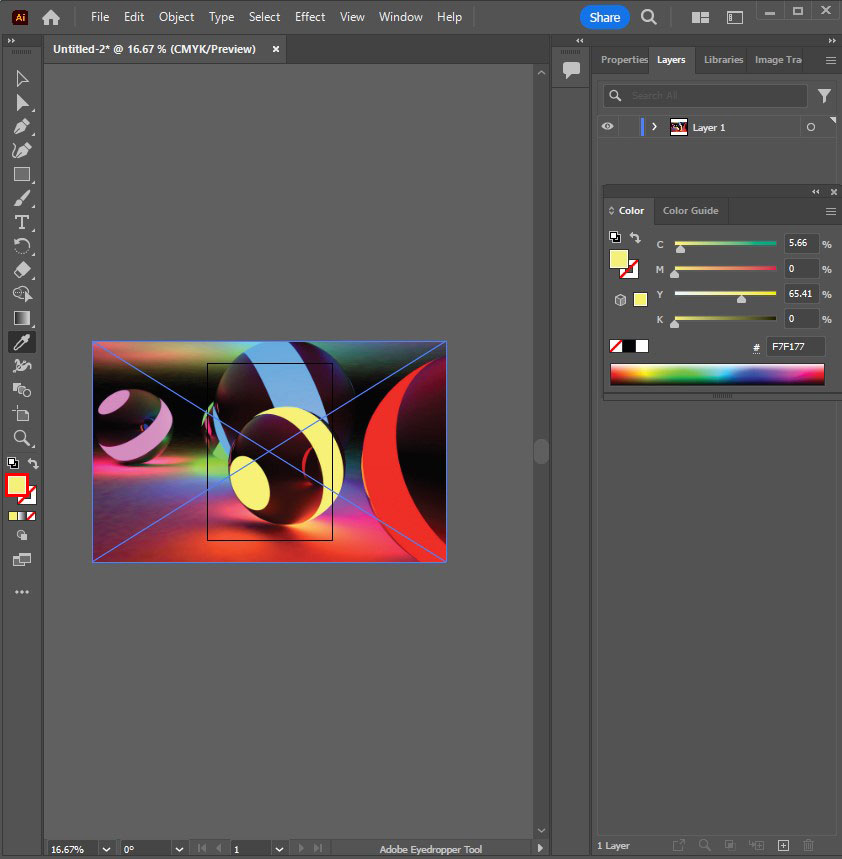
Utilize the “Eyedropper tool” to pick a color on Illustrator.
- Click the eyedropper icon in the toolbar. You can also select the tool by pressing ‘I” on your keyboard.
- Select an area on the image and click to choose the color. Adobe Illustrator has the stroke color and the fill color.
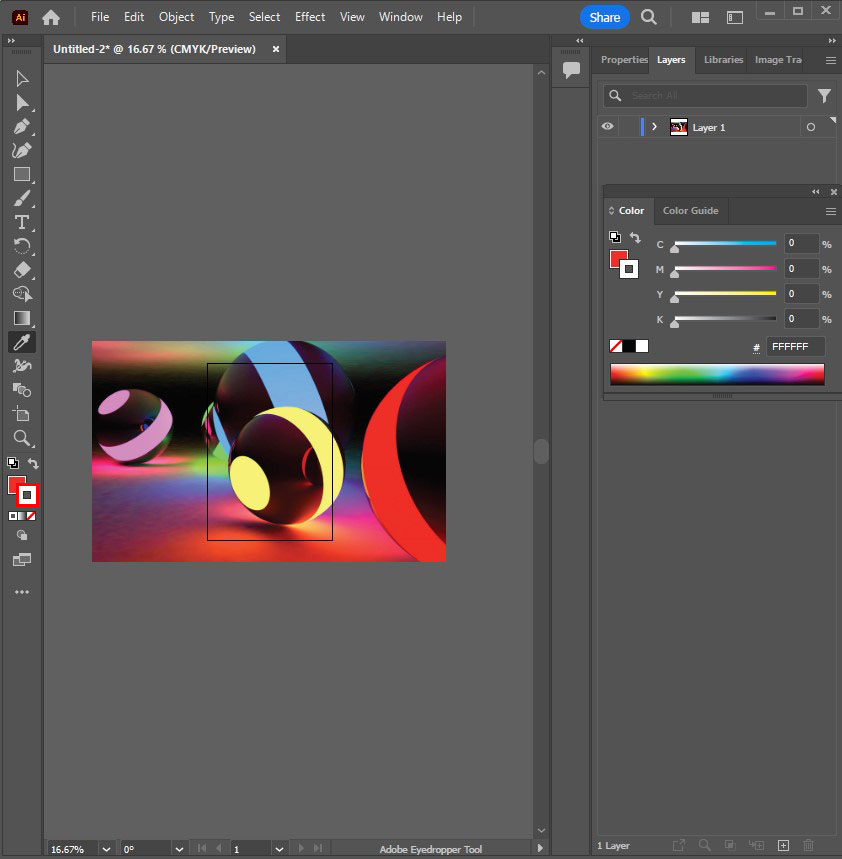
- The fill color fills in the shape area. It’s selected by clicking the color-filled square on the toolbar.
- The stroke color is used for the shape outline. It’s selected by clicking the color-bordered square on the toolbar.
- To Fill the Stroke or Fill color, select the stroke or fill color box and choose the white swatch with a red line running through it.
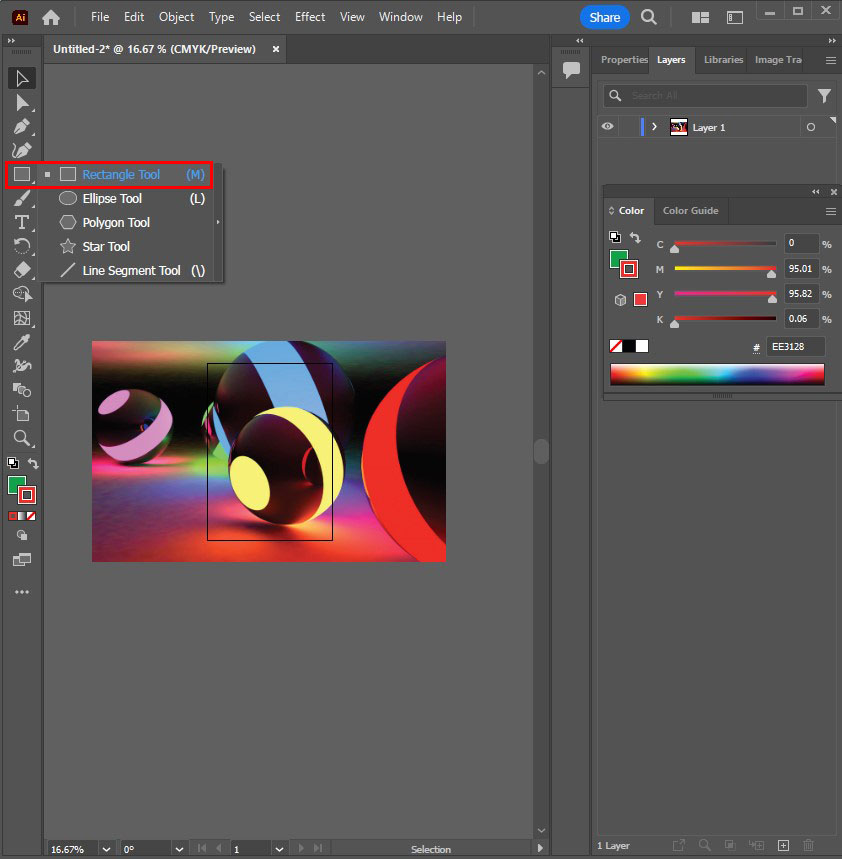
Create Simple Shapes
To create simple shapes, use shape tools. The shapes include rectangles and circles.
- Pick a shape tool by choosing and holding the rectangle tool within the toolbar and selecting the shape tool you need.
- Click on the shape and drag.
- Hold the “Shift” button and simultaneously click and drag to create a perfect circle or square using the ellipse or rectangle tool.
- Some shape options have menus that can adjust attributes like the number of sides to include. Choose the “Shape tool” and then click on the artboard.
- The Pathfinder can be used to combine and cut shapes.
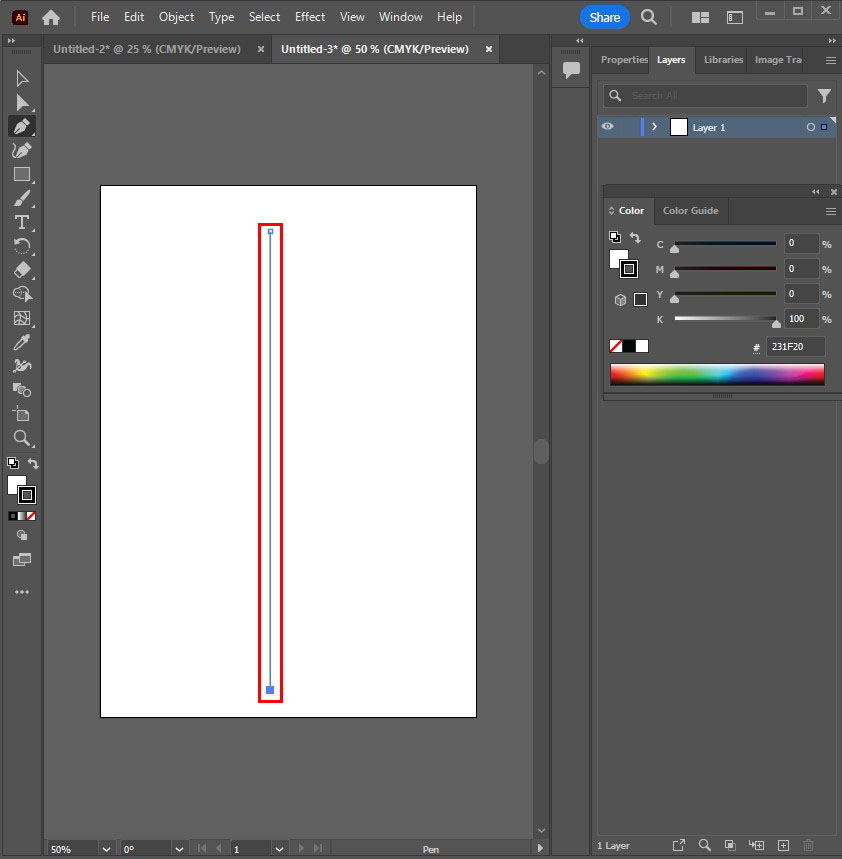
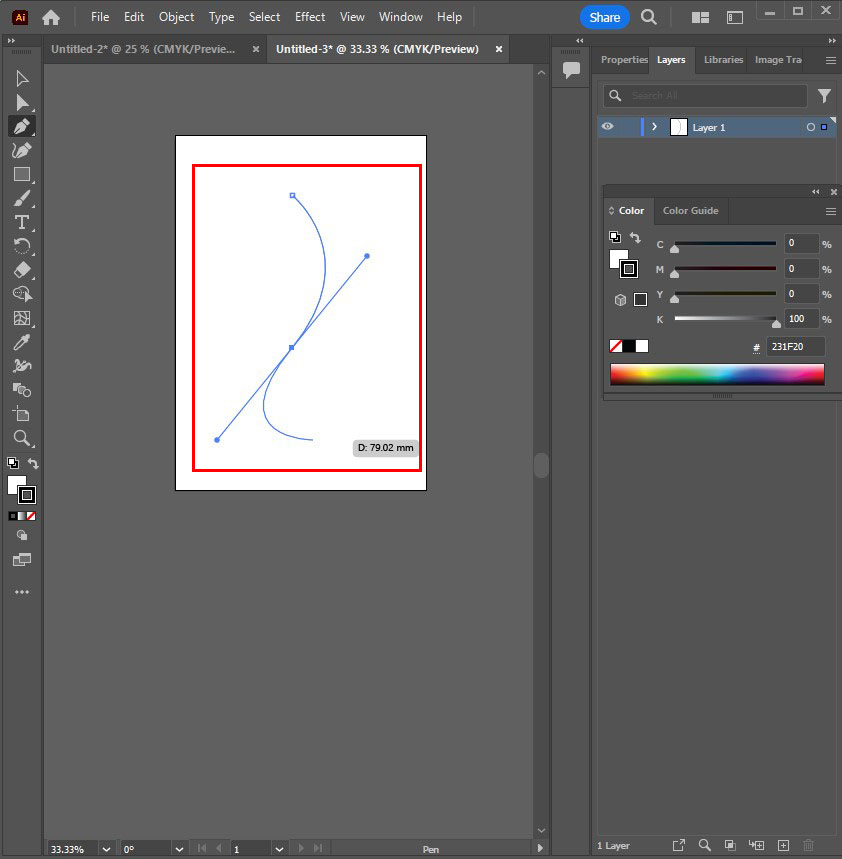
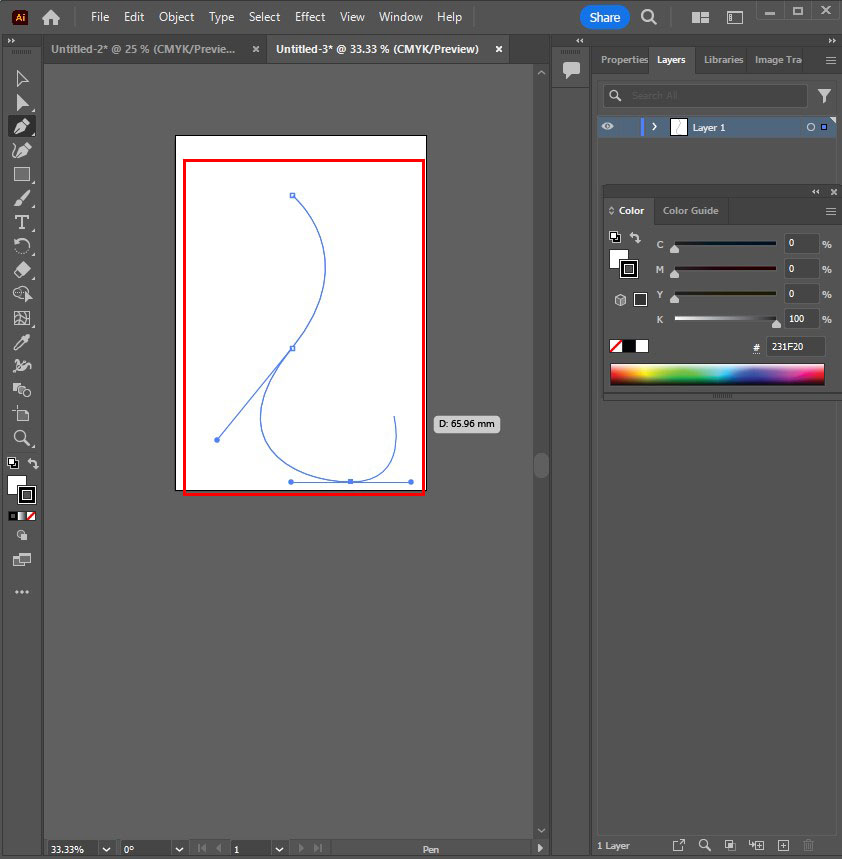
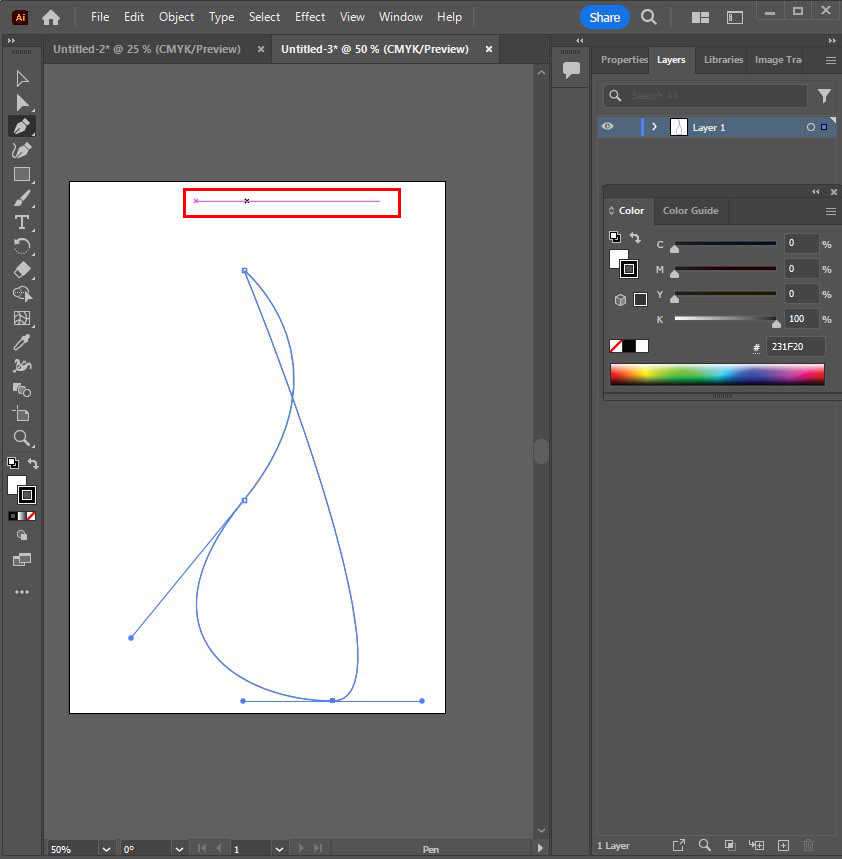
Use the Pen Tool for Complex Shapes
Trace complex shapes with the “Pen” tool. Do so by clicking the fountain tip icon in the toolbar or accessing the pen tool by pressing “P.”
- Click the area where the line needs to start and end to form a straight line.
- Create a curved line by clicking on the line and dragging.
- Choose another point and create a line that continues your curve.
- Choose the anchor point to change direction or stop drawing.
- Complete your shape by clicking the starting anchor point.
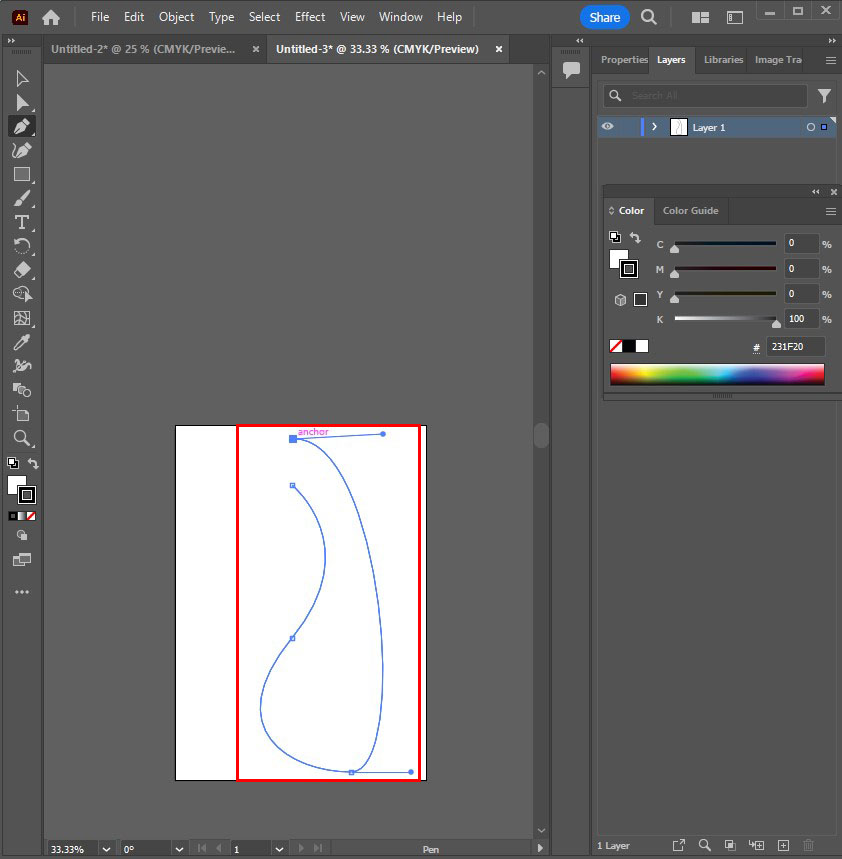

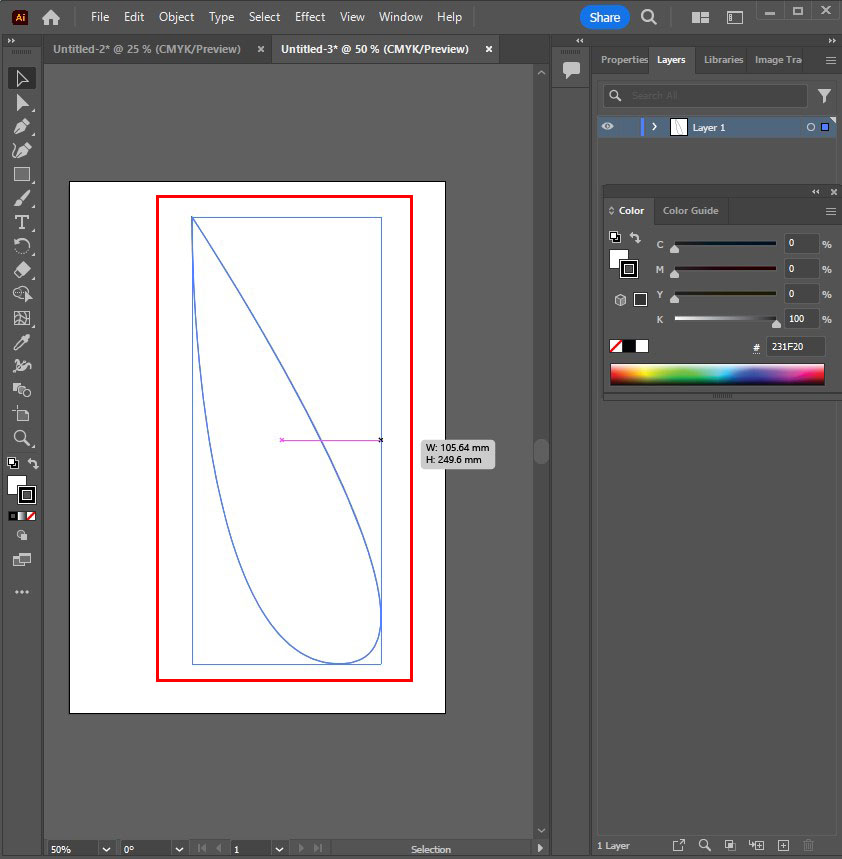
Adjust the Shapes
Adjust shapes using the sub-selection tool. Find and choose the white mouse cursor in the toolbar and pick the sub-selection tool.
- Hit the anchor point to select it on the line.
- Click the Bezier curves or handles and drag to adjust your curve.
- Select the anchor point and drag it to move it.

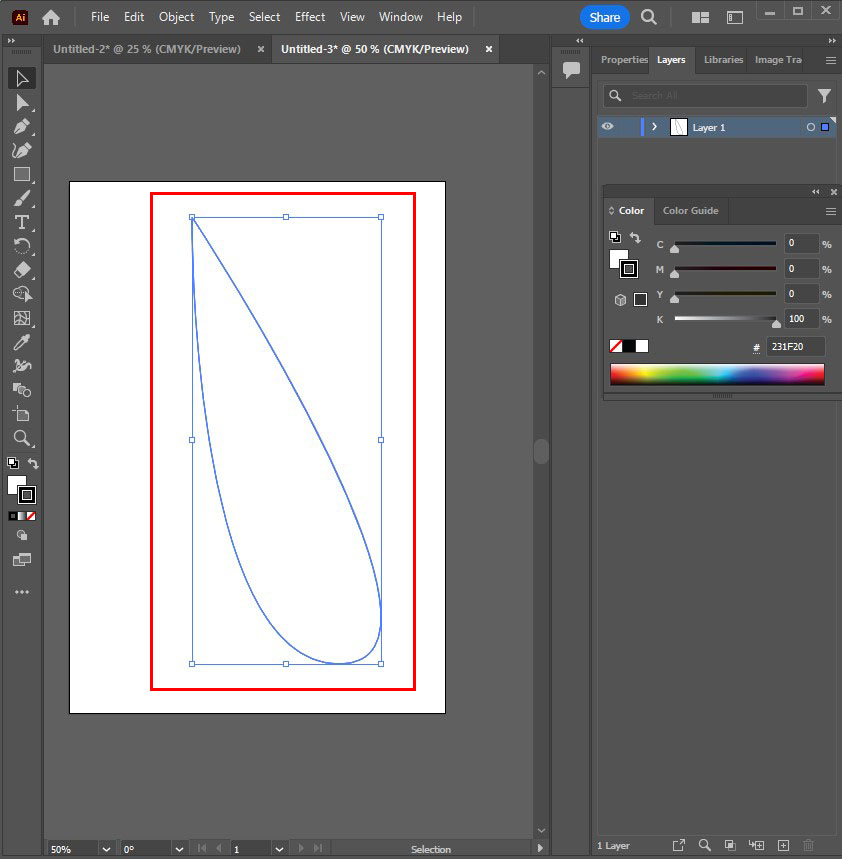
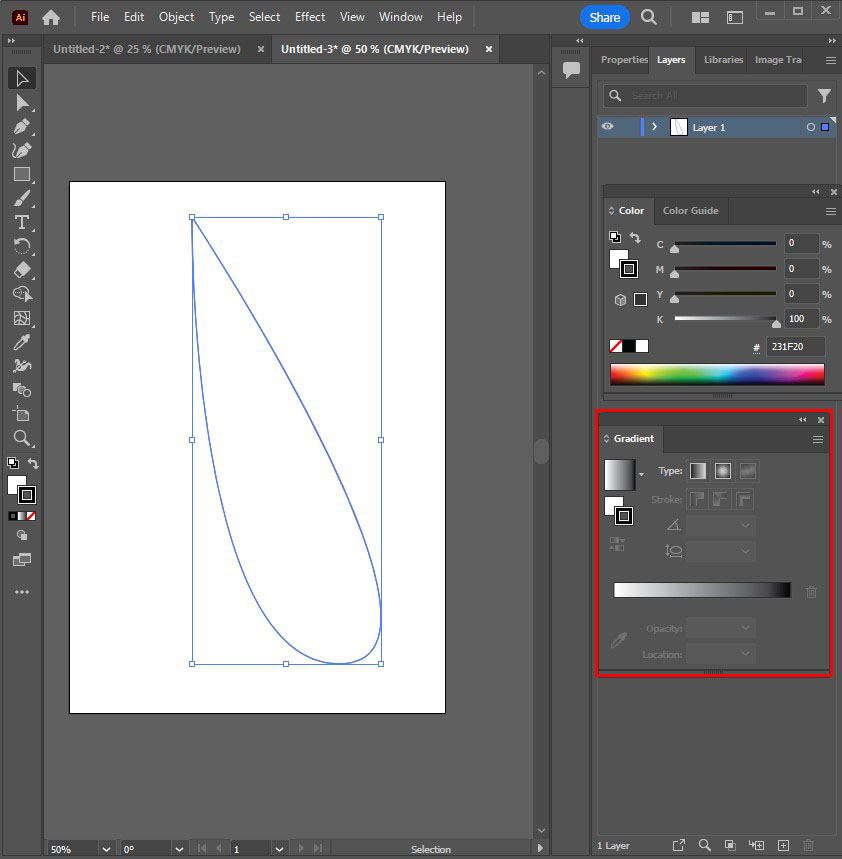
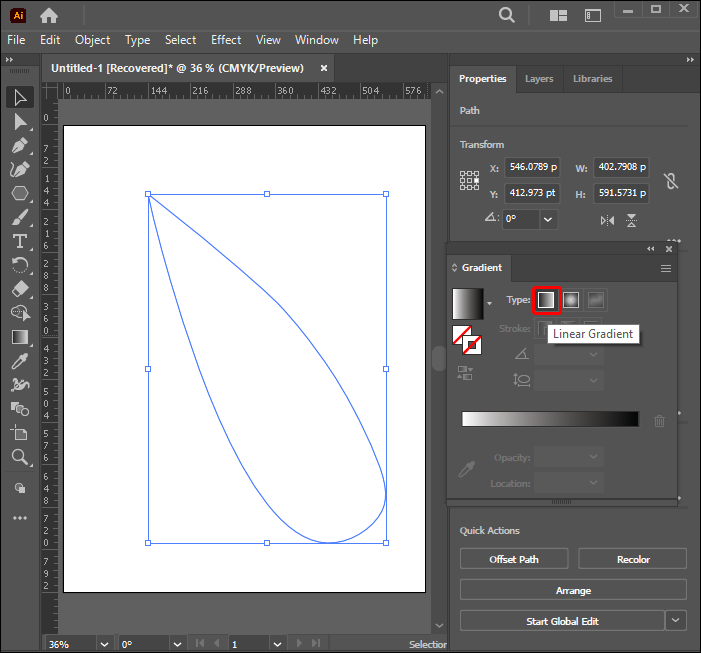
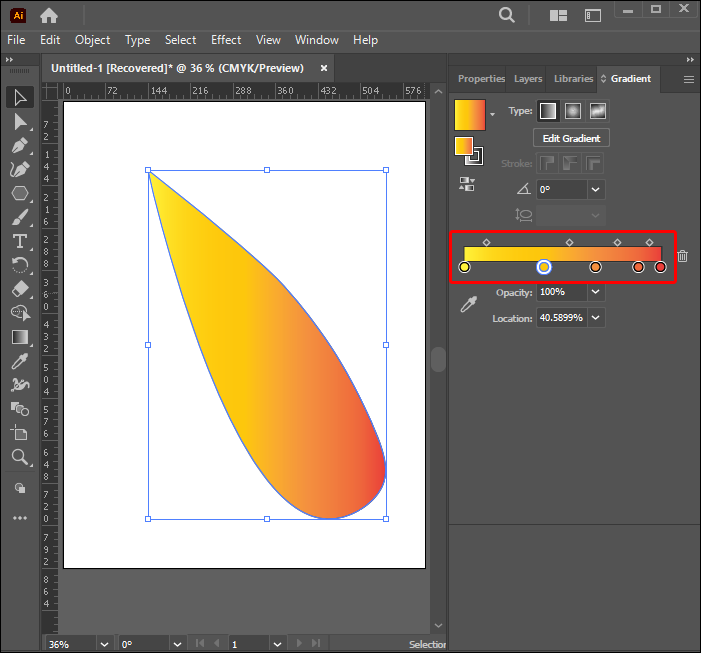
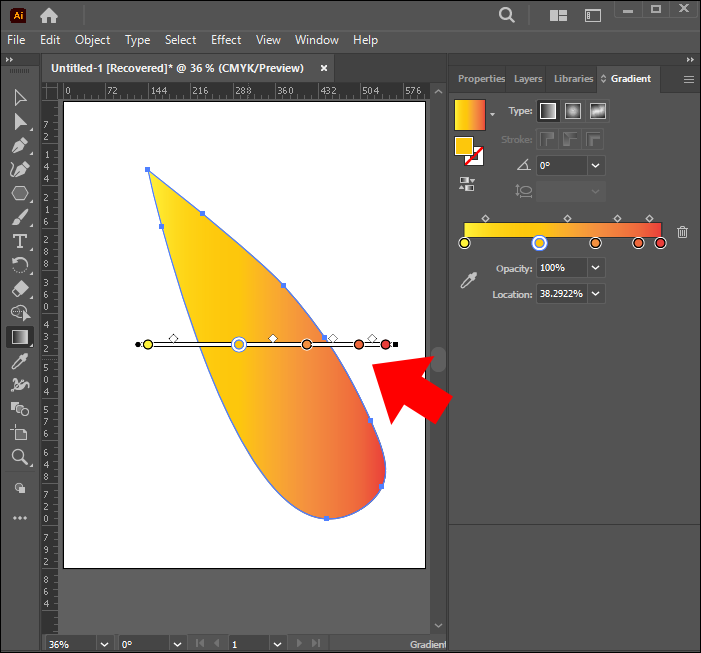
Add Color Blend
You can add a color blend using gradient and give your objects a metallic sheen, or blend on round objects for a 3D look.
- Choose the object to work on.
- Select “Window” and “Gradient” to access the Gradient menu.
- Select radial or linear gradient from the drop-down menu.
- Choose a color from swatches.
- Choose the gradient blend and drag to shape it.
- Select the Gradient tool, then drag over your shape to change the gradient blend direction.

Trace Images Successfully on Adobe Illustrator
There is so much you can achieve in Illustrator, including tracing images. If you possess the know-how, images can be traced with ease, either automatically or manually. With the right idea in mind, you can get great results time and again.
Have you ever attempted to trace images in Illustrator? How was the experience? Tell us in the comments section below.
Disclaimer: Some pages on this site may include an affiliate link. This does not effect our editorial in any way.