You can use several methods to cut out shapes in Adobe Illustrator. This is because many of the objects aren’t created in the same way. Unfortunately, this vector design program can be a bit tricky to use and especially challenging to newbies. This is due to its broad scope and numerous tools, which can be hard to grasp in the early stages.
This tutorial will provide a step-by-step guide to help you learn different ways to cut out shapes in Illustrator.
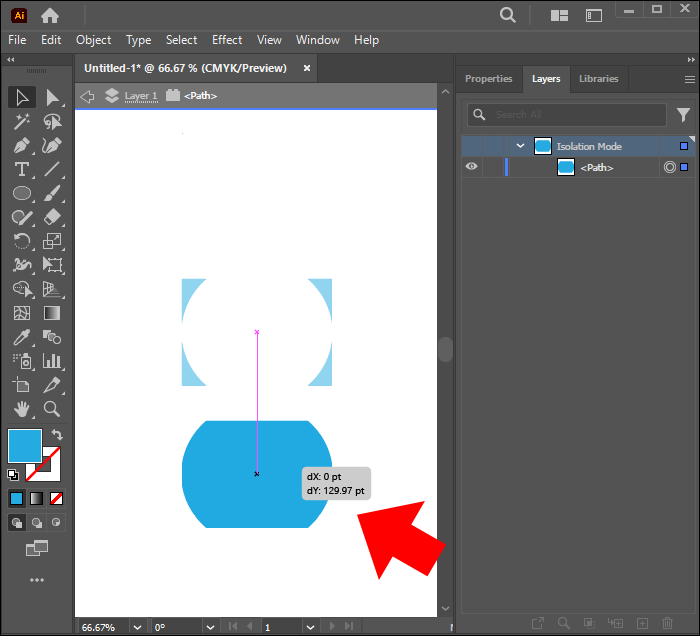
Cutting Out a Shape Using the Knife Tool
Functioning much like a literal knife, this tool allows you to draw a line over the targeted shape and cut it. It can work with all vector shapes. This tool is hidden within the toolbar sub-menu under the “Eraser Tool” icon. Below are instructions to guide you in cutting out shapes using this tool:
- Create a shape.

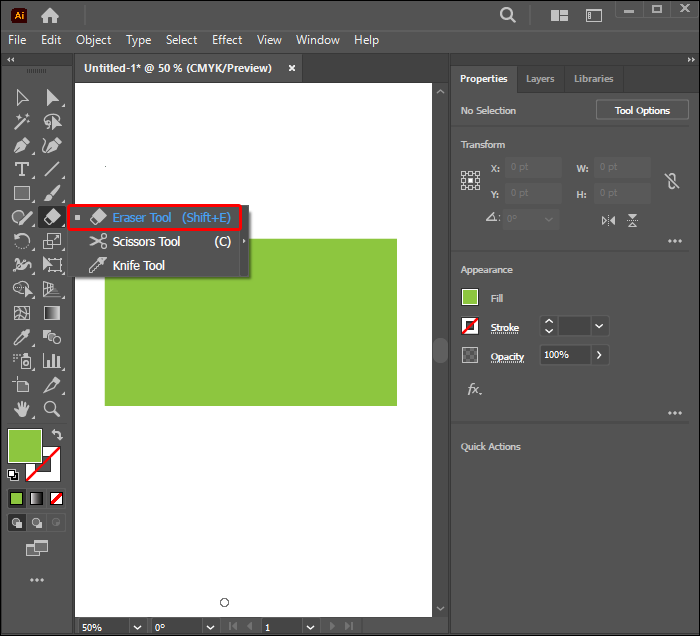
- Choose the Eraser tool, then select the Knife tool from the submenu.

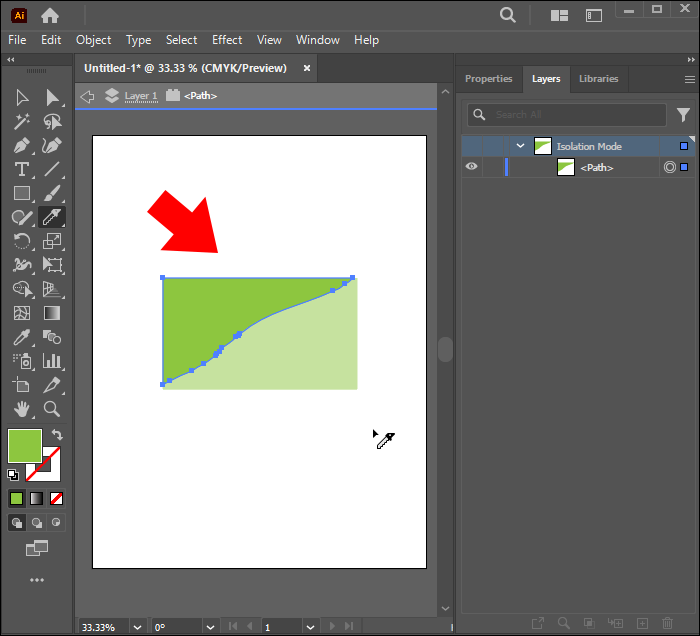
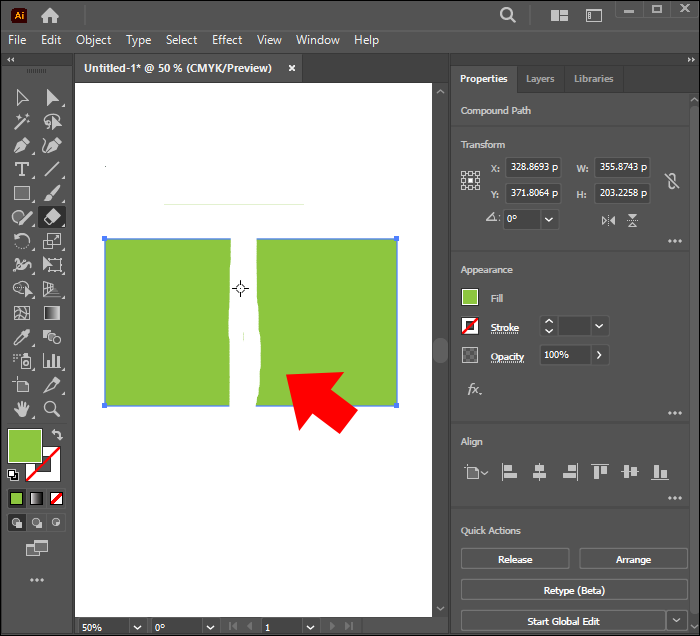
- Click on the canvas outside the shape and drag the knife through the shape you’d like to cut. Only release the tool after you’ve cut across the whole shape.
- Click on the shape that has by default been selected after cutting to deselect
- Use the “Selection Tool” to click on it and move it to a separate location for later use. A stroke will appear around the parts you just cut.

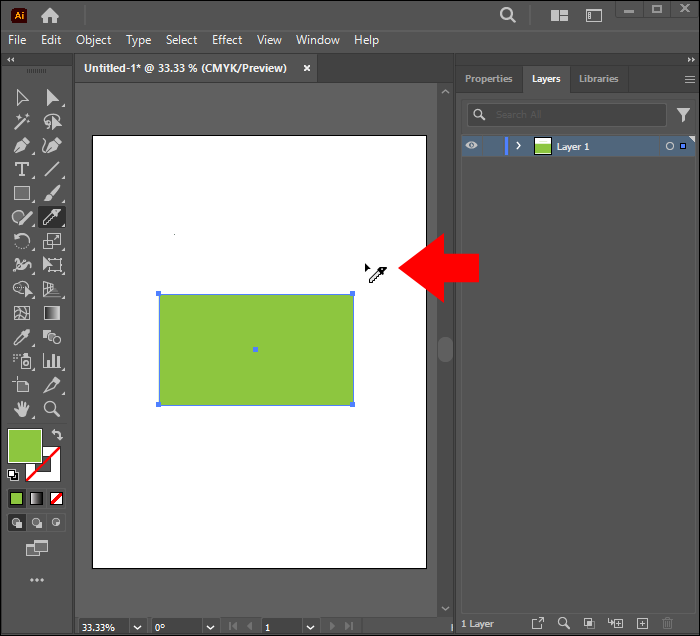

If you can’t find the Knife tool, you’re likely using the “Essentials” workspace. You’ll have to switch to “Essential Classic” or any other mode that will provide you with the tool. These settings can be found in the top-right corner of the main Illustrator window.
If you’re working on multiple shapes and only want to cut through a specific one, select only the shape(s) you would like to cut before slicing through the shape. If the tool won’t cut through an object, it’s likely because the item is locked or hidden. It’s an excellent method to use if you don’t want to lose any part of your shape.
Cutting Out Shapes Using Scissors
Unlike the Knife, this tool can’t work on multiple shapes simultaneously and doesn’t enclose the object’s path after cutting. However, it does maintain the shape’s original outline. Below are instructions on how to cut out shapes using the Scissors Tool:
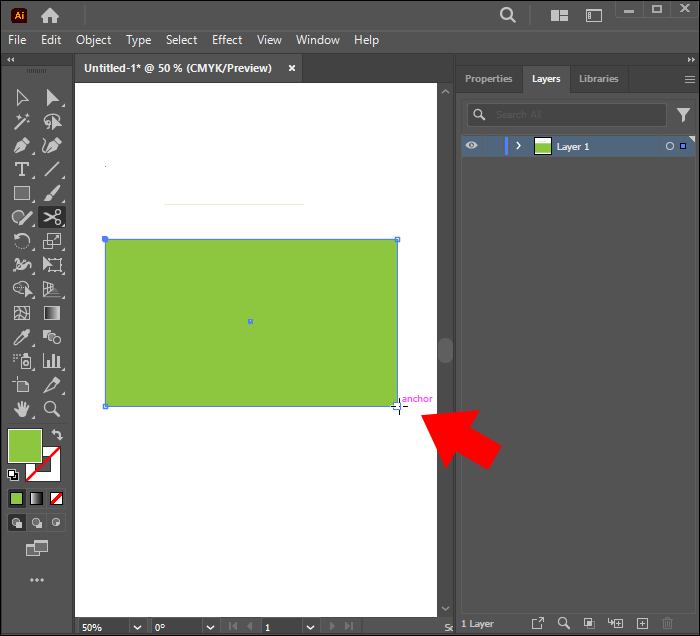
- Go to the Illustrator toolbar and choose the “Scissors Tool” under the “Eraser” sub-menu.
- Click on any part along the shape’s outline to form an anchor point or select a pre-existing one.
- Navigate to the end of the object you want to cut out and select it using the “Direct Selection” tool.
- Click on the part you want to discard using the “Direct Selection” tool and drag it away.


Using the Eraser Tool
This tool is pretty similar to the Knife or Scissors tools in that it can also cut through multiple shapes and encloses the divided objects’ paths. It can also cut through specific items within a group as long as they are selected, leaving the rest as they originally were. The primary difference is that, unlike the Knife tool, where you can drag the part of the shape away and use it in other designs, the Eraser permanently deletes the part that you drag away. The instructions below demonstrate how you can use it to cut out shapes:
- Go to the toolbar and select the “Eraser Tool.”
- Click and drag your mouse along the part of the shape you want to remove to rub it off.
- The object will be divided, and the paths will be enclosed.
Another advantage of using the Eraser Tool is that you can change its shape or size. You can do this by opening up the “Eraser Tool Options” and adjusting the angle, roundness, and Eraser brush head size.
Pro tip! Press the left bracket key on your keyboard to narrow the tool. Hold the right bracket key if you want to widen the size of the Eraser brush head. Ensure it’s not too narrow, as it may cause you to waste time cutting out the shape. It should also not be too wide so it doesn’t rub off parts that you don’t want to remove.
Using Shapes as Cookie Cutters
This is an excellent and straightforward method for beginners. It is achieved by using the “Divide Object Below” command. The instructions below will help you complete the task successfully:
- Place two objects on your blank canvas.
- Use the “Selection” tool to place one over the other.
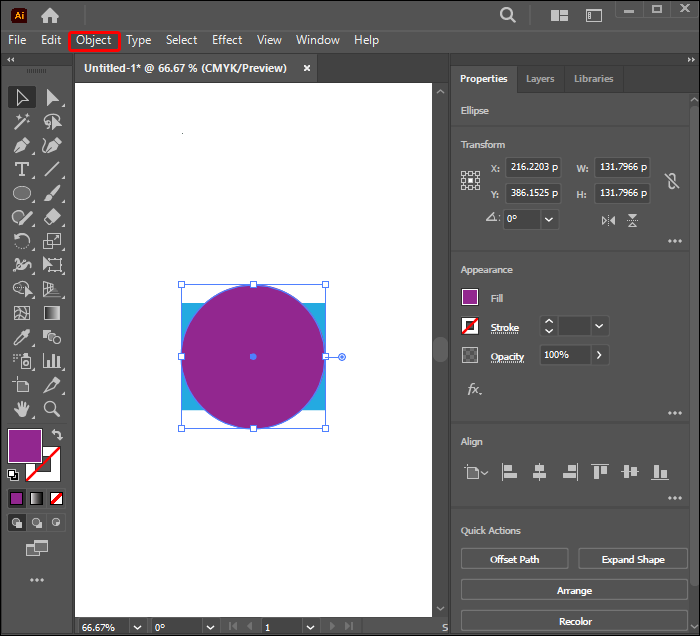
- Navigate to “Object” with the object on top still selected.
- Select “Path.”
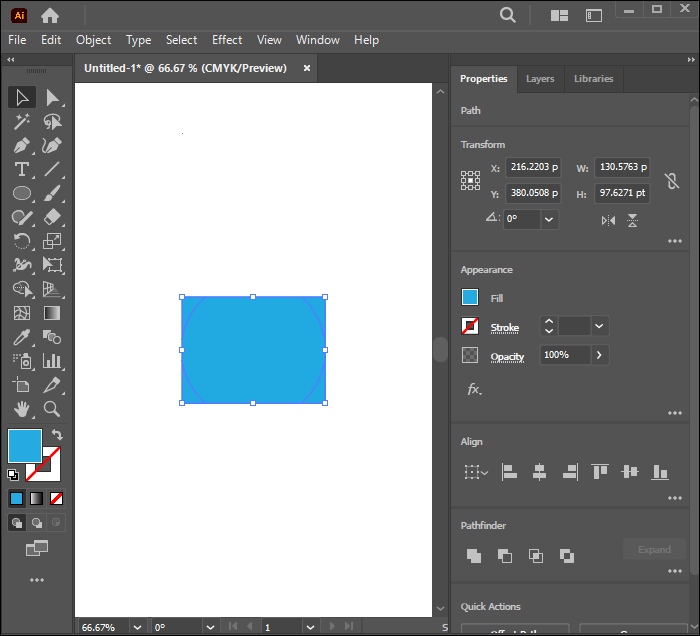
- Choose “Divide Objects Below.”
- The shape above will disappear, leaving a path outline on the object below.
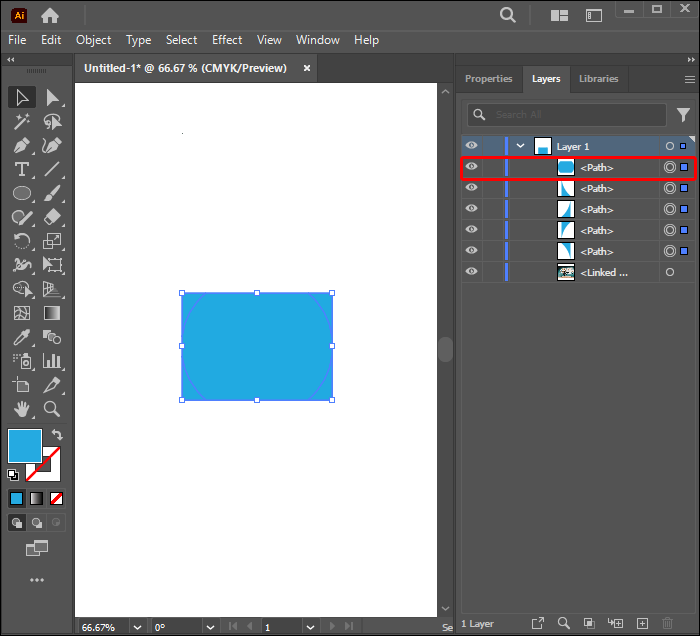
- Go to the “Layers” panel and select the object’s path.
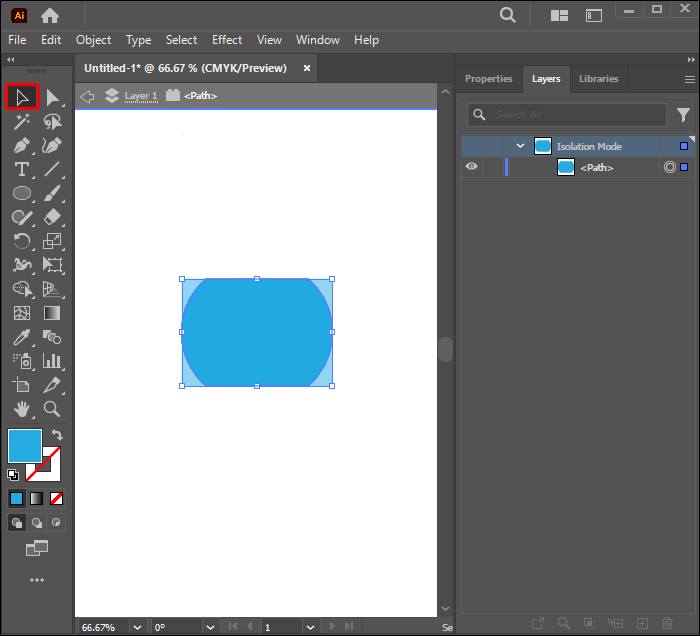
- Use the “Selection” tool to drag the shape’s layer from the item beneath it.
- The object will be cut out.


Advance Your Shape Cutting Skills With Illustrator
Illustrator’s most outstanding competitive detail is its ability to achieve one goal in many ways. You may need to cut out shapes when designing artwork frequently. This makes learning how to do this essential to elevate your work. It’s challenging to decide which tool is the best for cutting out shapes because each comes in handy depending on the project you’re handling. Keep in mind that this can only work for vector graphics. The Pathfinder tool is ideal if you want to cut out a shape to create a new one. Scissors work well with paths, while the knife tool is best if you want to make a freehand cut.
Which method are you excited to try out and why? Are there any other methods other readers should know? Let us know in the comments section below.
Disclaimer: Some pages on this site may include an affiliate link. This does not effect our editorial in any way.


