Device Links
Canva is an excellent tool for creating graphics that words fall short to describe. It’s packed with features that allow you to create stunning graphics for both personal and professional use. However, a crucial tool is still unavailable – the shape crop of an image. Luckily, there’s a workaround. You just have to add a shape of your choice and fill it with the graphic of choice. This article explains how to do just that across devices.
How to Fill a Shape With an Image in Canva on a PC
The process for filling a shape with an image in Canva is different for the PC web version and the mobile app. We’ll start with the web method first.
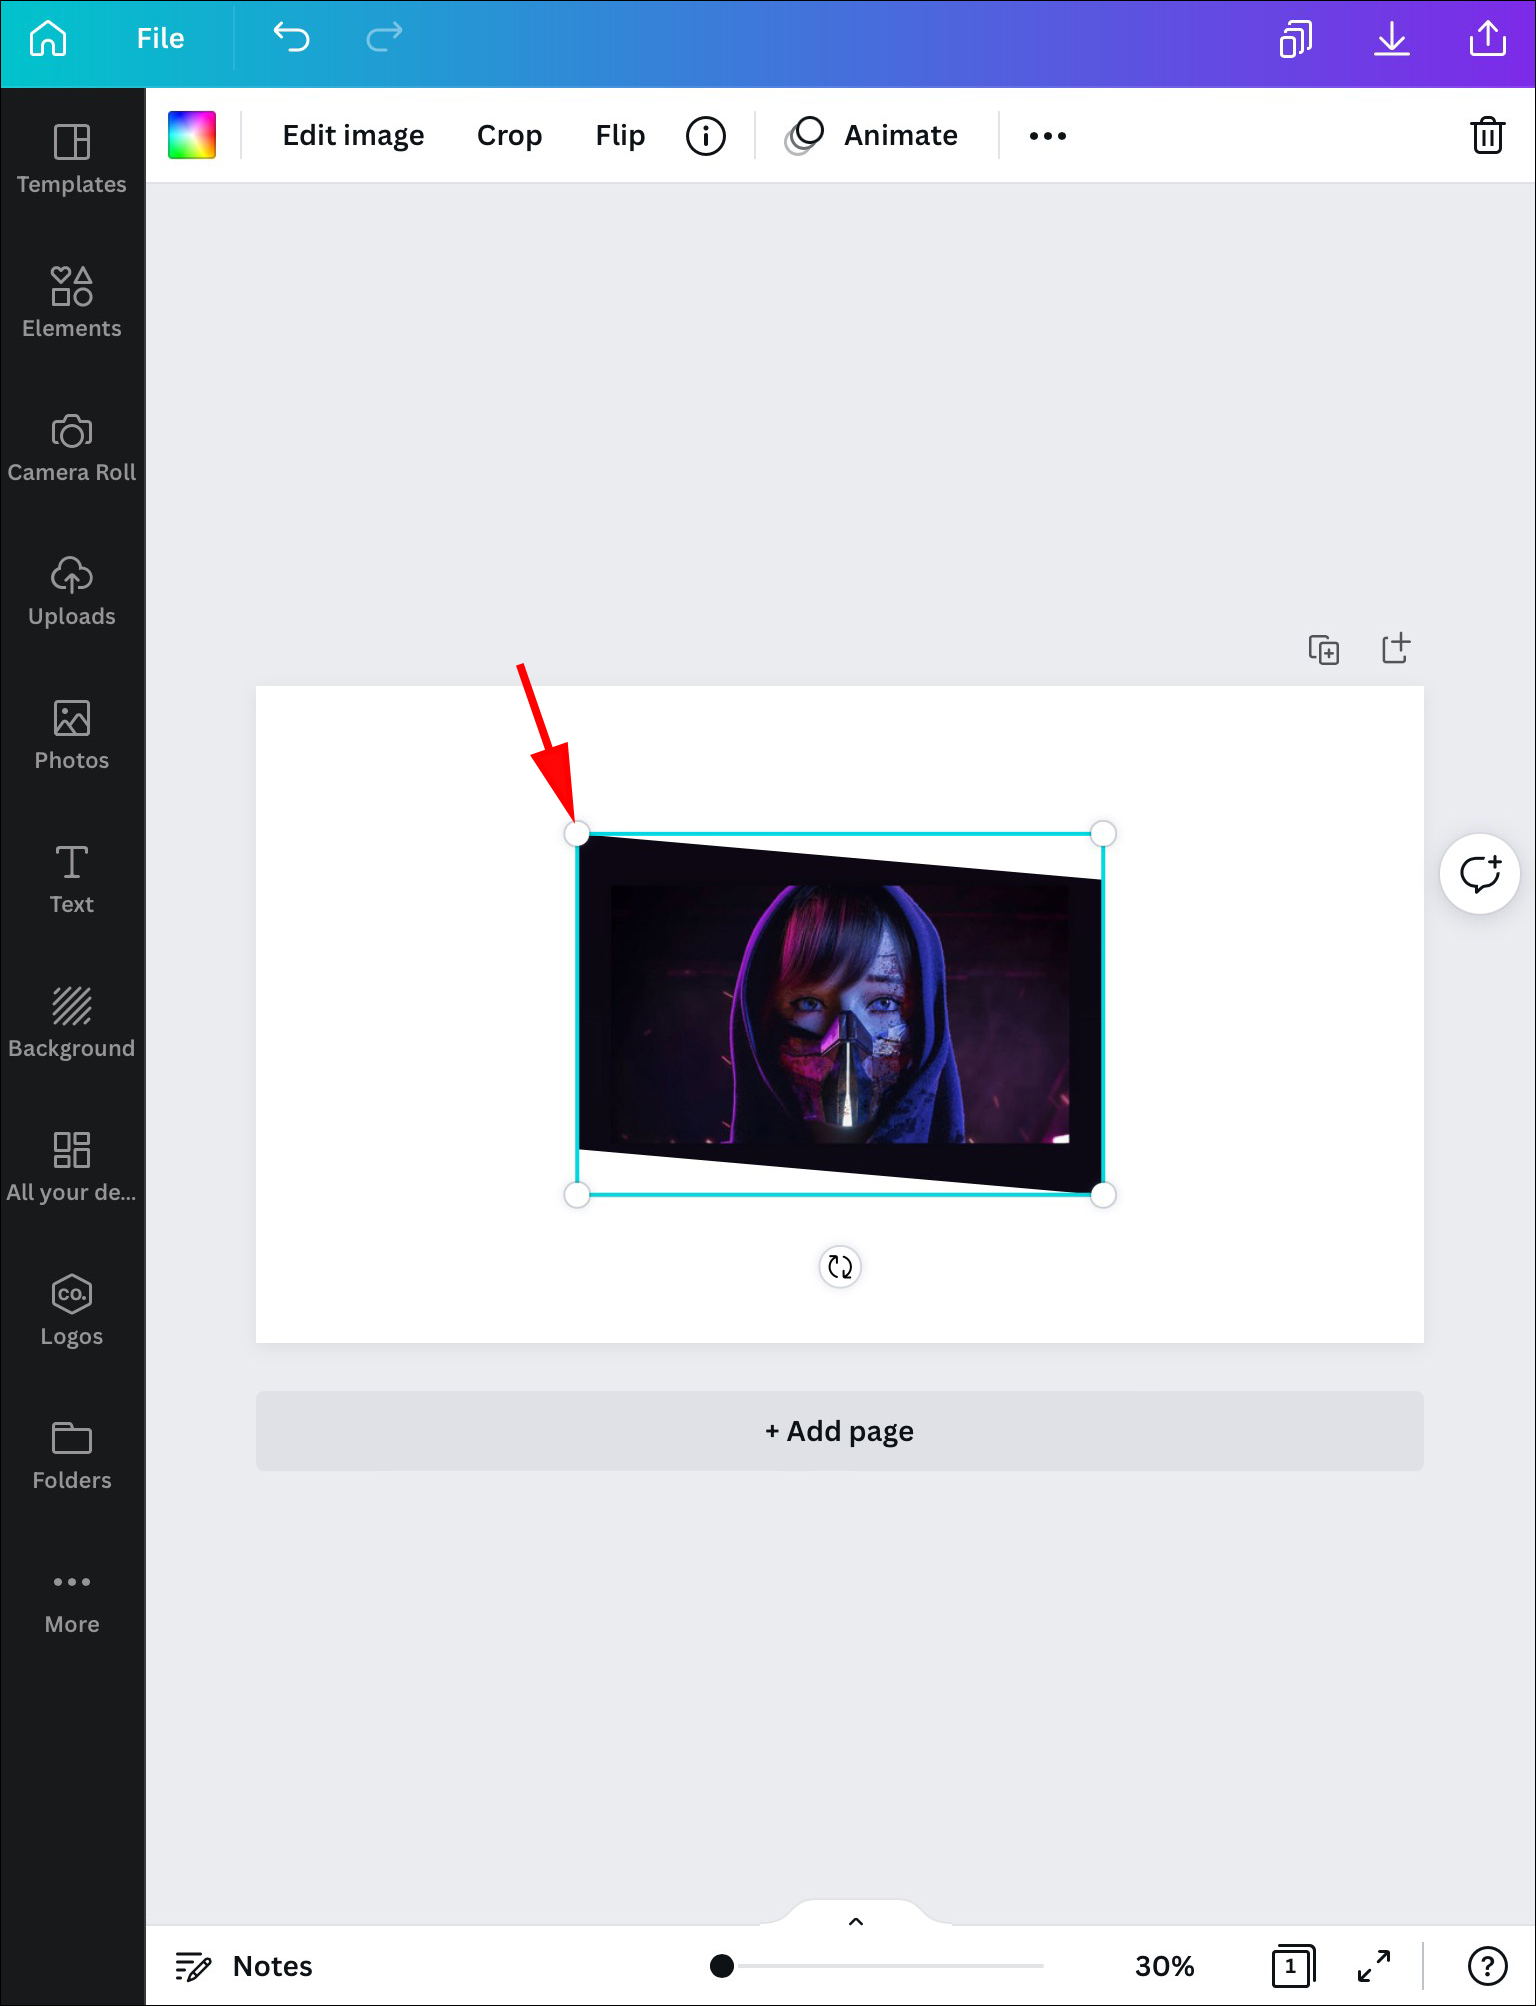
In this tutorial, you’re basically cropping your image inside the shapes. So first, we’ll explain how to do a basic crop on your PC. This will help you prepare the image for the further steps and have an easier time later in the tutorial.
Cropping an Image
If you’re cropping a new image, follow the steps below.
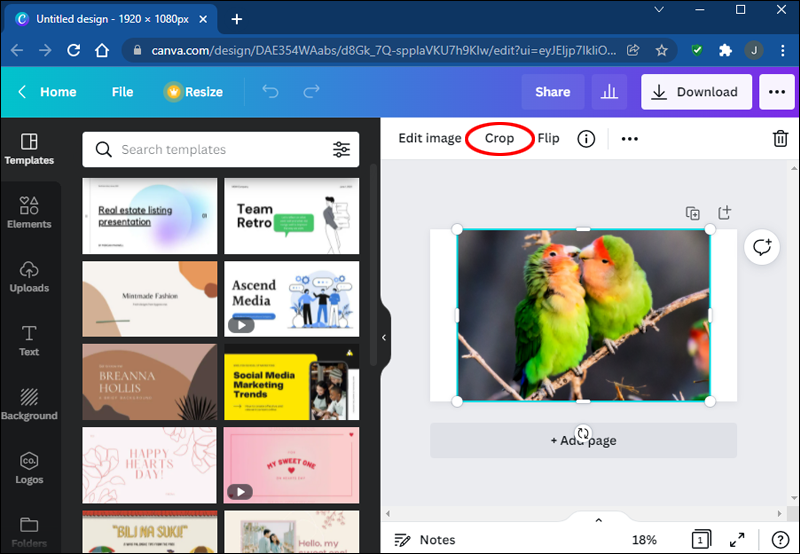
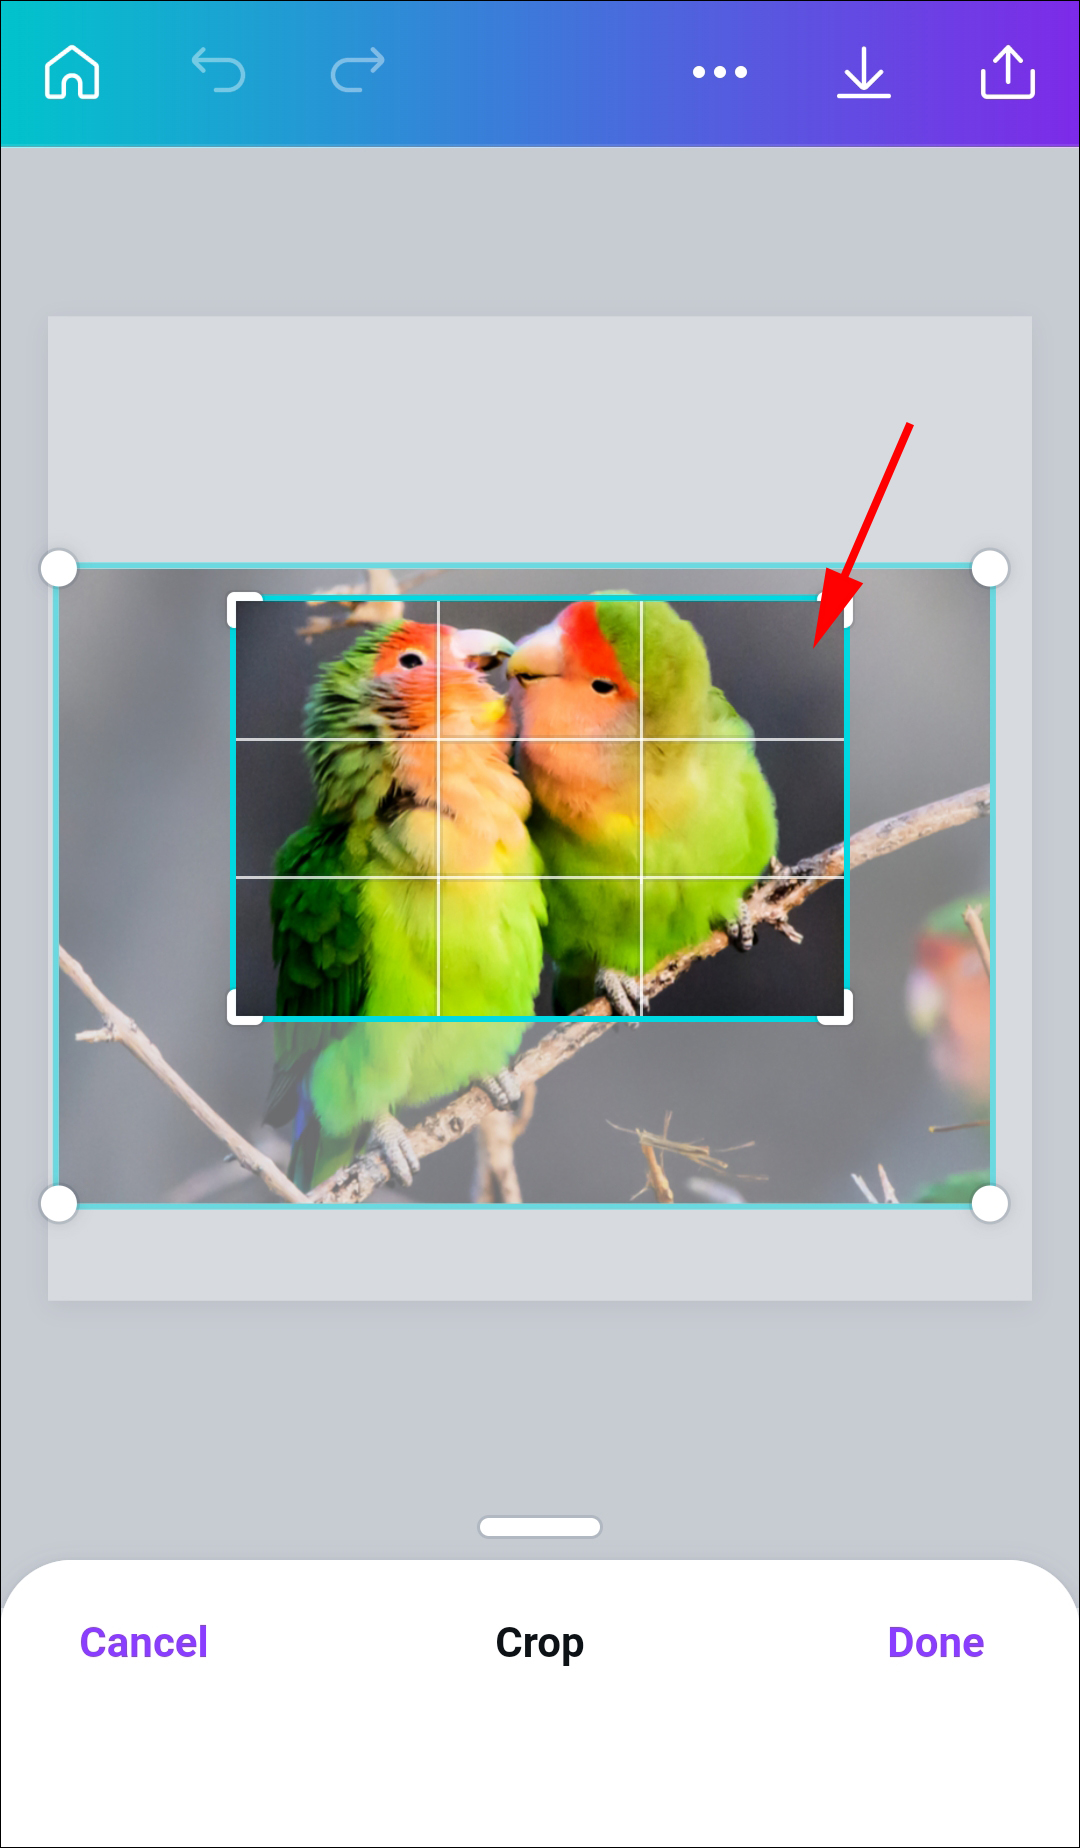
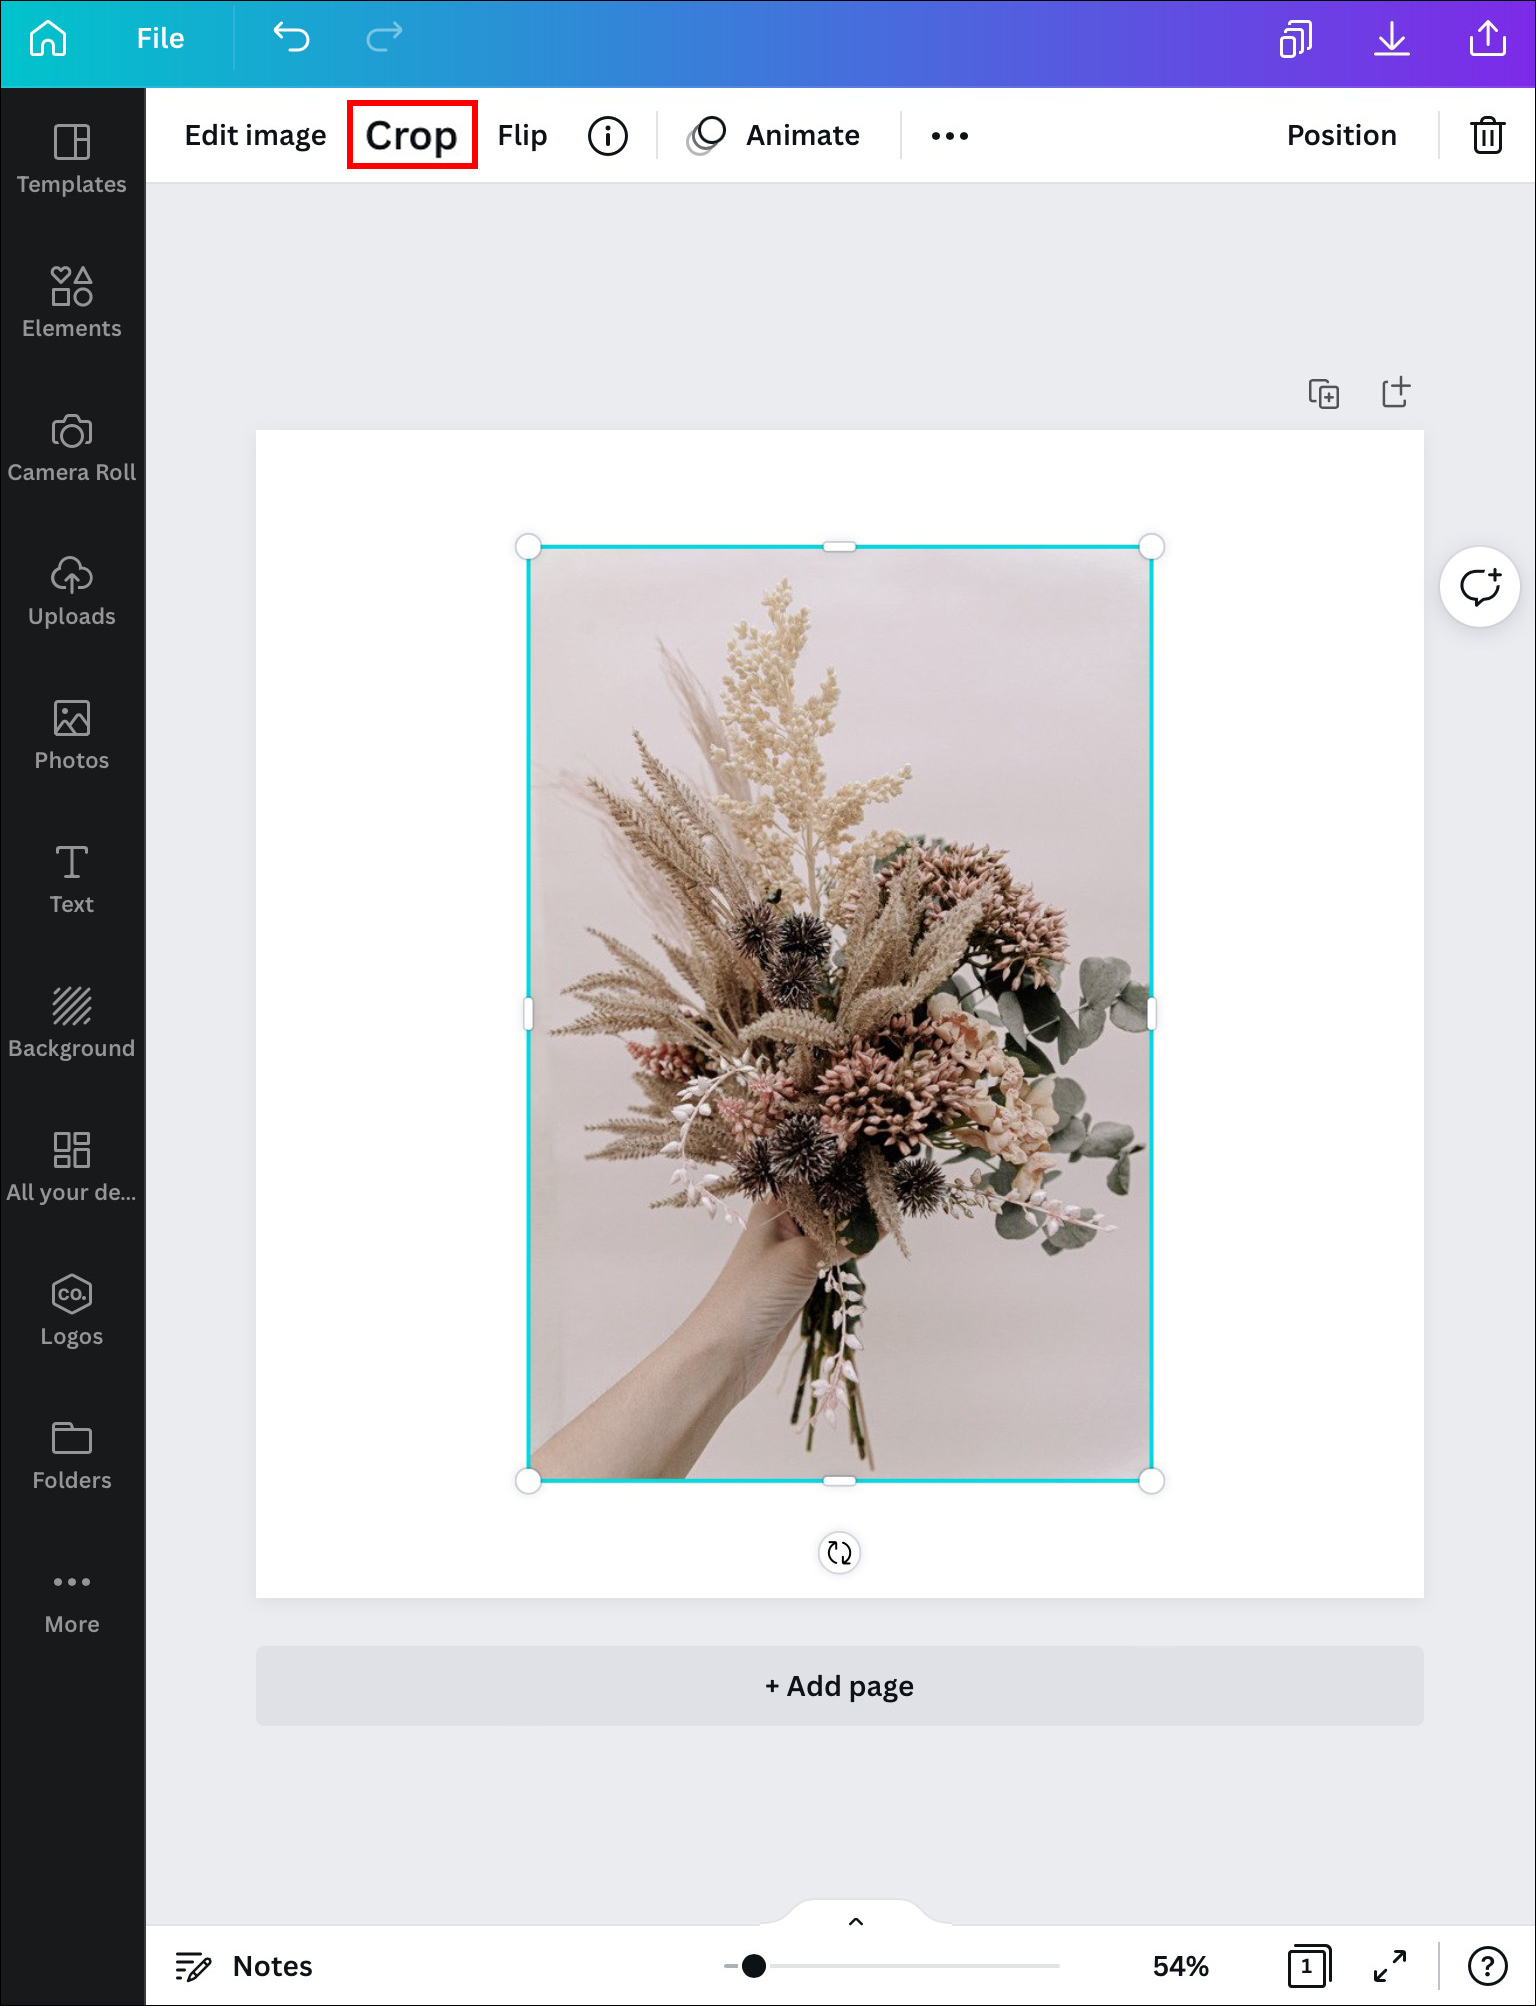
- Launch Canva on your web browser.
- Click on an image once you add it to the template.

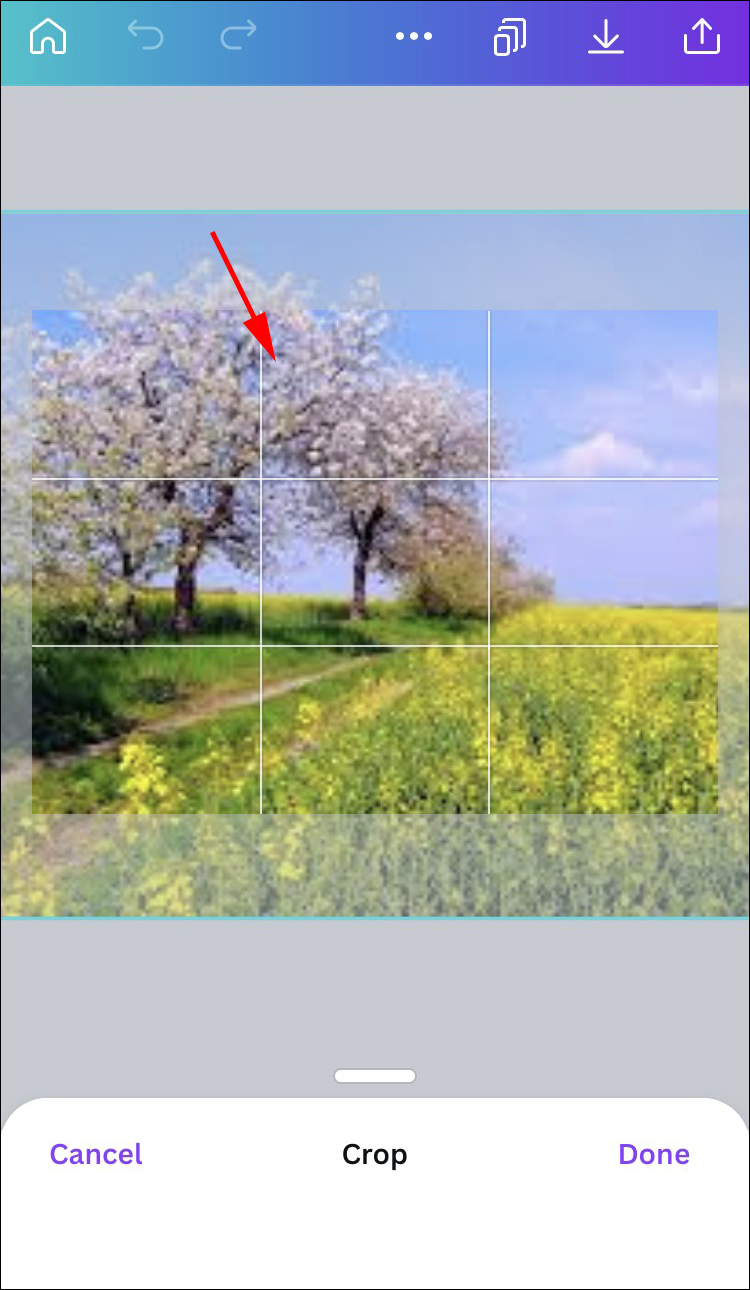
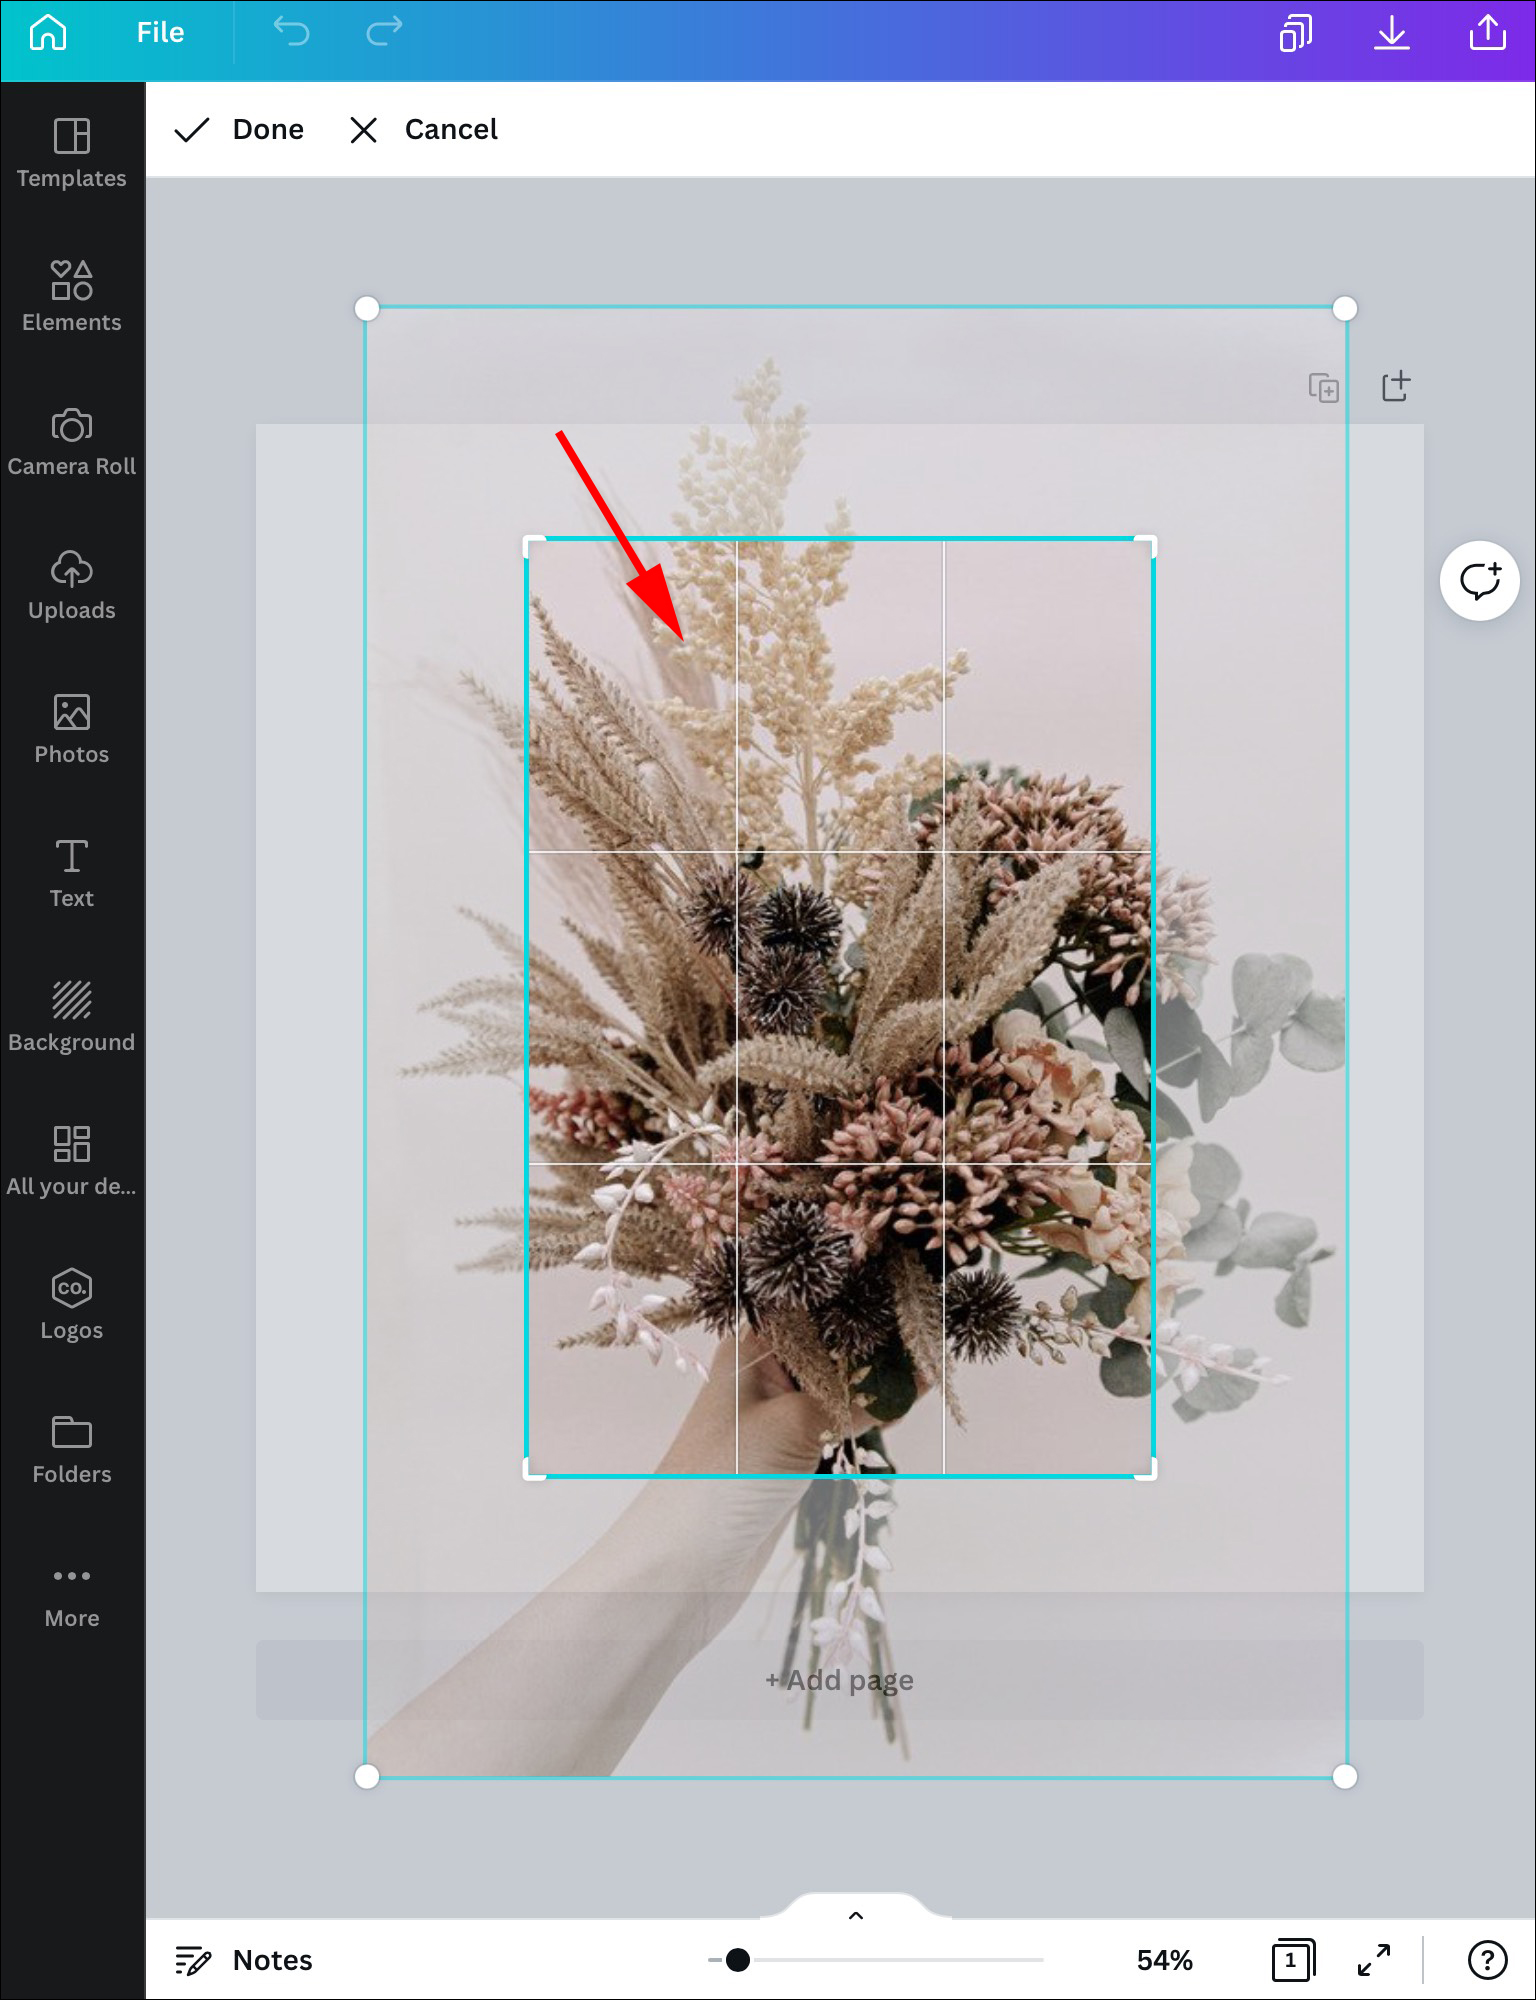
- Press the “Crop” option in the top left-hand of the screen.
- White corners will appear around the image. Drag them inside the picture to crop it.
- Hit “Done” once the image is cropped to your satisfaction.


If you’re replacing an existing image from a template, follow the steps below.
- Hit the “Crop” button on the templates panel.
- Drag the image and crop it however you need.
- Click “Done” when finished.


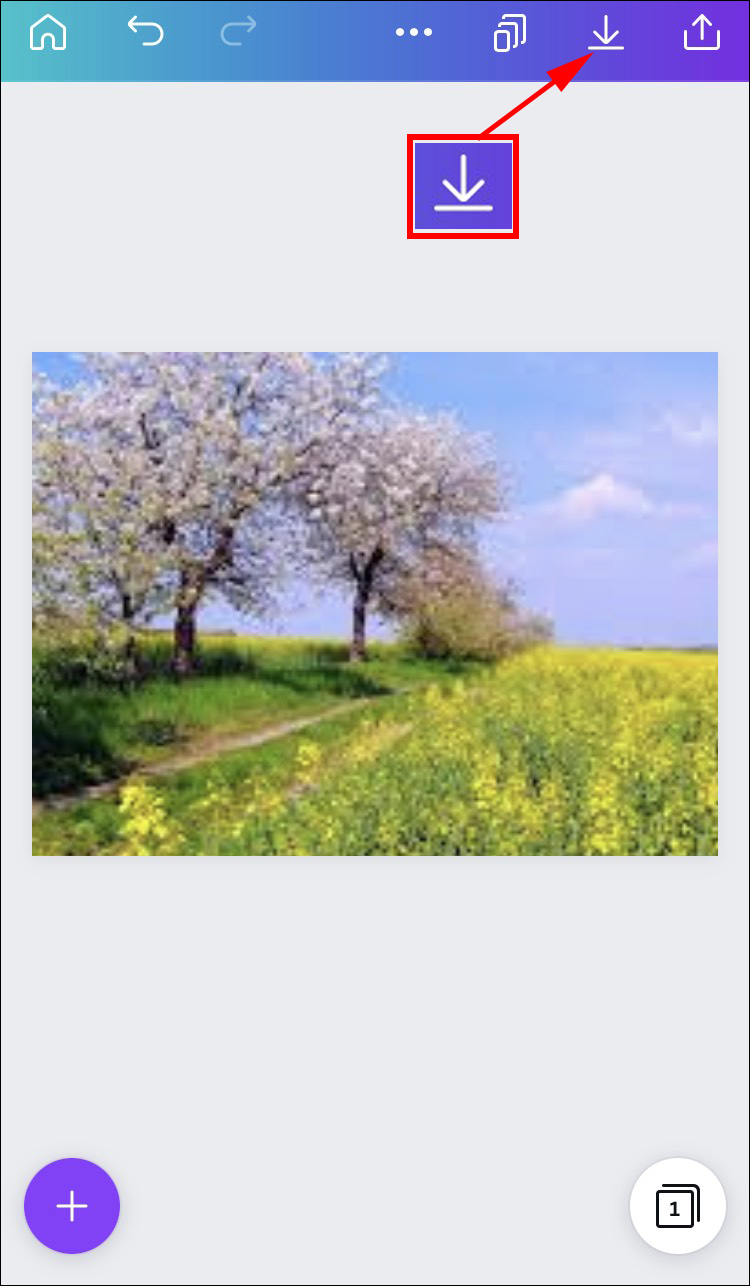
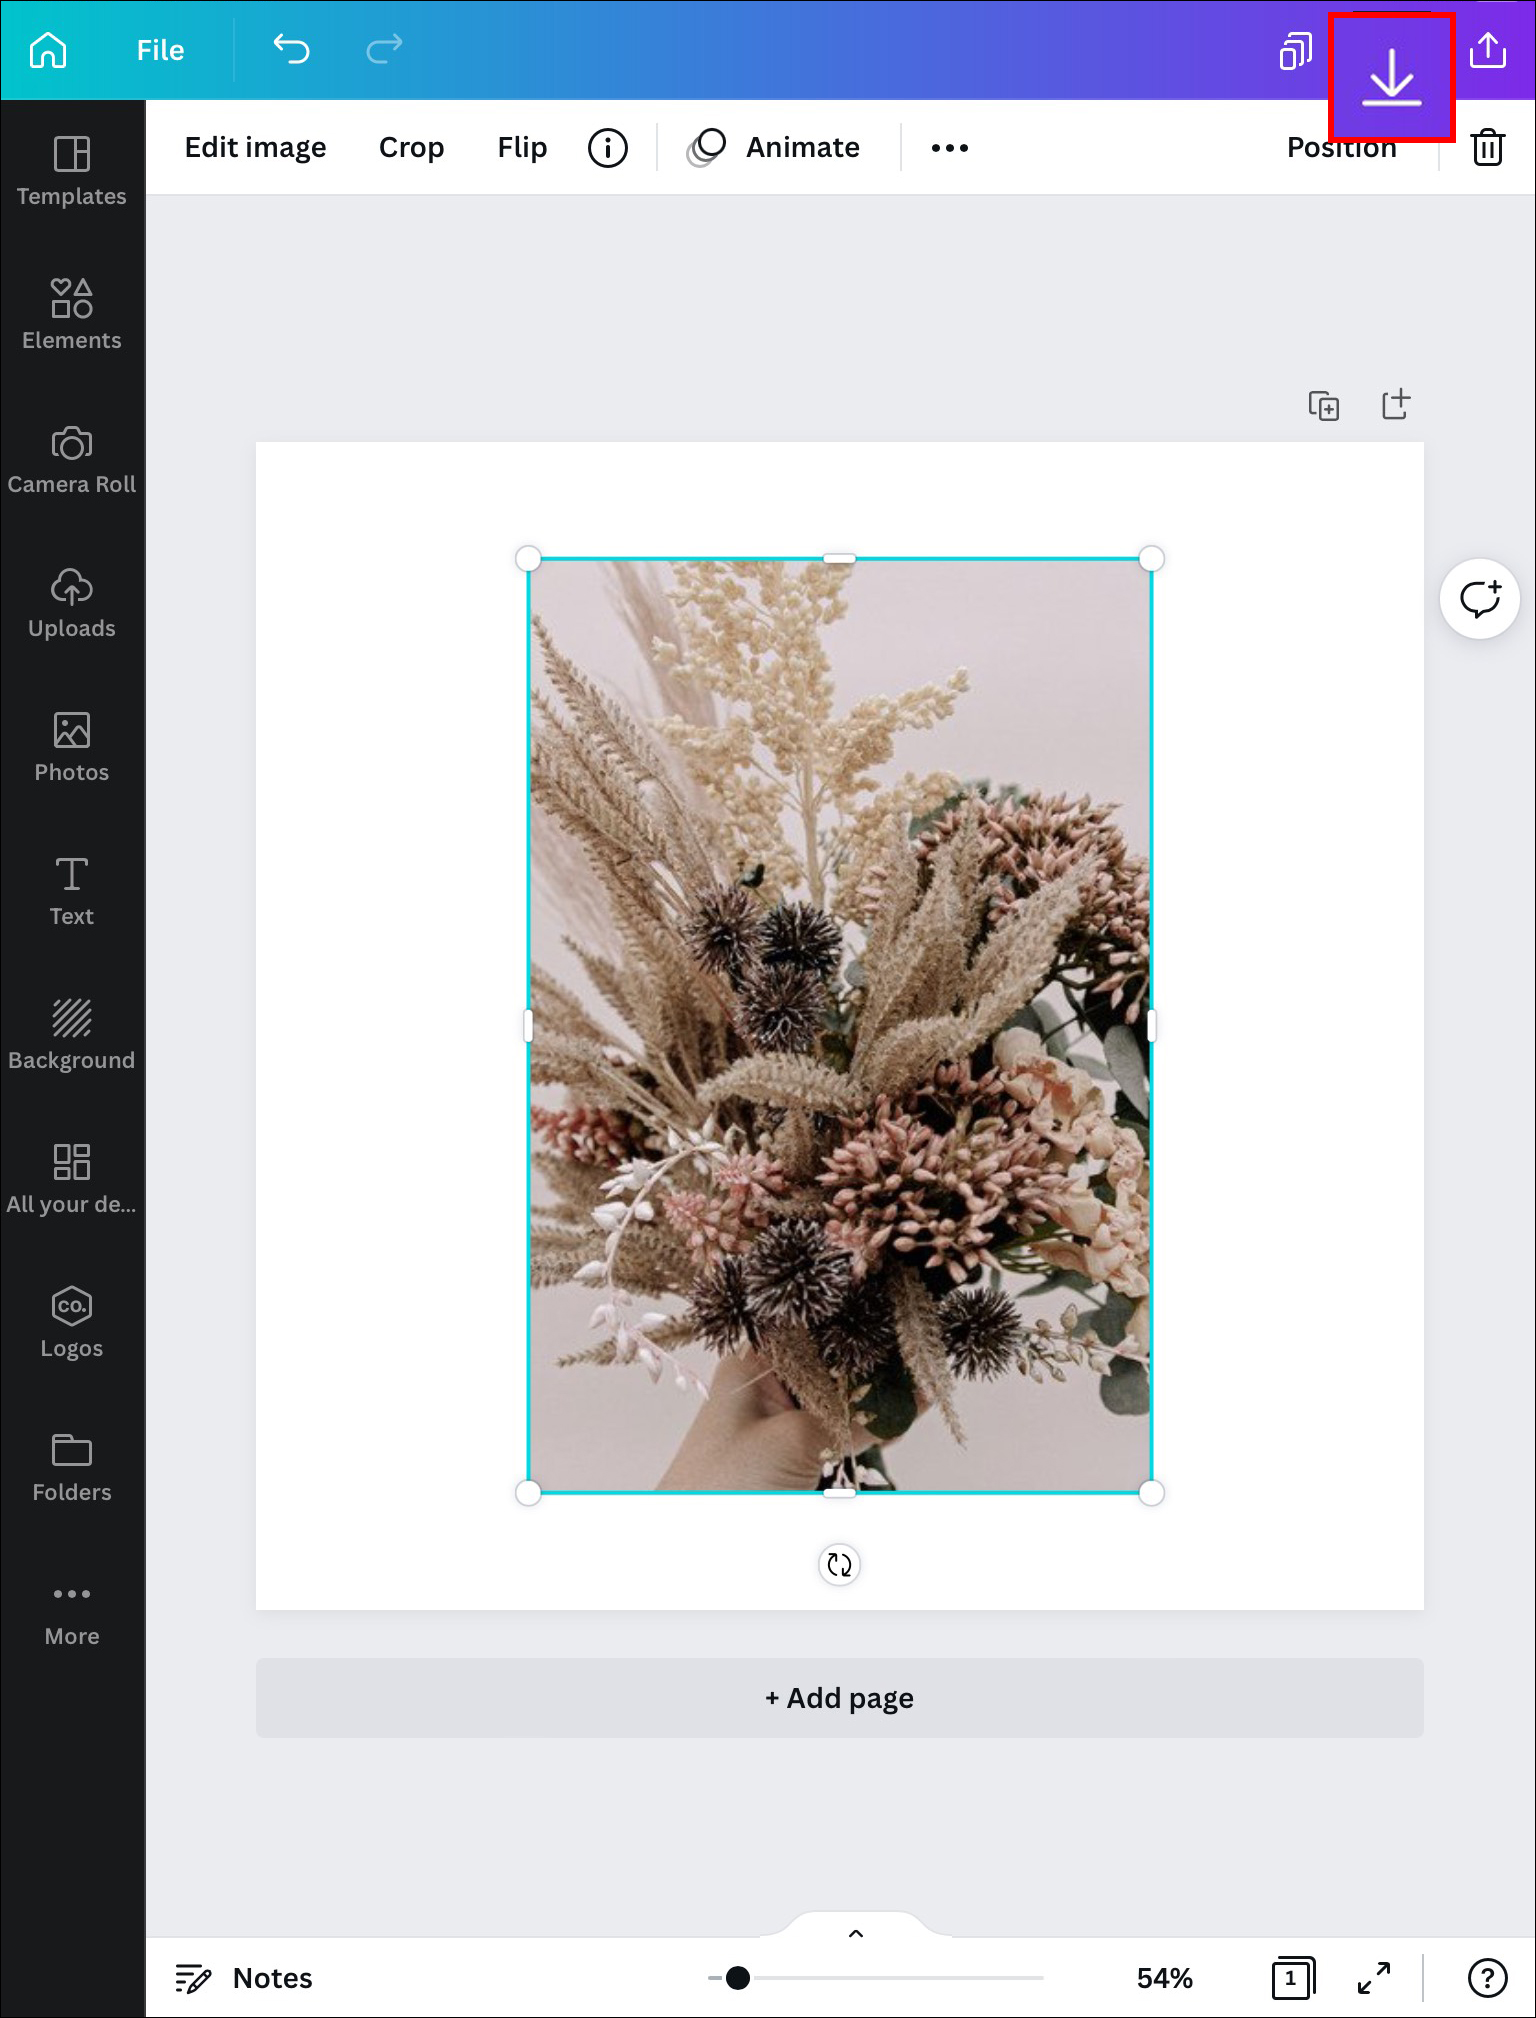
Remember to save your work on your computer so you can upload it for the next set of steps.
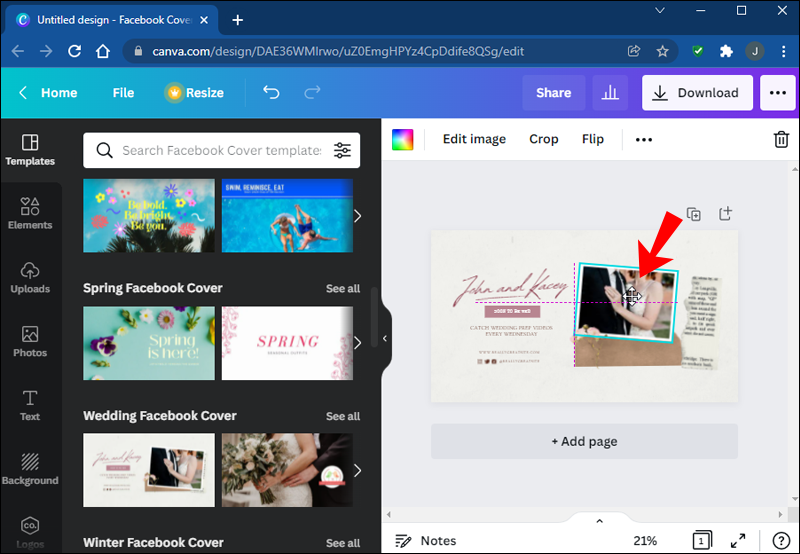
Next comes the part when you crop that image into shapes. We’ll use the star example, but the steps are the same for all other shapes.
Filling the Shape With an Image in Canva
- Open the desired template in Canva.
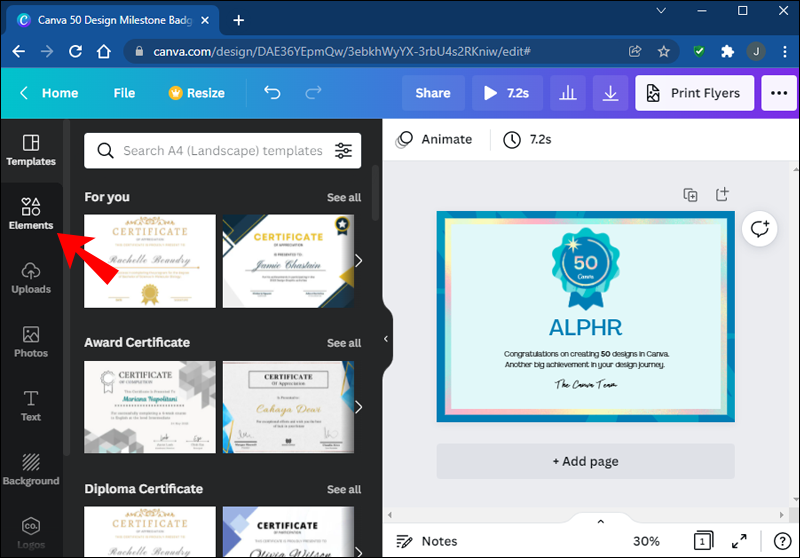
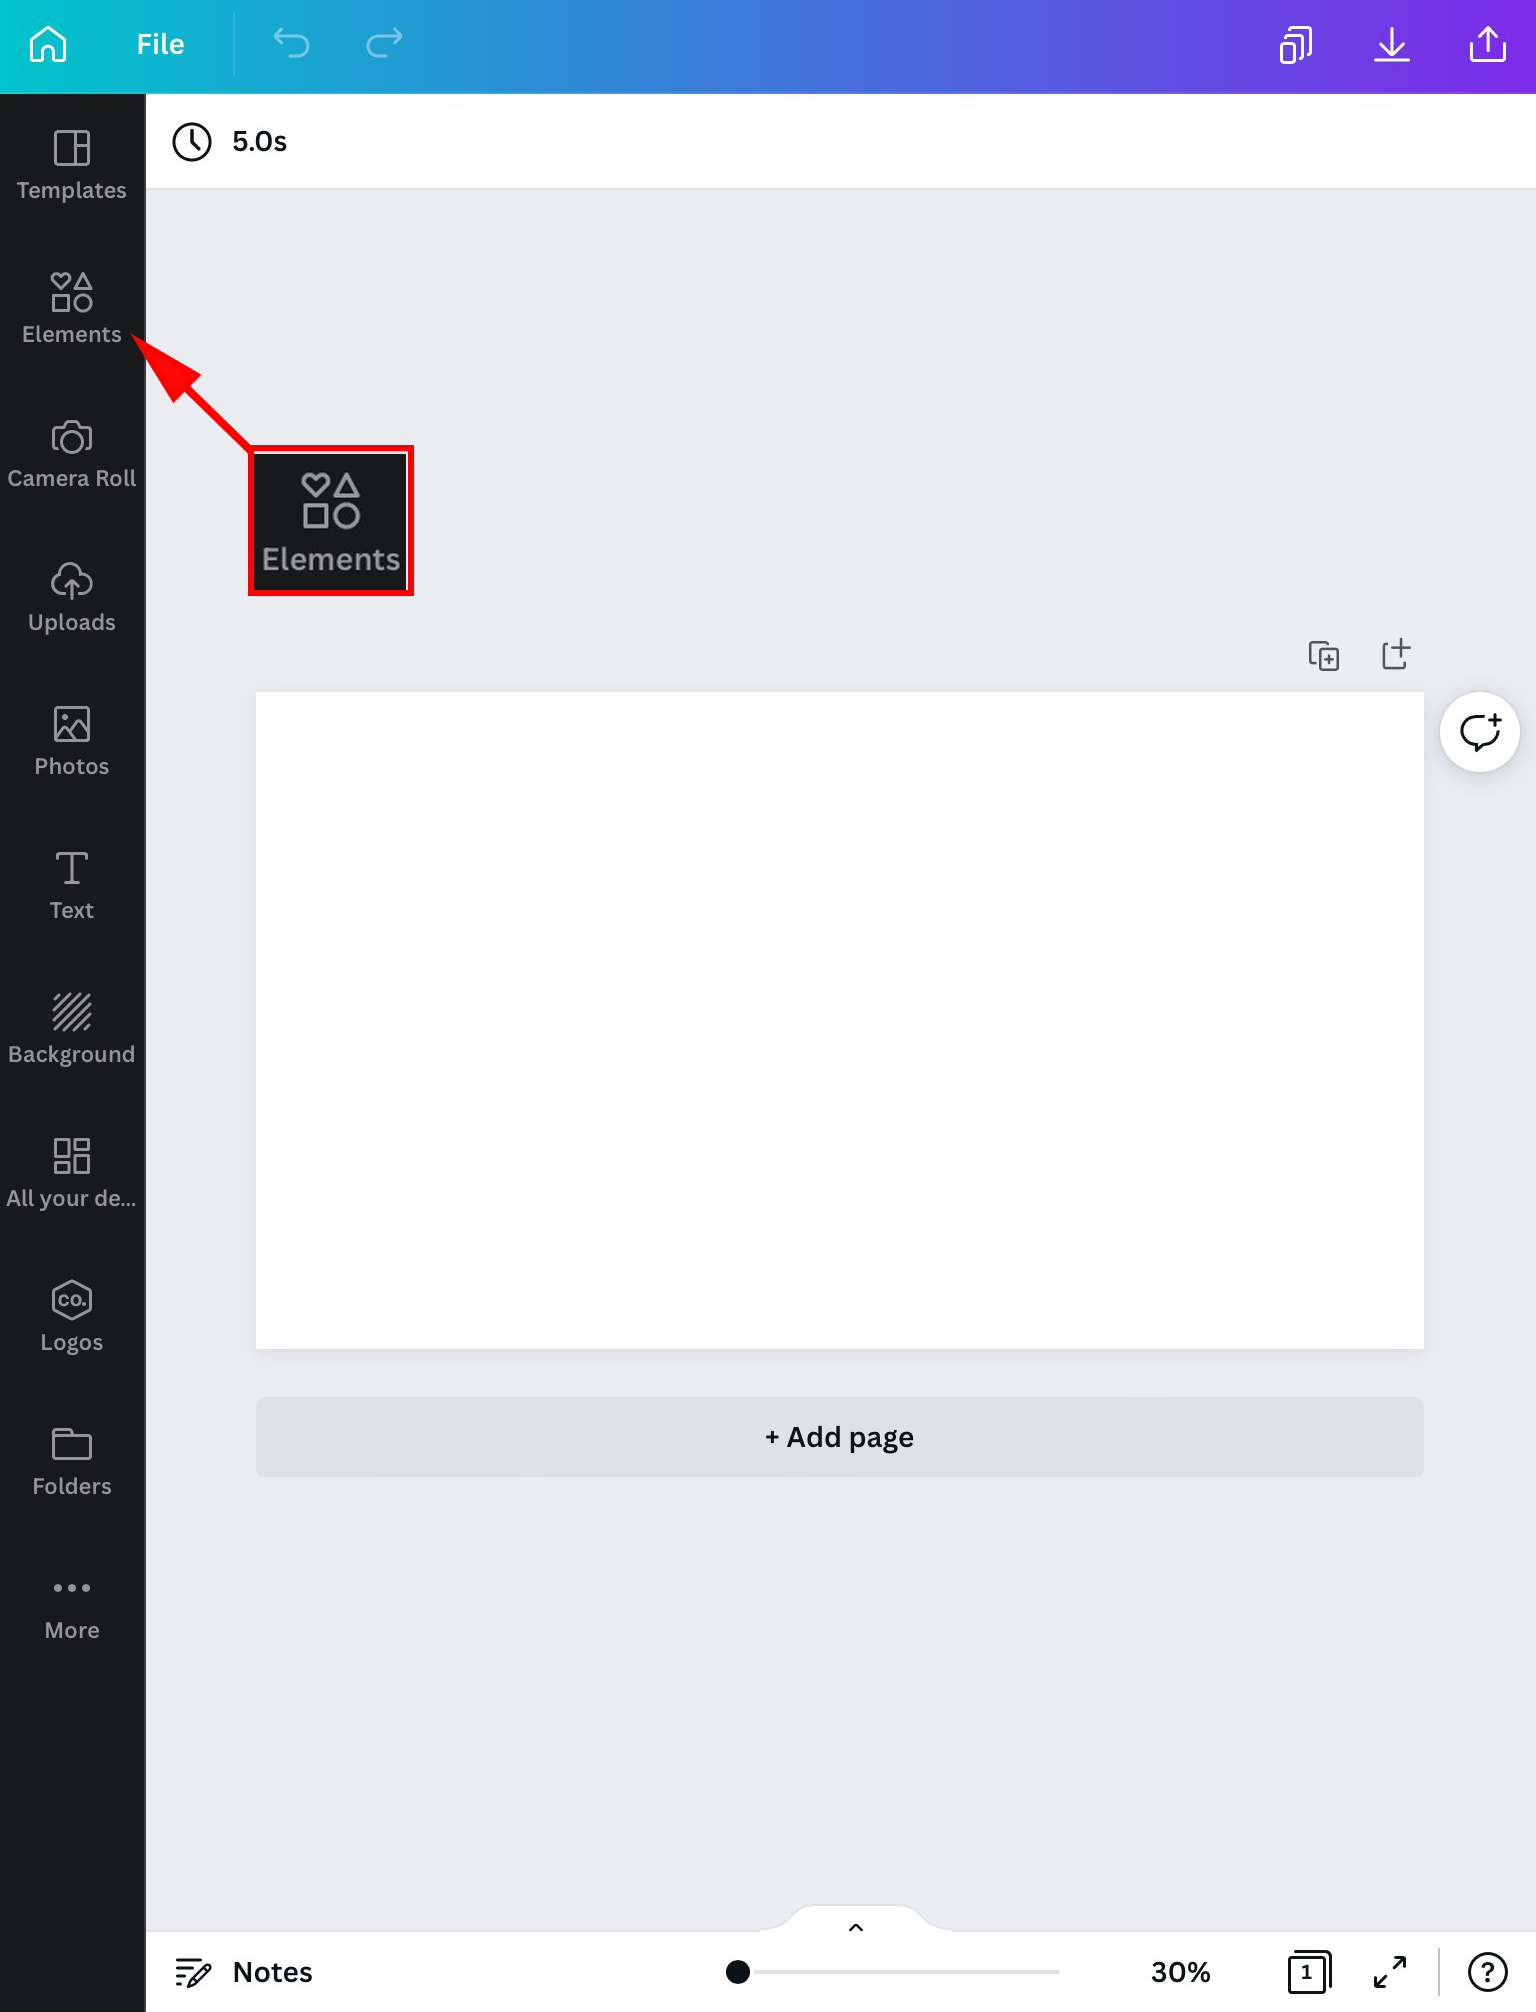
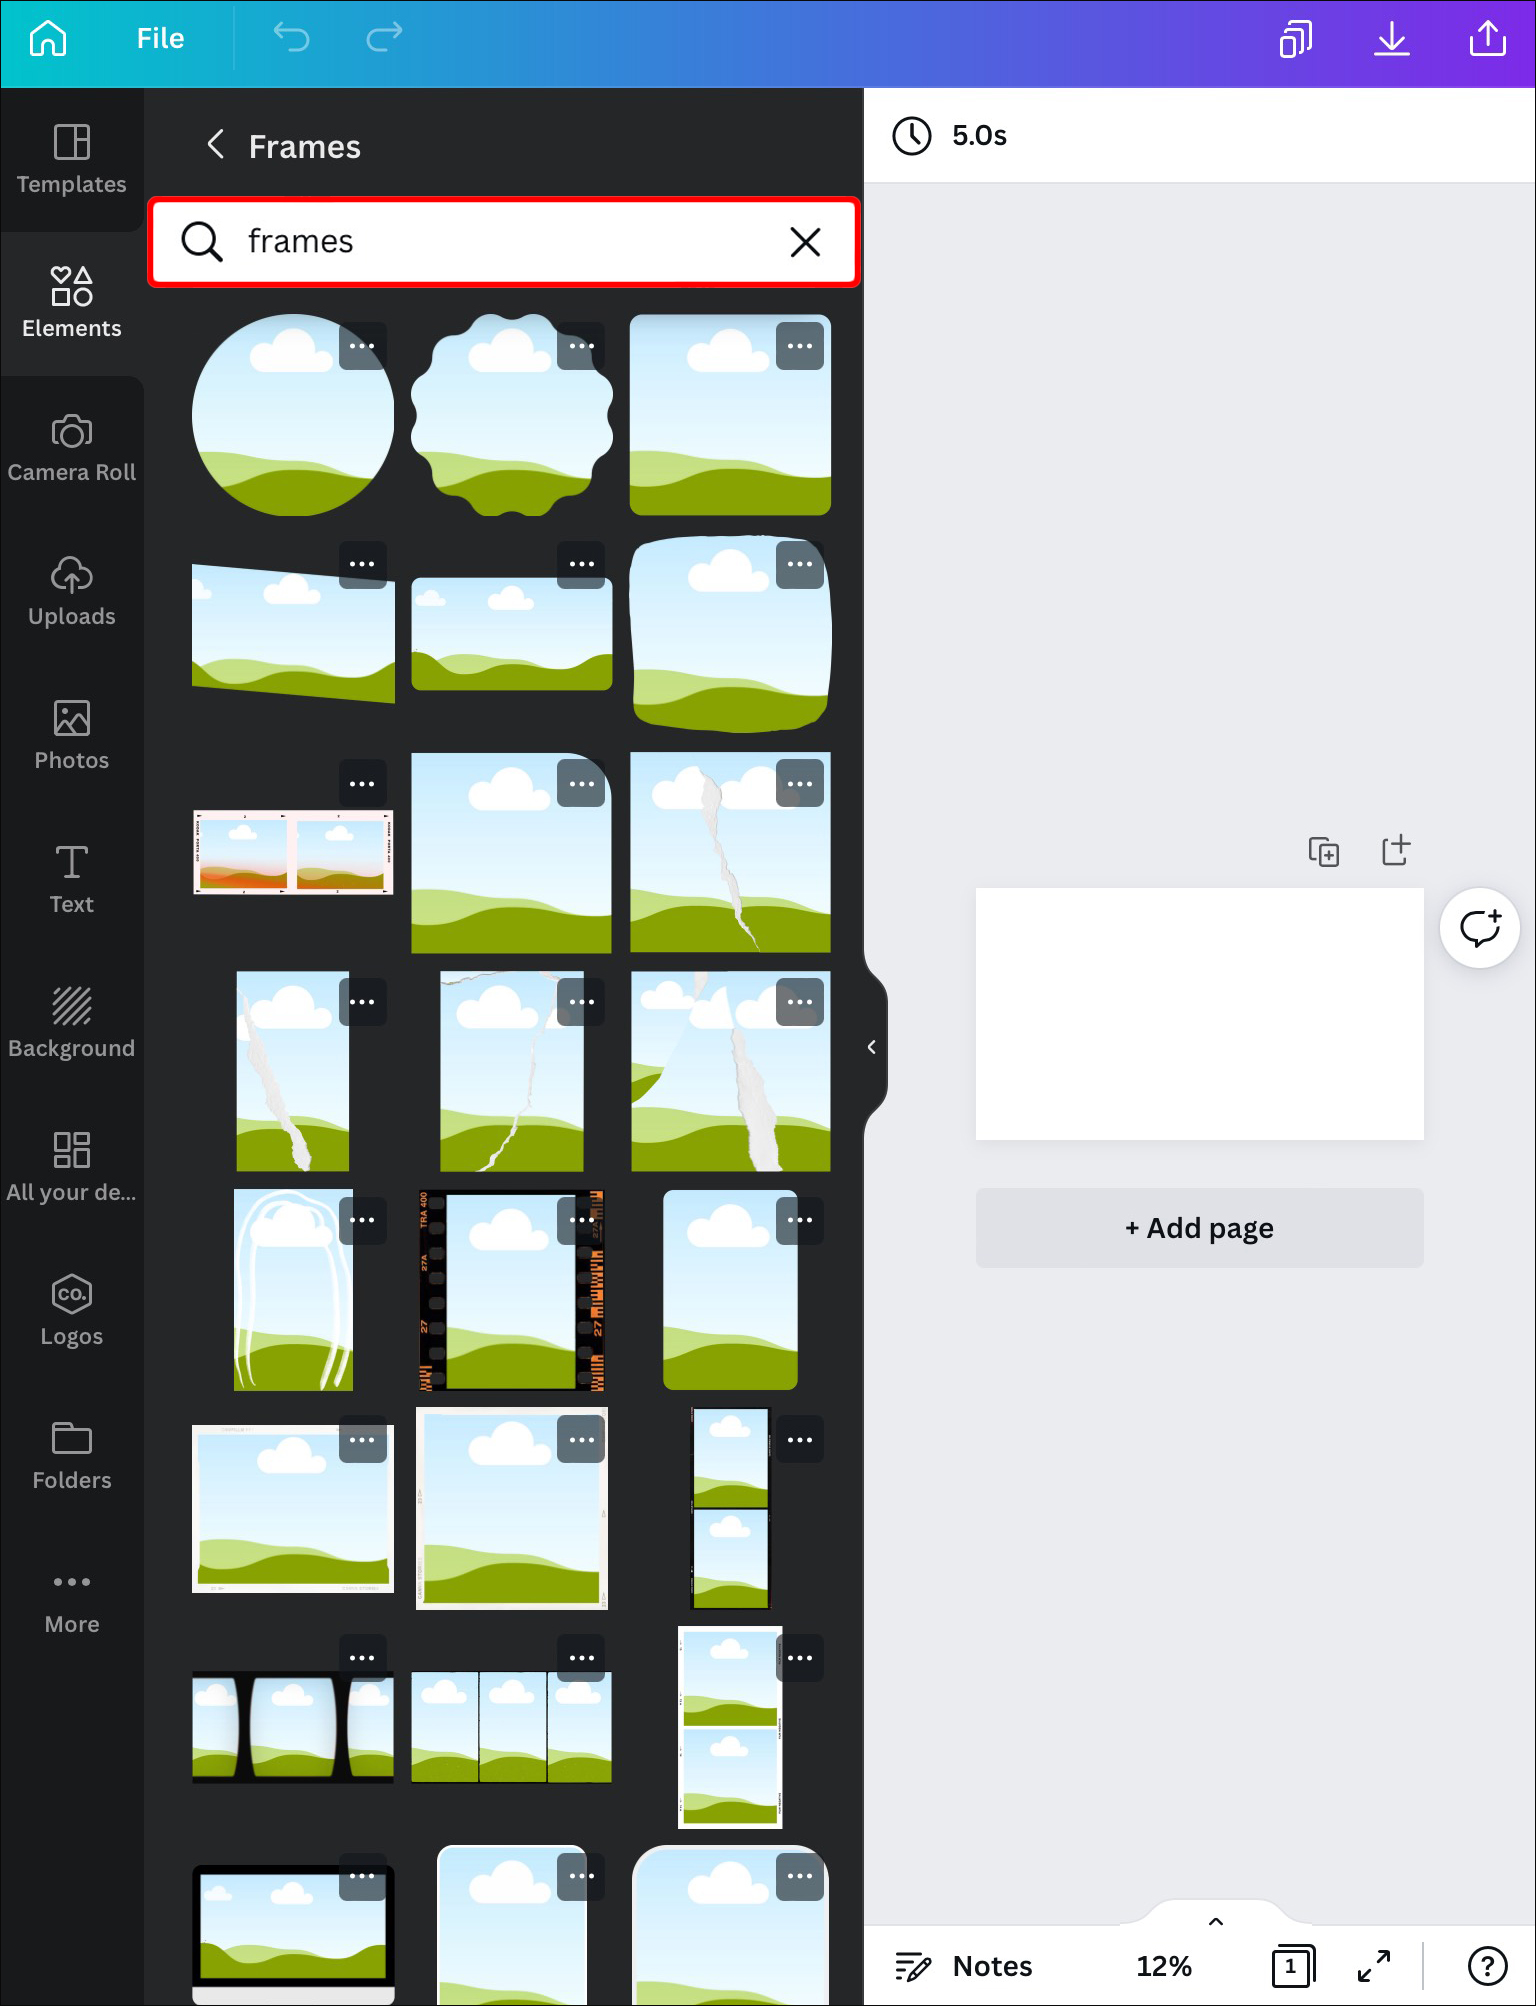
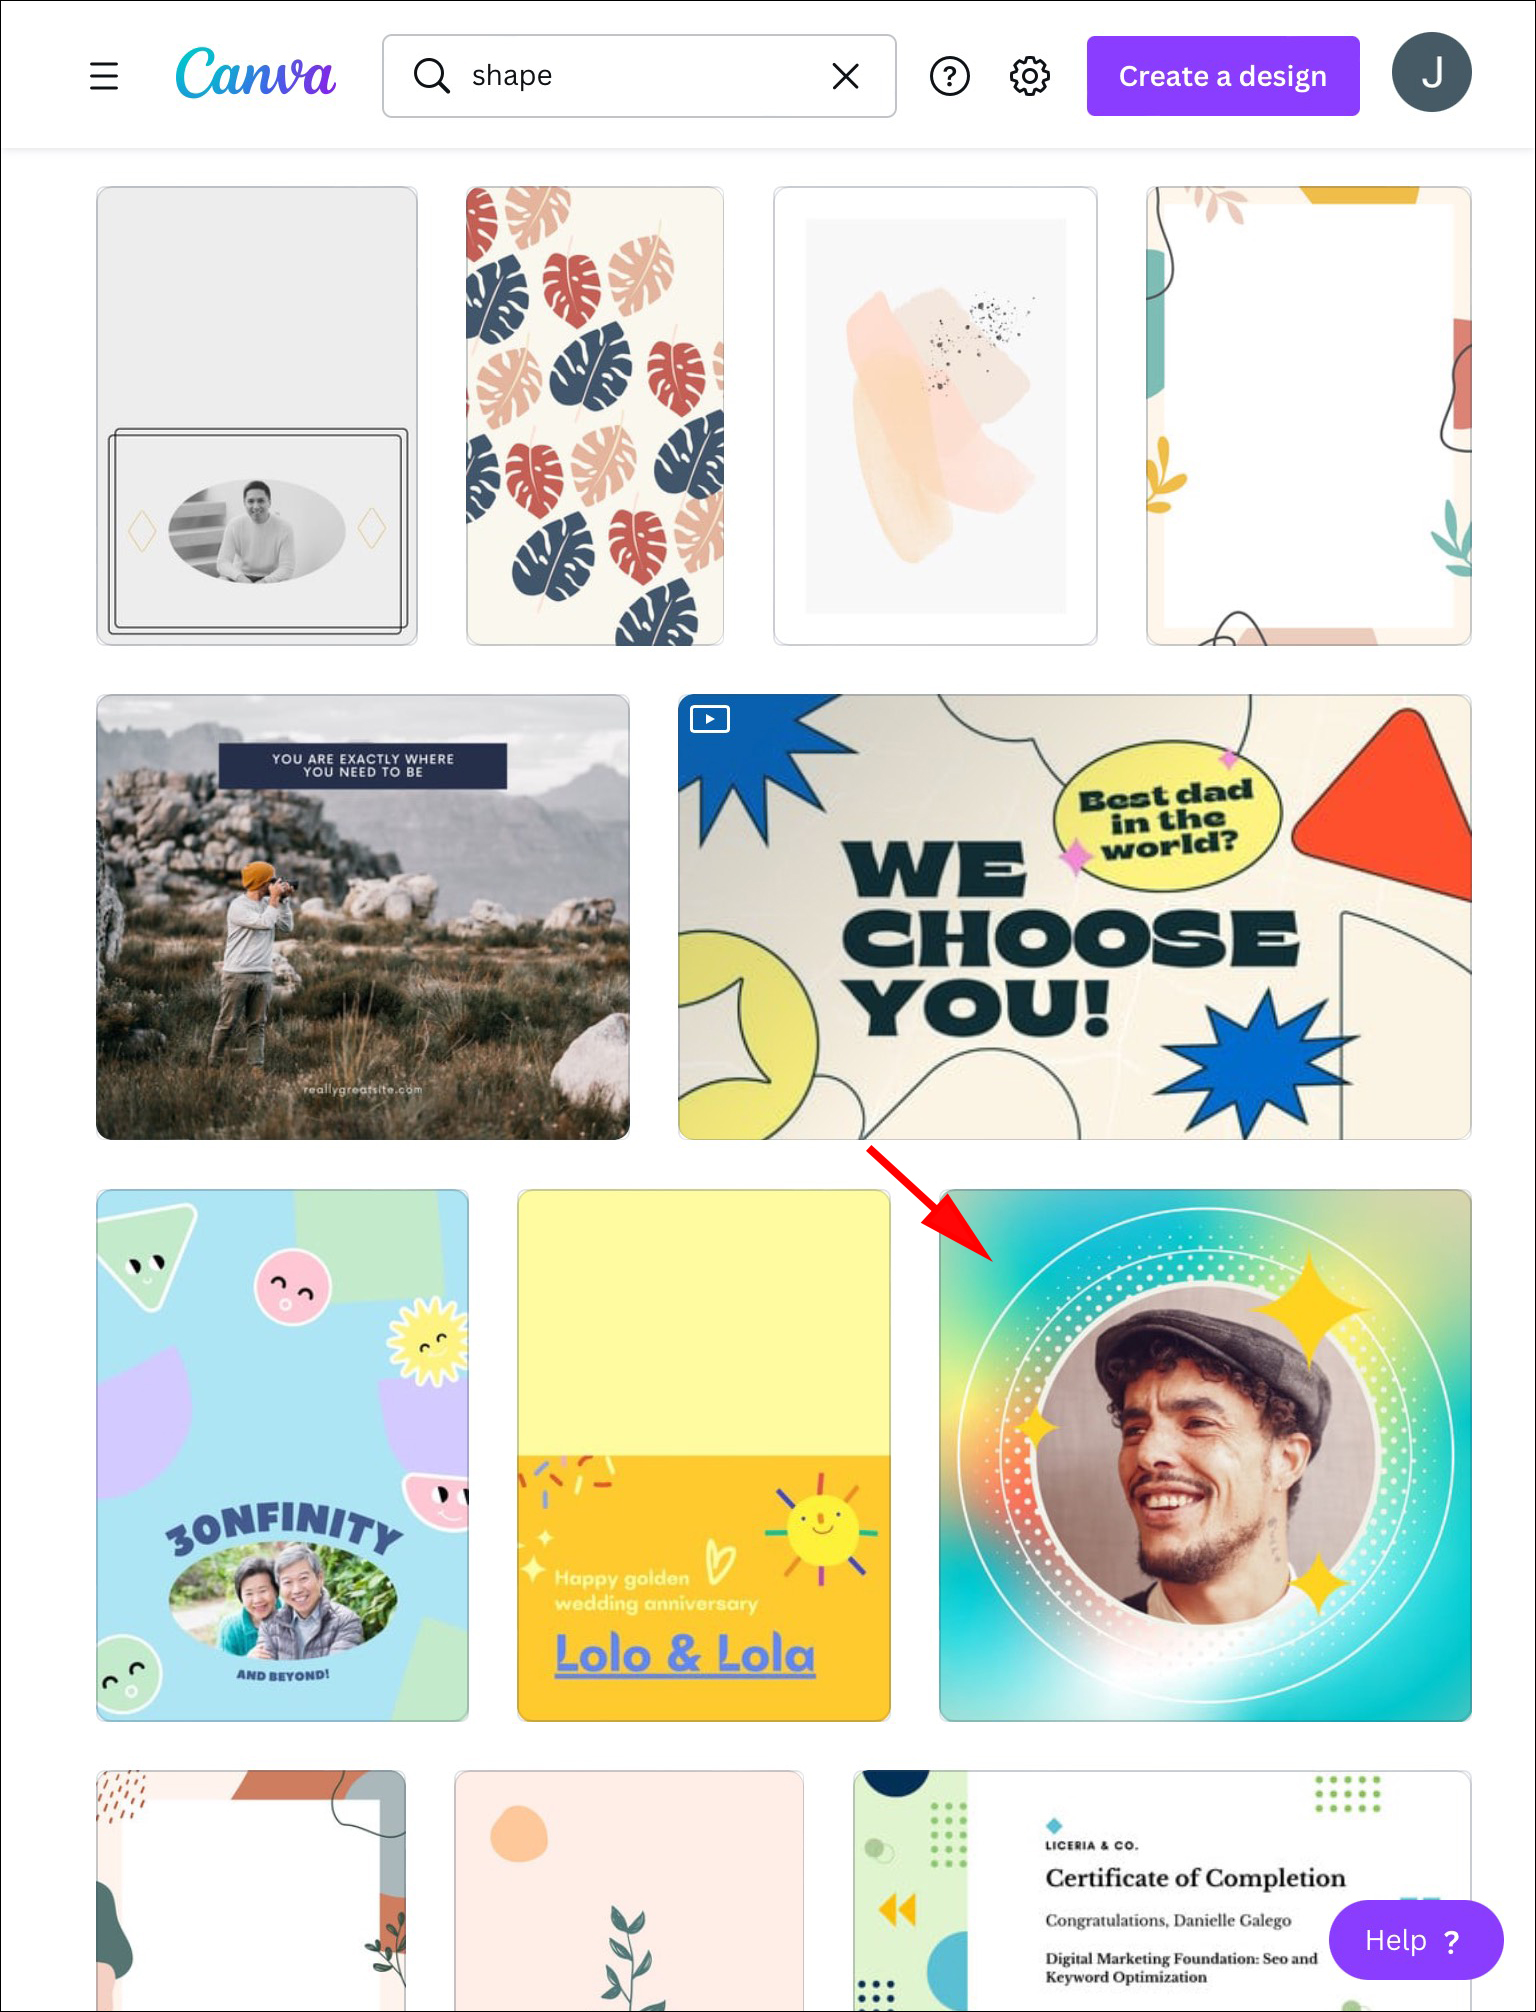
- Navigate to the “Elements” section.
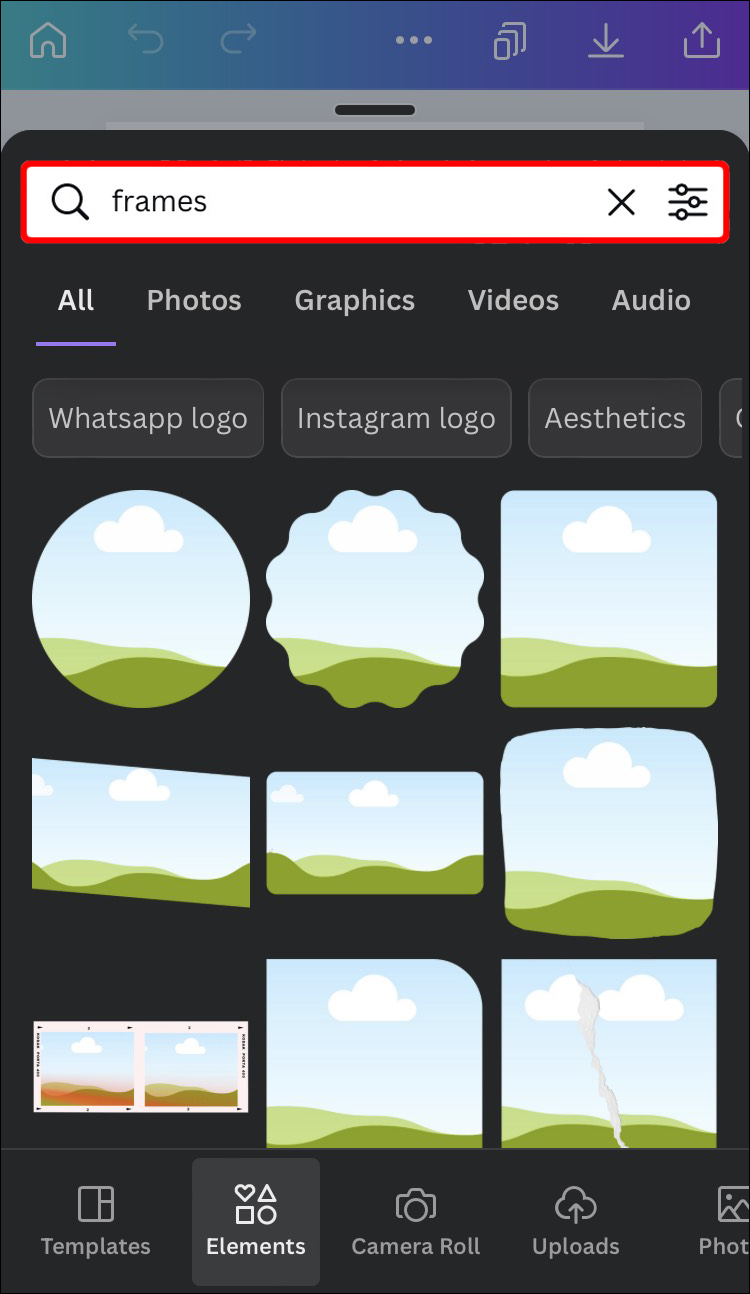
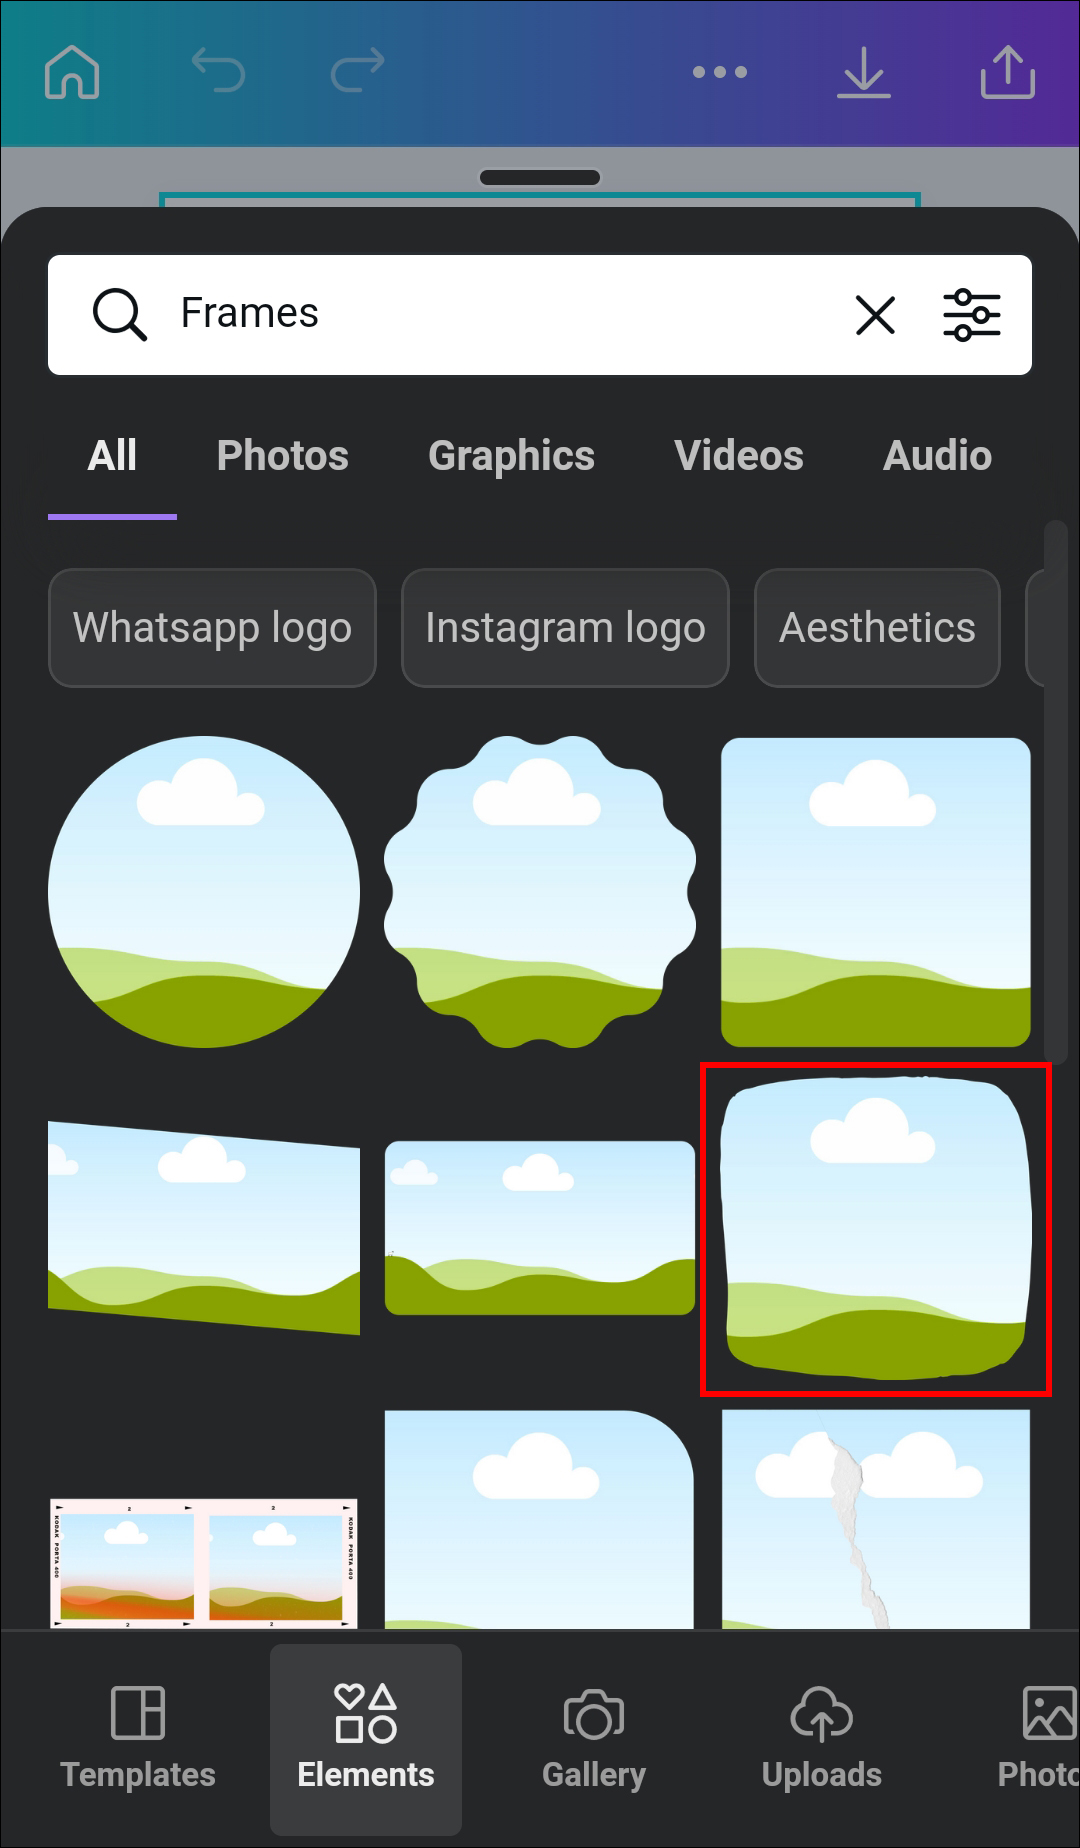
- Pick a shape in the “Frames” part. You can expand your options by pressing “See all.”
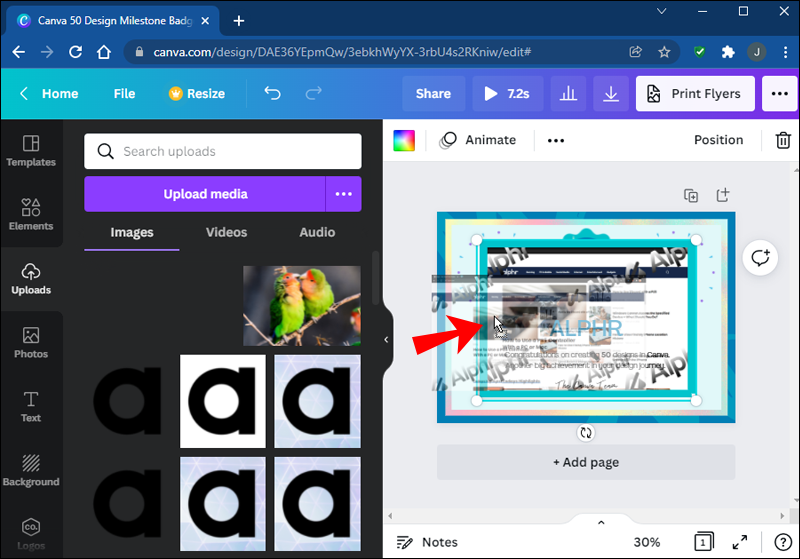
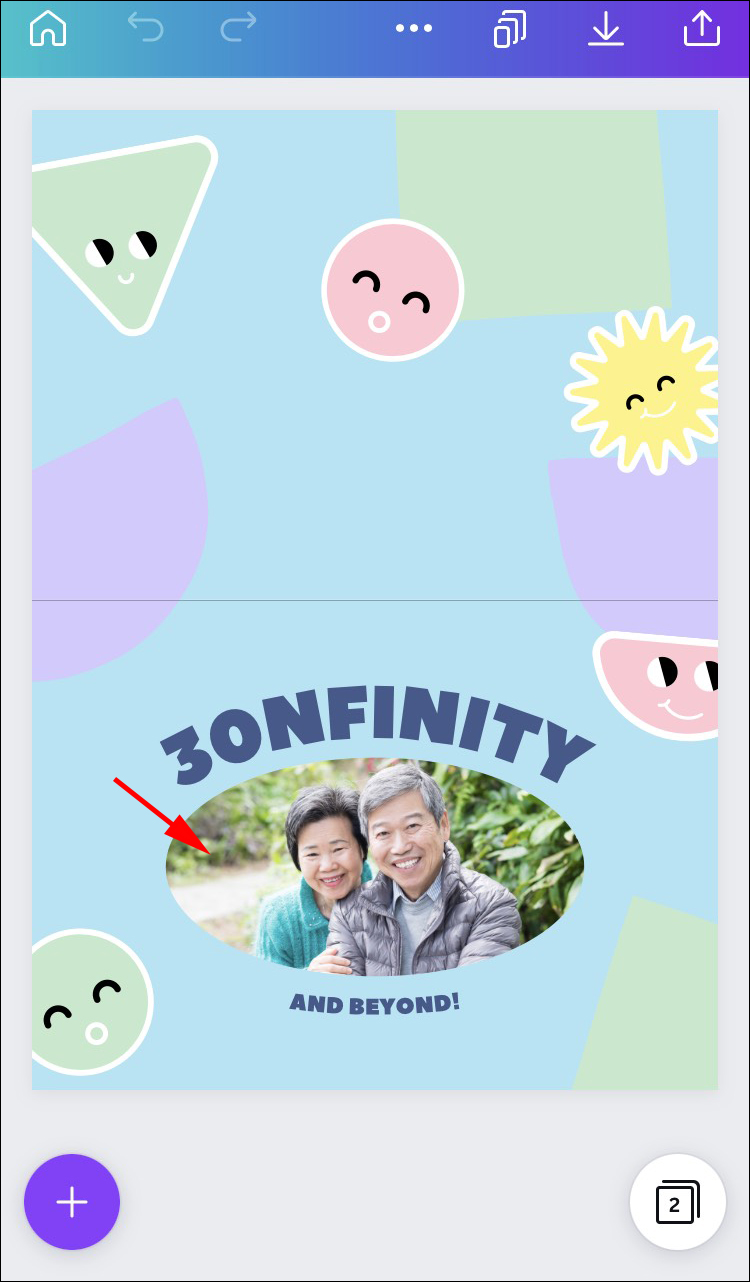
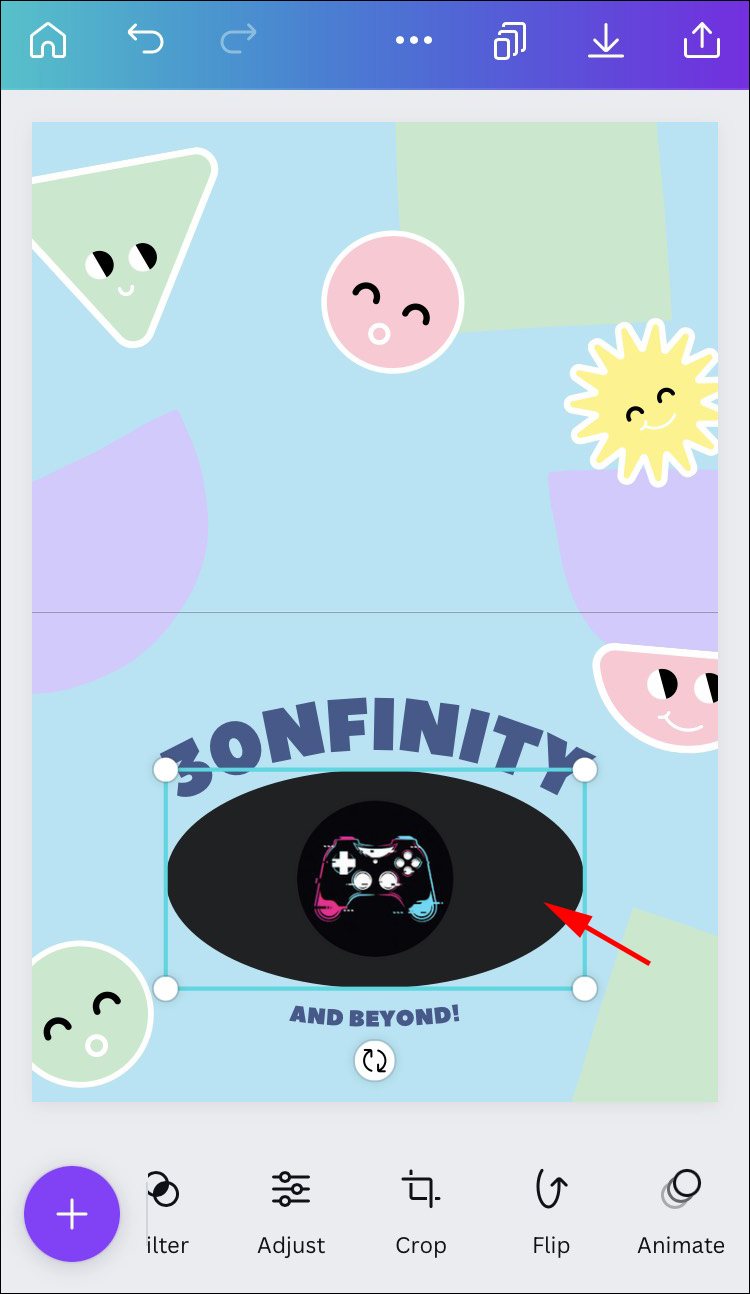
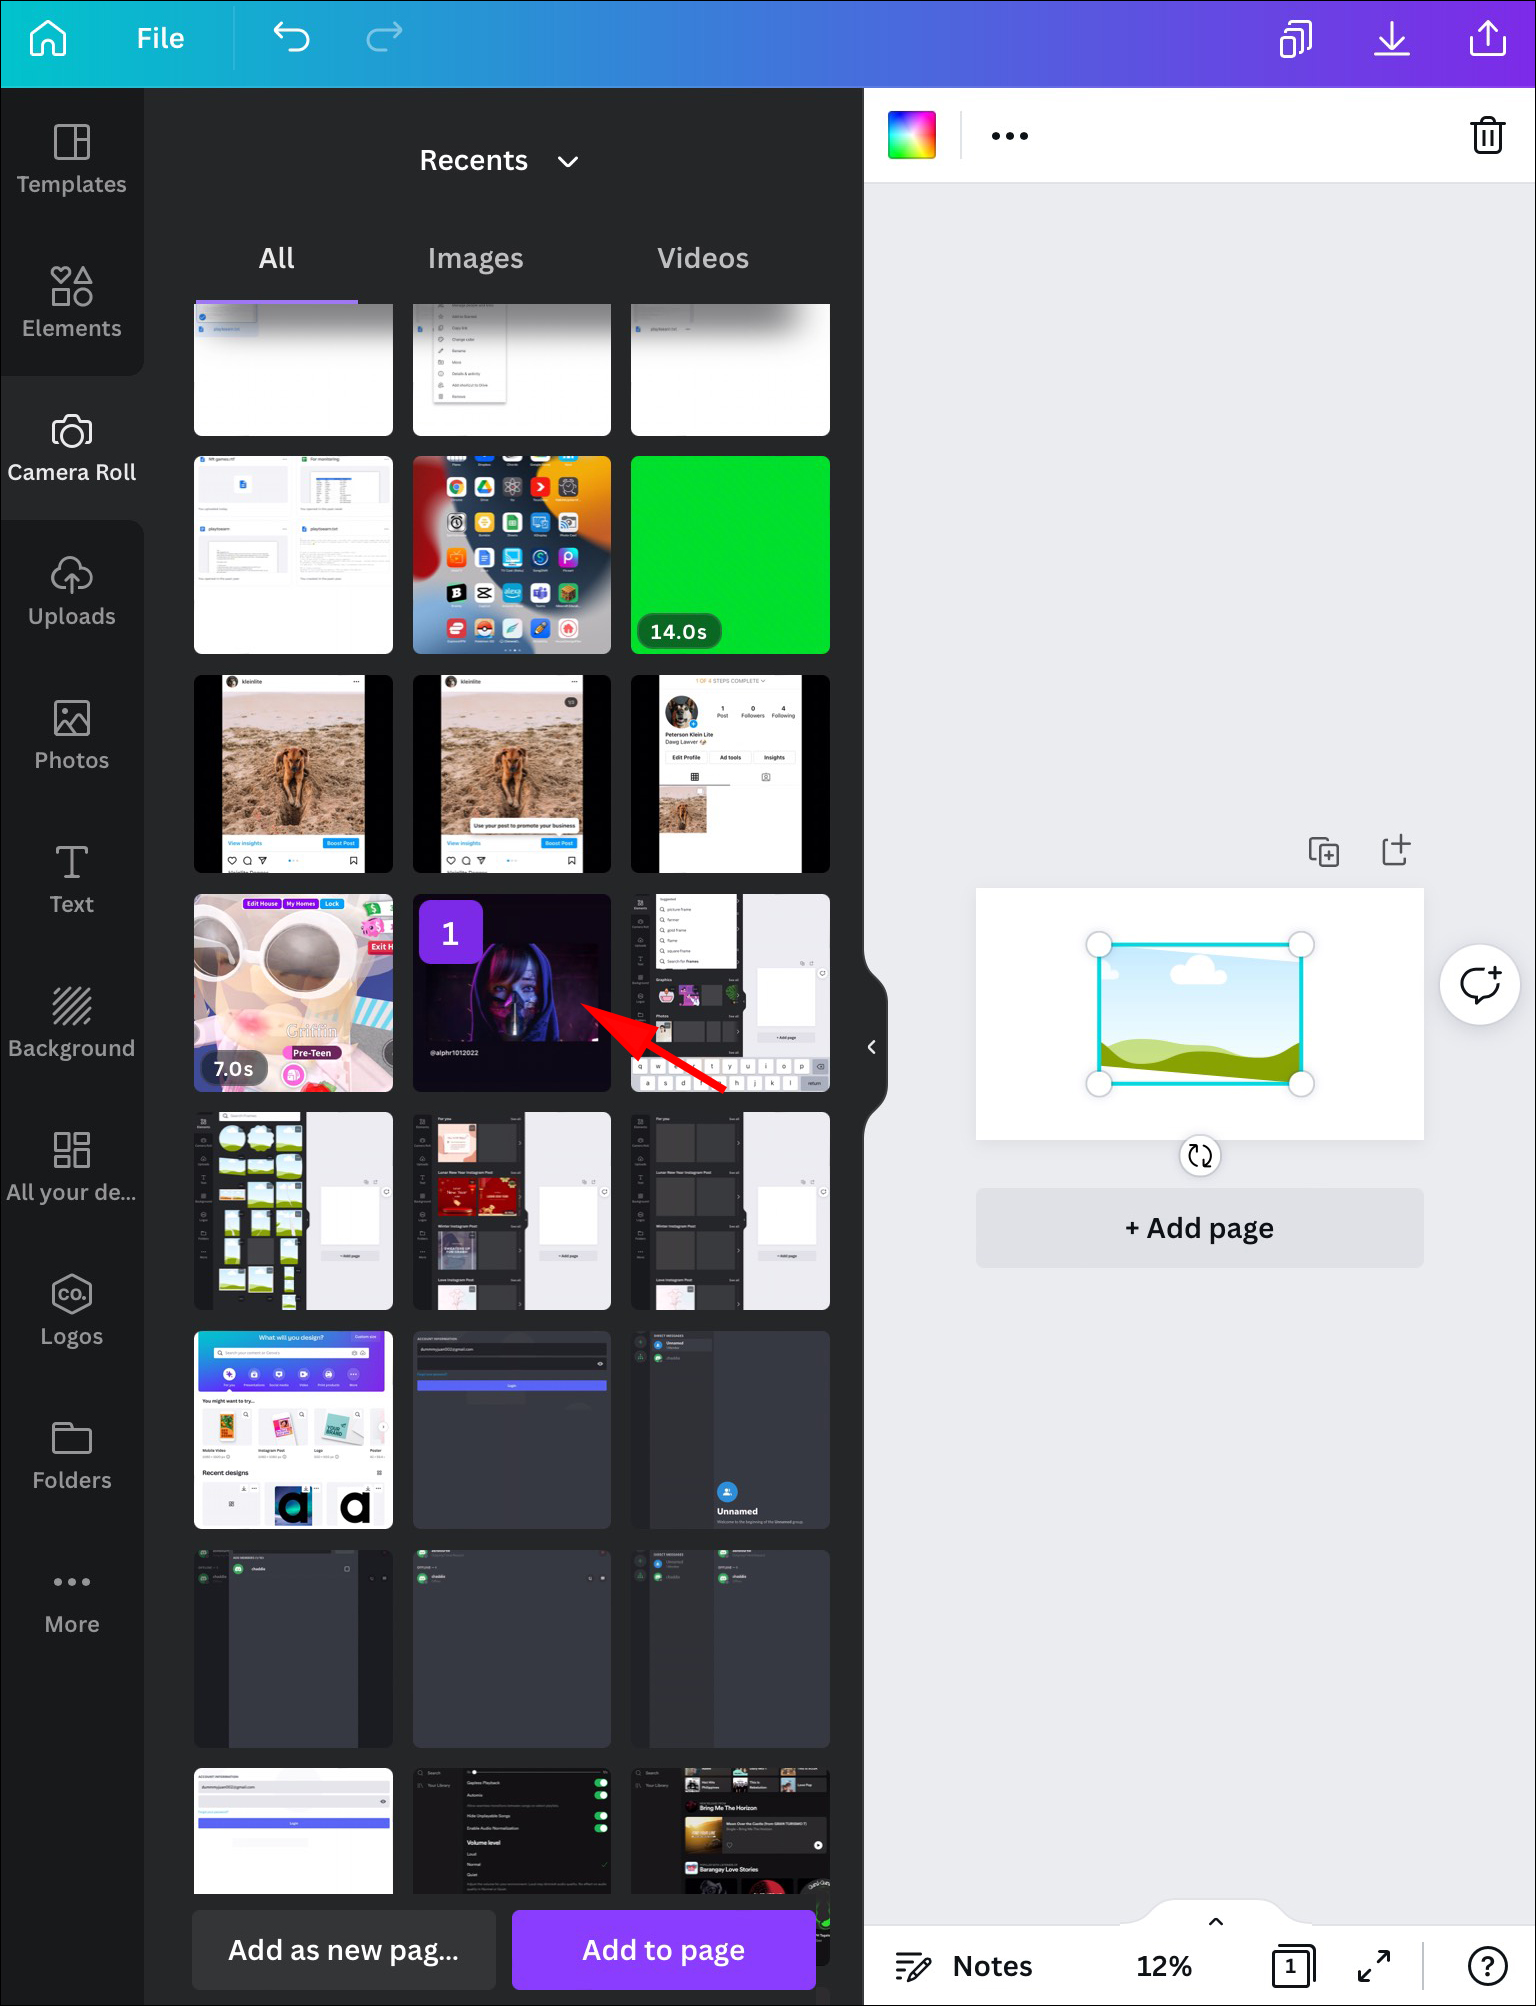
- Once you click on a shape, it will appear on the template. Drag the image you wish (the one you previously cropped) over the shape. The image will occupy the shape automatically.
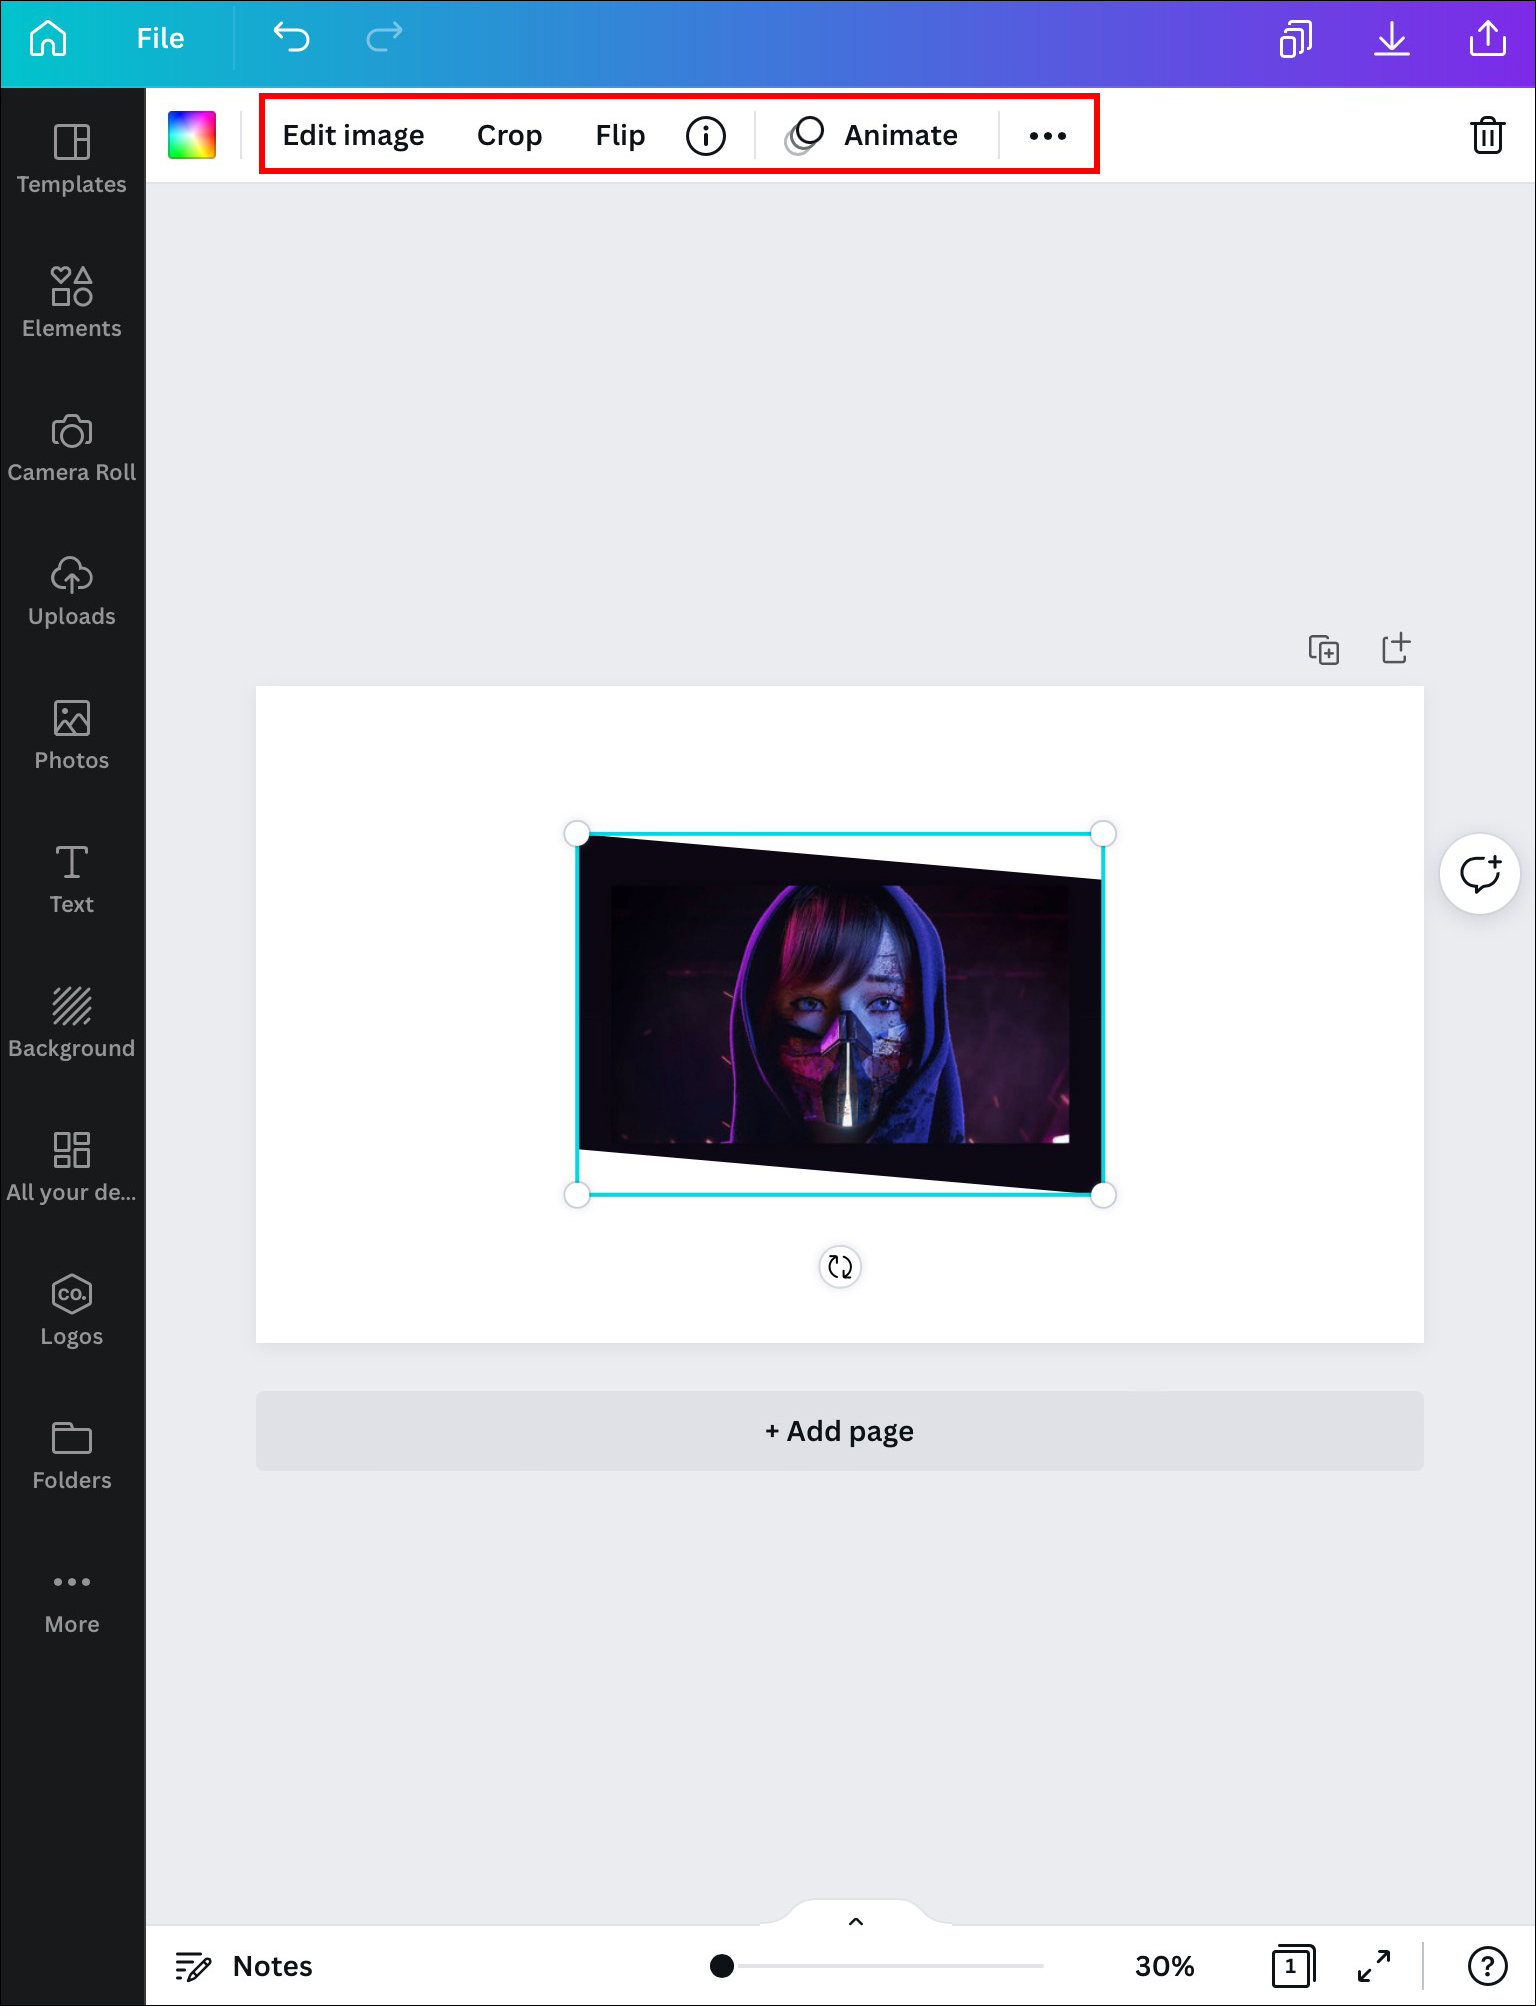
- Adjust the size of the shape by using the round corners.
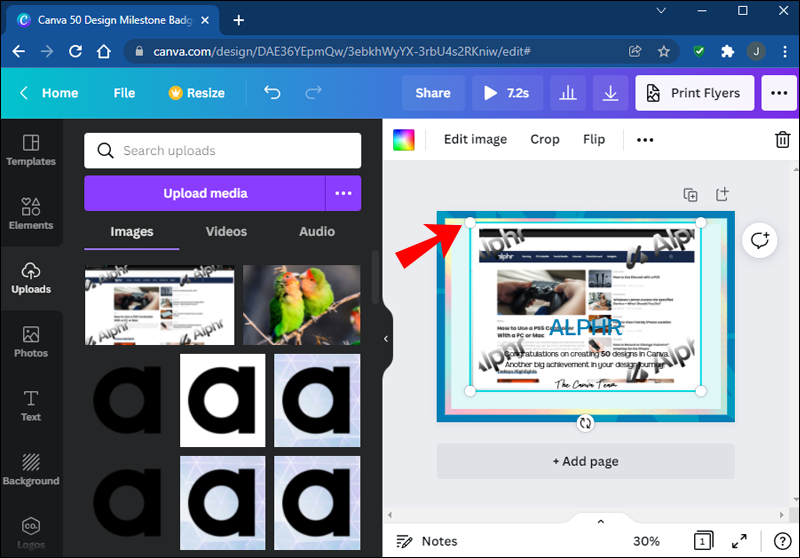
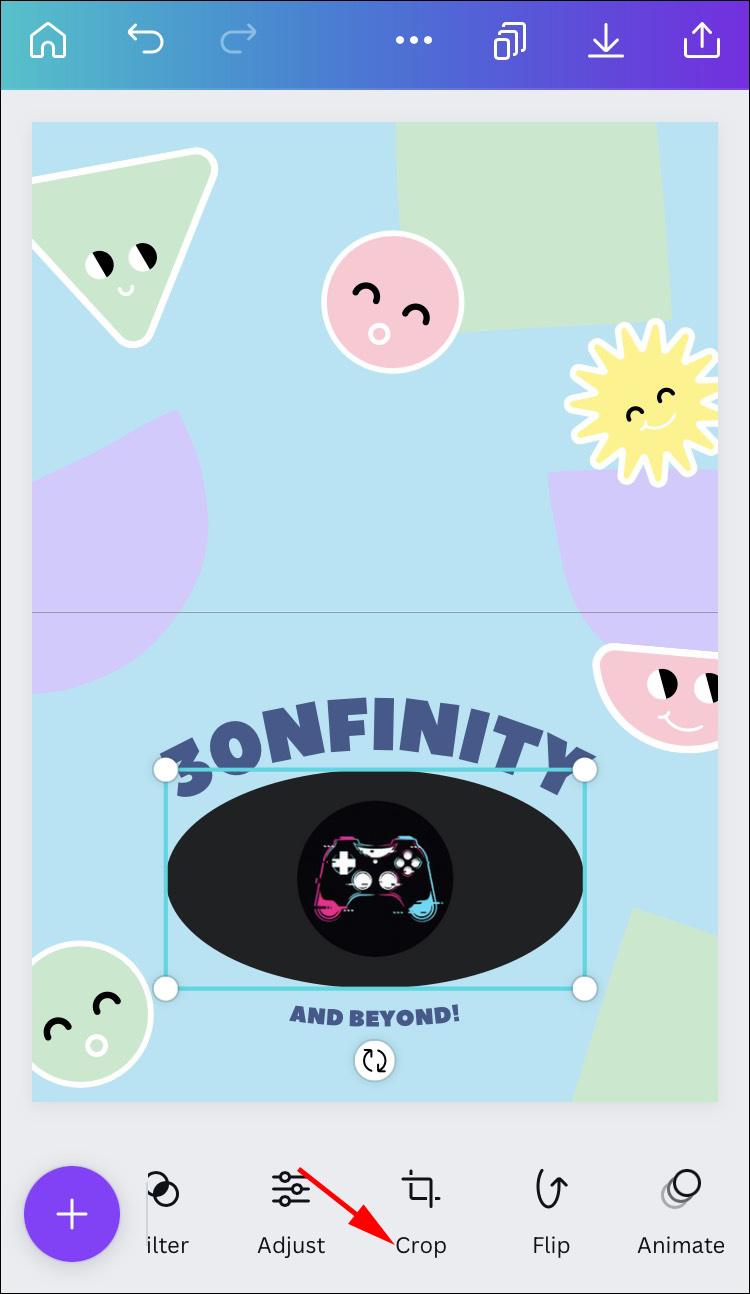
- Crop the image by double-clicking on the shape. Use the white corners again to crop.
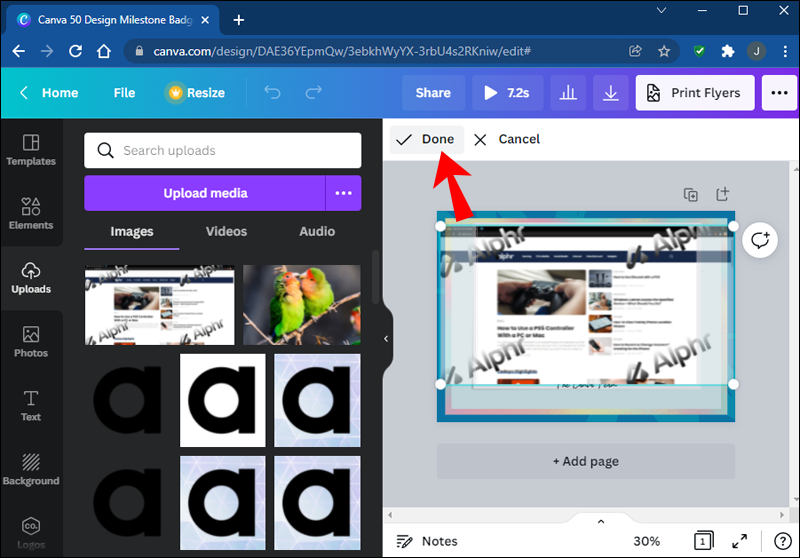
- Press “Done” when finished.


How to Fill a Shape With an Image in Canva on an iPhone
iPhone users have two options for filling a shape with an image in Canva: do the basic crop of the image to make it fit for the shape or start by inserting the shape right away. We’ll provide the steps for both methods.
Cropping an Image
To crop a picture on your iPhone, follow the steps below:
- Launch Canva and upload the image you wish to crop.
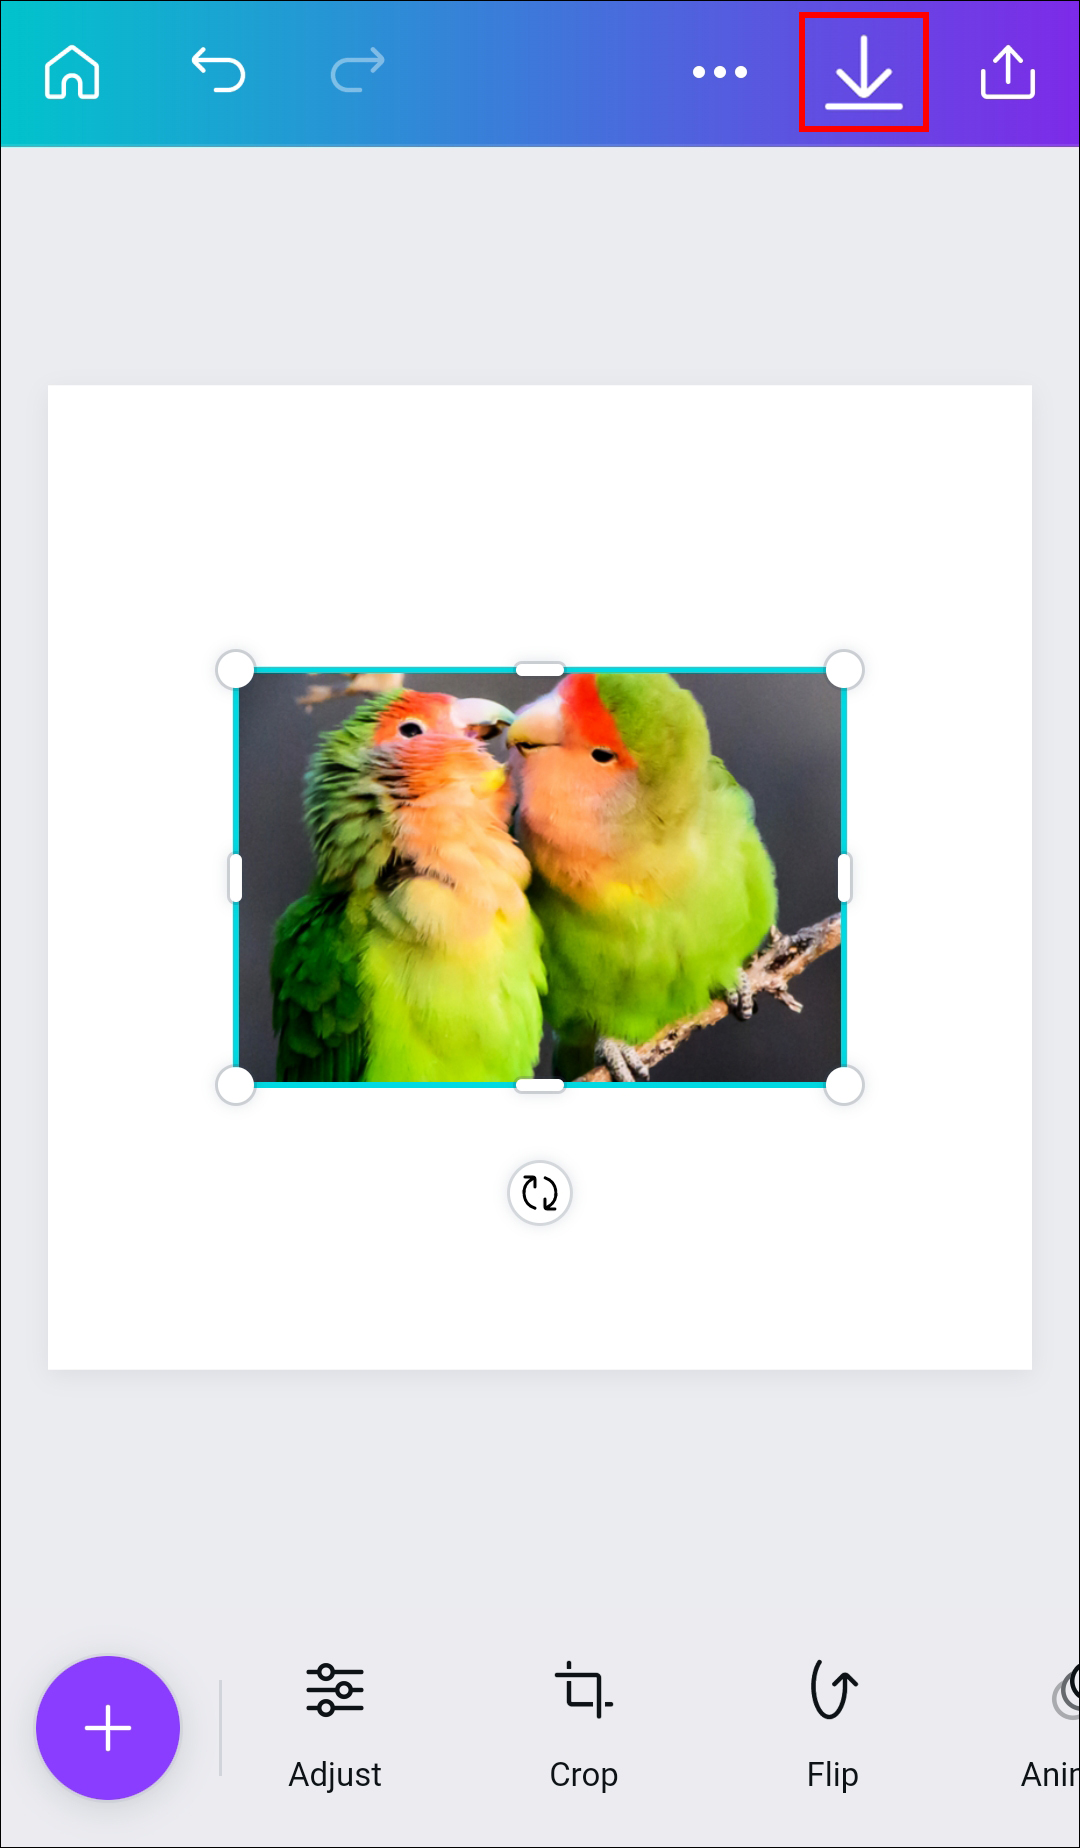
- Press the image and tap on the crop icon at the top of the screen.
- Use the pinch and zoom gestures to make changes.
- Hit the checkmark at the top to save your work.


Now you’re ready to use that image and fill a shape with it.
Filling the Shape With an Image in Canva
If you want to start from a new template, follow the steps below.
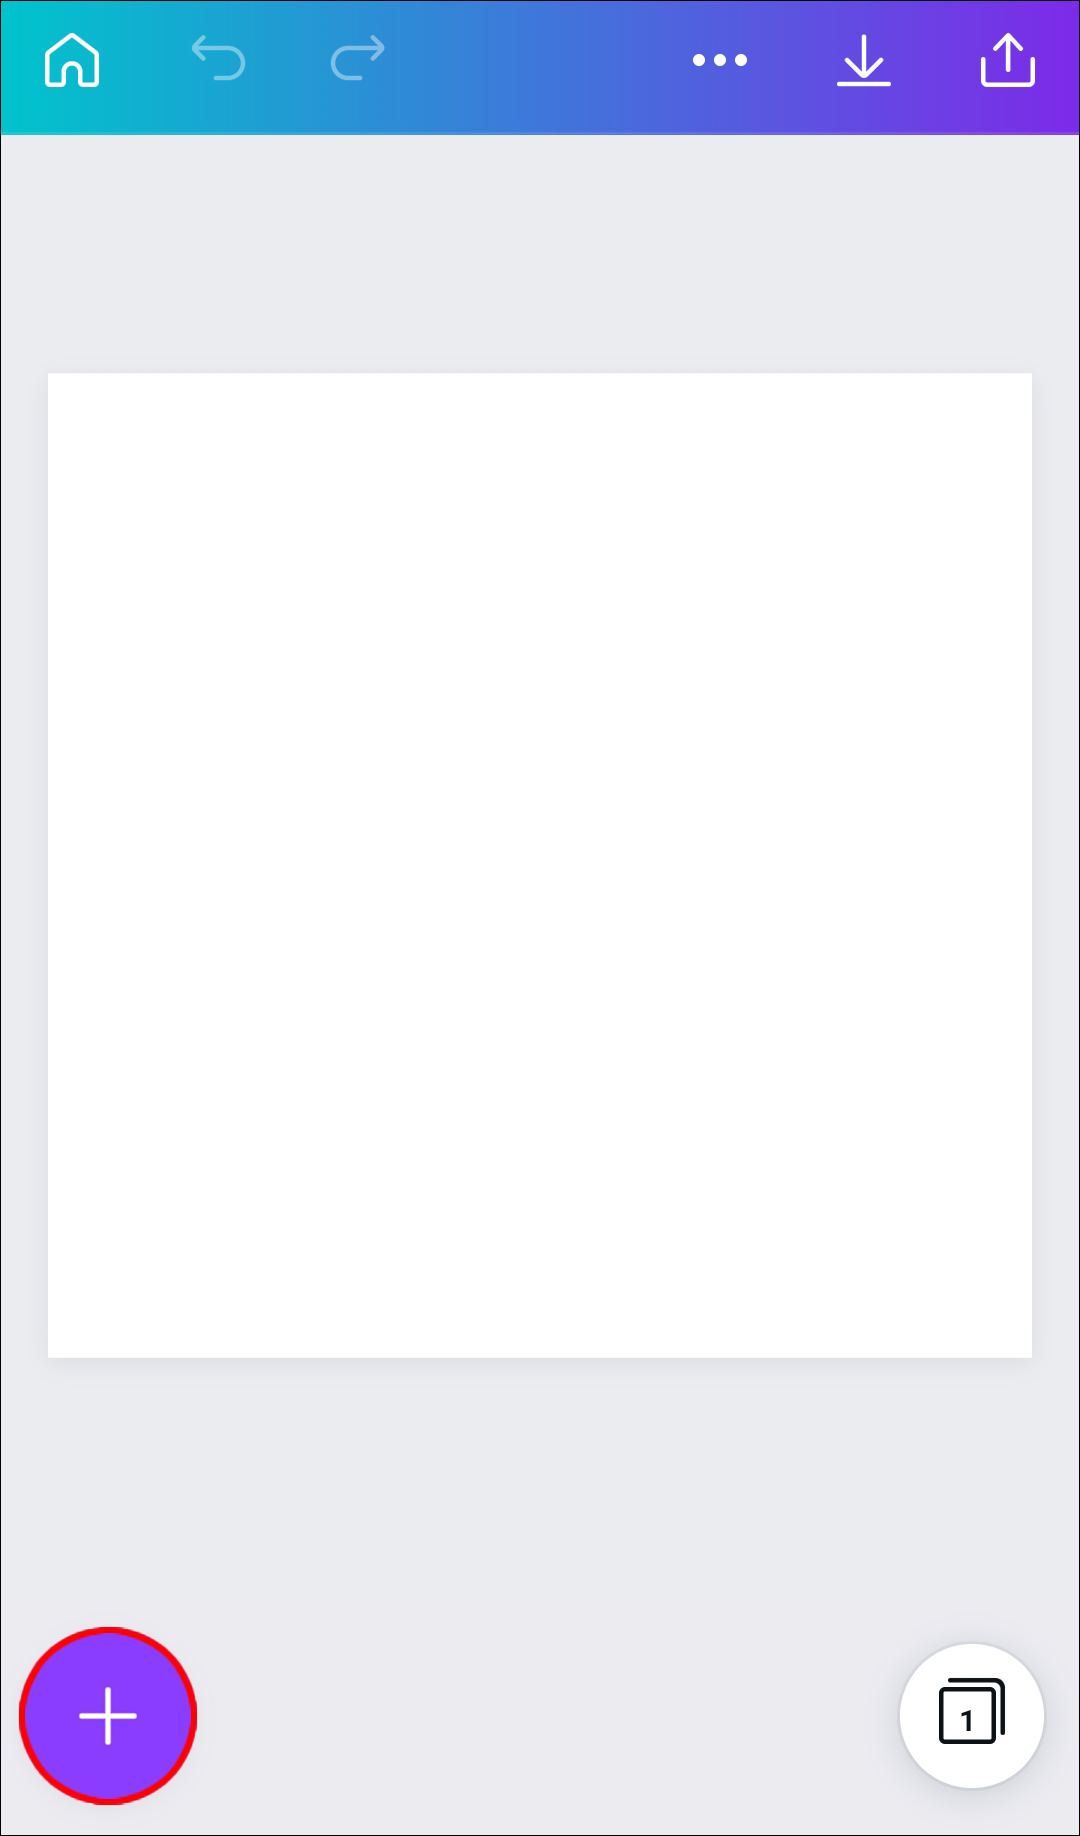
- Open a new template in Canva.
- Hit the “Add” icon from the bottom-right of the screen.
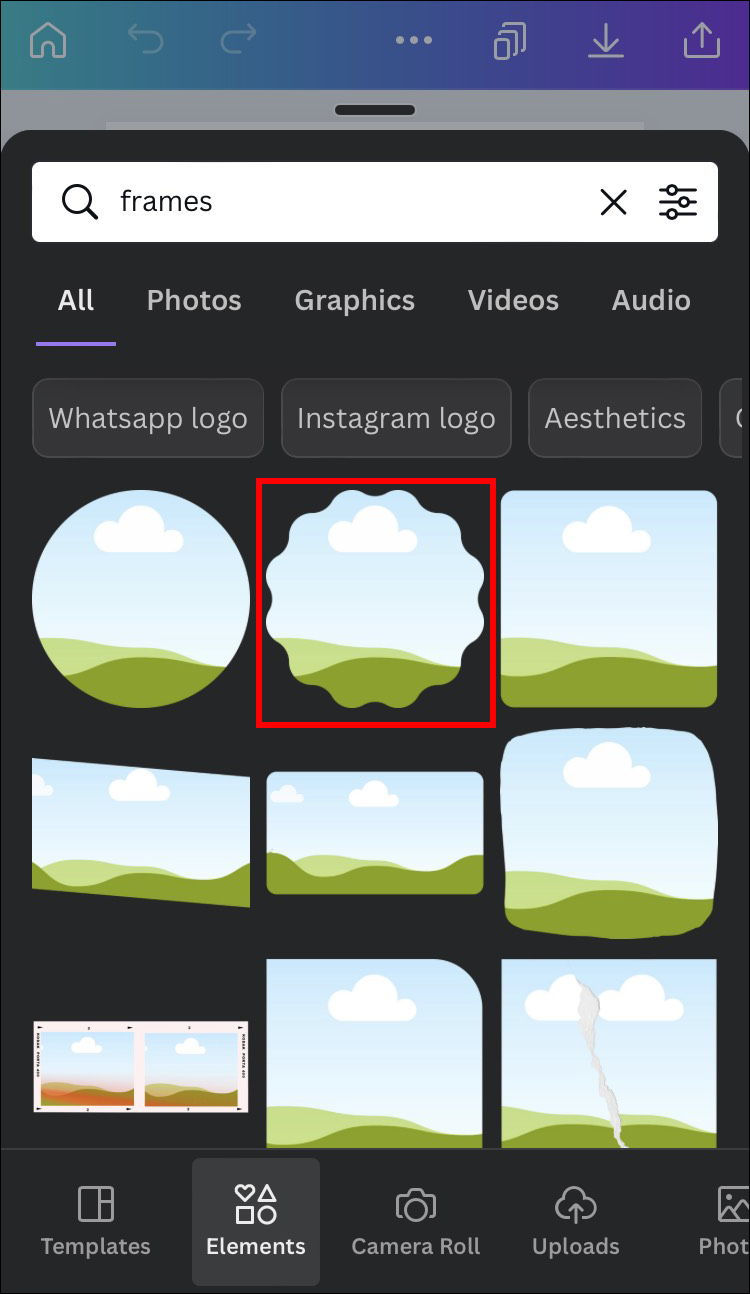
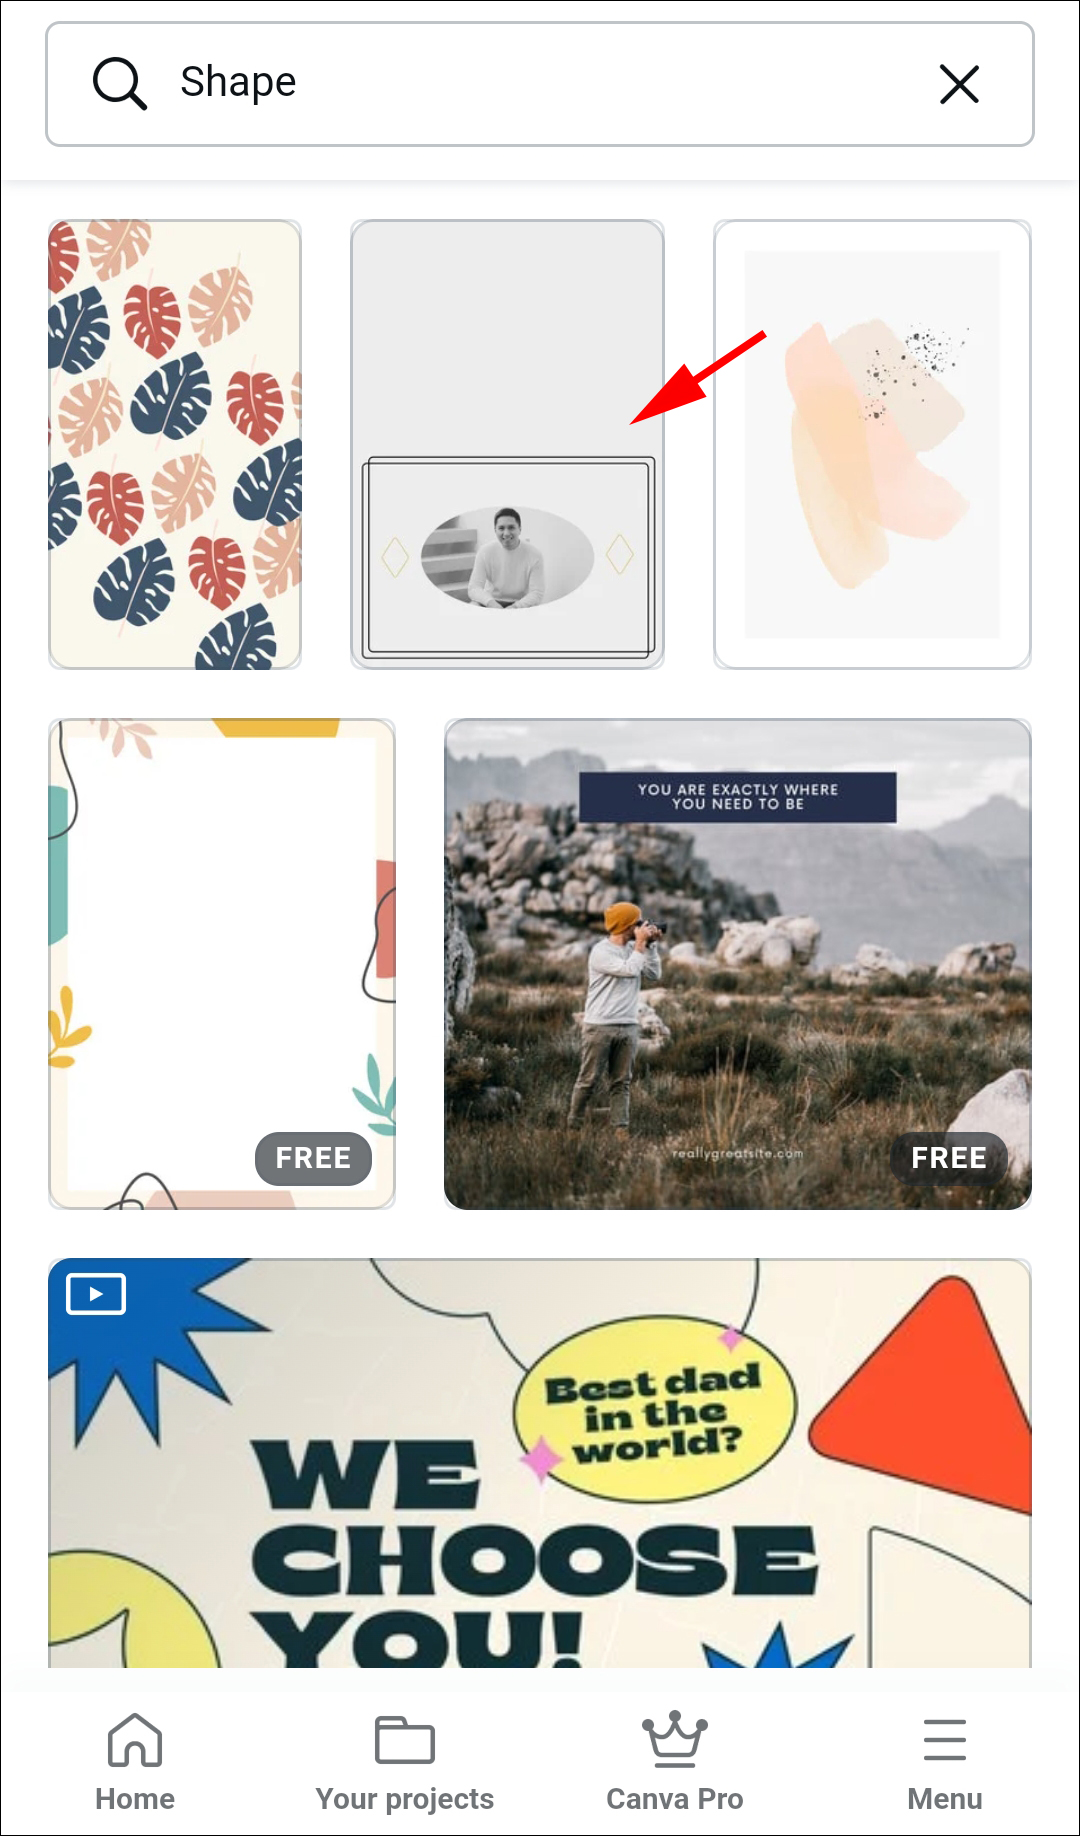
- Press the “Illustration” or “Shape” buttons to open the search bar. Enter “frames” in the search bar and hit enter.
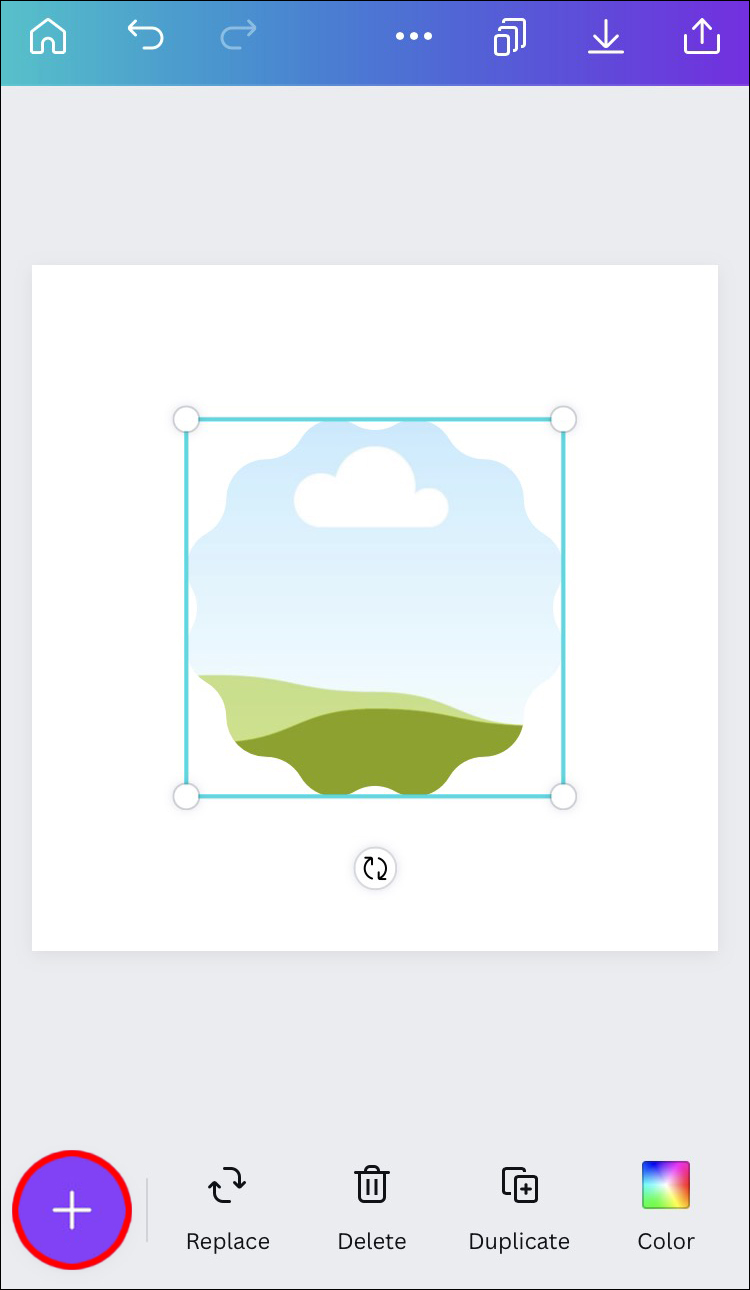
- Select the frame of your choice. It will automatically appear on the template.
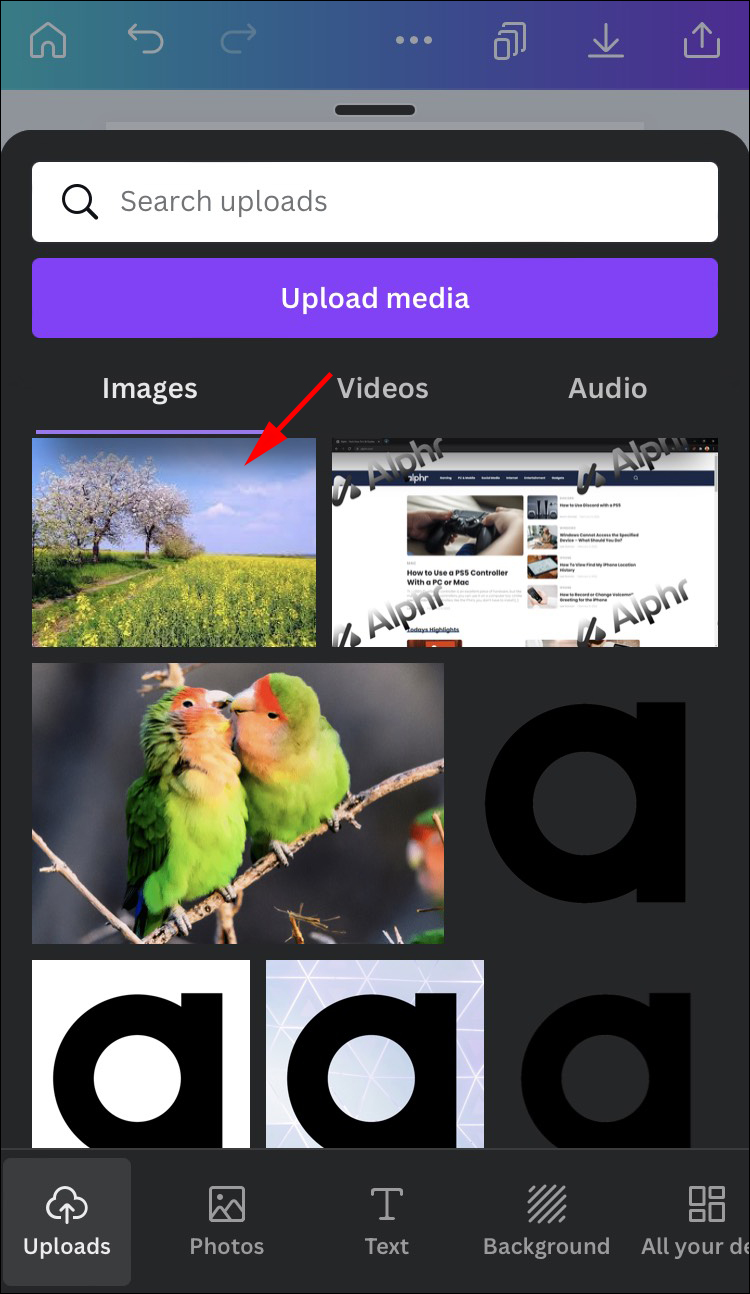
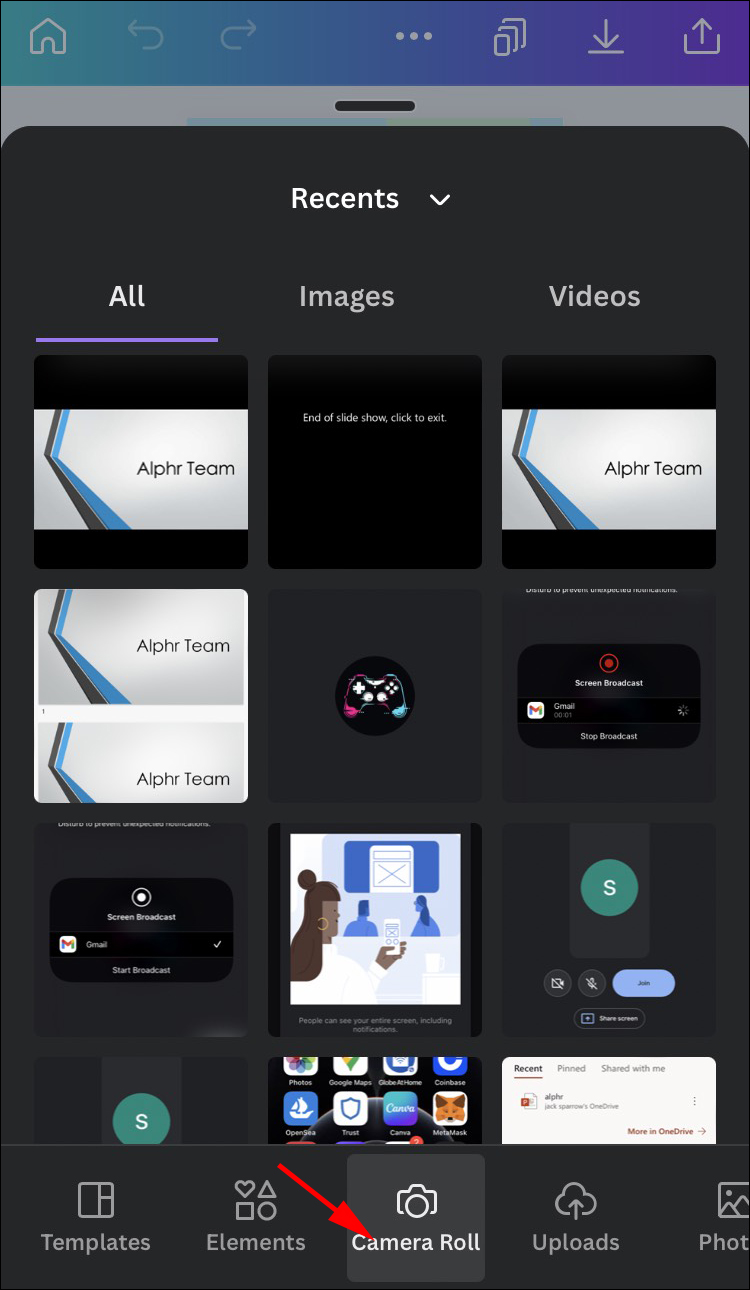
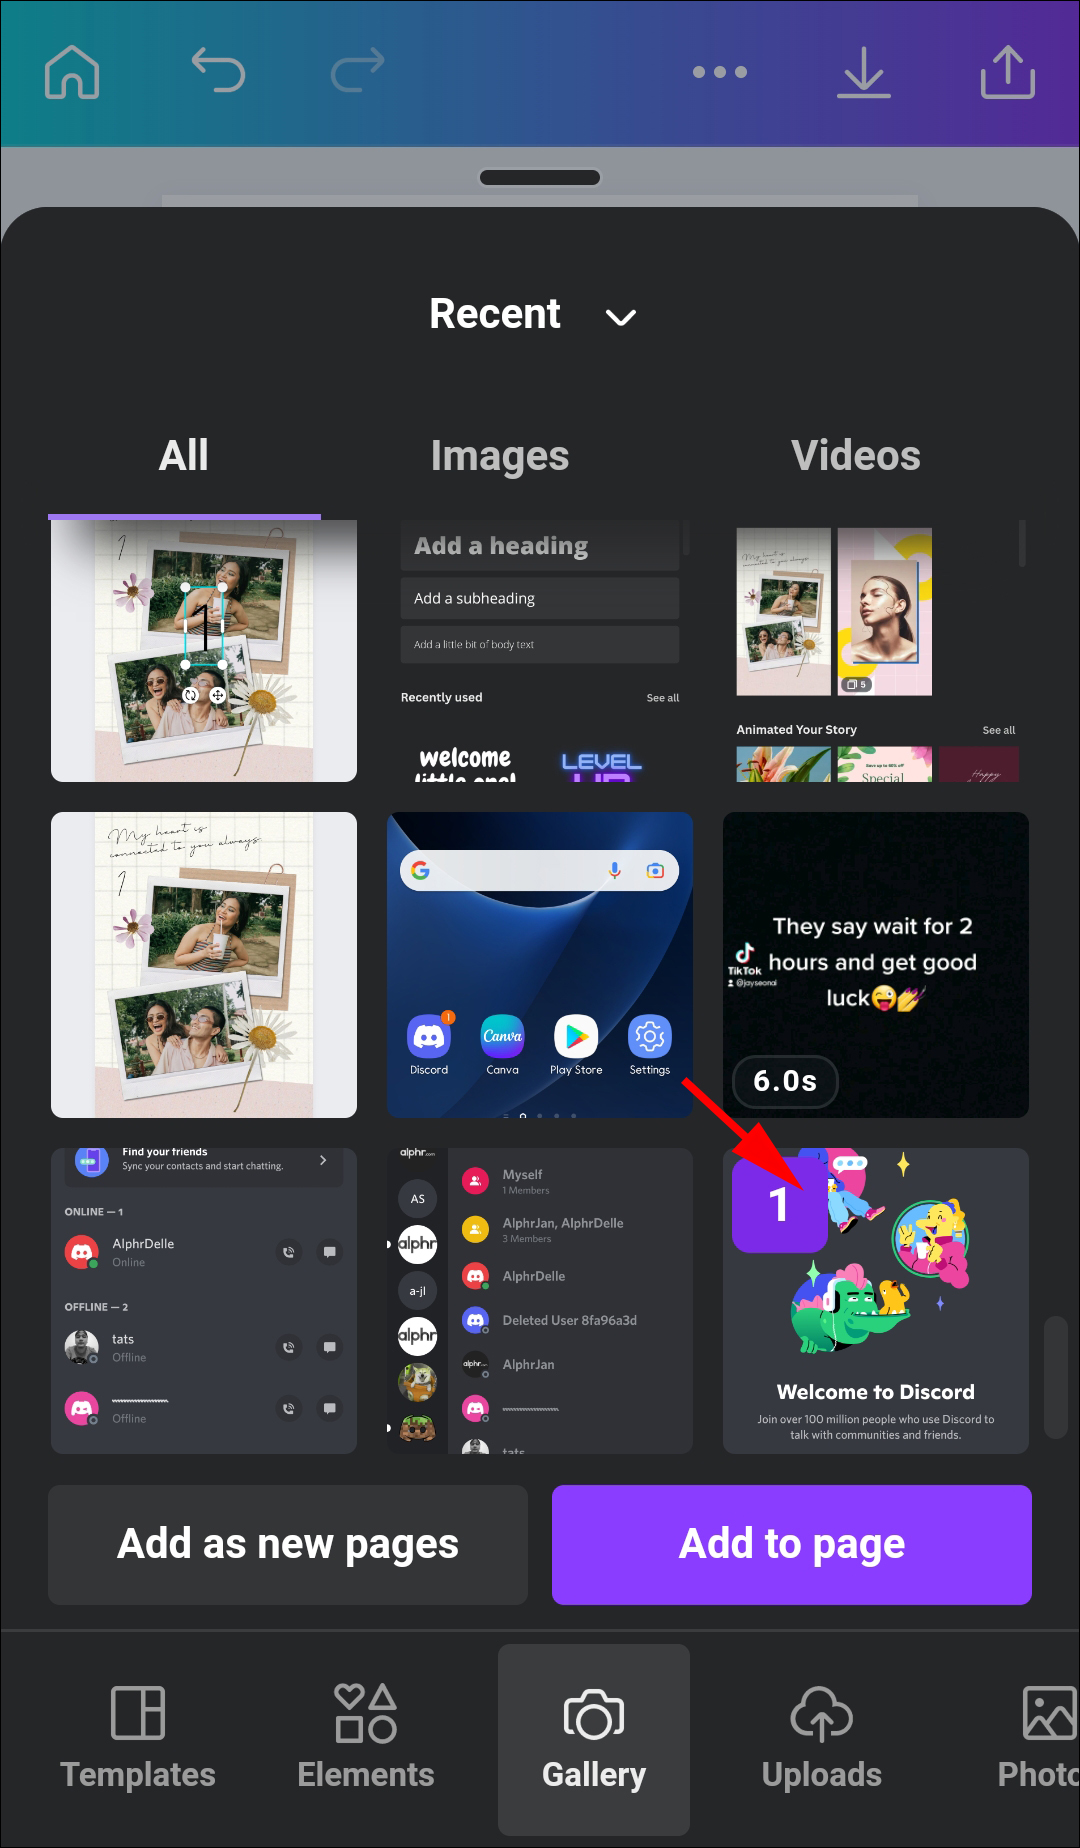
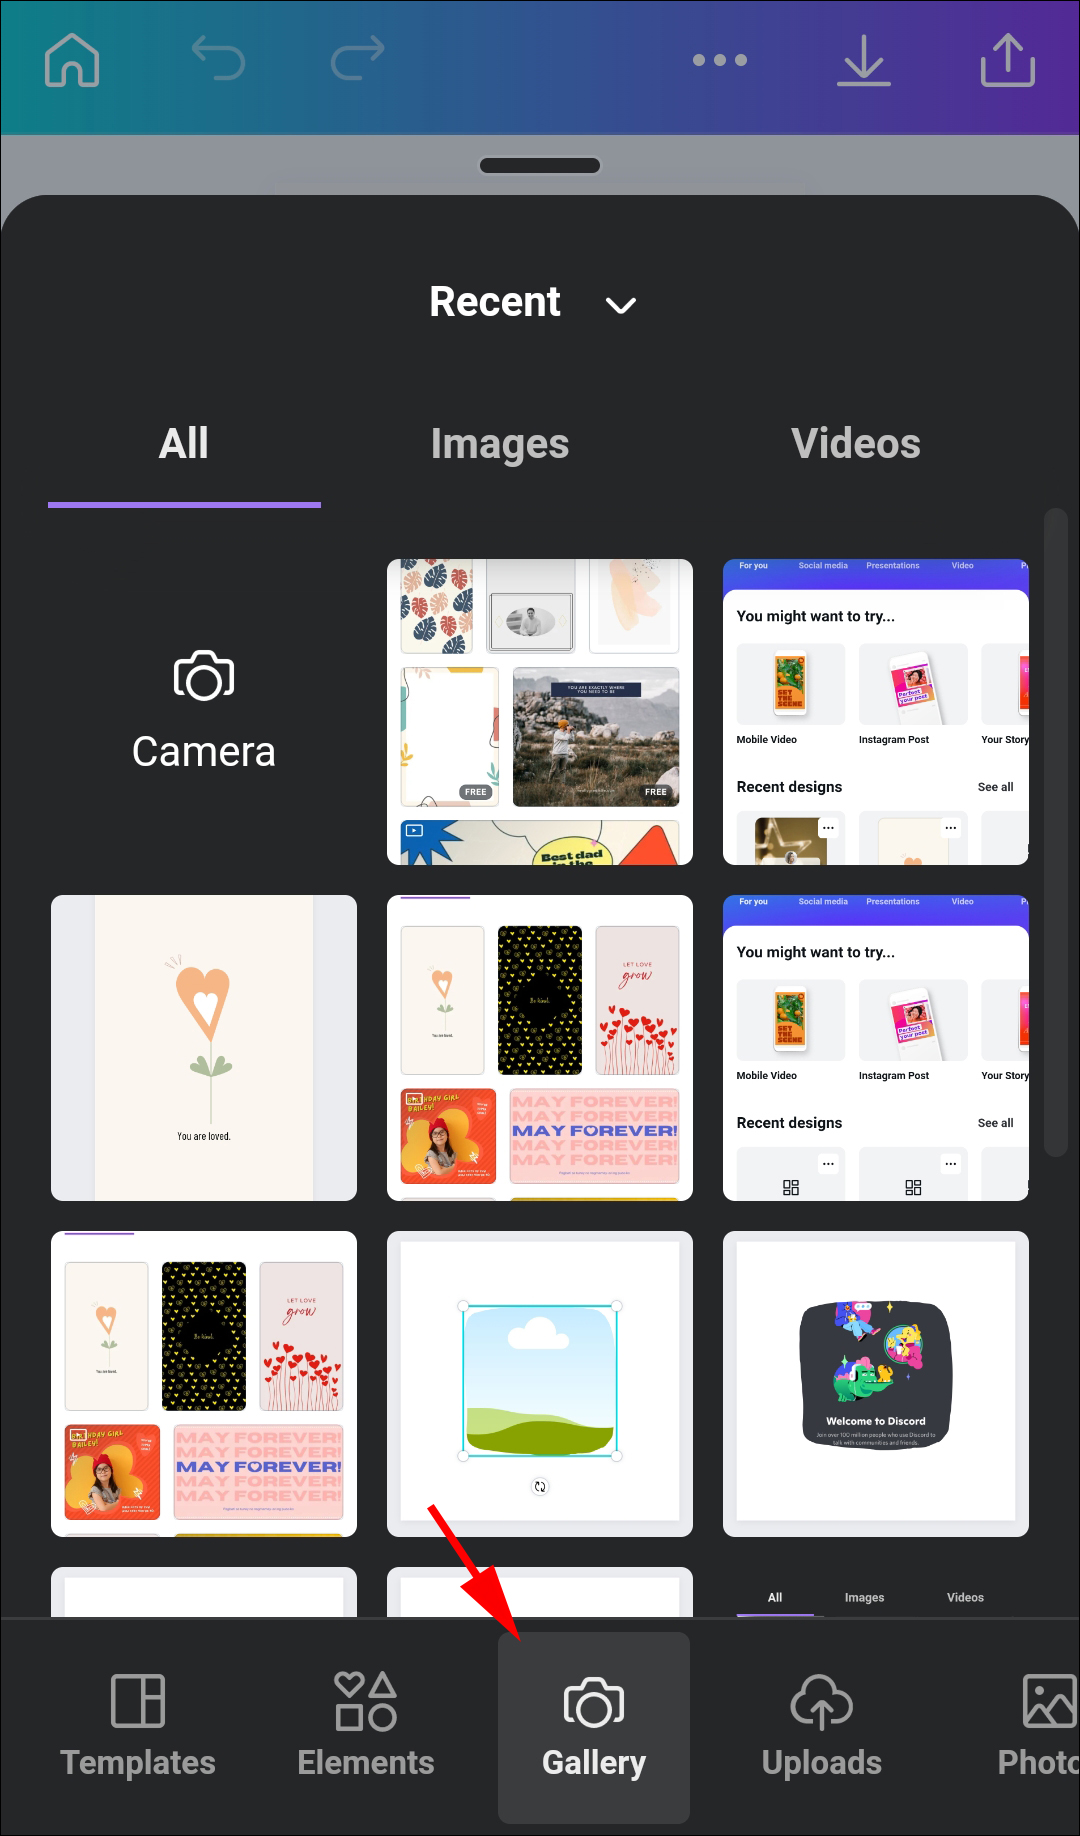
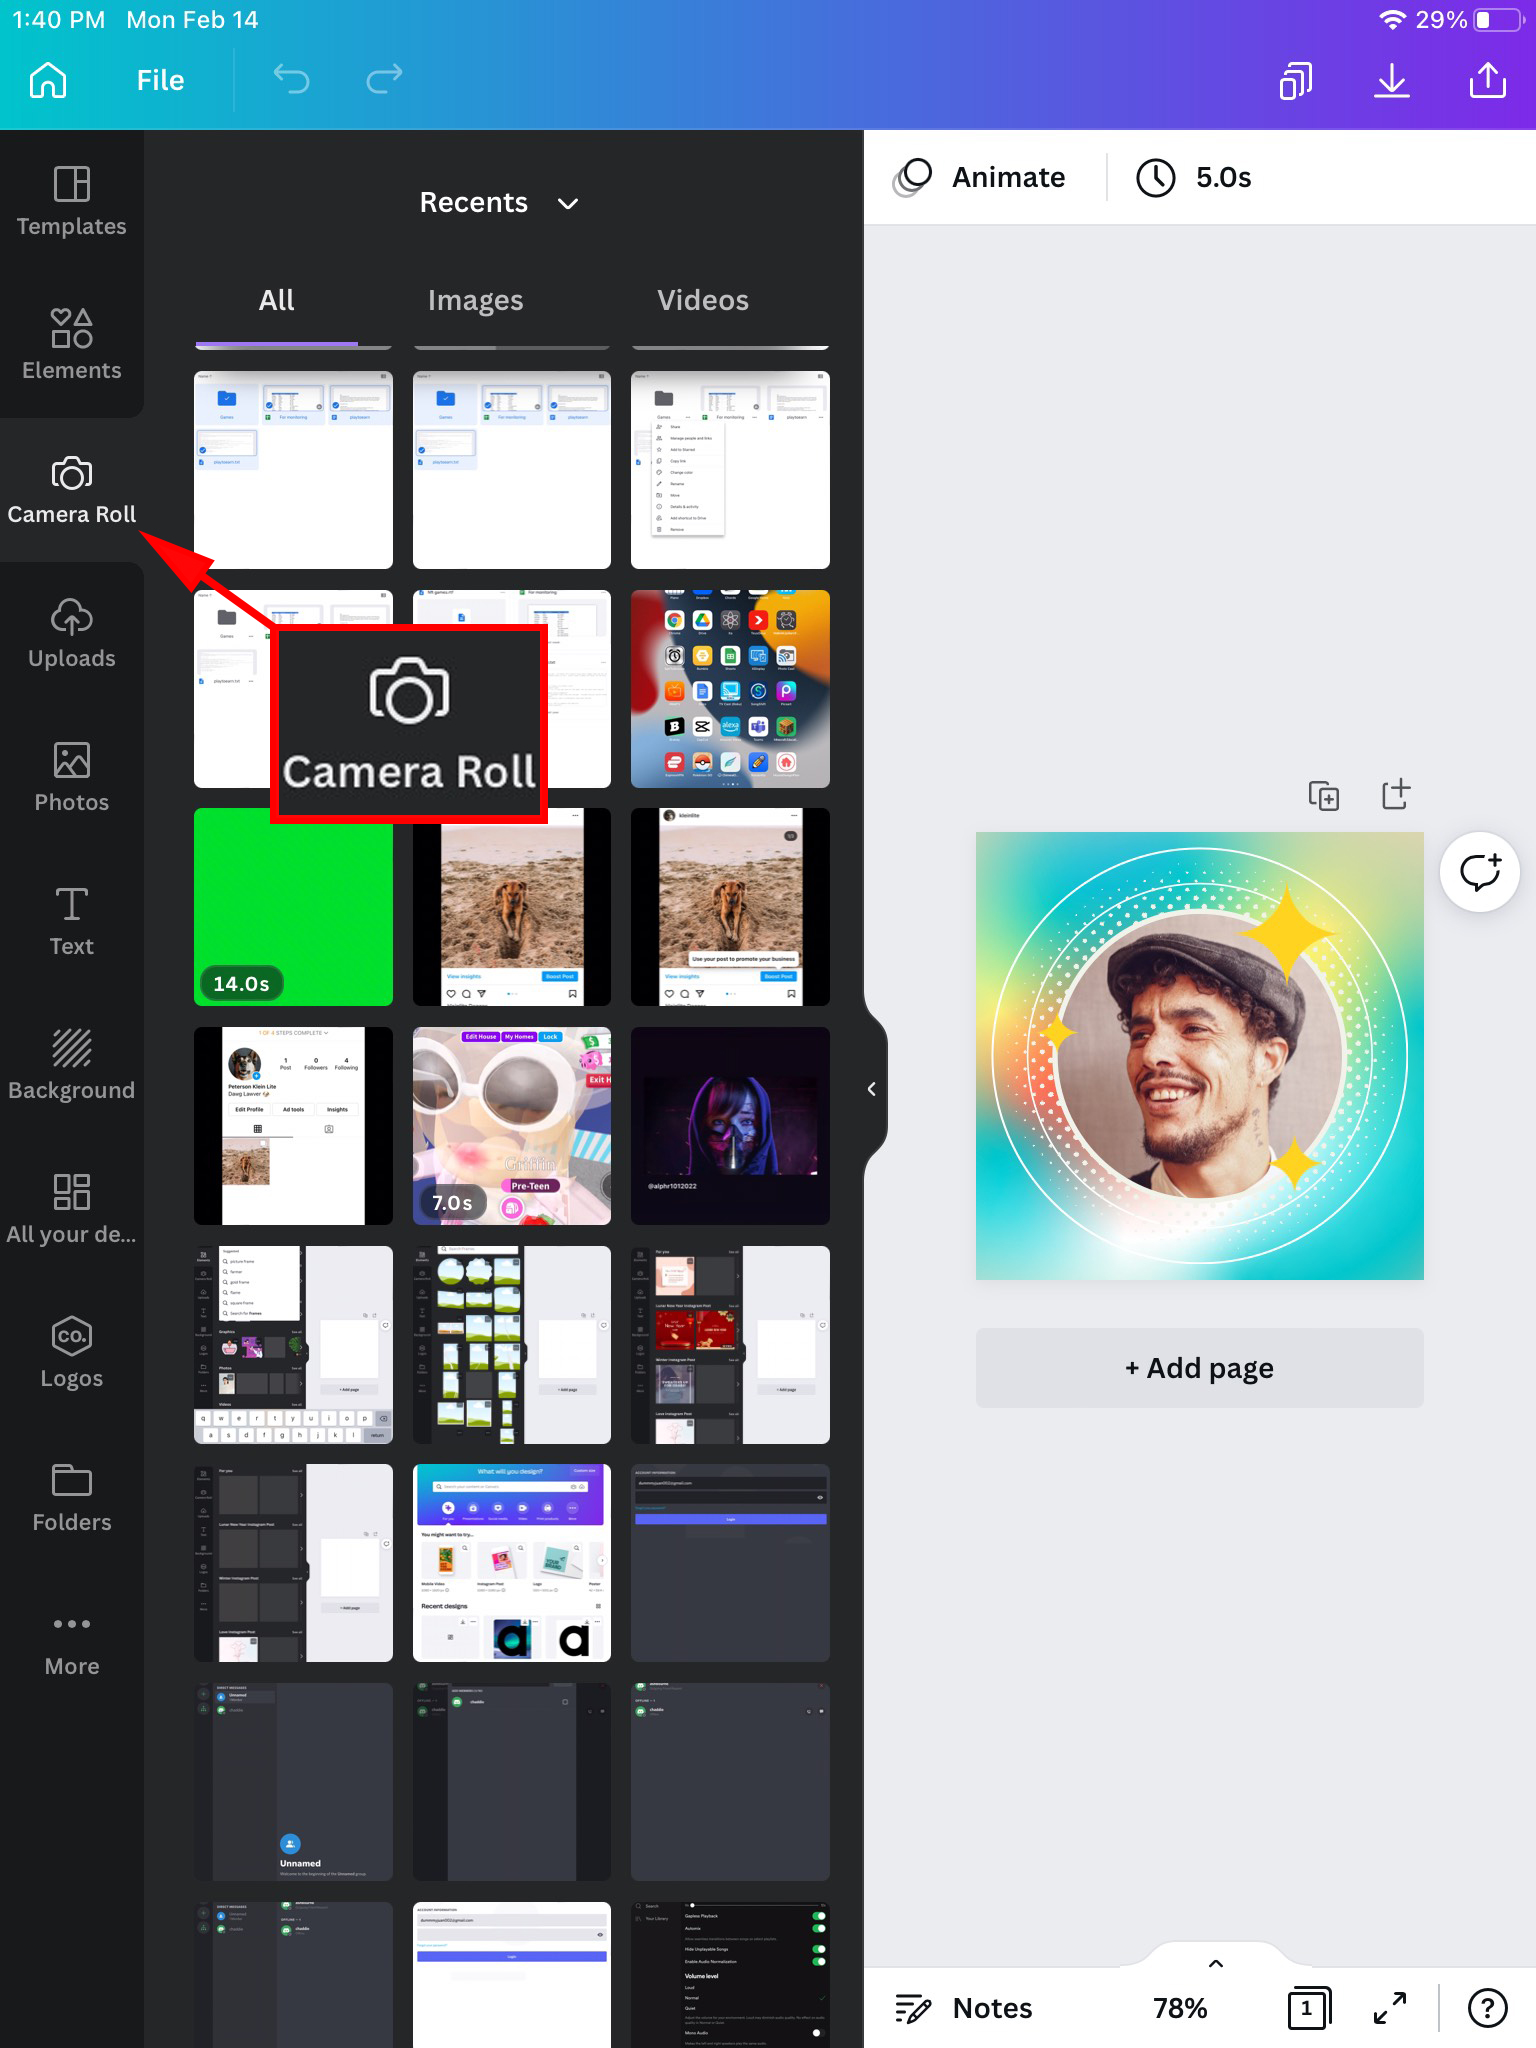
- Hit the “Edit” icon from the bottom of the screen and select “Gallery.”
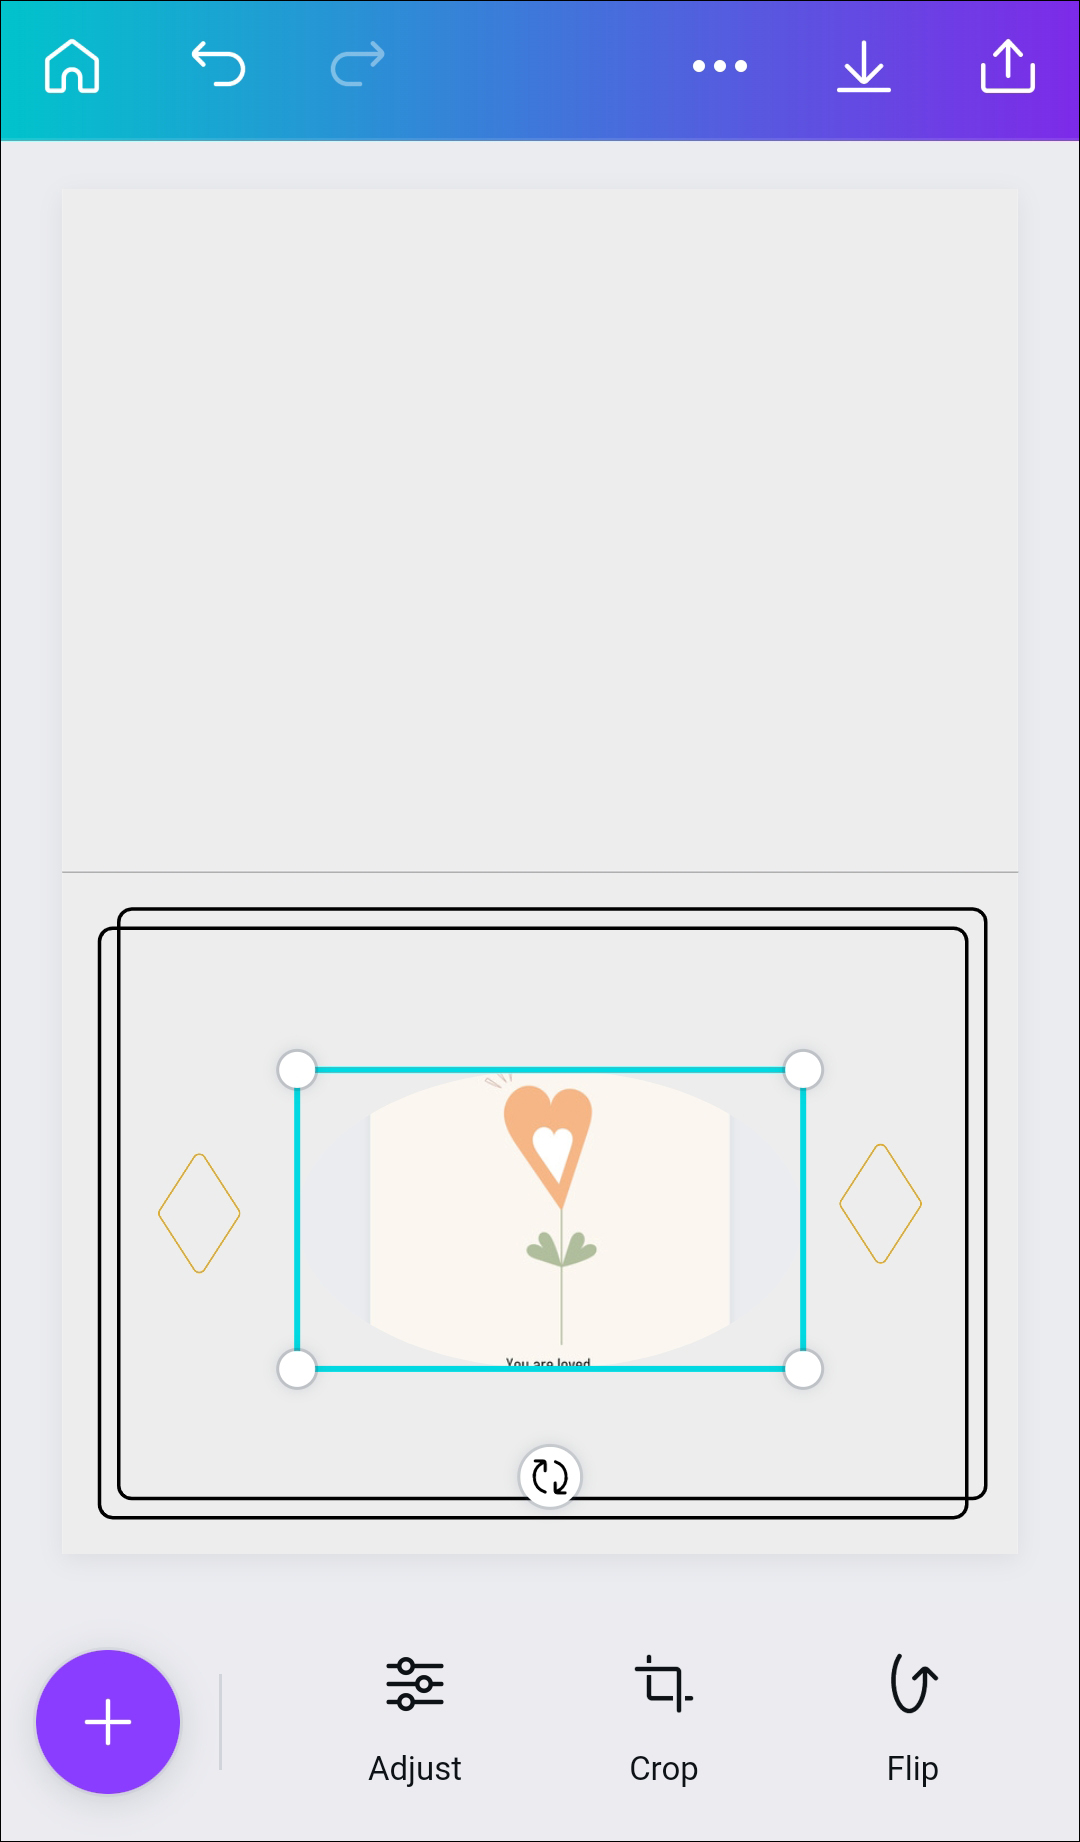
- Select the image you previously cropped. The tool will automatically fill the image in the shape.
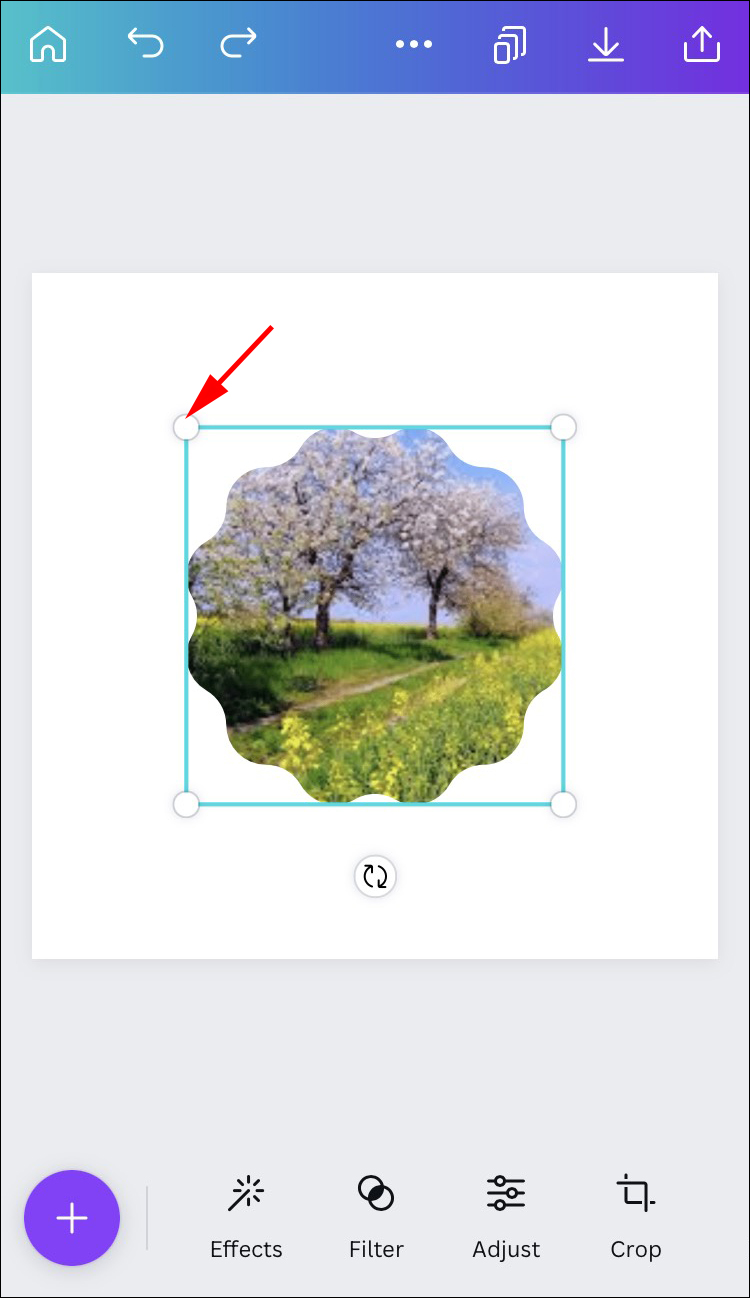
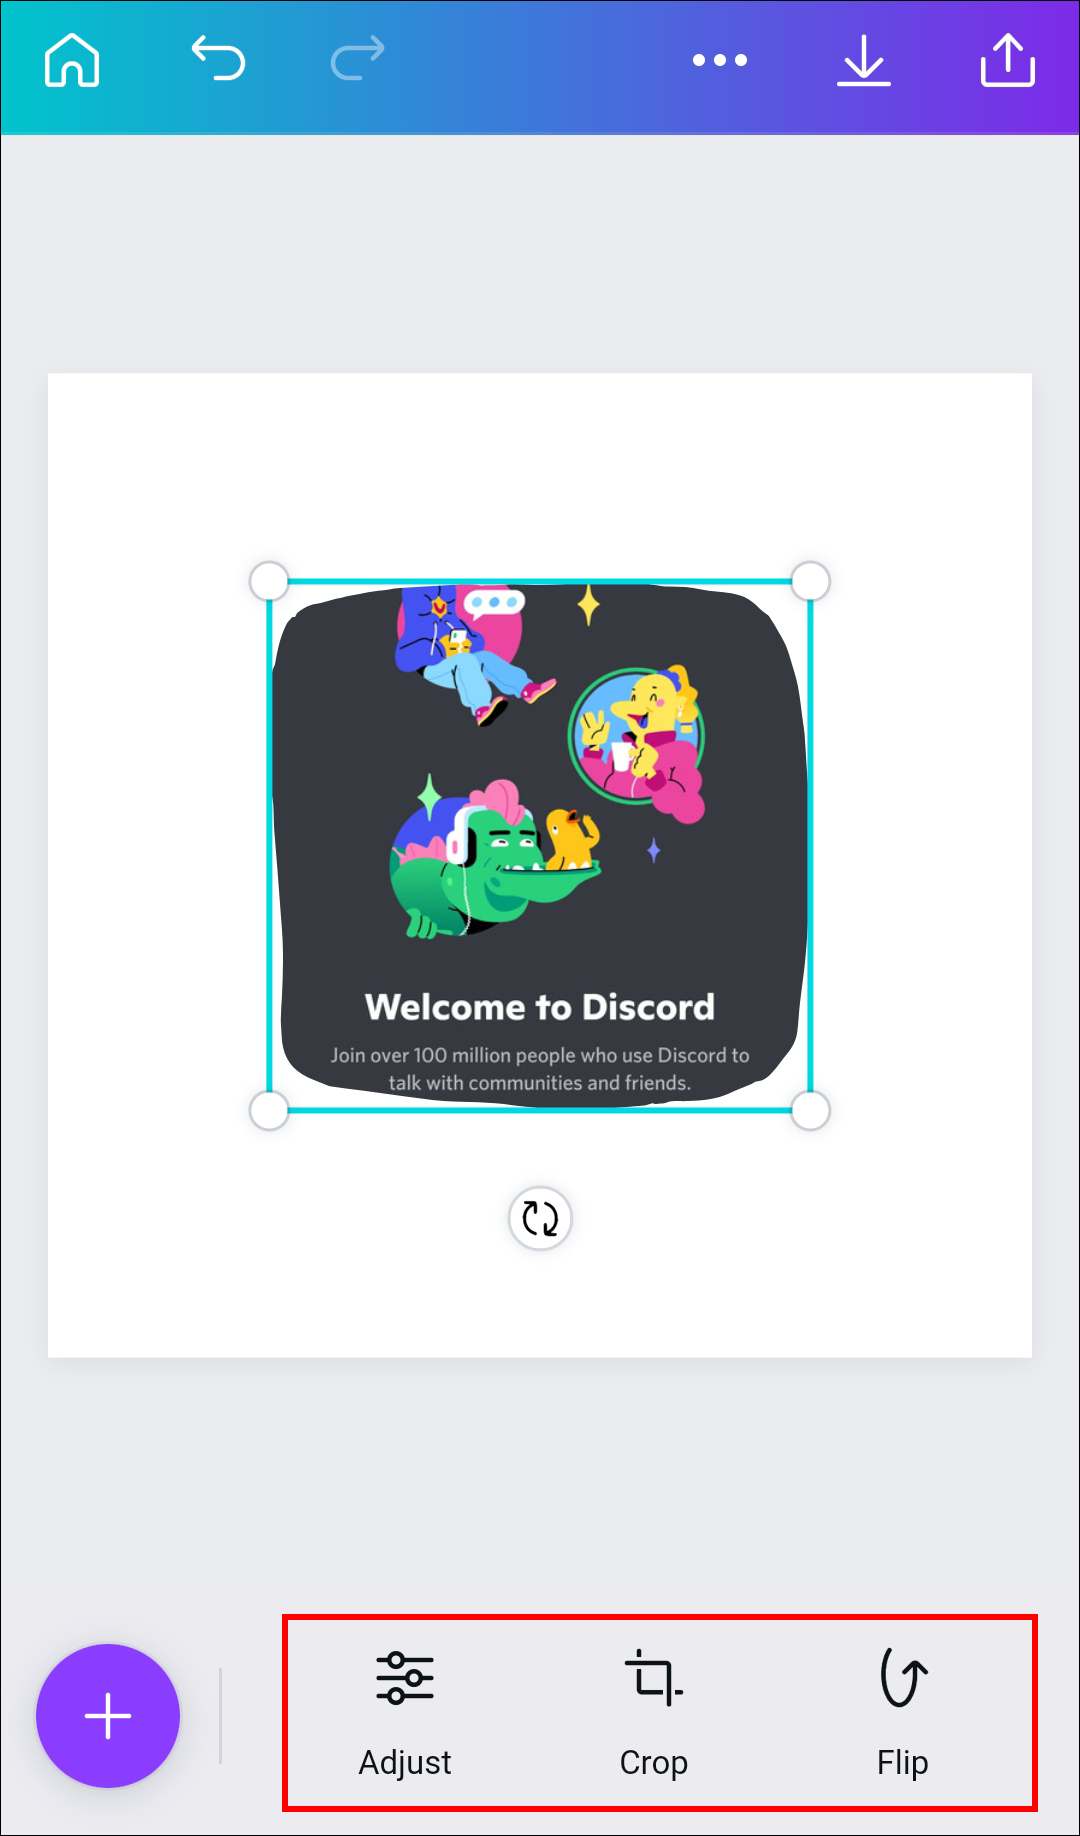
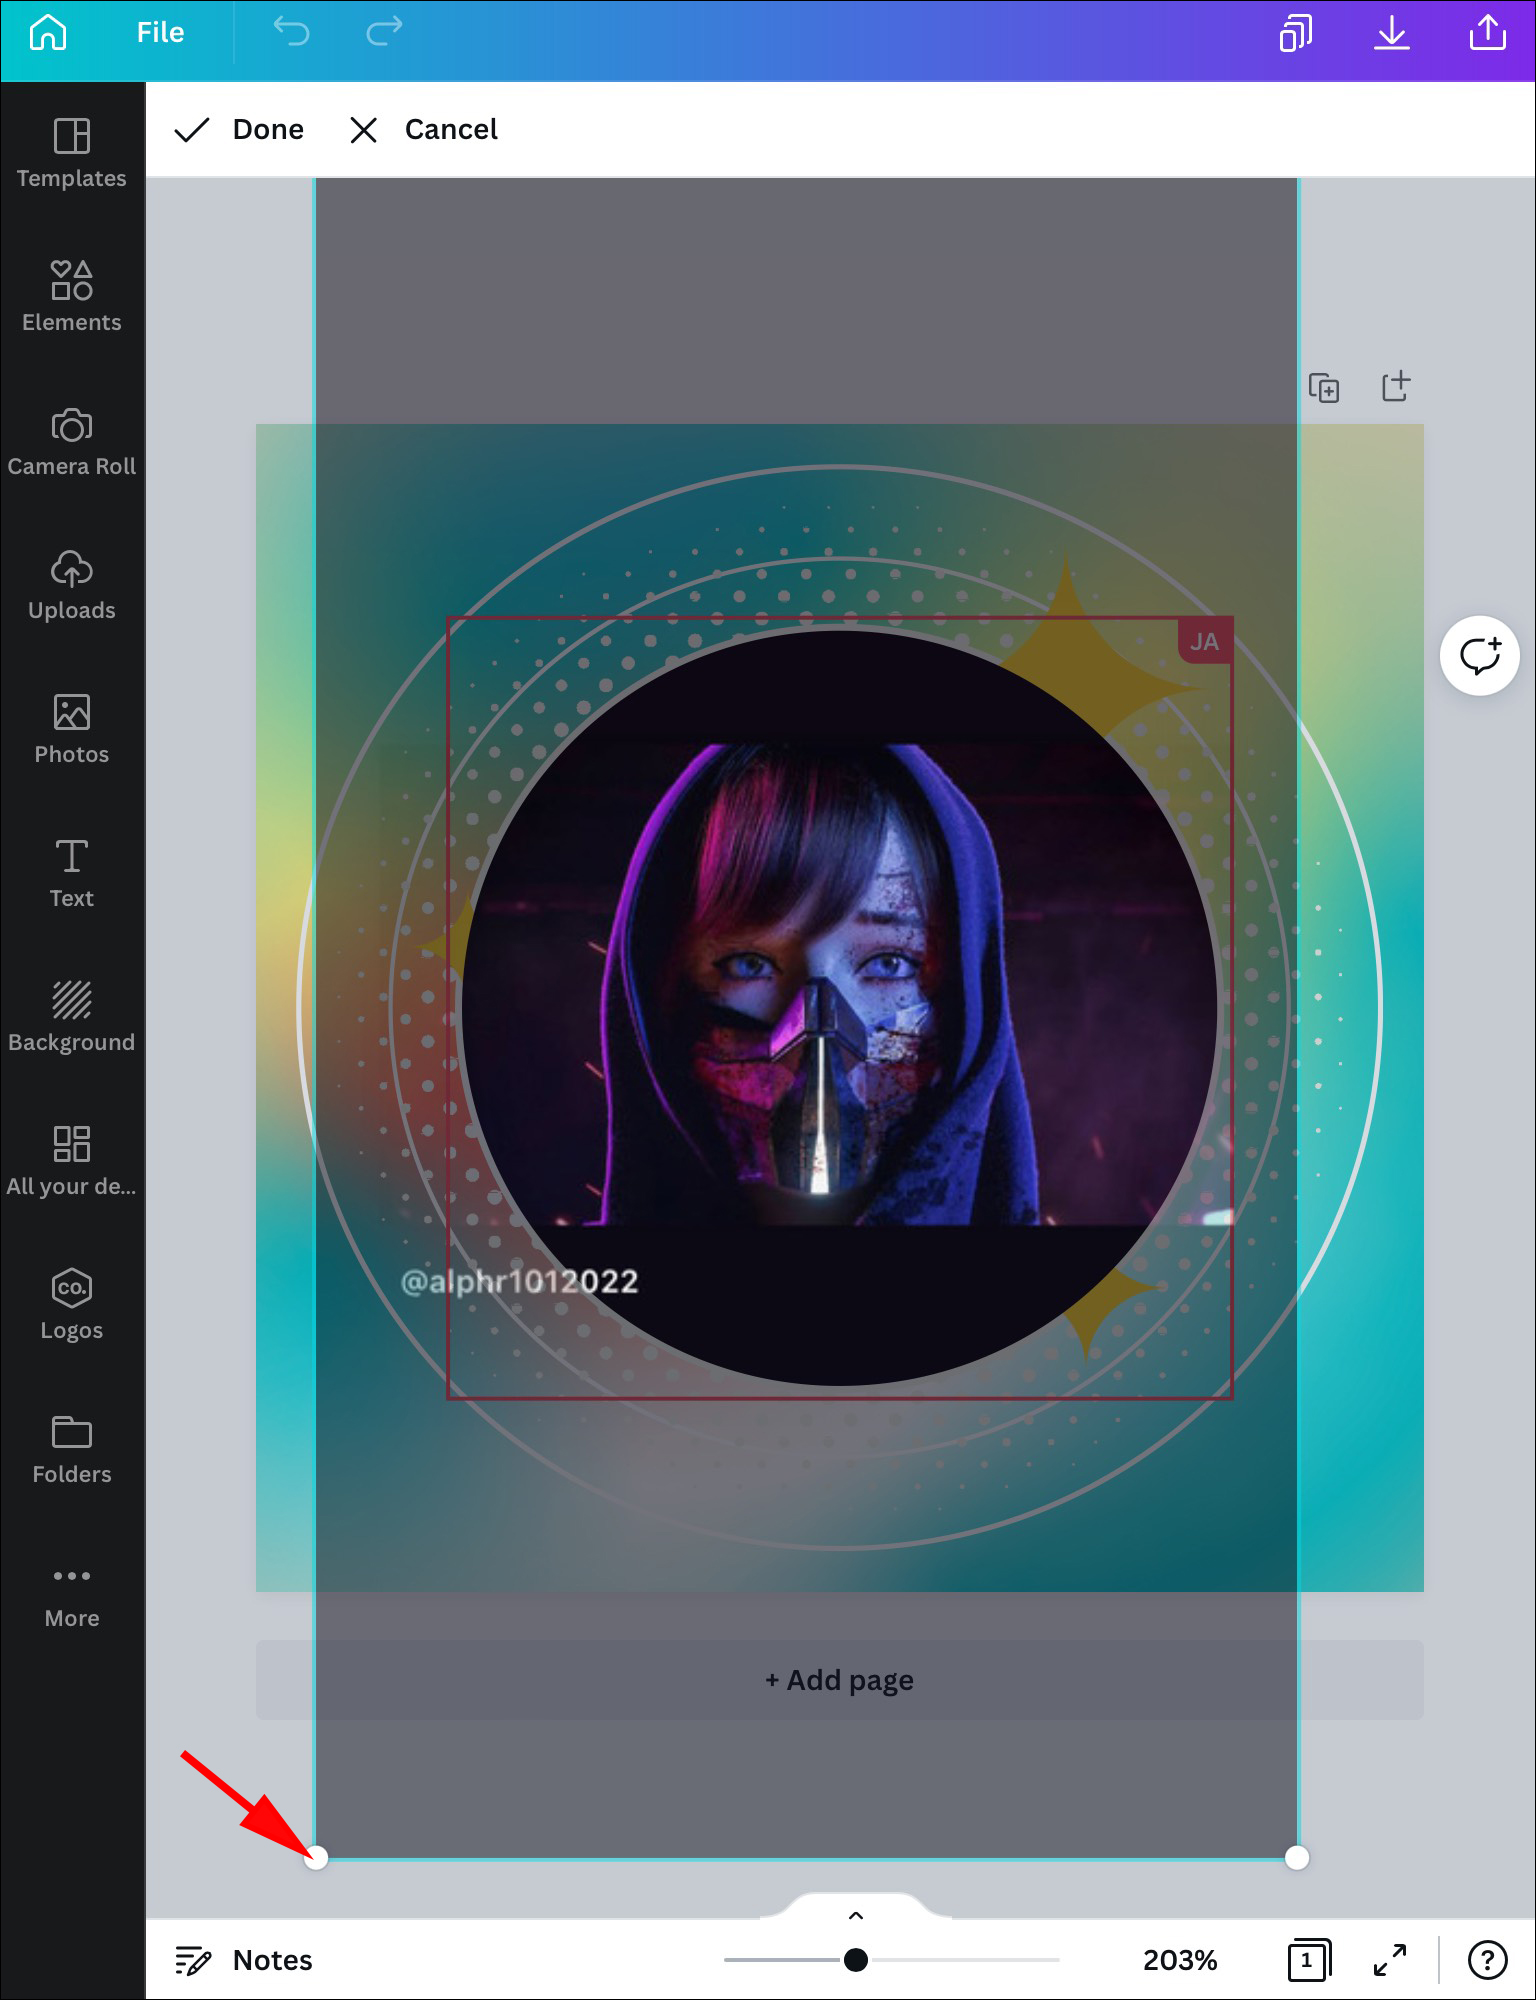
- Adjust the visible area or further crop the picture by hitting the frame and then pressing the “Edit” icon.
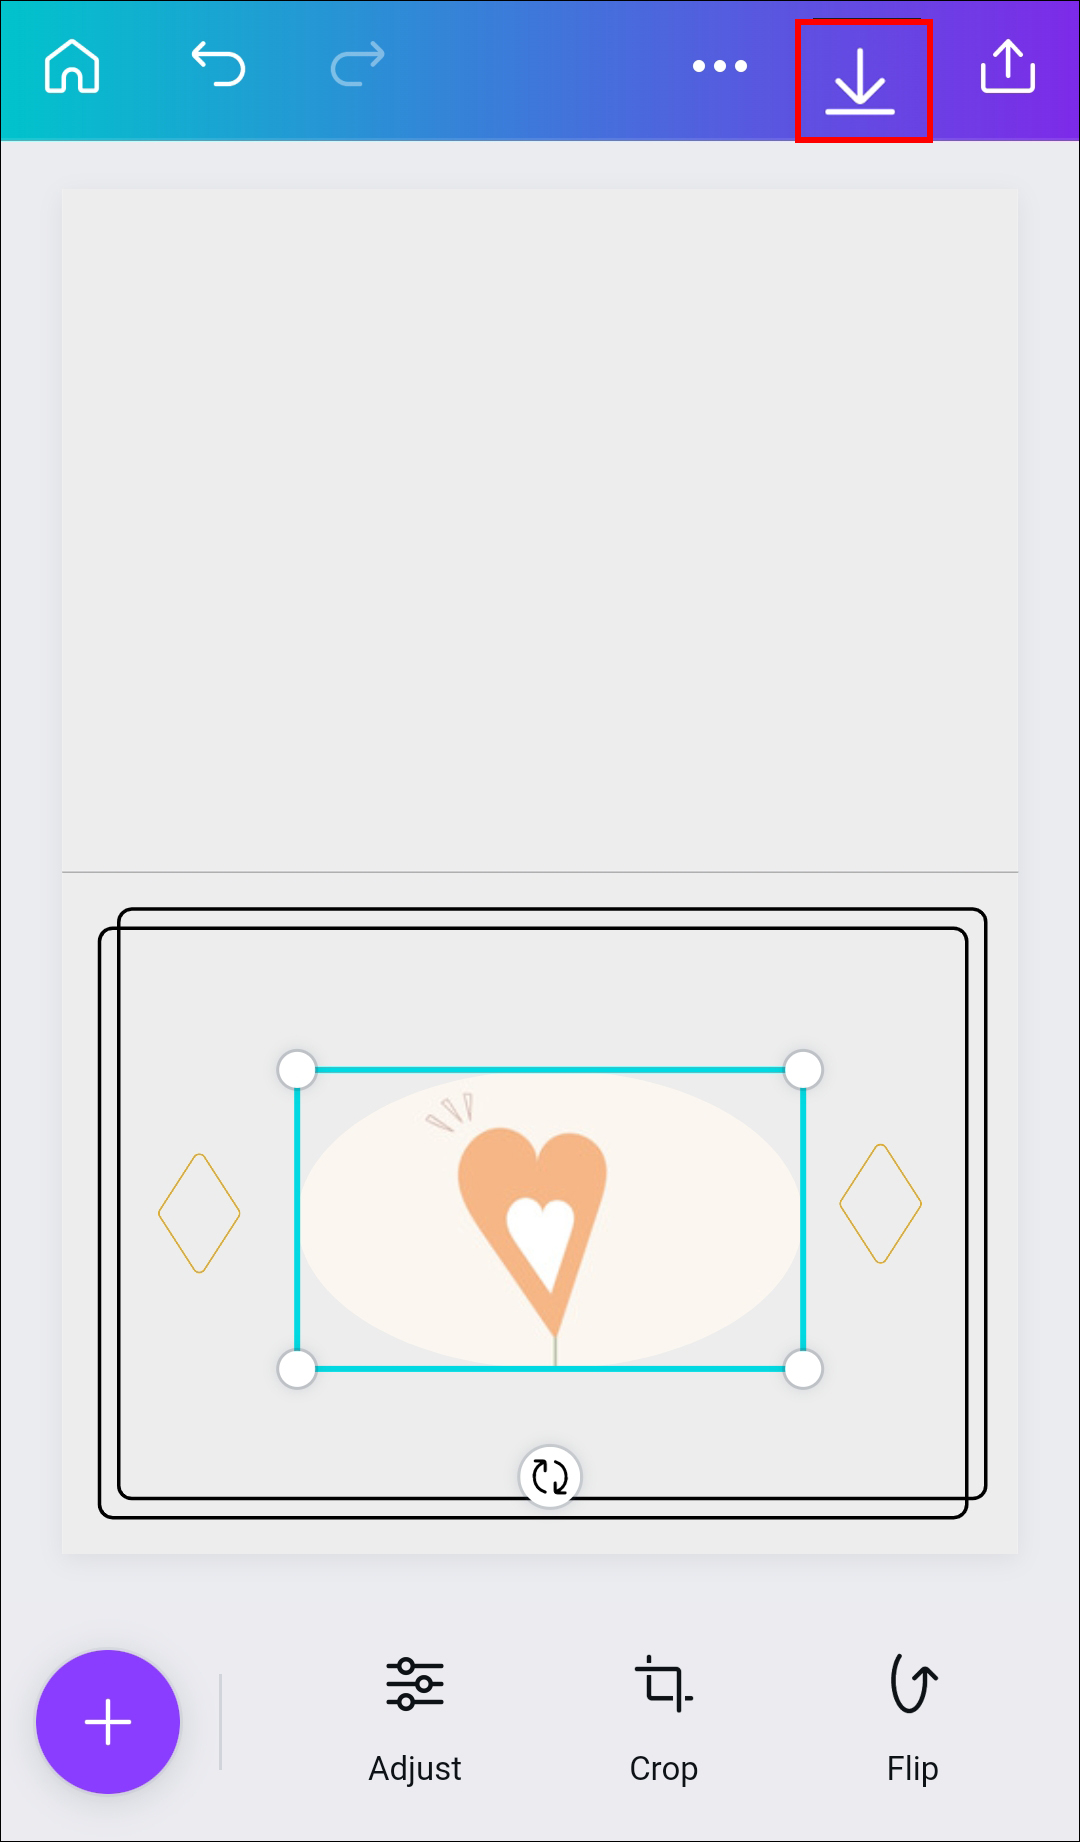
- Save your work by pressing the checkmark.
- Adjust the frame size by using the corners.


If you’re using an existing template that features a shape you need, follow the steps below:
- Go to the app’s home screen and find the shape of choice. You can search for “star,” “circle,” “triangle,” etc.
- Find a template that matches your needs.
- If you searched for “triangle,” hit on the triangle shape on the template.
- Select “Gallery” to upload an image from your iPhone.
- As you tap on the image, it will automatically be cropped in a triangle shape.
- Press the “Crop” icon to make modifications or use the pinch and zoom feature to tweak the visible area.
- Hit the checkmark to save your work.


How to Fill a Shape With an Image in Canva on an Android
Much like on iPhone, Android users have two options for filling a shape with an image: first crop an image and then use it to fill a shape or get to the shape right away. We’ll start steps on how to crop an image first.
Cropping an Image
- Upload an image to a Canva template.
- Tap on the image once, then hit the “Crop” icon located at the top.
- Crop the image using the pinch and zoom gesture.
- Press the checkmark to save your progress.


Save the image to your phone, so you can use it later. Now let’s proceed to fill the shape.
Filling the Shape With an Image in Canva
If you want to create a new template and add the shape-cropped image, follow the steps below.
- Create a new template in the app.
- Tap on the “Add” icon and hit “Illustration” or “Shape” for the search bar to appear.
- Search for “frames” and hit enter.
- Pick a frame you like to add it to the template.
- Tap the “Edit” icon and select “Gallery.”
- Upload an image you wish to fill that particular shape with. The program insert the image automatically.
- Tweak the visible area or crop the picture by tapping the frame and pressing the “Edit” icon.
- Save your progress by hitting the checkmark.
- Use the corners to adjust the frame size.


If you want to use an existing template that has the shape you need, follow the steps below:
- Go to the Canva app home screen and search for the shape of your choice – it can be a circle, triangle, star, etc.
- Tap on the template you like.
- Press the shape on the template and select “Gallery” to add an image to it from your Android device.
- The app will automatically fill that shape with your image.
- Use the crop icon to change or adjust the visible area with the pinch and zoom.
- Tap the checkmark to save your design.


How to Fill a Shape With an Image in Canva on an iPad
As an iPad user, you can crop an image first to fill the shape more accurately or start with the second part right away. But let’s start with the basics.
Cropping an Image
- Press the image on your Canva template and select the “Crop” icon.
- Make changes using the pinch and zoom gesture.
- Tap on the checkmark to save.
Filling the Shape With an Image in Canva
If you wish to work on a new template and fill a shape with an image, follow the steps below.
- Start a new template in the app.
- Press the “Add” icon and select “Illustration” or “Shape.”
- Type “frames” in the search bar.
- Pick a frame you wish to add.
- Select the “Edit” icon and go to “Gallery.”
- Insert an image from your iPad you wish to fill in that shape.
- If you wish to adjust the visible area or crop the picture, tap the frame, and press the “Edit” icon.
- Hit the checkmark to save.
- Use the white corners to tweak the frame size if necessary.


If you wish to use a pre-made template featuring your shape of choice, follow the steps below:
- Open Canva and go to the home screen to search for the shape you need. Use the search box to run the query.
- Pick a template you like and tap the shape on that template.
- Add an image from your iPad’s gallery by hitting “Gallery.”
- Tap on an image to have it cropped to the desired shape.
- Adjust the image using the crop icon or the pinch and zoom features.
- Tap the checkmark to save.


Take Control Over Canva Shapes
Although Canva doesn’t feature a dedicated tool for filling a shape with an image, the flexibility of the software still allows us to do so with ease. You can add a pre-cropped image to a new or pre-made template and fill in a shape, or work with original graphics according to your needs.
Which shape did you fill an image with? Did you crop an image beforehand or start with filling the shape right away? Share your experiences in the comments below.
Disclaimer: Some pages on this site may include an affiliate link. This does not effect our editorial in any way.