Maybe you’re creating a logo for a surfing company. Perhaps you want to design a character with wavy hair. Or maybe you just want to make an image of beach waves and pretend that you’re on vacation. Whatever the case, you’re probably looking for a way to create perfect waves.
In Adobe Illustrator, you can do precisely that. However, there are no dedicated wave functions, so users need to navigate through the program’s various features. Thus, this article will cover the few main ways of making wavy lines in Adobe Illustrator.
How to Create a Wave in Adobe Illustrator With the Zig Zag Effect
The easiest and most accurate way to create waves in Adobe Illustrator is by using the “Zig Zag” tool. It includes drawing “zig zag” lines and then smoothing them out. This way, you achieve even waves that follow a straight line, which is quite convenient when you need to create multiple identical wavy lines.
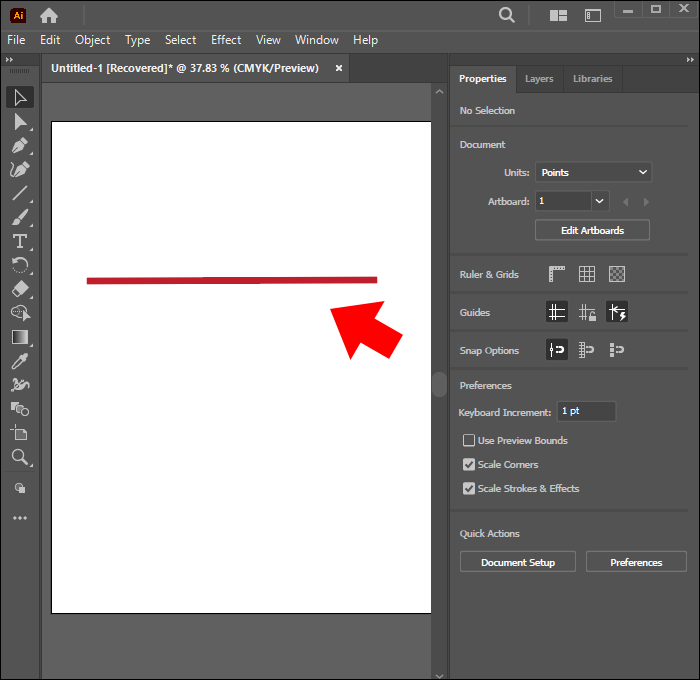
Before you can apply the “Zig Zag” effect, you need to create a line. Here’s how to make the base line for the wave in Illustrator:
- Pick the line color from the color panel.
Note: You can change the color after creating the line, but it’s essential to choose one from the beginning. Otherwise, the line might be transparent, and you won’t be able to see it.
- Long-press the “Rectangle Tool” from the toolbar on the left.

- Click the “Line Segment Tool” from the bottom of the menu.
- Draw a straight line by clicking on the canvas and dragging the cursor while holding “Shift” for a straight angle.
Note: You can also create a line with the “Pen Tool” located in the same left toolbar.


Now, you can move on to adding the “Zig Zag” tool:
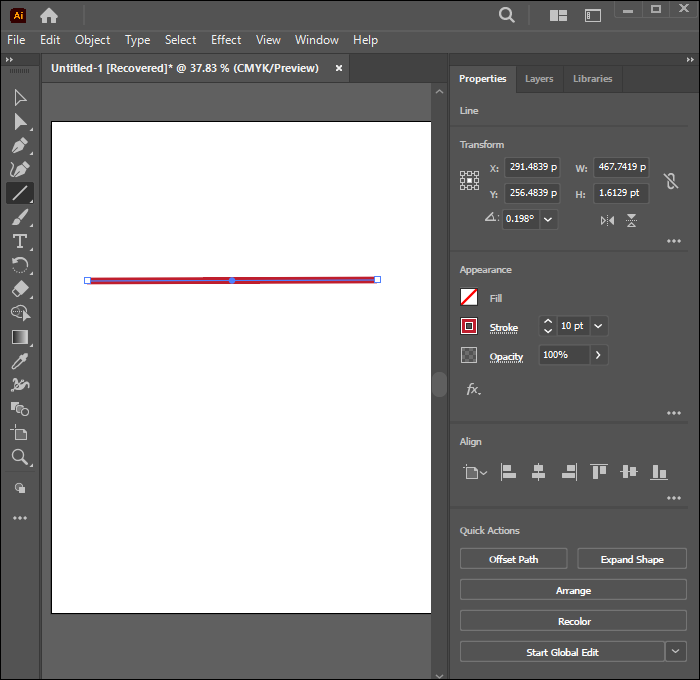
- Select the drawn line.
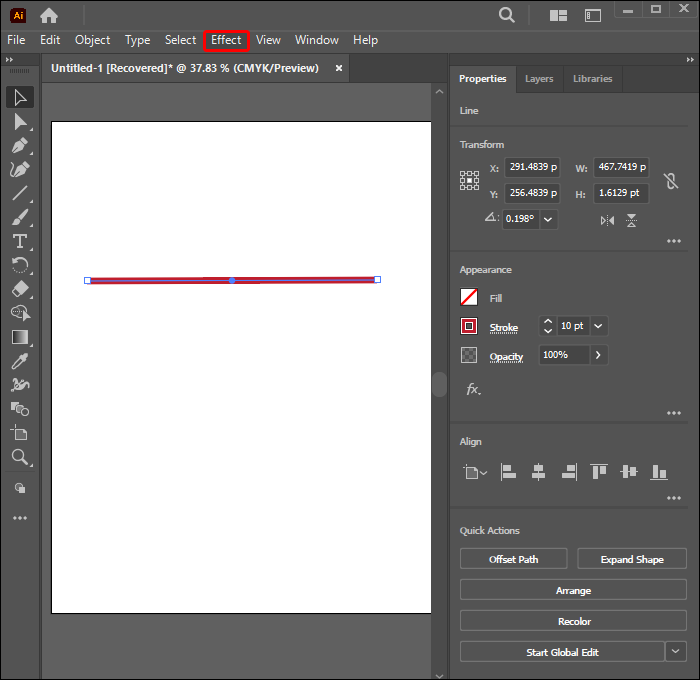
- Go to the “Effect” menu from the toolbar at the top of the screen.
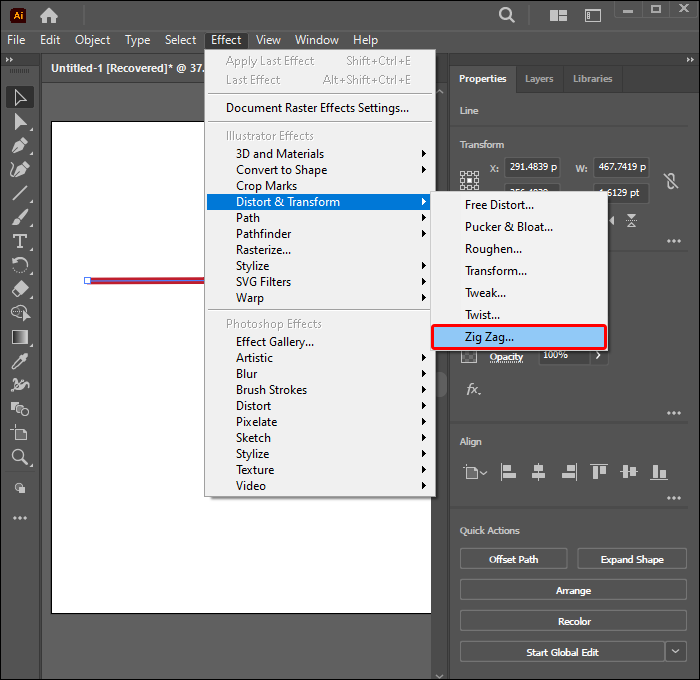
- Pick “Distort & Transform.”
- Choose “Zig Zag.”
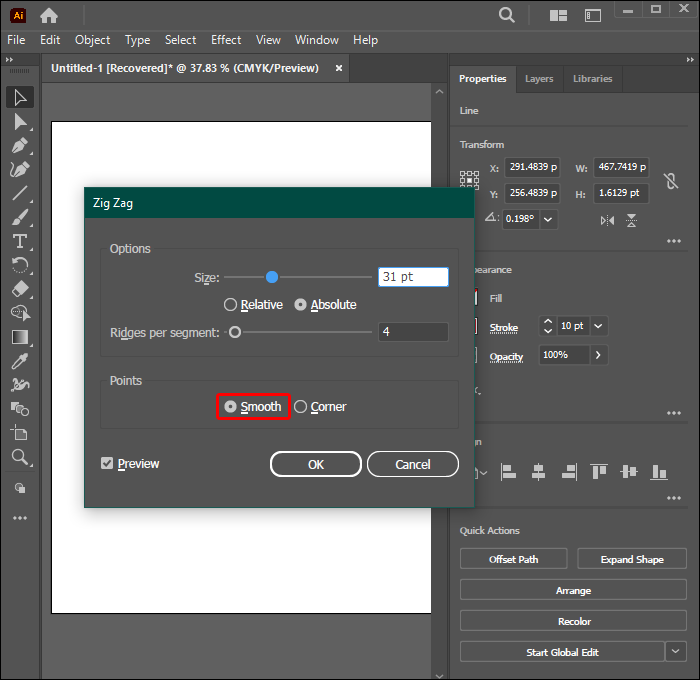
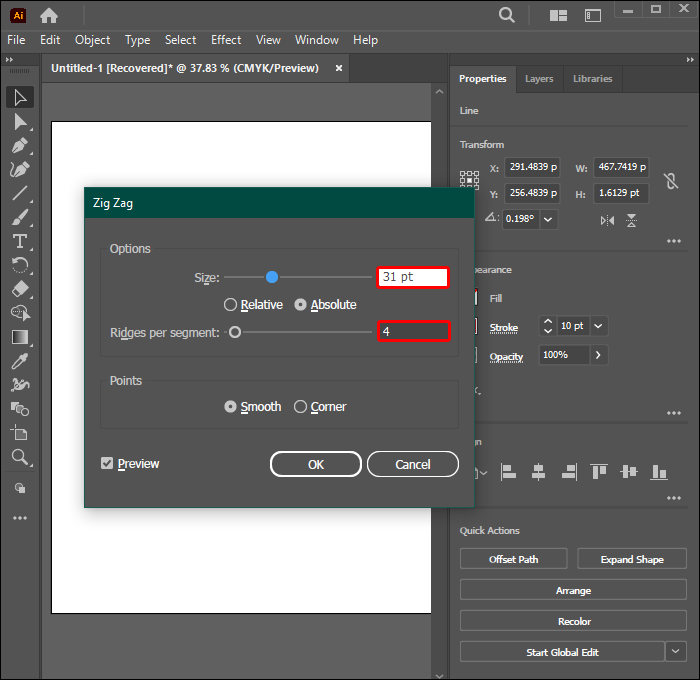
- Before changing the settings in the pop-up menu, tick the “Preview” box.
- Under “Points,” select “Smooth” to transform spikes into curves.
- Adjust the “Size” and “Ridges per segment” parameters to your liking.
- Press “OK” once you’re satisfied with the wave look.


You can copy the wave and move it around to create identical lines.
How to Create a Wave in Adobe Illustrator With the Curvature Tool
With the “Curvature Tool,” you get a bit more freedom in making your waves. On the flip side, you need to create each curve by hand, which can be tricky but also help you develop your drawing and Illustrator skills. If you want to ensure all the curves are the same, you can draw a grid as a base to follow.
Creators who prefer waves of the same height and width need to create the base structure first. It involves displaying the guide and rulers. The following steps explain how:
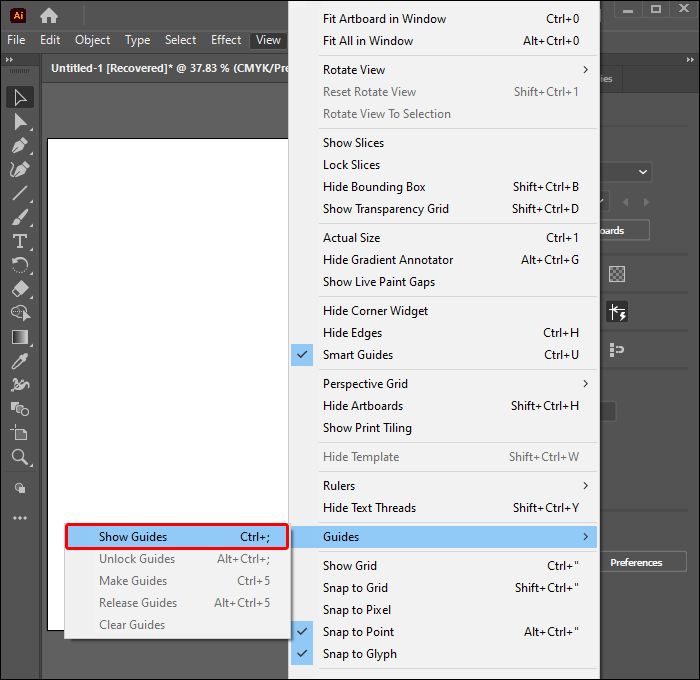
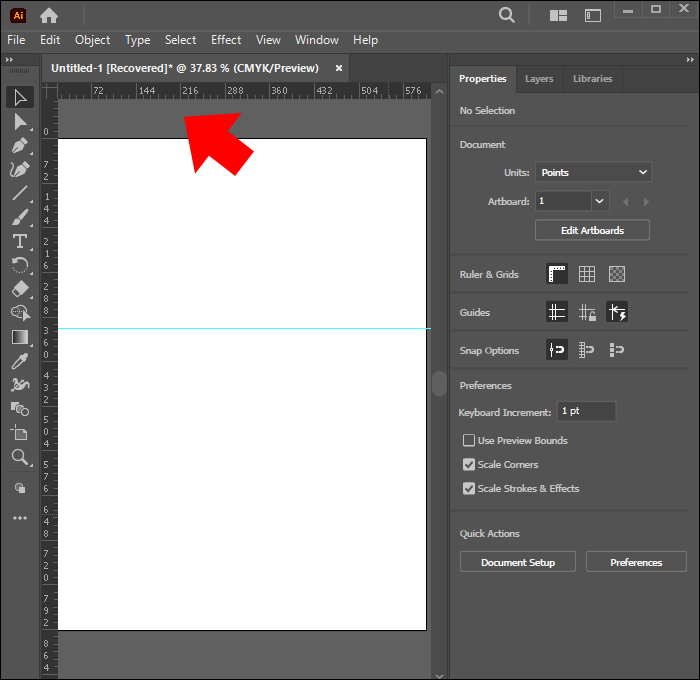
- Navigate to the “View” menu from the top toolbar.
- Select “Show Guide” from the “Guide” option.
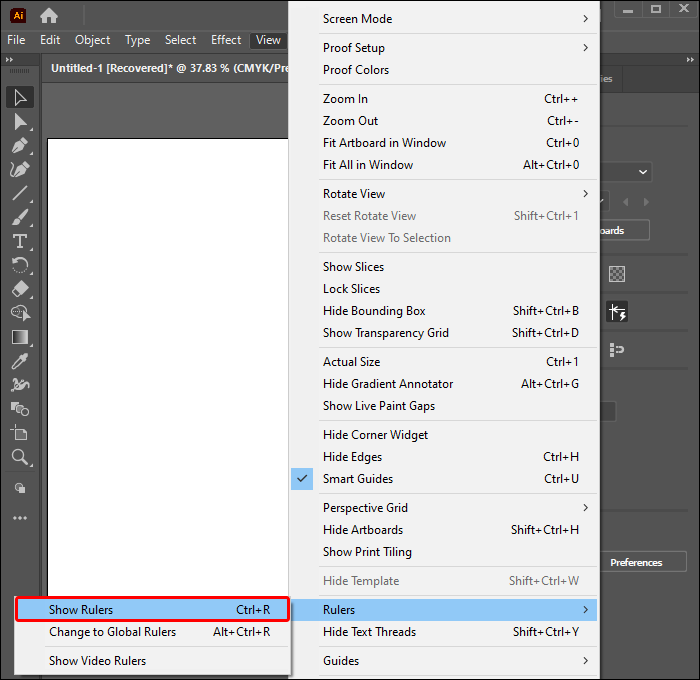
- Return to “View.”
- Choose “Show Rulers” from the “Rulers” option.
- Tap the left ruler to add a new horizontal guide to the canvas.
- Add another guide that’ll determine the height of the wave.
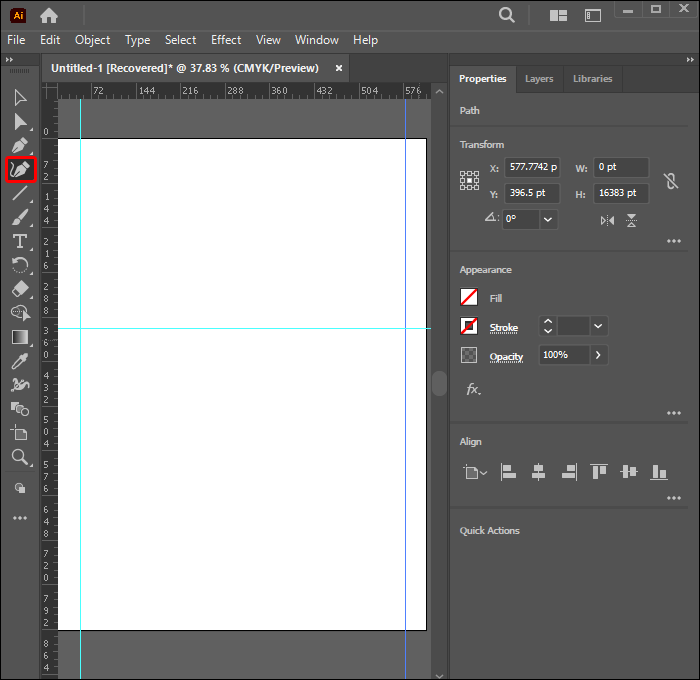
- Press the ruler on the top to add the first vertical guide.
- Duplicate the vertical guide by holding “Alt” and moving it to the right to set the wave width.
- Press “Ctrl + D” to multiply the vertical guides across the canvas.


Now, you can move on to creating the actual waves with the “Curvature tool” on the guide you made. Users who want their waves to have a more natural look and prefer more freedom while drawing can skip the previous steps and just do the following:
- Press the “Curvature tool” from the left toolbar.
- Draw a zig zag line – one line per square in the grid.
- Add anchor points and drag the line up or down to create curves.


FAQs
How to make ripples in Adobe Illustrator
You can make ripples in Adobe Illustrator with the “Warp Tool” located under the “Width Tool” on the left toolbar. In the “Warp Tool” settings, set the width to 100, heights to 20, detail to two, and simplify to 100. Drag the cursor over the drawn object to create a ripple-like effect.
How to make soundwaves in Adobe Illustrator
You can create soundwaves in Adobe Illustrator by following the same steps listed above to create regular wavy lines. The “Curvature Tool” might be a better option than the other two ways.
How to make sharp beach waves in Adobe Illustrator
You can create sharp beach waves by aligning a rectangle and two circles on the canvas. Use the smaller circle to hide a part of the bigger circle and make that sharp edge. The rectangle should cover the bottom of the big circle and represent the rest of the sea. You can touch up any overly sharp lines to make the wave smoother.
Upgrade Your Illustrator Skills
Knowing how to create waves in Adobe Illustrator can come in handy in various situations. Even if it’s not waves that you need to create, the “Zig Zag” tool, the “Curvature Tool,” and “Envelope Distort” can be useful for other images.
Have you already tried creating waves in Adobe Illustrator? Which method from above did you use and like the most? Tell us in the comments below.
Disclaimer: Some pages on this site may include an affiliate link. This does not effect our editorial in any way.


